

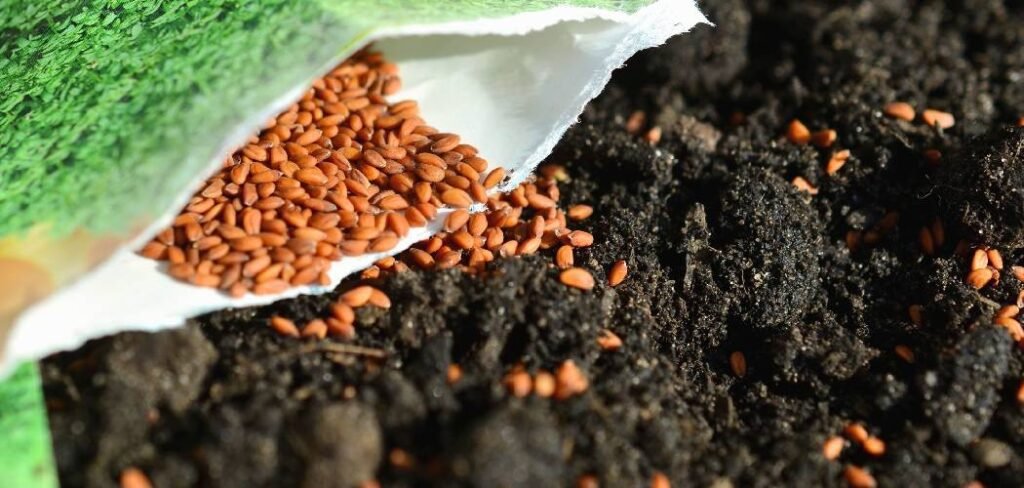
Discovering your fertilizer has become a clumpy, damp mess can be frustrating for any gardener. Whether it was left out in the rain or absorbed moisture from humid air, wet fertilizer seems like a lost cause. But don’t throw it out just yet! With a bit of patience and the right technique, you can salvage it.
This guide will walk you through exactly how to dry out wet fertilizer, restoring its granular form so you can continue feeding your plants and enriching your garden soil. We’ll cover simple, effective methods that anyone can follow to save money and reduce waste.
Why Drying Wet Fertilizer Matters
You might wonder why you can’t just use damp fertilizer as is. When fertilizer gets wet, it begins to clump, making it incredibly difficult to spread evenly. This can lead to over-fertilization in some spots and under-fertilization in others, potentially burning your plant roots or leaving them undernourished. Furthermore, prolonged moisture can encourage mold growth and cause the nutrients to degrade or leach out, reducing the product’s effectiveness. Learning to dry it properly ensures your plants get a balanced diet, your application is uniform, and you get the full value out of your purchase.
9 Methods Guide on How to Dry Out Wet Fertilizer
Step 1: Assess the Situation and Break Up Large Clumps
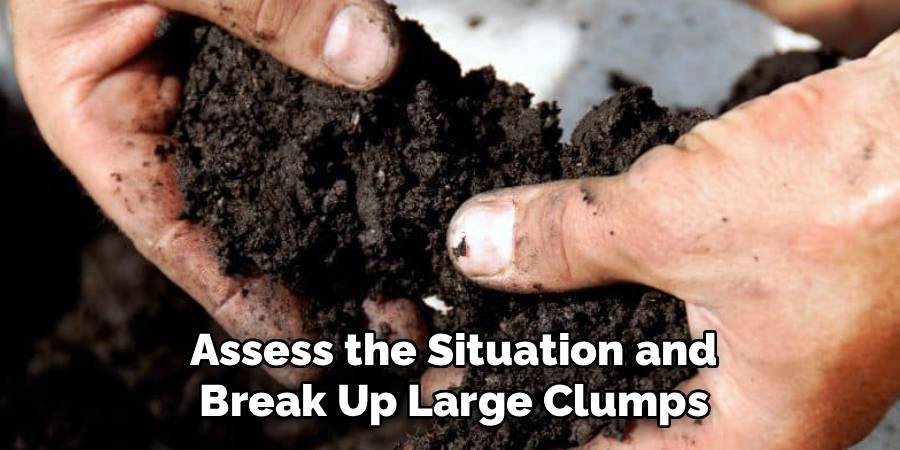
Before you begin, put on protective gloves and a dust mask. Fertilizer can irritate the skin and respiratory system. Examine the extent of the moisture. If it’s just a few damp clumps, the process will be quick. If the entire bag is saturated, it will require more time. Your first task is to break down any large, hardened chunks. You can do this by dropping the clumped bag on a hard surface a few times or by using a garden trowel or spade to manually break the material apart inside the bag.
Step 2: Choose a Suitable Drying Location
Select a dry, well-ventilated area to spread out the fertilizer. An ideal spot would be a covered patio, an open garage, or a well-aired shed. The location should be protected from rain and direct, intense sunlight, as excessive heat can degrade the chemical composition of the nutrients. Good air circulation is crucial, as it helps carry away the moisture more efficiently. Avoid indoor spaces like kitchens or living rooms to prevent inhaling dust and introducing chemical odors into your home.
Step 3: Spread the Fertilizer Thinly
Lay down a large tarp or several layers of cardboard on your chosen flat surface. This protective layer prevents the fertilizer from staining the ground and makes cleanup much easier. Pour the damp fertilizer onto the tarp, spreading it into a thin, even layer no more than an inch or two deep. A thinner layer exposes more surface area to the air, which dramatically speeds up the evaporation process. Use a rake or a gloved hand to ensure there are no thick piles.
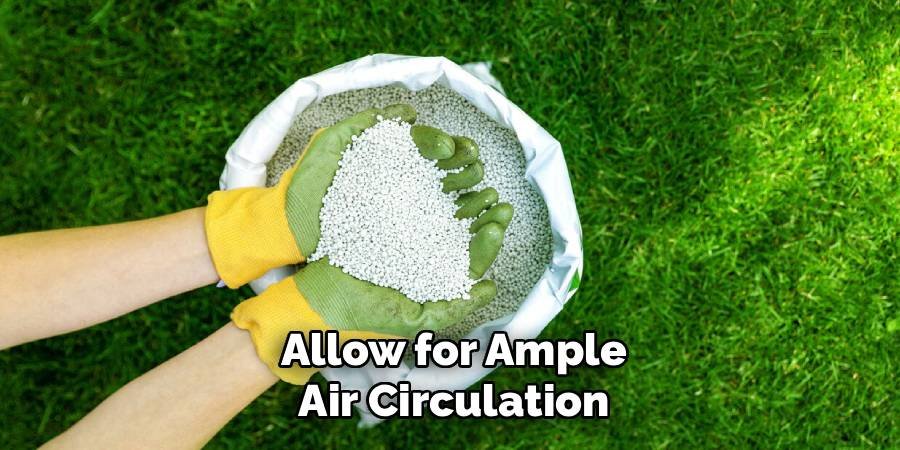
Step 4: Allow for Ample Air Circulation
Good airflow is your best friend in this process. If your drying area is enclosed, like a garage or shed, open doors and windows to create a cross-breeze. You can also place a box fan nearby, setting it to a low speed to circulate air over the fertilizer. Don’t point the fan directly at the material at high speed, as this can blow the fine granules away. The goal is gentle, consistent air movement to wick moisture away from the fertilizer granules.
Step 5: How to Dry Out Wet Fertilizer by Turning It Regularly
To ensure the fertilizer dries evenly, you will need to mix and turn it periodically. Every few hours, use a garden rake or a similar tool to gently turn the granules over. This action brings the damp bottom layers to the surface, exposing them to the air while moving the drier top layer down. Regular turning prevents the bottom from remaining soggy and discourages the formation of new clumps as the material dries, ensuring a uniform and consistent result.
Step 6: Sift to Remove Remaining Clumps
As the fertilizer begins to dry, you may notice some smaller, stubborn clumps remain. Once the majority of the material feels dry to the touch, it’s time to sift it. You can create a simple sifter by stretching a piece of hardware cloth or chicken wire over a wooden frame. Shovel the dried fertilizer onto the screen and gently shake it over a clean tarp or a wheelbarrow. The fine, dry granules will fall through, leaving the persistent clumps behind on the screen.
Step 7: Break Down the Final Clumps
Take the small clumps that were separated during sifting and break them apart. You can usually crumble them with your gloved hands. If they are particularly hard, place them on a durable surface and gently tap them with a hammer or the back of a small shovel until they break down into a granular state. Once broken, you can add this powder back to the rest of your salvaged fertilizer. This step ensures that every last bit of your product is usable.
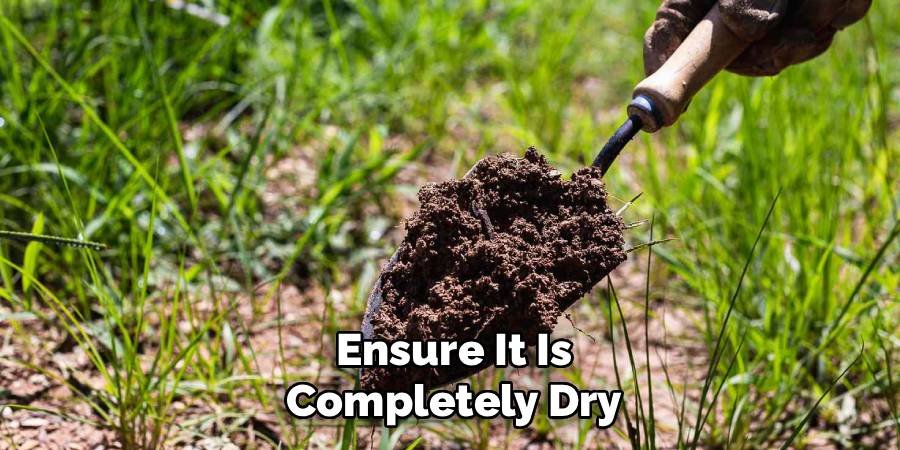
Step 8: Ensure It Is Completely Dry
Before you consider the job done, you must confirm the fertilizer is bone-dry. Take a handful and feel it. It should flow freely through your fingers without any hint of moisture or stickiness. If you detect any dampness, spread it out again for a few more hours of air drying. Storing fertilizer that is not completely dry will only lead to clumping and potential mold growth all over again, undoing all your hard work. Patience here is key to long-term success.
Step 9: Store the Dried Fertilizer Properly
Proper storage is essential to prevent your fertilizer from getting wet again. Transfer the fully dried, sifted granules into a sturdy, airtight container. A plastic bucket with a tight-fitting lid is an excellent choice. Label the container clearly with the type of fertilizer and the date. Store the container in a cool, dry place like a shed, garage, or basement, ensuring it is elevated off the floor to protect it from any potential ground moisture.
Common Mistakes to Avoid
When working with homemade fertilizer, there are a few common mistakes that can compromise its effectiveness or safety. First, avoid adding excessive moisture to the mixture during the drying process, as this can prevent proper drying and lead to mold growth. Second, never store fertilizer in a container that is not airtight, as exposure to air or humidity can cause the granules to clump or degrade. Additionally, ensure all ingredients are properly composted and broken down to avoid odors or incomplete breakdown in your soil. Finally, always use proper labeling—failure to label containers clearly can result in confusion or accidental misuse. By steering clear of these pitfalls, you can ensure a successful and efficient fertilizer-making process.
Frequently Asked Questions (FAQ)
Can I Use Wet Fertilizer Directly in My Garden?
It is not recommended to use wet fertilizer. When fertilizer is wet, it clumps together, making it nearly impossible to spread evenly. This leads to uneven nutrient distribution, where some plants get too much fertilizer (which can burn their roots) and others get none. Drying it out first ensures you can apply it uniformly for healthy plant growth.
How Long Does It Take for Fertilizer to Dry?
The drying time depends on several factors:
- How wet it is: Saturated fertilizer will take longer than slightly damp fertilizer.
- Humidity levels: It will dry faster on a dry day than a humid one.
- Airflow: Good ventilation and a fan can speed up the process significantly.
Typically, it can take anywhere from 24 to 72 hours to dry completely.
Will Drying Fertilizer Affect Its Nutrient Quality?
If done correctly, drying will not significantly impact the nutrient quality. The key is to avoid high heat. Do not use an oven, microwave, or direct, intense sunlight to speed up the process. Excessive heat can break down the chemical compounds and reduce the fertilizer’s effectiveness. Gentle air-drying is the safest method to preserve the integrity of the nutrients.
What Is the Best Way to Store Fertilizer to Keep It Dry?
The best way to prevent fertilizer from getting wet is to store it in an airtight container. A five-gallon bucket with a secure, locking lid is a perfect option. Keep the container in a dry, shaded location like a garage or shed, and store it off the concrete floor on a shelf or wooden pallet to avoid moisture absorption. Always seal the container tightly after each use.
Can I Mix Different Types of Dry Fertilizers?
Mixing dry granular fertilizers is generally fine, but it is best to do so right before application rather than for storage. Different fertilizers have varying densities and granule sizes, and they can settle and separate over time in a storage container. To ensure your plants receive a balanced blend of nutrients, mix what you need for a single application.
Conclusion
Finding a bag of wet, clumpy fertilizer is a common problem, but it doesn’t have to mean a trip to the trash can. By following a few simple steps, you can effectively salvage your investment and restore it to a usable state. The process involves breaking up clumps, spreading the material in a thin layer, ensuring good air circulation, and turning it regularly until it’s completely dry. With a little effort, you now know how to dry out wet fertilizer, saving you money and preparing you to give your garden the nutrients it needs to flourish.
About Ravuk Barg
B.Sc. Horticulture Science | Certified Master Gardener
Ravuk Barg has spent more than a decade with his hands in the soil and his head full of questions about why some gardens thrive while others struggle. What started as a single raised bed of tomatoes and basil in a modest backyard has grown into a deep, working knowledge of everything from seed germination and soil amendment to companion planting and seasonal pruning.
Over the years, Ravuk has gardened through drought summers, waterlogged springs, and pest invasions that would make most gardeners hang up their trowels for good. Those hard seasons, he’ll tell you, taught him more than any perfect growing year ever could. He writes from that earned experience—covering vegetable growing, ornamental planting, houseplant care, composting, and garden design with equal confidence and curiosity.
Philosophy & Approach
Ravuk’s approach to gardening is rooted in practicality. He favors organic methods not out of dogma, but because they work long-term—resulting in healthier soil, fewer inputs, and stronger plants. He has a particular fondness for heirloom vegetable varieties (the kind with proper flavor), unruly cottage-style flower beds, and the stubborn houseplants that everyone else gave up on.
The Mission: Give readers the honest, experience-backed advice that helps them actually succeed in their gardens—not just the ideal version, but the real one; weeds, failures, and all.
Education & Credentials
-
B.Sc. in Horticulture Science
-
Greenfield Agricultural University
-
Focus: Plant Physiology, Soil Ecology, and Sustainable Crop Production
-
-
Master Gardener Certification
-
Cooperative Extension Service
-
Focus: 200+ hours of hands-on practical training and community garden work
-
Continuing Education
-
Organic Pest Management
-
Native Plant Landscaping
-
Sustainable Crop Production