

Welcome to your guide on transforming fresh cow manure into a valuable resource for your garden. Many gardeners and small-scale farmers seek ways to use this natural fertilizer, but fresh manure is often too potent and wet to be used directly. Understanding how to dry cow dung fast is the key to unlocking its full potential safely and efficiently. This process reduces moisture, eliminates harmful pathogens, and concentrates the nutrients, creating a nutrient-rich soil amendment. This article will walk you through the entire process, from collection to storage, ensuring you have a steady supply of “black gold” for your plants.
Why Drying Cow Dung is Essential for Your Garden
Drying cow dung, rather than using it fresh, is a critical step for several important reasons. Fresh manure contains high levels of ammonia and other salts that can “burn” plant roots, causing significant damage or even killing them. The drying process allows these volatile compounds to dissipate, making the manure safe for your garden. Additionally, fresh dung can harbor harmful pathogens and weed seeds.
The heat and decomposition that occur during proper drying effectively sterilize the manure, eliminating these unwanted elements and protecting the health of your plants and soil. By drying it, you create a stable, nutrient-dense, and easy-to-handle fertilizer.
8 Step-by-Step Guide: How to Dry Cow Dung Fast
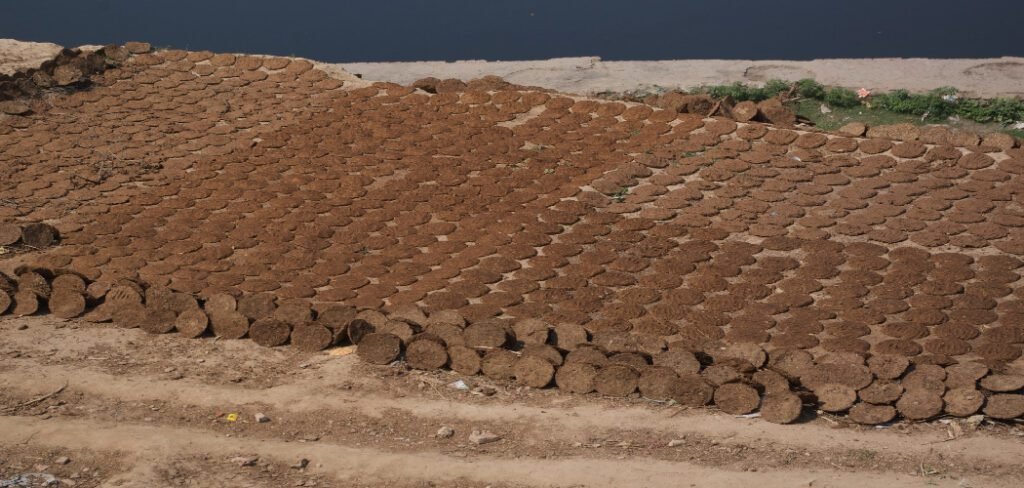
Step 1: Collect Fresh Manure
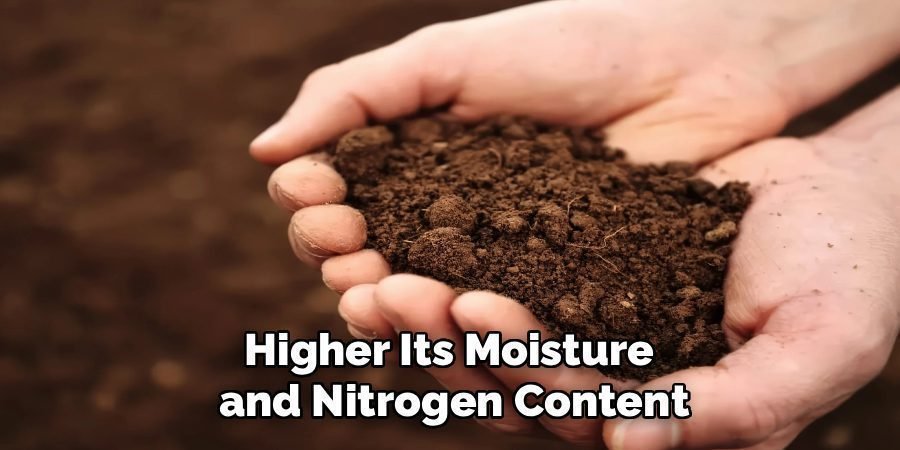
Begin by gathering fresh cow dung. The ideal material is from grass-fed cows, as their manure is rich in organic matter and balanced nutrients. When collecting, wear gloves and use a shovel or spade to scoop the manure into a sturdy wheelbarrow or large buckets. Try to collect dung that is relatively free from excessive bedding material like straw or wood chips, although a small amount is acceptable. The fresher the manure, the higher its moisture and nitrogen content, which makes the initial drying stages more active.
Step 2: Choose a Suitable Drying Location
Your drying location is crucial for success. Find a well-ventilated, sunny spot that receives at least six to eight hours of direct sunlight daily. A concrete slab, a large tarp spread on level ground, or a designated corner of your yard away from your home will work perfectly. The area should also have good drainage to prevent water from pooling underneath your pile after a rain. Ensuring good airflow around and through the manure will speed up the evaporation of moisture, which is essential for the process.
Step 3: Spread the Manure Thinly
Once you have your location, spread the collected cow dung into a thin, even layer. Aim for a thickness of no more than two to four inches. Spreading it thinly maximizes the surface area exposed to sun and air, which is the secret to rapid drying. A thicker pile will retain moisture in its center, slowing down the process and potentially leading to anaerobic decomposition, which can create unpleasant odors. Use a rake or a shovel to break up large clumps and distribute the material evenly across your chosen surface.
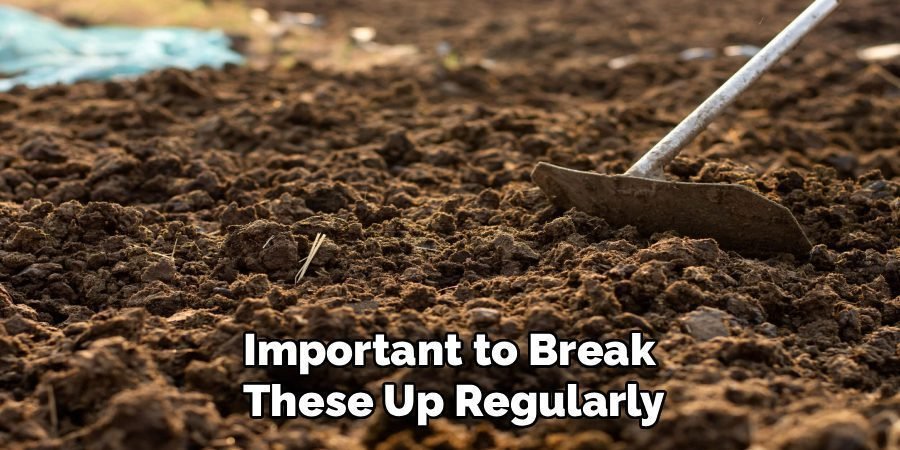
Step 4: Break Up Large Clumps
As the manure begins to dry, it will form clumps and a crust on the surface. It is important to break these up regularly. Every day or two, use a garden fork or a sturdy rake to turn and crumble the drying dung. This action exposes the wetter, inner portions to the sun and air, ensuring that all the material dries uniformly. Consistent turning prevents the formation of a dense, impenetrable layer and improves aeration, which helps in understanding how to dry cow dung fast and effectively for garden use.
Step 5: Turn the Pile Regularly
Consistent turning is one of the most important steps. Plan to turn the entire pile every two to three days. This mixes the drier outer layers with the moister inner layers, promoting even drying and preventing mold growth. Regular turning also aerates the pile, supporting the beneficial aerobic bacteria that help break down the organic matter. This aeration is vital not only for speed but also for creating a high-quality, odorless final product. A well-aerated pile will dry much faster than one that is left static.
Step 6: Protect From Rain
Moisture is the enemy of fast drying. If you live in an area with frequent or unexpected rainfall, you must have a plan to protect your drying manure. Keep a large, waterproof tarp nearby. At the first sign of rain, or if you know rain is in the forecast, cover the pile completely, securing the edges of the tarp with rocks or bricks to prevent it from blowing away. Uncover the pile as soon as the weather clears to allow the sun and wind to continue their work.
Step 7: Monitor for Dryness
You will know the cow dung is fully dry when it becomes light, crumbly, and has an earthy smell rather than a strong manure odor. To test it, pick up a handful and squeeze. It should feel dry and break apart easily, with no moisture seeping out. The color will have changed from a dark, wet green-brown to a lighter brown or almost black. The entire process can take anywhere from a few days to a couple of weeks, depending on the sun, humidity, and how thinly you spread it.
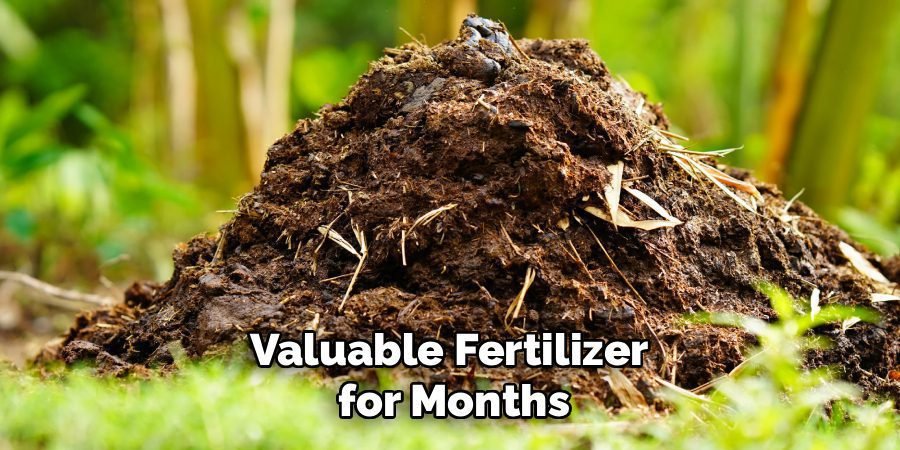
Step 8: Store the Dried Manure Properly
Once your cow dung is completely dry, proper storage is essential to keep it in prime condition. Store the finished product in a dry, sheltered location away from direct sunlight and rain. Breathable bags, such as burlap sacks, are an excellent choice as they prevent moisture buildup. You can also store it in a covered bin or a dedicated shed. Properly stored, your dried cow dung will remain a potent and valuable fertilizer for months, ready to be used whenever your garden needs a nutrient boost.
Common Mistakes to Avoid
When preparing and storing dried cow dung, there are a few common mistakes that can compromise its quality and effectiveness. Avoid storing it in plastic bags or airtight containers, as these can trap moisture and lead to mold or decomposition. Additionally, ensure the dung is thoroughly dried before storage; even slight dampness can result in a foul smell and reduced nutrient value. Another frequent mistake is leaving the storage area exposed to the elements—rain or direct sunlight can degrade the fertilizer. Finally, be cautious about contamination; always keep the dried cow dung separate from chemicals or waste to ensure its safety for agricultural use.
Frequently Asked Questions (FAQ)
How Long Does It Take for Cow Dung to Dry Completely?
The time it takes for cow dung to dry depends heavily on environmental conditions. In hot, sunny, and windy weather, a thin layer of manure can dry in as little as three to five days. In cooler, more humid, or overcast conditions, the process could take one to three weeks. Spreading the dung thinly and turning it regularly are the best ways to speed up the process regardless of the weather.
Can I Dry Cow Dung Indoors?
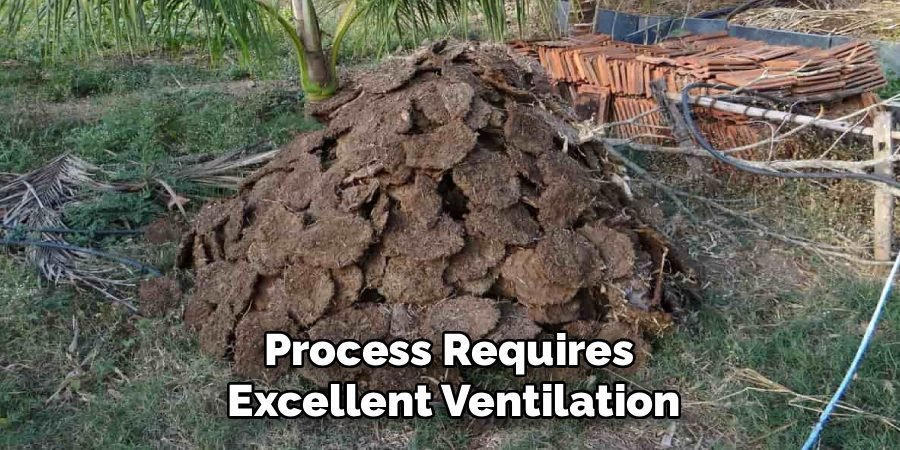
Drying cow dung indoors is generally not recommended due to the strong ammonia smell released during the initial stages and potential hygiene concerns. The process requires excellent ventilation, which is difficult to achieve inside a home or garage. If you must dry it in a sheltered space like a greenhouse or shed, ensure there is ample airflow by opening windows and using fans.
Is Dried Cow Dung a Good Fertilizer?
Yes, dried cow dung is an excellent organic fertilizer. It is rich in essential nutrients like nitrogen, phosphorus, and potassium, as well as numerous micronutrients. Unlike fresh manure, it is Cured and will not burn plant roots. It also improves soil structure, enhances water retention, and encourages beneficial microbial activity in the soil, leading to healthier and more productive plants. It’s a fantastic, slow-release nutrient source for all types of gardens.
What Is the Difference Between Dried Dung and Composted Manure?
Drying simply removes moisture, which stabilizes the manure and reduces its volume. Composting is a more involved biological process where microorganisms break down the organic matter over several months, resulting in a rich, dark, soil-like material called humus. While both are great for gardens, composted manure is more decomposed and its nutrients are more readily available to plants. Drying is a much faster method to make manure safe for garden use.
Can I Use the Dried Cow Dung Immediately in My Garden?
Absolutely. Once the cow dung is thoroughly dry, light, and crumbly, it is ready to be used. You can mix it directly into your garden soil before planting, use it as a top dressing around existing plants, or add it to your compost pile to enrich it. For top dressing, simply sprinkle a layer around the base of your plants and water it in. This will slowly release nutrients into the soil.
Conclusion
Mastering the technique of drying cow dung opens up a world of organic gardening possibilities. By following the simple steps of collecting, spreading, turning, and properly storing, you can create a powerful, natural fertilizer that will enrich your soil and nourish your plants. The effort pays off with healthier growth, more robust vegetables, and vibrant flowers. Now that you know how to dry cow dung fast, you have the power to transform a simple farm byproduct into one of the most valuable resources for your garden. Give it a try and watch your garden thrive.
About Ravuk Barg
B.Sc. Horticulture Science | Certified Master Gardener
Ravuk Barg has spent more than a decade with his hands in the soil and his head full of questions about why some gardens thrive while others struggle. What started as a single raised bed of tomatoes and basil in a modest backyard has grown into a deep, working knowledge of everything from seed germination and soil amendment to companion planting and seasonal pruning.
Over the years, Ravuk has gardened through drought summers, waterlogged springs, and pest invasions that would make most gardeners hang up their trowels for good. Those hard seasons, he’ll tell you, taught him more than any perfect growing year ever could. He writes from that earned experience—covering vegetable growing, ornamental planting, houseplant care, composting, and garden design with equal confidence and curiosity.
Philosophy & Approach
Ravuk’s approach to gardening is rooted in practicality. He favors organic methods not out of dogma, but because they work long-term—resulting in healthier soil, fewer inputs, and stronger plants. He has a particular fondness for heirloom vegetable varieties (the kind with proper flavor), unruly cottage-style flower beds, and the stubborn houseplants that everyone else gave up on.
The Mission: Give readers the honest, experience-backed advice that helps them actually succeed in their gardens—not just the ideal version, but the real one; weeds, failures, and all.
Education & Credentials
-
B.Sc. in Horticulture Science
-
Greenfield Agricultural University
-
Focus: Plant Physiology, Soil Ecology, and Sustainable Crop Production
-
-
Master Gardener Certification
-
Cooperative Extension Service
-
Focus: 200+ hours of hands-on practical training and community garden work
-
Continuing Education
-
Organic Pest Management
-
Native Plant Landscaping
-
Sustainable Crop Production