

Gravel driveways, paths, and patios add a wonderful, rustic charm to any home. They are relatively low-maintenance, but they aren’t immune to the persistent creep of unwanted weeds. Seeing green shoots poke through your carefully laid stones can be frustrating. Fortunately, learning how to deweed gravel is a straightforward task that anyone can master. This guide will walk you through the entire process, from preparing your area to choosing the right removal method and preventing future growth, ensuring your gravel spaces remain pristine and beautiful.

Why Deweeding Gravel Is Important
Maintaining a weed-free gravel area is about more than just looks. While a tidy path certainly boosts your home’s curb appeal, regular deweeding serves practical purposes too. Weeds can quickly become invasive, and their root systems can disrupt the stability of the gravel, making surfaces uneven and potentially hazardous to walk on. Over time, dense weed growth can trap organic matter, turning your clean gravel bed into a new layer of topsoil that encourages even more weeds to grow. Keeping weeds at bay protects the investment you’ve made in your landscaping and ensures the area remains functional and safe.
9 Step-by-Step Guide on How to Deweed Gravel
Step 1: Assess the Weed Situation
Before you begin, take a walk around your gravel area to evaluate the type and extent of the weed problem. Are you dealing with a few scattered dandelions, or is there a thick carpet of stubborn growth? Identify the types of weeds if you can—some, like crabgrass, have shallow roots and are easy to pull, while others, like thistle, have deep taproots that require more effort. This initial assessment will help you choose the most effective removal method and gather the right tools for the job ahead.
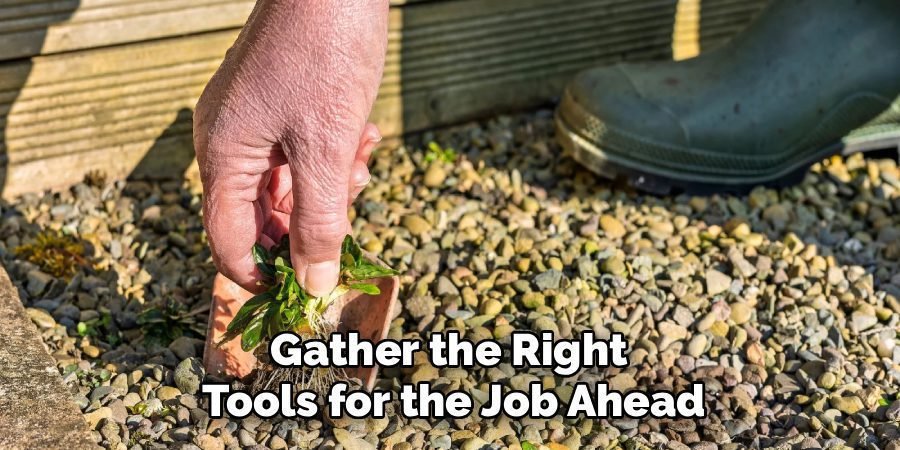
Step 2: Gather Your Tools and Safety Gear
Proper preparation makes any job easier. Based on your assessment, collect your deweeding tools. For manual removal, you’ll want a good pair of gardening gloves, a sturdy hoe or a specialized weeding tool, and a bucket or wheelbarrow for collecting the debris. If you plan to use a natural or chemical herbicide, you will need a sprayer. Regardless of the method, always prioritize safety. Wear closed-toe shoes to protect your feet and consider safety glasses, especially if you are using a string trimmer or applying any type of spray.
Step 3: Choose Your Weeding Method
You have several options for tackling weeds in gravel. Manual pulling is effective for small-scale problems and ensures you remove the entire root. For larger areas, you might use a flame weeder, which kills weeds with intense heat. Another popular approach is using herbicides. You can opt for a store-bought chemical weed killer or create a homemade solution with vinegar, salt, and dish soap. Each method has its pros and cons, so choose the one that best fits the scale of your problem and your comfort level.
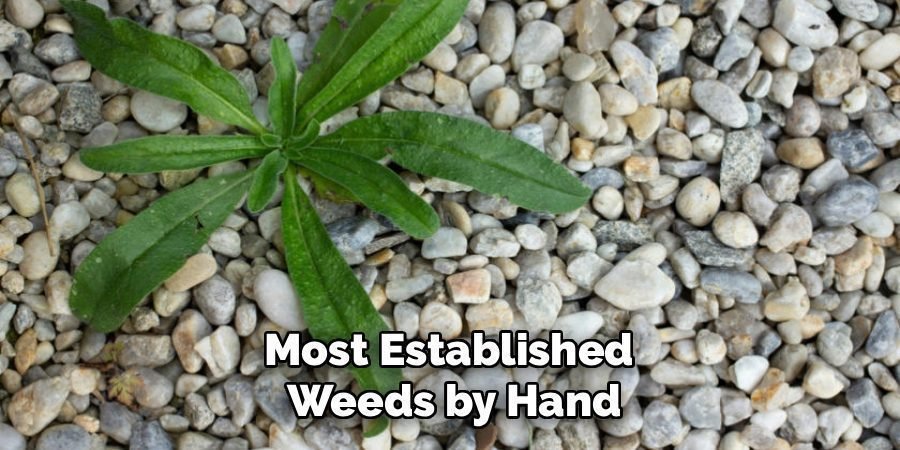
Step 4: Manually Remove Large Weeds
Start by pulling the largest and most established weeds by hand. It’s often easiest to do this after a light rain, as the damp soil makes it easier to pull the entire root system out. Grasp the weed firmly at its base and pull straight up with steady pressure. For weeds with deep taproots, you may need a dandelion weeder or a small garden fork to loosen the soil around the root first. Removing these larger offenders first clears space and makes the next steps of the process much more manageable.
Step 5: How to Deweed Gravel with a Hoe or Rake
After hand-pulling the big weeds, use a garden hoe or a sturdy rake to tackle the smaller ones. A stirrup or scuffle hoe is particularly effective, as you can slide it just below the gravel surface to slice weeds at the root. Work in small sections, raking or hoeing the gravel back and forth to dislodge young weeds and seedlings. This method not only removes weeds but also aerates the gravel, disrupting the environment for any new seeds trying to germinate.
Step 6: Apply a Weed Killer for Stubborn Areas
For persistent weeds or very large patches, a weed killer can be a powerful tool. A vinegar-based solution is a popular natural option. Mix one gallon of white vinegar with one cup of salt and a tablespoon of dish soap. The soap helps the mixture stick to the weed’s leaves. Spray this directly onto the weeds on a sunny day, being careful to avoid contact with any nearby plants you want to keep. Chemical herbicides are also effective but should be used according to the manufacturer’s instructions to ensure safety.
Step 7: Clear Away All Debris
Once you have pulled, scraped, and treated the weeds, it’s crucial to remove all the plant debris from the gravel. If left behind, dead weeds can decompose and create a new layer of organic material that will only encourage more weeds to grow. Use a rake to gather everything into a pile, then shovel it into a wheelbarrow or garden bags for proper disposal. A clean sweep ensures your hard work pays off and leaves a tidy surface.
Step 8: Rake the Gravel for a Finished Look
With all the weeds and debris gone, the final step is to restore the appearance of your gravel area. Use a landscaping rake or a stiff broom to smooth the gravel, filling in any holes or uneven spots created during the deweeding process. This not only provides a neat, professional finish but also helps redistribute the stones evenly. This final touch makes your path or driveway look brand new and ready to enjoy.
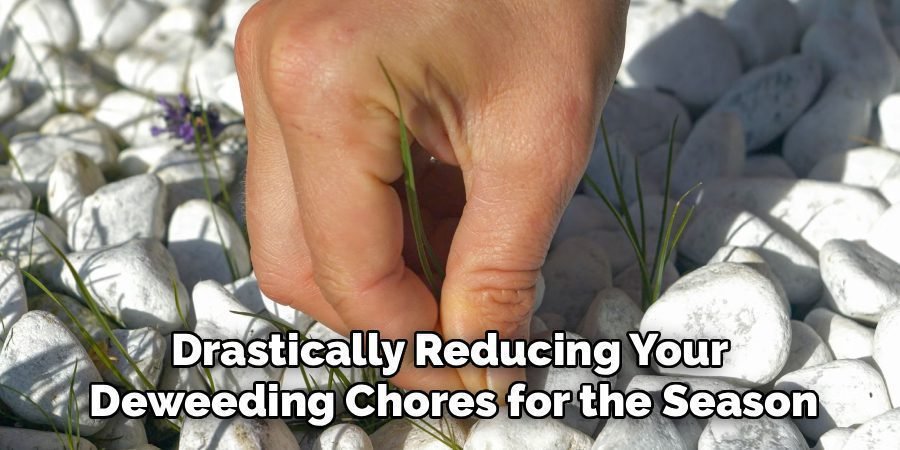
Step 9: Apply a Pre-Emergent Herbicide for Prevention
To save yourself work in the future, consider applying a pre-emergent herbicide. Unlike contact weed killers, pre-emergents work by creating a barrier in the soil that stops weed seeds from germinating in the first place. These are most effective when applied in early spring and again in the fall. Following the product directions carefully will help you prevent a new crop of weeds from ever appearing, drastically reducing your deweeding chores for the season.
When using pre-emergent herbicides, timing is crucial to achieving the best results. Applying the product too late, after weeds have already sprouted, will significantly lessen its effectiveness. Additionally, it’s essential to water your lawn or garden after application, as most pre-emergent herbicides require moisture to activate and create the protective barrier in the soil.
Keep in mind that these products are generally not selective, which means they can impact all seeds, including those of desirable plants. Be sure to avoid applying them to areas where you plan to sow vegetables, flowers, or grass seeds in the near future. With proper application and care, pre-emergent herbicides can be a valuable tool for maintaining a pristine, weed-free yard.
Monitor and Maintain Your Lawn
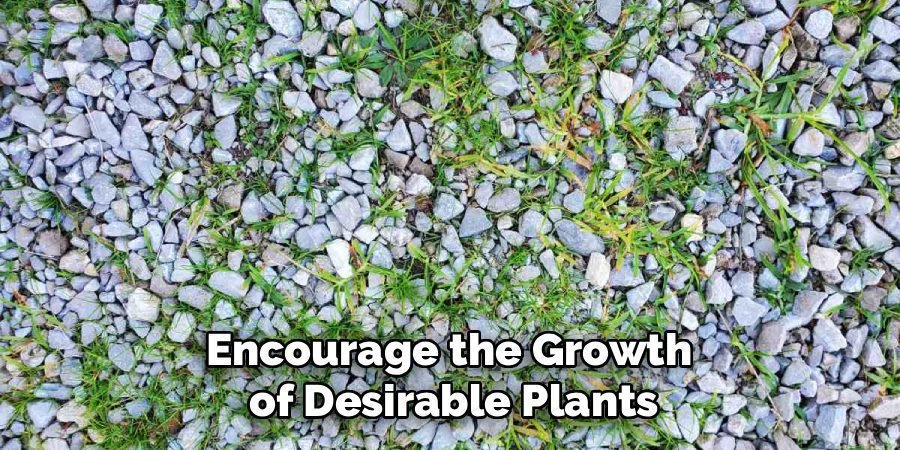
After applying pre-emergent herbicides, it’s essential to regularly monitor your lawn for any signs of weed breakthrough. While these products are highly effective, occasional weeds may still appear due to uneven application or environmental factors. If this happens, promptly remove any visible weeds manually or use a post-emergent herbicide where appropriate. Additionally, maintain a consistent watering schedule to keep your lawn healthy and encourage the growth of desirable plants, as a robust lawn can naturally suppress weeds. With regular attention and care, you’ll enjoy a lush, weed-free landscape throughout the growing season.
Frequently Asked Questions
What Is the Easiest Way to Get Weeds Out of Gravel?
The easiest method depends on the size of the area. For small patches, manually pulling weeds after a rain is simple and effective. For larger driveways or paths, using a non-selective herbicide spray, such as a commercial product or a homemade vinegar solution, can quickly kill weeds with minimal physical effort. Applying the spray on a hot, sunny day will yield the fastest results.
How Do You Permanently Stop Weeds from Growing in Gravel?
Permanent removal is challenging, but you can get close with a multi-step approach. The most effective long-term solution is to install a high-quality landscape fabric underneath the gravel. This physical barrier blocks sunlight and prevents weeds from growing up from the soil below. Combining this with a deep layer of gravel (3-4 inches) and regular application of a pre-emergent herbicide will create an environment where weeds struggle to survive.
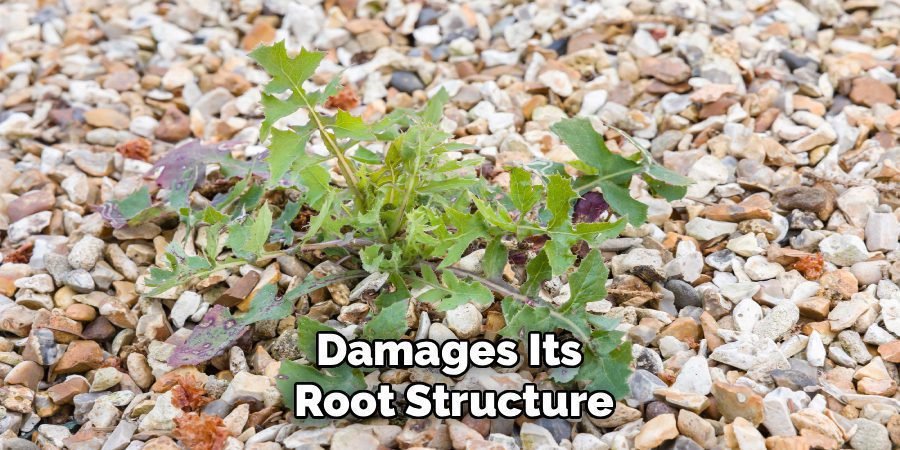
Will Boiling Water Kill Weeds in Gravel?
Yes, boiling water is a simple, natural, and effective way to kill weeds. The extreme heat instantly wilts the plant and damages its root structure, causing it to die. This method is best for spot-treating weeds on paths and driveways, as it is non-toxic and safe for pets and children once it cools. Simply boil water in a kettle and carefully pour it directly onto the weeds you want to eliminate.
How Often Should I Weed My Gravel Driveway?
The frequency depends on your climate and how quickly weeds grow in your area. Generally, it’s a good practice to do a quick inspection once every two to three weeks during the growing season (spring and summer). Addressing small weeds before they establish deep roots is much easier than tackling a major infestation. A preventative approach, including applying pre-emergents, can significantly reduce how often you need to perform intensive deweeding.
Can I Use Salt to Kill Weeds in My Gravel?
Salt is an effective weed killer, but it should be used with extreme caution. When dissolved in water and applied to weeds, it dehydrates them. However, salt will also sterilize the soil, preventing anything from growing there for a long time. It can also leach into surrounding garden beds and harm your other plants. Because of its long-lasting and indiscriminate effects, salt is best reserved for areas far from lawns or flowerbeds.
Conclusion
A weed-free gravel area looks clean, professional, and inviting. By following a consistent routine, you can easily keep unwanted growth under control. The process involves assessing the problem, using the right tools, removing existing weeds, and taking preventative measures to stop new ones from sprouting. Now that you have a clear plan on how to deweed gravel, you can confidently reclaim your paths and patios. A little bit of effort on a regular basis is all it takes to maintain beautiful and functional gravel surfaces year-round.
About Ravuk Barg
B.Sc. Horticulture Science | Certified Master Gardener
Ravuk Barg has spent more than a decade with his hands in the soil and his head full of questions about why some gardens thrive while others struggle. What started as a single raised bed of tomatoes and basil in a modest backyard has grown into a deep, working knowledge of everything from seed germination and soil amendment to companion planting and seasonal pruning.
Over the years, Ravuk has gardened through drought summers, waterlogged springs, and pest invasions that would make most gardeners hang up their trowels for good. Those hard seasons, he’ll tell you, taught him more than any perfect growing year ever could. He writes from that earned experience—covering vegetable growing, ornamental planting, houseplant care, composting, and garden design with equal confidence and curiosity.
Philosophy & Approach
Ravuk’s approach to gardening is rooted in practicality. He favors organic methods not out of dogma, but because they work long-term—resulting in healthier soil, fewer inputs, and stronger plants. He has a particular fondness for heirloom vegetable varieties (the kind with proper flavor), unruly cottage-style flower beds, and the stubborn houseplants that everyone else gave up on.
The Mission: Give readers the honest, experience-backed advice that helps them actually succeed in their gardens—not just the ideal version, but the real one; weeds, failures, and all.
Education & Credentials
-
B.Sc. in Horticulture Science
-
Greenfield Agricultural University
-
Focus: Plant Physiology, Soil Ecology, and Sustainable Crop Production
-
-
Master Gardener Certification
-
Cooperative Extension Service
-
Focus: 200+ hours of hands-on practical training and community garden work
-
Continuing Education
-
Organic Pest Management
-
Native Plant Landscaping
-
Sustainable Crop Production