

Sharp, clean lawn mower blades are the secret to achieving that pristine, professional-looking lawn you’ve always wanted. When you understand how to clean lawn mower blades properly, you’re taking the first crucial step toward healthier grass and more efficient mowing.
Dirty, dull blades don’t just make your mower work harder—they actually damage your grass by tearing instead of cleanly cutting each blade. This rough treatment leaves your lawn vulnerable to disease, creates an uneven appearance, and can even lead to brown, withered grass tips that make your entire yard look unhealthy.
Regular blade maintenance isn’t just about aesthetics either. Clean blades reduce strain on your mower’s engine, improve fuel efficiency, and extend the life of your equipment. The process might seem intimidating at first, but with the right approach and safety precautions, it becomes a straightforward part of seasonal lawn care.
Whether you’re dealing with stubborn grass buildup, rust, or simply want to establish a proper maintenance routine, this comprehensive guide will walk you through everything you need to know about keeping your mower blades in peak condition.
Why You Need to Keep Your Blades Clean
Clean mower blades deliver significantly better cutting performance than their dirty counterparts. When grass clippings, sap, and debris accumulate on the blade surface, they create an uneven cutting edge that tears rather than slices through grass stems.
This tearing action stresses your lawn, making it more susceptible to fungal infections and pest damage. Clean blades create precise cuts that heal quickly, promoting healthier growth patterns and stronger root systems.
Beyond lawn health, blade cleanliness directly impacts your mower’s efficiency. Debris adds unnecessary weight and creates drag, forcing your engine to work harder and consume more fuel. Clean blades also prevent corrosive buildup that can lead to premature blade replacement.
Regular cleaning extends equipment lifespan while ensuring consistent results. You’ll notice improved discharge patterns, reduced clogging, and smoother operation when your blades are properly maintained.
7 Step-by-Step Guide on How to Clean Lawn Mower Blades
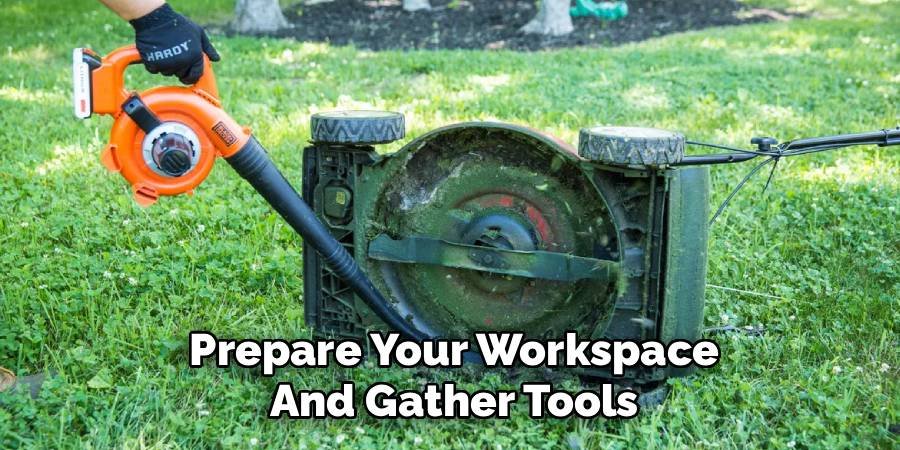
Step 1: Prepare Your Workspace and Gather Tools
Start by selecting a well-ventilated area with adequate lighting and level ground for your cleaning project. You’ll need basic hand tools including wrenches that fit your blade bolts, a wire brush or steel wool, cleaning solvent or degreaser, and safety equipment like gloves and eye protection.
Ensure your mower has been turned off for at least 30 minutes to allow the engine to cool completely. Remove the spark plug wire to prevent accidental starting during maintenance. Lay out old newspapers or a tarp to protect your work surface from debris and cleaning solutions. Having everything organized beforehand makes the entire process smoother and safer.
Check your owner’s manual for specific blade removal instructions, as different mower models may have unique requirements or torque specifications that you’ll need to follow during reassembly.
Step 2: Safely Remove the Mower Blades
Position your mower on level ground and engage the parking brake if equipped. For walk-behind mowers, tilt the machine so the air filter and carburetor face upward to prevent oil leakage. Never tip the mower with the carburetor facing downward.
Locate the blade bolt at the center of each cutting blade. Use a block of wood to prevent the blade from rotating while you loosen the bolt with your wrench. Turn counterclockwise to remove, keeping track of any washers or spacers that may fall off during removal.
Some mower decks have multiple blades that require simultaneous removal. Take photos before disassembly to ensure proper reassembly later. Mark each blade’s position if your mower has different blade types or specific orientation requirements. Handle blades carefully, as even dull edges can cause cuts.
Step 3: Inspect Blades for Damage and Wear
Examine each blade thoroughly for chips, cracks, excessive wear, or bent edges that might require professional sharpening or replacement. Look for deep nicks that could affect cutting performance or create dangerous weak points during operation.
Check the blade’s balance by hanging it on a nail through the center mounting hole. A properly balanced blade will hang level, while an unbalanced one will tip toward the heavier side. Note any significant imbalances that need correction during sharpening.
Measure blade thickness if you suspect excessive wear. Most manufacturers provide minimum thickness specifications in the owner’s manual. Blades worn beyond these limits should be replaced rather than simply cleaned and sharpened. Document any issues you find to address them properly during the maintenance process.
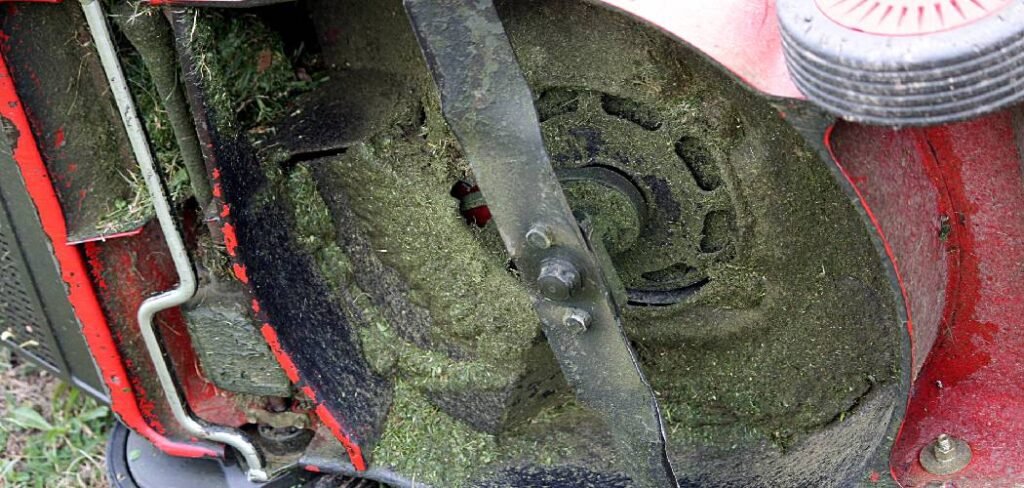
Step 4: Remove Grass Buildup and Debris
Begin by scraping away thick grass clippings and caked-on debris using a putty knife or plastic scraper. Work carefully to avoid damaging the blade’s cutting edge or mounting surfaces. Focus on areas where buildup typically accumulates, such as the blade’s underside and around the center mounting hole.

Use a wire brush or coarse steel wool to remove stubborn organic matter that won’t scrape away easily. Work in the direction of the blade’s cutting edge to avoid creating scratches that could affect performance. Pay special attention to the blade’s trailing edge, where grass clippings often compress into hard deposits.
For extremely stubborn buildup, allow the blade to soak in warm, soapy water for 15-20 minutes before scraping. This softens dried grass and makes removal much easier without requiring excessive force that might damage the blade.
Step 5: Clean and Degrease the Blade Surface
Apply a commercial degreaser or create your own cleaning solution using dish soap and warm water. Spray or brush the solution onto all blade surfaces, allowing it to penetrate for several minutes before scrubbing.
Use a stiff-bristled brush to work the cleaning solution into all crevices and surface irregularities. This removes oils, grass stains, and other residues that simple scraping cannot eliminate. Pay particular attention to the area around the center hole, where grease and debris often accumulate.
Rinse thoroughly with clean water to remove all cleaning solution residue. Any remaining soap or degreaser can attract dirt and grass clippings when you return the blade to service. Dry completely with clean rags or allow air drying in a well-ventilated area before proceeding to the next step.
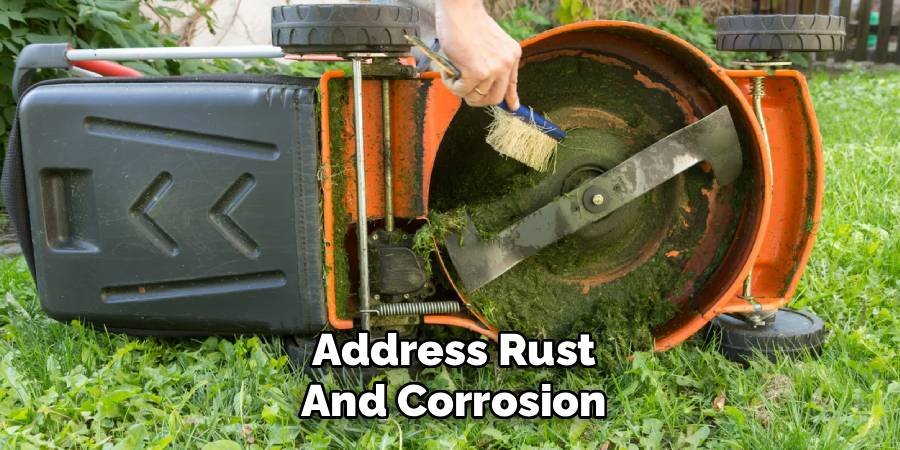
Step 6: Address Rust and Corrosion
Examine the blade surface for any signs of rust or corrosion, which commonly develop in areas where paint has worn away or where moisture regularly accumulates. Light surface rust can be removed using fine steel wool or sandpaper, working in circular motions.
For heavier rust deposits, apply a rust removal product according to manufacturer instructions. Allow adequate dwell time for the chemical to work, then scrub with steel wool or a wire brush. Some products require neutralization with water after use, so follow all label directions carefully.
After rust removal, consider applying a light coat of rust-preventive primer or paint to exposed metal surfaces. This helps prevent future corrosion and extends blade life. Allow any coatings to cure completely before reassembling your mower to ensure proper adhesion and durability.
Step 7: Sharpen and Reinstall the Blades
File or grind the cutting edge to restore sharpness, maintaining the original bevel angle typically found on new blades. Work evenly across the entire cutting surface to prevent creating an unbalanced condition. Most mower blades have a 45-degree cutting angle that should be preserved.
Test blade balance again after sharpening by hanging on a nail. Remove small amounts of material from the heavy side if necessary until the blade hangs level. An unbalanced blade creates dangerous vibration and can damage your mower’s engine and deck components.

Reinstall blades in their original positions, ensuring all washers and spacers are properly placed. Tighten mounting bolts to manufacturer specifications using a torque wrench if available. Most blade bolts require 30-50 foot-pounds of torque, but consult your owner’s manual for exact specifications. Reconnect the spark plug wire and test the mower briefly to ensure smooth operation.
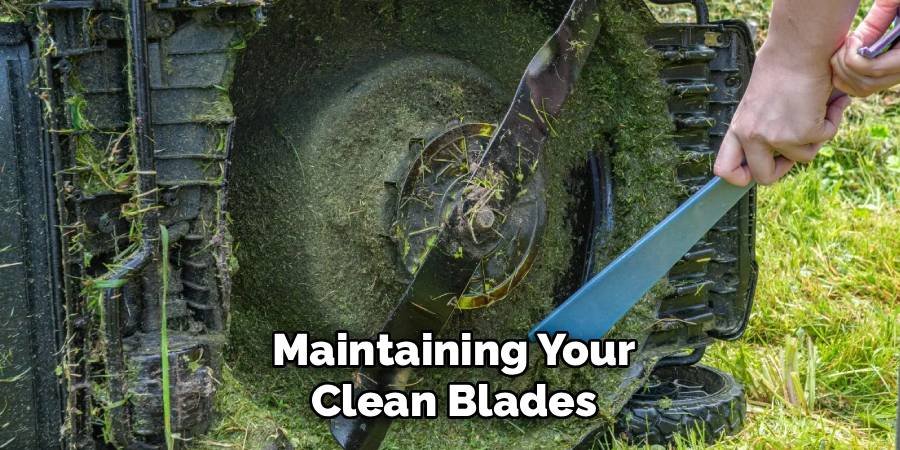
Maintaining Your Clean Blades
Establish a regular cleaning schedule based on your mowing frequency and grass conditions. Weekly cleaning during peak growing season prevents heavy buildup that becomes difficult to remove later. A quick spray with the garden hose after each use removes fresh clippings before they harden.
Store your mower in a dry location to prevent rust formation on clean blade surfaces. Apply a thin coat of oil to exposed metal areas before long-term storage. This creates a protective barrier against moisture and corrosion.
Monitor blade condition throughout the mowing season. Sharp, clean blades should cut grass cleanly without leaving ragged edges or requiring multiple passes over the same area. Decreased cutting performance often indicates the need for another cleaning and sharpening session.
Keep spare blades on hand for quick replacement during busy periods. This allows you to maintain continuous mowing capability while taking time to properly clean and sharpen your primary set.
FAQ
How often should I clean my lawn mower blades?
Clean your blades after every 10-15 hours of operation or whenever you notice grass buildup affecting cutting performance and discharge patterns.
Can I clean mower blades without removing them?
While possible, removing blades allows thorough cleaning of all surfaces and proper inspection for damage that might require professional attention or replacement.
What’s the best cleaning solution for mower blades?
A mixture of warm water and dish soap works well for most cleaning tasks, while commercial degreasers handle heavy buildup more effectively.
Should I sharpen blades every time I clean them?
Sharpen only when the cutting edge becomes dull or damaged. Over-sharpening reduces blade life and can create balance problems affecting mower performance.
Is it safe to use a pressure washer on mower blades?
Yes, but use caution around bearings and seals. Remove blades first and avoid directing high-pressure water into the blade mounting area.
Conclusion
Learning how to clean lawn mower blades properly transforms both your mowing experience and your lawn’s health in remarkable ways. This straightforward maintenance task prevents costly repairs, improves cutting performance, and ensures your grass receives the clean cuts it needs to thrive.
The seven-step process outlined above becomes second nature with practice. You’ll find that regular blade maintenance actually saves time in the long run by preventing major buildup and extending the intervals between professional sharpening services.
Remember that clean, sharp blades are just one component of comprehensive mower maintenance. Regular air filter changes, oil maintenance, and spark plug replacement work together with blade care to keep your equipment running smoothly for years to come.
Your lawn will show immediate improvement once you implement a regular blade cleaning routine. Cleaner cuts mean healthier grass, reduced disease susceptibility, and that professional appearance you’ve been working to achieve. The time invested in proper blade maintenance pays dividends in equipment longevity and lawn quality that your neighbors will definitely notice.
About Ravuk Barg
B.Sc. Horticulture Science | Certified Master Gardener
Ravuk Barg has spent more than a decade with his hands in the soil and his head full of questions about why some gardens thrive while others struggle. What started as a single raised bed of tomatoes and basil in a modest backyard has grown into a deep, working knowledge of everything from seed germination and soil amendment to companion planting and seasonal pruning.
Over the years, Ravuk has gardened through drought summers, waterlogged springs, and pest invasions that would make most gardeners hang up their trowels for good. Those hard seasons, he’ll tell you, taught him more than any perfect growing year ever could. He writes from that earned experience—covering vegetable growing, ornamental planting, houseplant care, composting, and garden design with equal confidence and curiosity.
Philosophy & Approach
Ravuk’s approach to gardening is rooted in practicality. He favors organic methods not out of dogma, but because they work long-term—resulting in healthier soil, fewer inputs, and stronger plants. He has a particular fondness for heirloom vegetable varieties (the kind with proper flavor), unruly cottage-style flower beds, and the stubborn houseplants that everyone else gave up on.
The Mission: Give readers the honest, experience-backed advice that helps them actually succeed in their gardens—not just the ideal version, but the real one; weeds, failures, and all.
Education & Credentials
-
B.Sc. in Horticulture Science
-
Greenfield Agricultural University
-
Focus: Plant Physiology, Soil Ecology, and Sustainable Crop Production
-
-
Master Gardener Certification
-
Cooperative Extension Service
-
Focus: 200+ hours of hands-on practical training and community garden work
-
Continuing Education
-
Organic Pest Management
-
Native Plant Landscaping
-
Sustainable Crop Production