

A sputtering lawn mower can turn a simple yard task into a major frustration. Often, the culprit is a small but vital component: the fuel filter. This piece works to keep debris and contaminants out of your engine, ensuring a smooth and efficient operation.
Over time, it can become clogged, leading to poor performance or preventing your mower from starting at all. Learning how to clean a lawn mower fuel filter is a straightforward skill that can save you time, money, and headaches. This guide will walk you through the process, helping you keep your mower in top condition for a perfectly manicured lawn. With just a few tools and a little bit of time, you can tackle this essential maintenance task yourself.
Why Cleaning a Lawn Mower Fuel Filter is Important
The fuel filter is your engine’s first line of defense against impurities. Gasoline, especially if it has been sitting for a while, can contain tiny particles of rust, dirt, and other debris from the storage can or the mower’s own fuel tank. The fuel filter’s job is to catch these contaminants before they can travel through the fuel lines and into the carburetor.
When the filter becomes clogged, it restricts the flow of gasoline to the engine. This fuel starvation can cause a variety of problems. You might notice your mower running rough, losing power under load, or stalling unexpectedly. In more severe cases, a completely blocked filter will prevent the engine from starting altogether. Regular cleaning ensures a consistent and clean fuel supply, which not only improves performance but also protects the sensitive internal components of the carburetor and engine from damage, extending the life of your lawn mower.
7 Methods How to Clean a Lawn Mower Fuel Filter
Step 1: Gather Your Tools and Ensure Safety
Before you begin, safety is your top priority. Make sure your lawn mower is turned off and the engine is completely cool to prevent any risk of burns. It is best to work in a well-ventilated area, like an open garage or driveway, to avoid inhaling gasoline fumes.
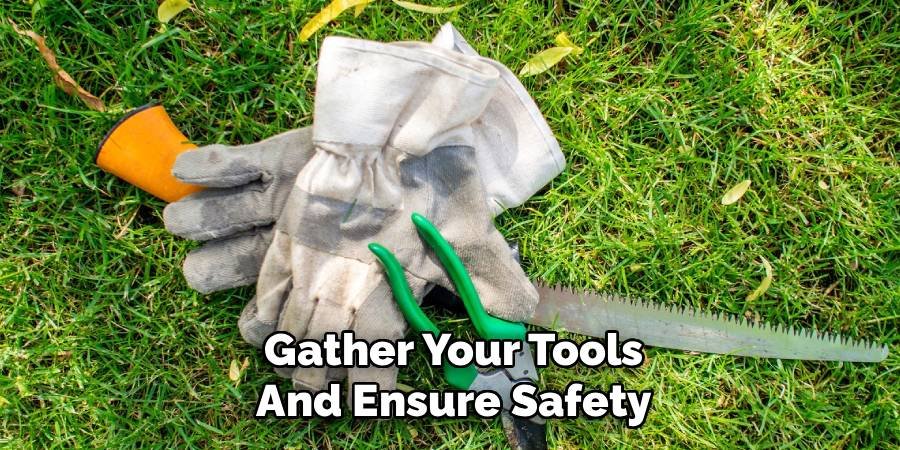
You will need a few basic tools: a pair of pliers (needle-nose pliers work well), a clamp for the fuel line, a clean container to catch any spilled gasoline, a small brush, and a can of carburetor cleaner or fresh gasoline for cleaning. Also, have some rags or paper towels ready for spills. Disconnecting the spark plug wire is a critical safety step that prevents the engine from accidentally starting while you work.
Step 2: Locate the Fuel Filter
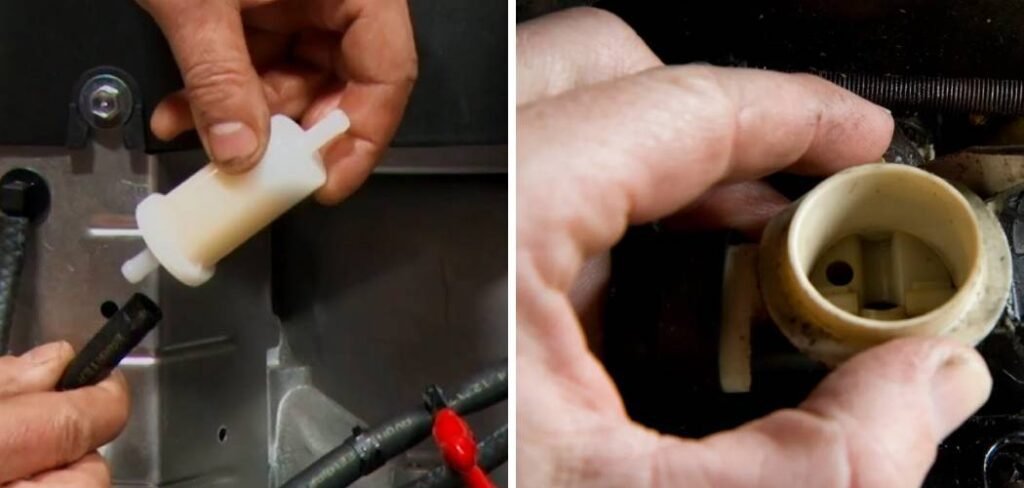
The fuel filter is typically a small, translucent plastic or metal canister located in the fuel line between the gas tank and the carburetor. To find it, first identify your fuel tank. From there, trace the black rubber fuel line as it runs toward the engine. The filter is usually an inline component, meaning you will see it situated directly within this line. Its appearance can vary; some are small, clear plastic capsules where you can see the filter element inside, while others are opaque metal or plastic cylinders. If you have trouble locating it, consulting your lawn mower’s owner’s manual will provide a diagram showing its exact position.
Step 3: Clamp the Fuel Line
Once you have found the fuel filter, you need to stop the flow of gasoline from the tank before you remove it. If you skip this step, fuel will spill out from the tank side of the line, creating a mess and a safety hazard. Use a fuel line clamp or a pair of locking pliers to gently squeeze the rubber fuel line shut. Position the clamp on the section of the line that runs between the fuel tank and the filter. Do not apply excessive pressure, as you could damage the line. The goal is simply to pinch it enough to temporarily stop the flow of gasoline while you work on the filter.
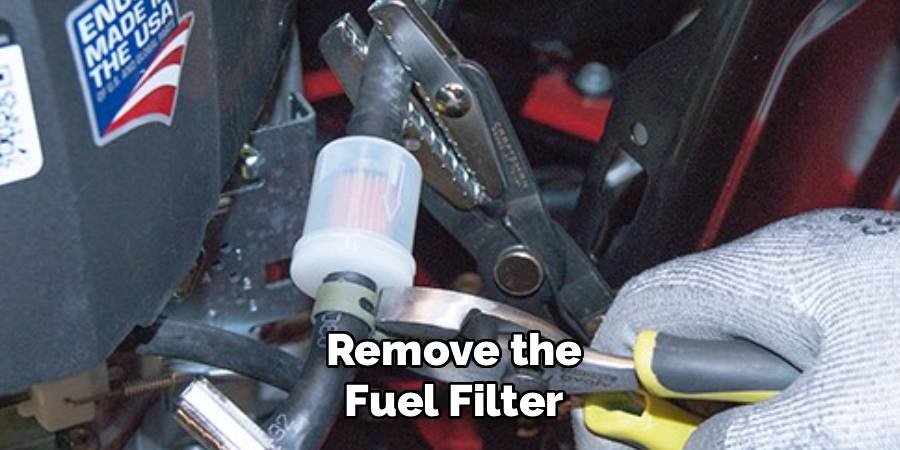
Step 4: Remove the Fuel Filter
With the fuel line securely clamped, you can now remove the filter. The filter is held in place on both ends by small metal clips or clamps that secure it to the rubber fuel line. Using your pliers, carefully squeeze the tabs on these clips to loosen them. Once they are loose, you can slide them down the fuel line, away from the filter connections. Place your clean container underneath the filter to catch any gasoline that will spill from the filter itself and the carburetor side of the fuel line. Gently twist and pull the fuel lines off both ends of the filter. Be firm but careful not to tear the rubber hoses.
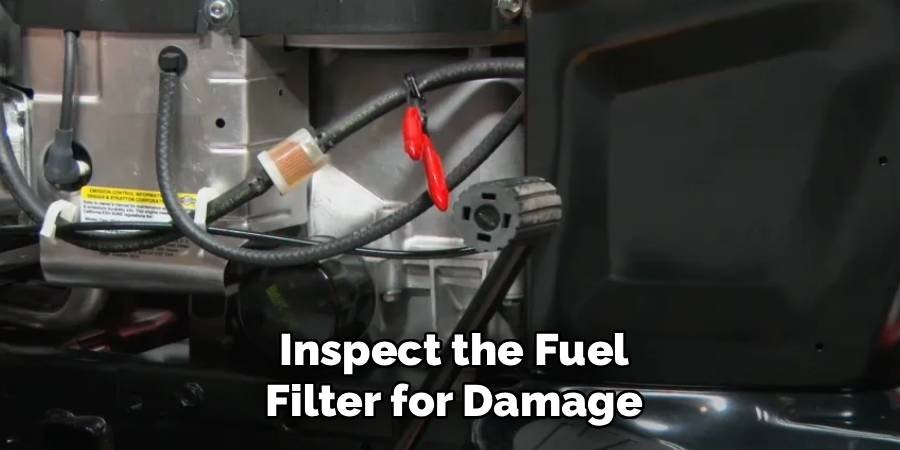
Step 5: Inspect the Fuel Filter for Damage
Now that the filter is removed, it is time for a close inspection. Hold the filter up to a light source. If you have a clear plastic filter, look for significant amounts of dirt, sediment, or discoloration inside. For metal or opaque filters, you will need to test the flow. Try to gently blow through the filter from the carburetor side (the outlet). If you meet a lot of resistance, it is clogged. Also, check the filter’s casing for any cracks, brittleness, or signs of wear. If the filter element appears torn or the housing is damaged, cleaning will not be sufficient, and the filter should be replaced.
Step 6: How to Clean a Lawn Mower Fuel Filter Thoroughly
If the filter is just dirty and not damaged, you can proceed with cleaning it. Hold the filter over your container and tap it gently against the side to dislodge any loose debris. Next, use a can of carburetor cleaner. Spray the cleaner into the filter’s inlet (the side that was connected to the fuel tank). The force of the spray should push the trapped dirt and grime out through the outlet. If you do not have carburetor cleaner, you can submerge the filter in a small amount of fresh gasoline and use a soft brush to gently clean the exterior and as much of the interior as you can reach.
Step 7: Final Checks and Test Run

Slide the metal clips back into place over the hose connections and use your pliers to ensure they are tight and secure. Once the filter is firmly reinstalled, you can remove the clamp from the fuel line. Give the system a minute for gasoline to flow back into the filter and fill the line. Before starting the engine, reconnect the spark plug wire. Check the filter and fuel lines for any signs of leaks. If everything looks secure, start your lawn mower. It should now run more smoothly and consistently. Let it run for a few minutes to confirm that the problem is solved.
Frequently Asked Questions (FAQ)
How Often Should I Clean My Lawn Mower’s Fuel Filter?
For most homeowners, cleaning or inspecting the fuel filter once per mowing season is a good rule of thumb. This is often done at the beginning of spring as part of your mower’s annual tune-up. However, if you notice symptoms of a clogged filter, such as the engine sputtering or losing power, you should check it immediately, regardless of when it was last cleaned. If you use your mower commercially or for very large properties, you may need to check it more frequently.
Is It Better to Clean or Replace a Lawn Mower Fuel Filter?
While cleaning is a viable option for a lightly clogged filter, replacement is often the better and more reliable choice. Fuel filters are inexpensive and readily available. A brand-new filter guarantees that there is no hidden debris or internal damage that cleaning might miss. If your filter is made of paper or is heavily contaminated, cleaning will not be effective. For the low cost, replacing the filter provides peace of mind and ensures optimal engine protection.
What Are the Signs of a Clogged Fuel Filter?
A clogged fuel filter restricts gasoline flow to the engine, leading to several noticeable symptoms. You might experience:
- The engine struggling to start or not starting at all.
- The engine sputtering, stalling, or running rough, especially under load.
- A noticeable loss of power while mowing.
- The engine surging, where it revs up and down on its own.
If you observe any of these issues, a dirty fuel filter is a likely cause and should be one of the first things you inspect.
Can I Use Any Type of Fuel Filter for My Lawn Mower?
No, it is important to use a fuel filter that is specifically designed for your lawn mower’s make and model. Filters come in various sizes, shapes, and filtration levels (measured in microns). Using the wrong type can lead to improper fitting, fuel leaks, or inadequate filtration that could damage your engine. Always consult your owner’s manual or take your old filter to a hardware or small engine repair shop to find an exact match.
What Happens If I Install the Fuel Filter Backwards?
Most lawn mower fuel filters have a small arrow printed on the casing that indicates the correct direction of fuel flow. This arrow should always point away from the fuel tank and toward the carburetor. If you install the filter backward, it will severely restrict or completely block the flow of gasoline to the engine. As a result, your lawn mower will likely fail to start or will stall shortly after starting. Always double-check the orientation before securing the clamps.
Conclusion
Maintaining your lawn mower doesn’t have to be complicated. By following these steps, you can confidently service a key component of your machine’s fuel system. This simple task ensures your engine gets a clean, steady supply of gasoline, leading to better performance, greater reliability, and a longer lifespan for your mower. Taking an hour to perform this maintenance can prevent a weekend of frustration. Now that you know how to clean a lawn mower fuel filter, you are better equipped to keep your equipment in prime condition and your lawn looking its best all season long.
About Ravuk Barg
B.Sc. Horticulture Science | Certified Master Gardener
Ravuk Barg has spent more than a decade with his hands in the soil and his head full of questions about why some gardens thrive while others struggle. What started as a single raised bed of tomatoes and basil in a modest backyard has grown into a deep, working knowledge of everything from seed germination and soil amendment to companion planting and seasonal pruning.
Over the years, Ravuk has gardened through drought summers, waterlogged springs, and pest invasions that would make most gardeners hang up their trowels for good. Those hard seasons, he’ll tell you, taught him more than any perfect growing year ever could. He writes from that earned experience—covering vegetable growing, ornamental planting, houseplant care, composting, and garden design with equal confidence and curiosity.
Philosophy & Approach
Ravuk’s approach to gardening is rooted in practicality. He favors organic methods not out of dogma, but because they work long-term—resulting in healthier soil, fewer inputs, and stronger plants. He has a particular fondness for heirloom vegetable varieties (the kind with proper flavor), unruly cottage-style flower beds, and the stubborn houseplants that everyone else gave up on.
The Mission: Give readers the honest, experience-backed advice that helps them actually succeed in their gardens—not just the ideal version, but the real one; weeds, failures, and all.
Education & Credentials
-
B.Sc. in Horticulture Science
-
Greenfield Agricultural University
-
Focus: Plant Physiology, Soil Ecology, and Sustainable Crop Production
-
-
Master Gardener Certification
-
Cooperative Extension Service
-
Focus: 200+ hours of hands-on practical training and community garden work
-
Continuing Education
-
Organic Pest Management
-
Native Plant Landscaping
-
Sustainable Crop Production