

How to build an underground greenhouse is one of the best ways to grow plants all year long. These special garden structures use the earth’s natural heat to keep plants warm in the winter and cool in the summer. Many gardeners are choosing underground greenhouses because they are energy-efficient and perform better than regular greenhouses.
An underground greenhouse, also called a wallopini or earth-sheltered greenhouse, is located partially or completely below ground level. This design uses the stable temperature of the earth to create the perfect growing environment. The soil around the greenhouse acts like a natural blanket that keeps the temperature inside stable.
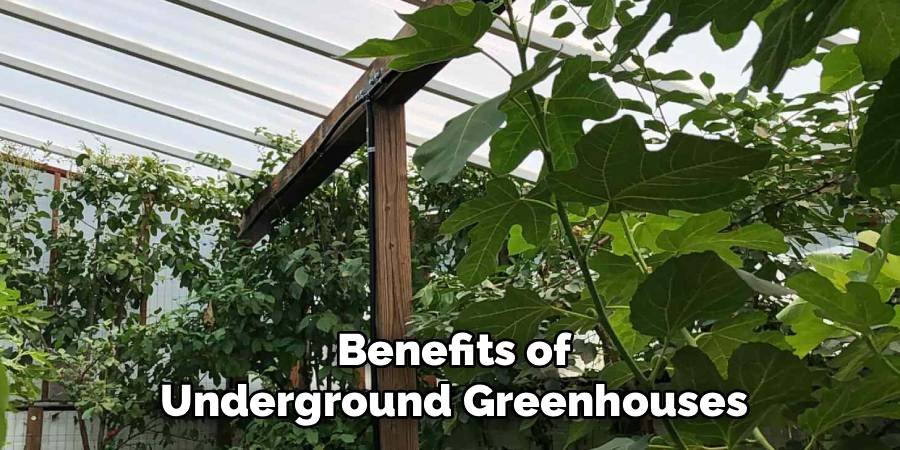
Benefits of Underground Greenhouses
Underground greenhouses offer many advantages over traditional above-ground structures. The most important advantage is energy savings. Since the earth maintains a stable temperature, you need less heating in the winter and less cooling in the summer. This can reduce your energy costs by up to 80%. These greenhouses also protect plants from strong winds and adverse weather conditions. The earth walls block cold winter winds and provide shelter during storms. Plants grow better in this protected environment.
Water use is another big advantage. Underground greenhouses retain moisture better than regular greenhouses. This means you water your plants less. The humid environment helps plants grow faster and healthier. Underground greenhouses also last longer. The earth protects the structure from weather damage. With proper care, these greenhouses can function well for 20 years or more.
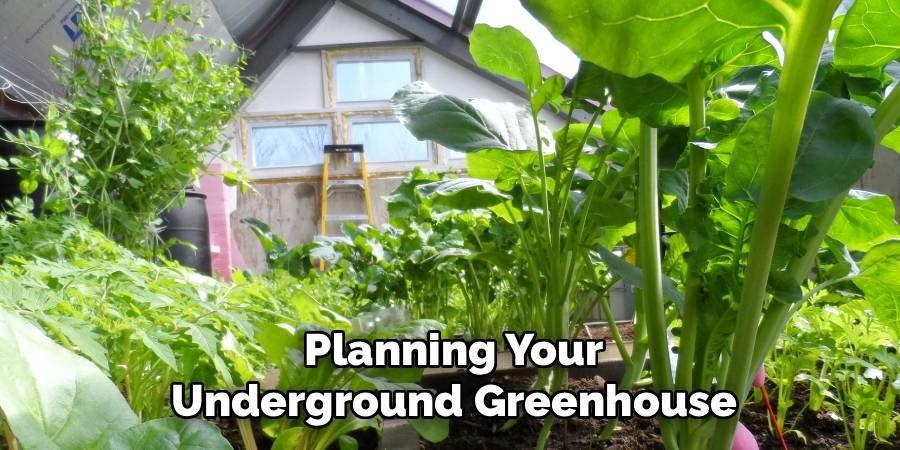
Planning Your Underground Greenhouse
Before you start digging, you should carefully plan your underground greenhouse. First, choose the right location. Find a spot that gets plenty of sunlight, especially from the south. Avoid areas with poor drainage or where water collects after rain. Check your local building codes and get the necessary permits. Some areas have rules about digging deep holes or building underground structures. It’s a good idea to check these rules before you start building.
Determine the size of your greenhouse. A good starter size is 8 feet wide and 12 feet tall. This gives you enough room to grow many plants without making the project too large. Keep in mind that larger greenhouses cost more to build and take longer to build. Think about what you want to grow. Different plants require different amounts of space and care. Vegetables like tomatoes and peppers require more space than herbs or lettuce. Plan the size of your greenhouse based on your growing goals.
Materials and Tools Needed
To build an underground greenhouse, you’ll need several materials and tools. Here’s what you should gather before starting:
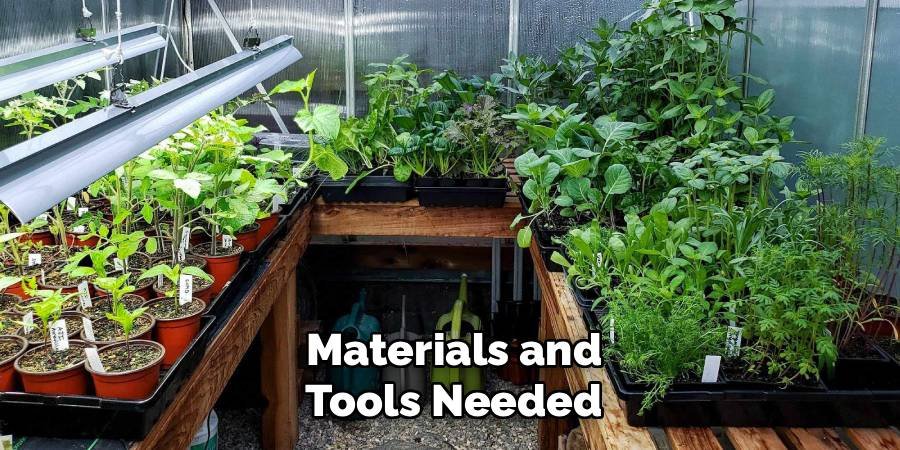
Materials:
- Concrete blocks or treated lumber for walls
- Plastic sheeting or greenhouse covering
- Gravel for drainage
- Sand for leveling
- Rebar for reinforcement
- Concrete for footings
- Insulation material
- Ventilation fans
- Thermometer
Tools:
- Shovel and spade
- Level
- Measuring tape
- Wheelbarrow
- Trowel
- Drill
- Saw
- Safety equipment
Buy high-quality materials that will last a long time. Cheap materials may save money now but will cost more later when replacement is needed. Look for sales at building supply stores to save money on materials.
7 Step-by-Step Guide on How to Build an Underground Greenhouse
Step 1: Site Preparation and Excavation
Start by marking the area where you will build your underground greenhouse. Use spray paint or stakes and rope to mark the exact size and shape. Add two feet on each side for room to work. Begin digging the hole for your greenhouse. Most underground greenhouses are dug 6 to 8 feet deep. Dig slowly and check for underground utilities before you begin. Call your local utility marking service to avoid contact with gas, water, or electrical lines.
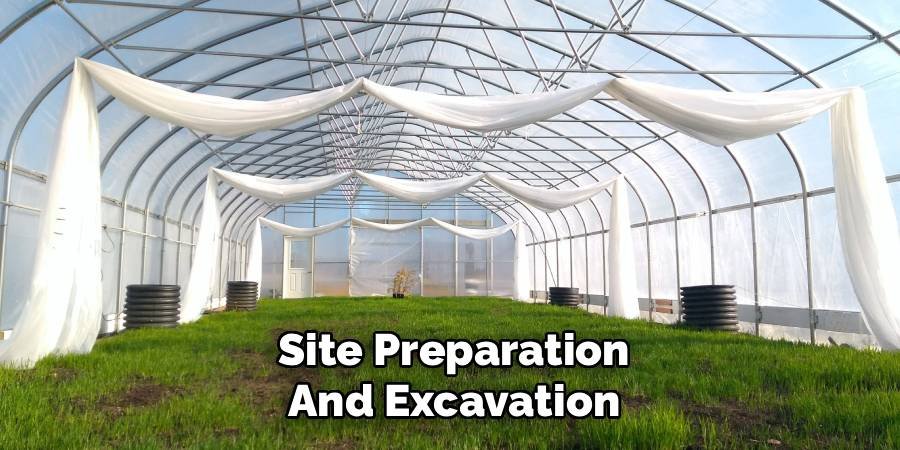
Save the soil you dug. You will need some of it later for backfilling around the walls. Pile the good topsoil separately from the clay or rocky soil. The topsoil can be used for planting beds inside the greenhouse. Make sure the bottom of the hole is level. Use a long level or transit to check this. A level floor is important for proper drainage and the stability of the building.
Step 2: Foundation and Drainage
Install a drainage system at the bottom of the hole. Lay a 4- to 6-inch-thick layer of gravel. This helps water drain away from the greenhouse and prevents flooding. Pour a concrete base around the edge of the hole. These bases support the walls and keep them from moving. The bases should be at least 12 inches wide and below the frost line in your area.
Let the concrete harden for at least 24 hours and continue to pour. Don’t rush this step. A strong base is the key to a stable greenhouse that will last for years.
Step 3: Wall Construction
Build walls using concrete blocks or treated wood. Concrete blocks work best because they are moisture-resistant and provide good insulation. Stack the blocks carefully, making sure each row is level. Use rebar to reinforce the walls. Place vertical rebar in the hollow core of the concrete blocks and fill with concrete. This makes the walls much stronger and helps them withstand the pressure of the outside soil.
Install any necessary plumbing or electrical lines while the walls are being built. This is much easier to do now than after the walls are finished. Plan where you want water spigots and electrical outlets.
Step 4: Roof Installation
The roof is the most important part of your underground greenhouse. It needs to keep out rain and cold winds and let in light. Most builders use a south-facing sloping roof to capture the most sunlight. Build the roof with a strong wood or metal frame. The roof must be able to withstand snow and strong winds. Maintain the correct spacing between roofs based on your local building code.
Cover the roof with a transparent material such as polycarbonate panels or greenhouse plastic. These materials allow light to enter while providing insulation. Double-wall panels work better than single-wall materials.
Step 5: Insulation and Sealing
Add insulation around the walls to retain heat in cold weather. Foam board insulation works well because it doesn’t absorb water. Install it on the outside of the walls before backfilling. Seal all gaps and cracks to prevent air leaks. Use weather-stripping around doors and windows. Caulk any small openings. Good sealing keeps the greenhouse temperature stable and saves energy.

Apply a waterproof coating to the outside walls. This prevents water damage and extends the life of your greenhouse. Use a high-quality waterproofing product designed for use below ground.
Step 6: Ventilation System
Install a ventilation system to control temperature and humidity. Without good airflow, plants can become diseased and the greenhouse can overheat in the summer. Plan for both intake and exhaust vents. Automatic vent openers work well because they open and close based on temperature. This helps maintain proper growing conditions without constant attention. Install at least two vents for good air circulation.
Consider installing a small fan when natural ventilation is not sufficient. A quiet fan can help with air circulation on very hot or very cool days.
Step 7: Interior Setup
Build raised beds or set up shelves inside your greenhouse. Raised beds work well because they provide good drainage and are easy to work with. Use rot-resistant materials like cedar or composite lumber.
Install a watering system if desired. A simple pipe connection makes watering easy. Some builders install drip irrigation systems for automatic watering. This saves time and water. Add a thermometer to monitor temperature. Knowing the temperature helps you adjust ventilation and heating as needed. Digital thermometers with memory features help track daily temperature changes.
Maintenance Tips
Keep your underground greenhouse in good working order with regular maintenance. Check the roof covering for weather or damage each season. Replace torn or cloudy panels to maintain good light levels. Clean the roof covering regularly to remove dirt, leaves, and snow. Dirty covering blocks light and reduces plant growth. Use a mild cleaner that will not damage plastic or polycarbonate.
Check the drainage system every spring. Clear any blocked drains and make sure water flows away from the greenhouse. Poor drainage can cause flooding and damage plants and structures. Check walls and ceilings for cracks or gaps. Fix small problems before they become large. Regular maintenance prevents costly repairs later.
Cost Considerations
Building an underground greenhouse costs more upfront than a typical greenhouse, but it saves money over time. Materials and equipment can cost $15 to $25 per square foot. A 100-square-foot greenhouse can cost $1,500 to $2,500.
Labor costs depend on whether you do the work yourself or hire help. The excavation is the hardest part and may require renting equipment or hiring professionals. Getting quotes from contractors can help you plan your budget.
Be sure to include the cost of permits, utilities, and finishing touches. These extras can add 20% to 30% to your total cost. Plan on spending more than you think you need. The energy savings from an underground greenhouse can pay for the extra construction costs within 5 to 10 years. After that, you save money on heating and cooling costs each year.
Frequently Asked Questions
Q: How deep should I dig my underground greenhouse?
Answer: Most underground greenhouses are dug 6 to 8 feet deep. This depth provides good soil insulation and easy access for maintenance and harvesting.
Q: Do I need a building permit for an underground greenhouse?
Answer: In many areas, underground structures require permits. Check with your local building department before starting work. Having the proper permits protects you and ensures safe construction.
Q: What’s the best covering material for the roof?
Answer: Polycarbonate panels work best for underground greenhouses. They provide good insulation, allow plenty of light in, and last longer than plastic sheeting. Double-wall panels provide the best performance.
Q: Can I build an underground greenhouse in any soil type?
Answer: Clay soil and rocky soil pose challenges but can be worked with proper drainage. Sandy soil drains well but may require more structural support. Test your soil before building.
Q: How long does it take to build an underground greenhouse?
Answer: Most DIY builders complete part-time jobs within 2 to 4 weeks. The time frame depends on the size, soil conditions, and weather. Professional construction can be completed faster.
Conclusion
How to build an underground greenhouse is a smart investment for serious gardeners who want to grow plants year-round. These energy-efficient structures provide an excellent growing environment and save on heating and cooling costs. The natural insulation of the earthen walls keeps temperatures stable and protects the plants from adverse weather conditions.
Success depends on careful planning, quality materials, and proper construction techniques. Take the time to select the right location, obtain the necessary permits, and follow each construction step carefully. Don’t rush the process—a well-built underground greenhouse will serve you for many years.
The initial cost may seem high, but the long-term benefits make underground greenhouses worthwhile. You’ll enjoy fresh vegetables and flowers year-round and reduce your environmental impact. With proper maintenance, your underground greenhouse will provide productive growing space for decades.
Start planning your underground greenhouse project today. Research local building codes, gather materials, and get ready for an exciting building adventure that will transform your gardening experience.
About Ravuk Barg
B.Sc. Horticulture Science | Certified Master Gardener
Ravuk Barg has spent more than a decade with his hands in the soil and his head full of questions about why some gardens thrive while others struggle. What started as a single raised bed of tomatoes and basil in a modest backyard has grown into a deep, working knowledge of everything from seed germination and soil amendment to companion planting and seasonal pruning.
Over the years, Ravuk has gardened through drought summers, waterlogged springs, and pest invasions that would make most gardeners hang up their trowels for good. Those hard seasons, he’ll tell you, taught him more than any perfect growing year ever could. He writes from that earned experience—covering vegetable growing, ornamental planting, houseplant care, composting, and garden design with equal confidence and curiosity.
Philosophy & Approach
Ravuk’s approach to gardening is rooted in practicality. He favors organic methods not out of dogma, but because they work long-term—resulting in healthier soil, fewer inputs, and stronger plants. He has a particular fondness for heirloom vegetable varieties (the kind with proper flavor), unruly cottage-style flower beds, and the stubborn houseplants that everyone else gave up on.
The Mission: Give readers the honest, experience-backed advice that helps them actually succeed in their gardens—not just the ideal version, but the real one; weeds, failures, and all.
Education & Credentials
-
B.Sc. in Horticulture Science
-
Greenfield Agricultural University
-
Focus: Plant Physiology, Soil Ecology, and Sustainable Crop Production
-
-
Master Gardener Certification
-
Cooperative Extension Service
-
Focus: 200+ hours of hands-on practical training and community garden work
-
Continuing Education
-
Organic Pest Management
-
Native Plant Landscaping
-
Sustainable Crop Production