

A garden bridge can transform your outdoor space, adding a touch of charm and elegance while creating a beautiful focal point. Whether it spans a small pond, a dry creek bed, or simply a patch of flowers, a bridge invites a sense of journey and discovery into your landscape. Many people think this is a project reserved for expert woodworkers, but that’s not the case.
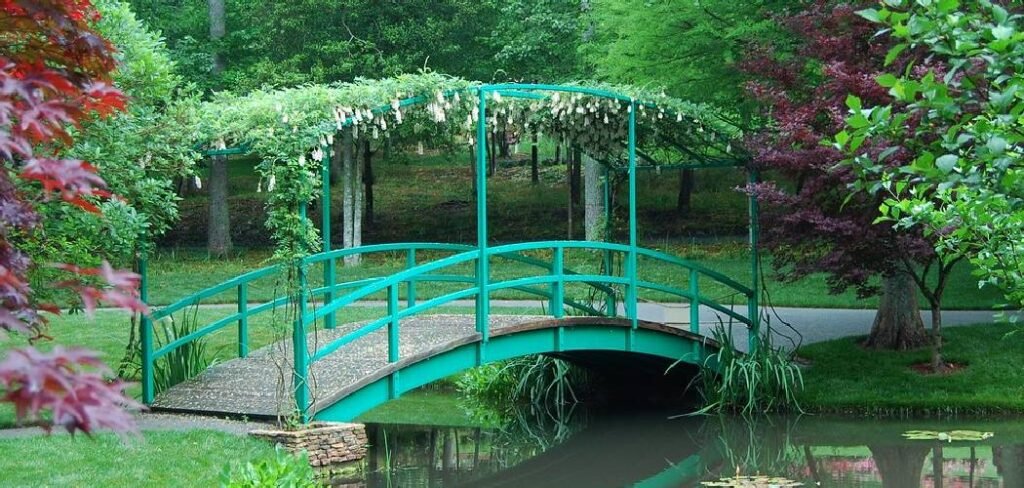
With careful planning and the right materials, learning how to build a garden bridge is an achievable and incredibly rewarding DIY project for any motivated beginner. This guide will walk you through every step, from selecting the perfect spot to applying the final finishing touches, empowering you to create a stunning feature that will enhance your garden for years to come.
Why Build a Garden Bridge?
Adding a bridge to your garden is about more than just creating a walkway; it’s an opportunity to inject personality and structure into your landscape design. A well-placed bridge can solve practical problems, like providing a safe crossing over a water feature or uneven ground. More than that, it introduces a powerful architectural element that guides the eye and encourages movement through the garden.
It can connect two distinct areas, creating a seamless flow between your patio and a secluded seating nook, for example. The process itself is a fulfilling project that allows you to work with your hands and build something tangible and beautiful. A garden bridge is a statement piece that reflects your personal style and enhances the overall aesthetic and value of your property.
7 Step-by-Step Guide on How to Build a Garden Bridge
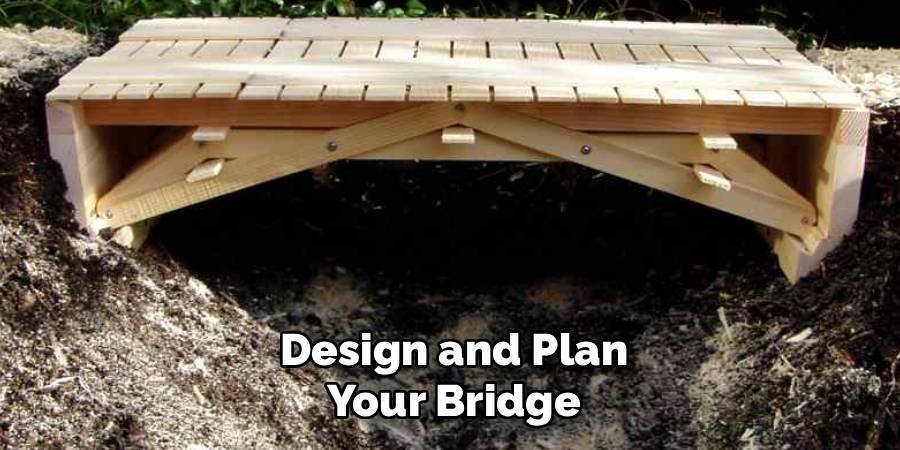
Step 1: Design and Plan Your Bridge
Before you pick up a single tool, the first step is to create a solid design. Decide on the style you want—a simple flat bridge, a classic arched design, or something more rustic with handrails. Consider the scale of your garden; a large, ornate bridge can overwhelm a small space, while a tiny one might get lost in a sprawling yard. Sketch out your design and determine the exact dimensions, including length, width, and height. This is also the time to create a detailed materials list, including the type and amount of lumber, screws, bolts, and any finishing products you’ll need. A thorough plan is your blueprint for success.
Step 2: Choose the Perfect Location
Selecting the right spot is crucial for both the function and appearance of your bridge. Walk through your garden and identify a natural crossing point. This could be over a small stream, a dry rock bed, or a low-lying area that collects water. The location should feel logical and integrated into the existing landscape. Ensure the ground on both sides is stable and relatively level to provide a solid foundation. Use stakes and string to mark the exact placement and dimensions of the bridge, which will help you visualize its impact on the surrounding space and confirm it fits as intended.
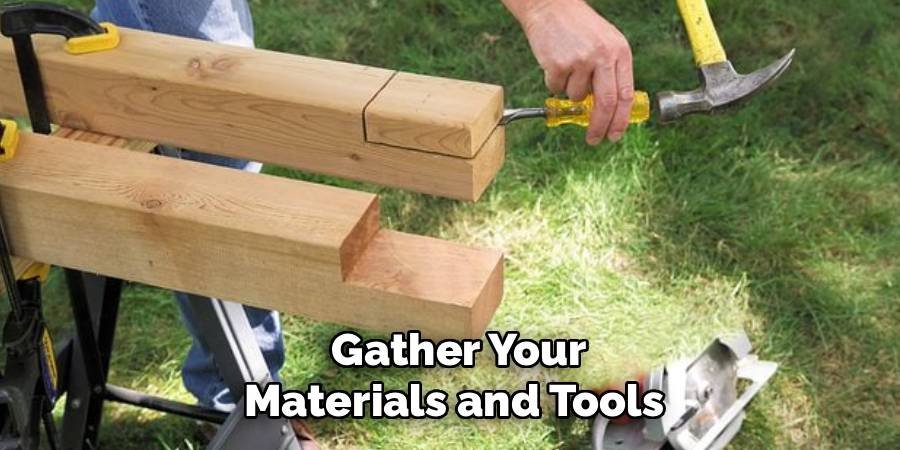
Step 3: Gather Your Materials and Tools
With your plan and location set, it’s time to gather everything you need. For a durable, long-lasting bridge, choose weather-resistant wood like cedar, redwood, or pressure-treated pine. These woods naturally resist rot and insect damage. Based on your design, purchase the lumber for the stringers (the main support beams), decking planks, posts, and handrails. You will also need galvanized or stainless steel screws and bolts to prevent rust. Your essential tool list should include a measuring tape, pencil, circular saw, power drill, level, and a square. Having all your materials and tools organized and ready will make the construction process much smoother.
Step 4: Prepare the Foundation
A sturdy bridge needs a solid foundation. Your goal is to create stable footings on each side of the crossing that will support the weight of the bridge and anyone walking on it. For a simple bridge over level ground, compacting the soil and using concrete paving stones as footings may be sufficient. For heavier bridges or those on a slope, you will need to dig and pour concrete footings. Excavate a square hole on each side, place a form, and pour concrete, ensuring the tops are perfectly level with each other. Let the concrete cure completely according to the manufacturer’s instructions before proceeding.
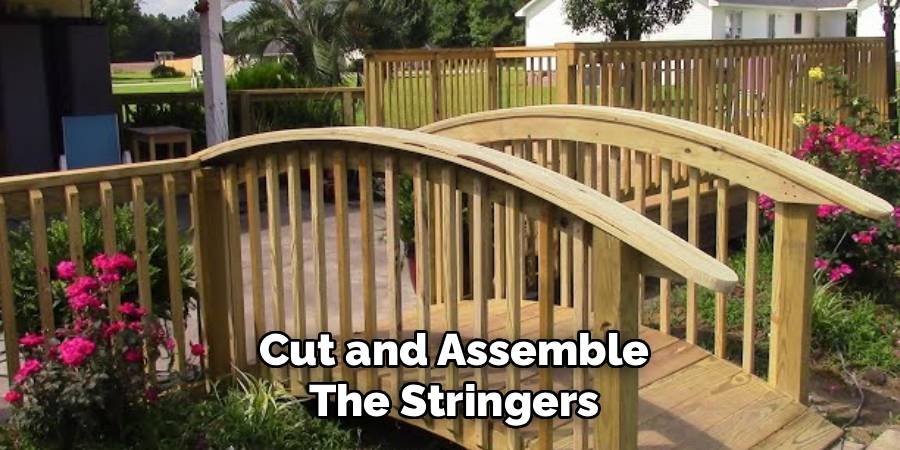
Step 5: Cut and Assemble the Stringers
The stringers are the structural backbone of your bridge. These are the long beams that span the gap and support the deck. If you are building an arched bridge, this is the most challenging part. You can create the arch by carefully cutting it from a wide piece of lumber using a template and a jigsaw, or by laminating several thin, flexible boards together in a curve. For a simpler flat bridge, the stringers will be straight boards. Once you have two identical stringers cut to the correct length and shape, lay them on a flat surface and attach cross-bracing between them to ensure they remain parallel and rigid.
Step 6: How to Build a Garden Bridge Deck
With the stringers braced and ready, place the assembled frame onto your prepared foundations. Use a level to ensure the structure is perfectly horizontal and stable. Now you can begin attaching the deck boards. Start at one end and lay the first plank, making sure it is perfectly square to the stringers. Secure it with weather-resistant screws. To ensure consistent spacing between your planks for a professional look and proper drainage, use a scrap piece of wood or a spacer as you work your way across. Continue attaching each board until the entire surface is covered.
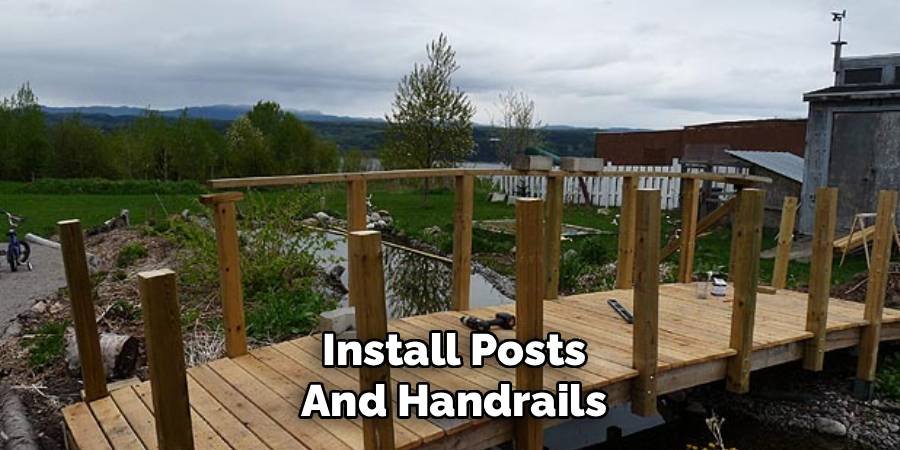
Step 7: Install Posts and Handrails
If your design includes handrails, this is the next step. Handrails are not just a decorative element; they are an important safety feature, especially if your bridge is elevated or will be used by children or the elderly. Measure and mark the locations for your railing posts according to your plan. Attach the posts securely to the outside of the stringers using heavy-duty bolts. Once all the posts are firmly in place and plumb, measure and cut the top and bottom rails to fit between them. Secure the rails, and then add the balusters or spindles, ensuring they are evenly spaced.
Frequently Asked Questions
What Is the Best Wood for a Garden Bridge?
The best wood for a garden bridge is one that is naturally resistant to rot, decay, and insects. Top choices include:
- Cedar: Naturally beautiful, aromatic, and highly resistant to moisture and bugs.
- Redwood: Known for its rich color and exceptional durability against the elements.
- Pressure-Treated Pine: A budget-friendly option that has been chemically treated to resist rot and insects.
When choosing, consider your climate, budget, and the aesthetic you want to achieve. Always use fasteners (screws and bolts) made from stainless steel or galvanized steel to prevent rust.
Does a Garden Bridge Need a Concrete Foundation?
Whether a concrete foundation is necessary depends on the bridge’s size, weight, and the soil conditions. For a small, lightweight bridge placed on firm, level ground, compacted gravel and paver stones may suffice as footings. However, for larger, heavier bridges, or for any bridge built on soft or sloped ground, pouring concrete footings is highly recommended. Concrete provides a stable, permanent anchor that prevents the bridge from shifting, settling, or becoming unstable over time, ensuring its safety and longevity.
How Wide Should a Garden Bridge Be?
The ideal width for a garden bridge depends on its intended use. For a purely decorative bridge that won’t see much foot traffic, a width of 2 to 3 feet is often sufficient. If the bridge will be a functional walkway, a width of 3 to 4 feet is more practical, allowing one person to cross comfortably. If you expect to move things like a wheelbarrow or lawnmower across it, or if you want two people to be able to pass each other, a width of 4 to 5 feet is recommended. Always consider the scale of your garden to ensure the bridge looks proportional.
Can I Build a Bridge Over a Pond with Fish?
Yes, you can absolutely build a bridge over a pond with fish, but you must take precautions to protect them. Be extremely careful to prevent construction debris, sawdust, and especially treated wood dust from falling into the water, as these can be harmful or fatal to aquatic life. Consider stretching a tarp under your work area to catch debris. It’s also wise to avoid using stains or sealers directly over the pond; if possible, finish the wood before final installation. A bridge can provide welcome shade and cover for your fish once completed.
How Do I Maintain My Wooden Garden Bridge?
Proper maintenance will keep your garden bridge safe and beautiful for years. At least once a year, inspect the bridge for any signs of wear, such as loose boards, wobbly railings, or protruding screws, and make repairs immediately. Clean the surface with a stiff brush and a mild soap-and-water solution to remove dirt, algae, or mildew. If your bridge has a stain or sealer, check if water still beads on the surface. If it soaks in, it’s time to reapply a fresh coat of the protective finish to shield the wood from moisture and UV damage.
Conclusion
Building a garden bridge is a fantastic project that adds immense character and utility to your outdoor living area. By breaking down the process into manageable steps—from thoughtful design and site preparation to careful construction and finishing—you can create a durable and beautiful feature with your own two hands. Don’t be intimidated by the scope of the project. With the right plan and materials, you now have the knowledge you need. Hopefully, this guide has inspired you and given you the confidence to take on the challenge of learning how to build a garden bridge and enjoy the satisfaction of seeing it enhance your landscape for many seasons to come.
About Ravuk Barg
B.Sc. Horticulture Science | Certified Master Gardener
Ravuk Barg has spent more than a decade with his hands in the soil and his head full of questions about why some gardens thrive while others struggle. What started as a single raised bed of tomatoes and basil in a modest backyard has grown into a deep, working knowledge of everything from seed germination and soil amendment to companion planting and seasonal pruning.
Over the years, Ravuk has gardened through drought summers, waterlogged springs, and pest invasions that would make most gardeners hang up their trowels for good. Those hard seasons, he’ll tell you, taught him more than any perfect growing year ever could. He writes from that earned experience—covering vegetable growing, ornamental planting, houseplant care, composting, and garden design with equal confidence and curiosity.
Philosophy & Approach
Ravuk’s approach to gardening is rooted in practicality. He favors organic methods not out of dogma, but because they work long-term—resulting in healthier soil, fewer inputs, and stronger plants. He has a particular fondness for heirloom vegetable varieties (the kind with proper flavor), unruly cottage-style flower beds, and the stubborn houseplants that everyone else gave up on.
The Mission: Give readers the honest, experience-backed advice that helps them actually succeed in their gardens—not just the ideal version, but the real one; weeds, failures, and all.
Education & Credentials
-
B.Sc. in Horticulture Science
-
Greenfield Agricultural University
-
Focus: Plant Physiology, Soil Ecology, and Sustainable Crop Production
-
-
Master Gardener Certification
-
Cooperative Extension Service
-
Focus: 200+ hours of hands-on practical training and community garden work
-
Continuing Education
-
Organic Pest Management
-
Native Plant Landscaping
-
Sustainable Crop Production