

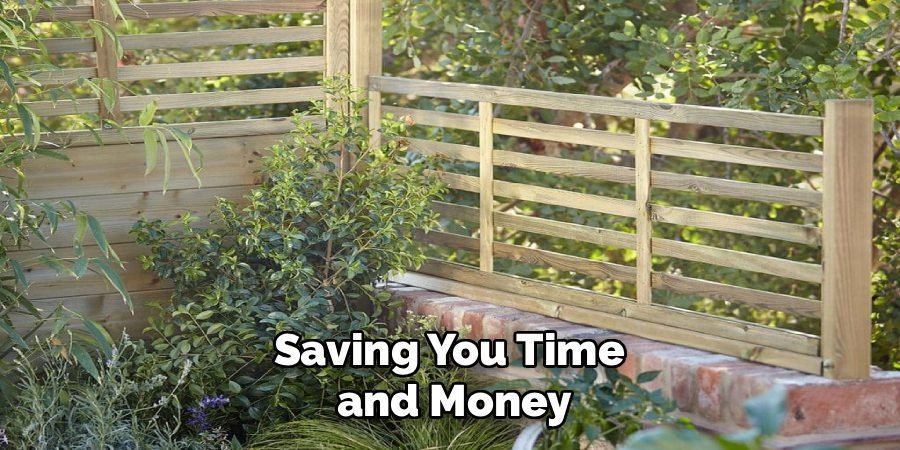
Adding a privacy screen to your fence can instantly transform your backyard into a secluded oasis, away from the prying eyes of neighbors and passersby. It’s a fantastic way to enhance your outdoor living space, providing both privacy and a touch of style. Many homeowners assume this project is complex, but it’s surprisingly straightforward with the right tools and guidance. This guide will walk you through everything you need to know, breaking down the process into simple, manageable steps. We’ll cover everything from choosing your materials to the final installation.

If you’ve been wondering how to attach privacy screen to fence, you’ve come to the right place. This beginner-friendly tutorial will give you the confidence to tackle this project and enjoy a more private, comfortable yard.
Why a Fence Privacy Screen is a Great Addition
A fence privacy screen does more than just block views; it adds a layer of versatility and protection to your property. For many, the primary benefit is creating a private retreat for family gatherings, gardening, or simply relaxing without an audience. Beyond privacy, these screens can also act as a windbreak, making your patio or deck more comfortable on breezy days.
They can also offer a degree of shade, protecting your plants and outdoor furniture from the harsh afternoon sun. Aesthetically, a screen can cover an old or unsightly fence, instantly updating your yard’s appearance with a clean, uniform look. It’s a cost-effective and impactful home improvement project that enhances both the function and beauty of your outdoor space.
7 Step Methods Guide on How to Attach Privacy Screen to Fence
Step 1: Measure Your Fence Accurately
Before you purchase any materials, the first crucial step is to measure your fence. Use a reliable tape measure to determine the height and total length of the area you intend to cover. It’s a good idea to measure twice to ensure accuracy. Note these dimensions carefully. When shopping for a privacy screen, you’ll find they come in standard heights, such as 4, 5, or 6 feet, and various lengths. Your goal is to buy a screen that closely matches your fence’s height for a clean, professional look. Having precise measurements will prevent you from buying too much or too little material, saving you time and money.
Step 2: Choose the Right Privacy Screen and Fasteners
With your measurements in hand, it’s time to select your privacy screen. These screens are typically made from durable, weather-resistant materials like high-density polyethylene (HDPE), which offers UV protection. They also come in different colors and opacity levels, so consider how much privacy you want. Next, choose your fasteners. Zip ties are the most common and user-friendly option. Look for heavy-duty, UV-resistant zip ties that will withstand outdoor elements without becoming brittle. Grommets, or the metal eyelets on the screen, are typically spaced every 12 to 24 inches, so calculate how many zip ties you will need based on this spacing.
Step 3: Prepare Your Fence and Workspace
Before you begin the installation, take some time to prepare your fence. Clean the fence surface to remove any dirt, debris, or cobwebs. This ensures you have a clean working area and prevents grime from getting trapped behind your new screen. If your fence has any loose boards or damage, now is the perfect time to make those repairs. A sturdy, well-maintained fence will provide a solid foundation for your privacy screen. Also, gather all your tools and materials in one place. You will need your privacy screen, zip ties, a pair of sturdy scissors or snips, and a step stool or ladder if your fence is tall.
Step 4: Begin Attaching the Screen at a Corner
Start the installation at one corner of the fence. Unroll the first few feet of the privacy screen and align the top edge with the top of your fence. Using a zip tie, secure the top corner grommet to the fence post or top rail. Pull it snug, but don’t overtighten it just yet; you may need to make small adjustments later. This first anchor point is critical, as it will guide the alignment for the rest of the screen. Having a friend help you can make this process much easier, as one person can hold the screen in place while the other handles the fasteners.
Step 5: Secure the Top Edge of the Screen
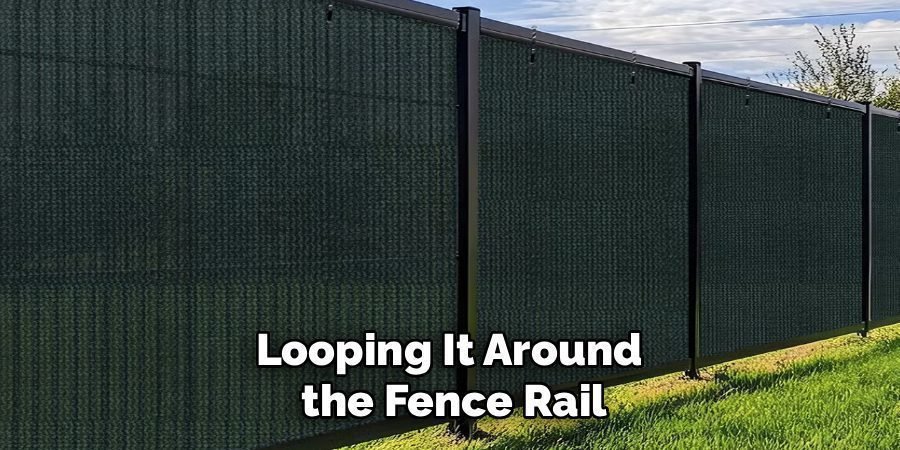
Once the first corner is attached, continue securing the top edge of the screen along the top rail of your fence. Work your way from the starting corner, inserting a zip tie through each grommet and looping it around the fence rail. Keep the screen taut as you go to avoid sags or wrinkles. Aim for consistent tension. If you pull one section too tight, it can cause the rest of the screen to bunch up. Insert the zip ties loosely at first. This will allow you to make adjustments and ensure the screen hangs straight and evenly before you tighten everything down for the final time.
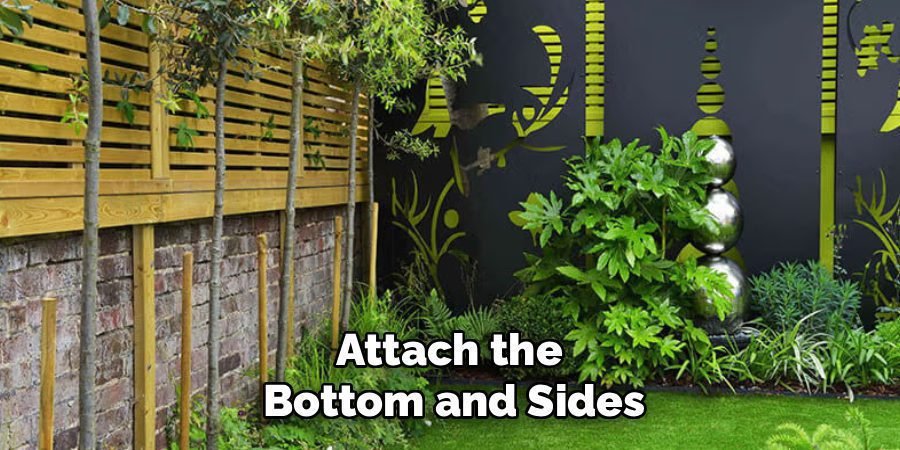
Step 6: How to Attach Privacy Screen to Fence Midsection
With the top edge secured, it’s time to move to the middle and bottom of the screen. Starting back at your initial corner, begin attaching the side of the screen to the vertical fence post. Then, work your way along the bottom edge, securing the grommets to the bottom rail of the fence. This step in how to attach privacy screen to fence is essential for a neat and secure finish. Proper tension on all sides prevents the screen from flapping in the wind, which could damage the screen or the grommets over time. Take your time to smooth out any wrinkles as you go.
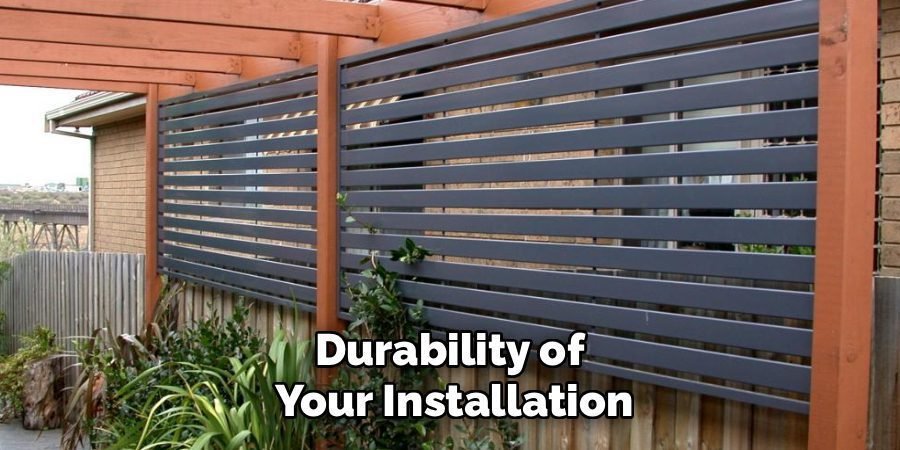
Step 7: Maintain Consistent Tension
As you attach the middle and bottom sections, focus on maintaining even tension across the entire screen. A sagging or loose screen not only looks unprofessional but is also more susceptible to wind damage. Step back periodically to look at your work from a distance. Check for any areas that are drooping or pulled too tight. Adjust the zip ties as needed to create a smooth, flat surface. This attention to detail will make a significant difference in the final appearance and durability of your installation. Consistent tension is the key to a professional-looking and long-lasting result.
Final Tightening and Trimming
Once the entire screen is attached and you are satisfied with its position and tension, go back and tighten all the zip ties. Pull them as tight as you can by hand or with pliers to ensure the screen is firmly secured. After tightening, use a pair of snips or strong scissors to trim the excess tails off the zip ties. Cut them as close to the locking mechanism as possible for a clean, tidy appearance. This final step secures your work and leaves you with a flawlessly installed privacy screen that is ready to withstand the elements.
Frequently Asked Questions (FAQ)
Can I Attach a Privacy Screen to Any Type of Fence?
Yes, you can attach a privacy screen to most fence types, including chain link, wood, and vinyl. For chain link fences, zip ties or specially designed fence clips work perfectly. For wood or vinyl fences, you can use zip ties if there are rails or posts to wrap around. If not, you may need to use a staple gun with heavy-duty staples or even screws with washers for a secure hold. Always check that your fence is sturdy enough to support the screen, especially in windy areas.
How Do I Prevent the Privacy Screen From Sagging?
The best way to prevent sagging is to ensure proper tension during installation. Start by securing the top edge tightly, pulling the screen taut as you move along. After the top is done, attach the bottom and sides, again pulling firmly to remove any slack. Using every grommet provided on the screen is crucial, as skipping them creates unsupported sections that are prone to drooping. For very long stretches, consider adding a tension wire along the middle of the fence for extra support.
Will a Privacy Screen Damage My Fence?
When installed correctly, a privacy screen should not damage your fence. However, the added surface area can increase the wind load on your fence. If your fence posts are old, weak, or not set deeply enough, a strong gust of wind could potentially cause damage. It’s important to ensure your fence is in good condition before installation. Using appropriate fasteners like UV-resistant zip ties, which are strong but have some give, can also minimize stress on the fence structure compared to more rigid mounting methods.
How Long Do Fence Privacy Screens Typically Last?
The lifespan of a fence privacy screen depends on the material quality and your local climate. High-quality screens made from UV-stabilized HDPE (high-density polyethylene) can last anywhere from 5 to 10 years or even longer. Cheaper materials may degrade more quickly, becoming brittle and faded from sun exposure within a couple of seasons. Choosing a screen with reinforced seams and brass or stainless steel grommets will also contribute to its durability and longevity.
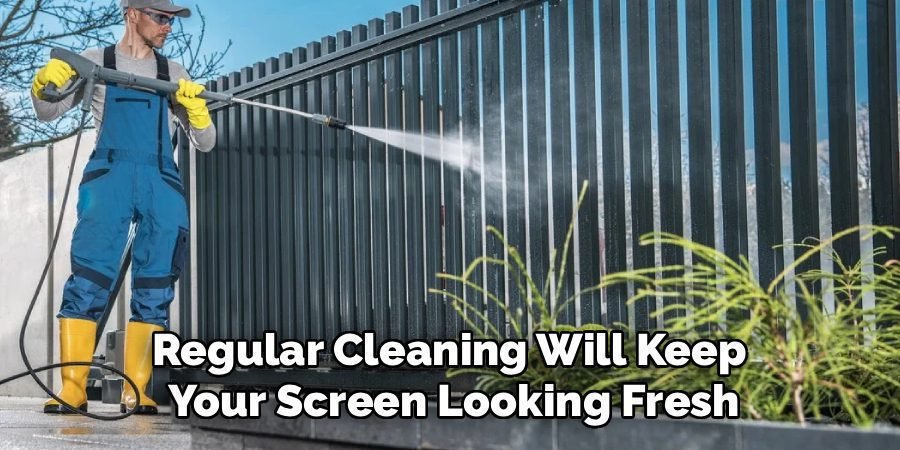
What Is the Best Way to Clean a Privacy Screen?
Cleaning a privacy screen is simple. For general dust and dirt, a quick rinse with a garden hose is usually sufficient. For more stubborn grime or mildew, you can use a soft brush and a solution of mild soap and water. Gently scrub the affected areas and rinse thoroughly. Avoid using harsh chemicals or pressure washers, as they can damage the fabric and compromise its UV-protective coating. Regular cleaning will keep your screen looking fresh and can help extend its life.
Conclusion
Installing a fence privacy screen is a rewarding project that offers an immediate upgrade to your outdoor space. By following these steps, you can achieve a professional and durable installation that provides the seclusion and comfort you desire. From careful measurement and material selection to the final tightening of the fasteners, each stage plays a vital role in the outcome. With a little time and effort, you can successfully transform your yard. Now that you understand how to attach privacy screen to fence, you have the knowledge to create your own private backyard sanctuary.
About Ravuk Barg
B.Sc. Horticulture Science | Certified Master Gardener
Ravuk Barg has spent more than a decade with his hands in the soil and his head full of questions about why some gardens thrive while others struggle. What started as a single raised bed of tomatoes and basil in a modest backyard has grown into a deep, working knowledge of everything from seed germination and soil amendment to companion planting and seasonal pruning.
Over the years, Ravuk has gardened through drought summers, waterlogged springs, and pest invasions that would make most gardeners hang up their trowels for good. Those hard seasons, he’ll tell you, taught him more than any perfect growing year ever could. He writes from that earned experience—covering vegetable growing, ornamental planting, houseplant care, composting, and garden design with equal confidence and curiosity.
Philosophy & Approach
Ravuk’s approach to gardening is rooted in practicality. He favors organic methods not out of dogma, but because they work long-term—resulting in healthier soil, fewer inputs, and stronger plants. He has a particular fondness for heirloom vegetable varieties (the kind with proper flavor), unruly cottage-style flower beds, and the stubborn houseplants that everyone else gave up on.
The Mission: Give readers the honest, experience-backed advice that helps them actually succeed in their gardens—not just the ideal version, but the real one; weeds, failures, and all.
Education & Credentials
-
B.Sc. in Horticulture Science
-
Greenfield Agricultural University
-
Focus: Plant Physiology, Soil Ecology, and Sustainable Crop Production
-
-
Master Gardener Certification
-
Cooperative Extension Service
-
Focus: 200+ hours of hands-on practical training and community garden work
-
Continuing Education
-
Organic Pest Management
-
Native Plant Landscaping
-
Sustainable Crop Production