

Building a greenhouse with a wooden frame is a rewarding project for any gardener. It provides a controlled environment to extend your growing season and protect delicate plants. Once your frame is built, the final crucial step is covering it. Understanding how to attach greenhouse plastic to wood frame correctly is essential for the structure’s longevity and effectiveness.
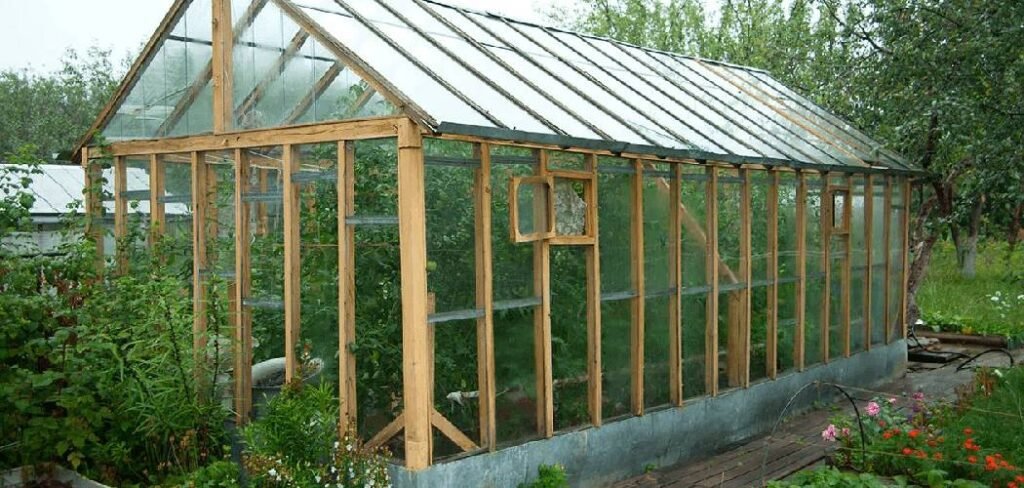
A secure, well-fitted plastic covering ensures optimal insulation, protects against weather damage, and creates the perfect microclimate for your plants to thrive. This guide will walk you through the process, providing clear instructions and tips to achieve a professional, durable finish. We will cover everything from preparing your materials to performing the final checks, making sure your greenhouse is ready for years of successful gardening. Proper installation prevents common issues like tearing, sagging, and heat loss, which can compromise the entire structure.
Why You Need to Secure Greenhouse Plastic Properly
Properly securing your greenhouse plastic is not just about aesthetics; it’s fundamental to the greenhouse’s function and durability. A taut, well-fastened covering prevents wind from getting underneath, which can cause billowing, stress tears, and potential damage to the wooden frame itself.
A secure fit also maximizes insulation, trapping heat more effectively and reducing energy costs if you’re heating the space. Furthermore, it prevents water from pooling in saggy areas, which can strain the plastic and lead to premature degradation from UV exposure. Ensuring every edge is sealed minimizes drafts and helps maintain a stable internal environment, protecting your plants from sudden temperature drops and pests.
7 Step-by-Step Guide: How to Attach Greenhouse Plastic to Wood Frame
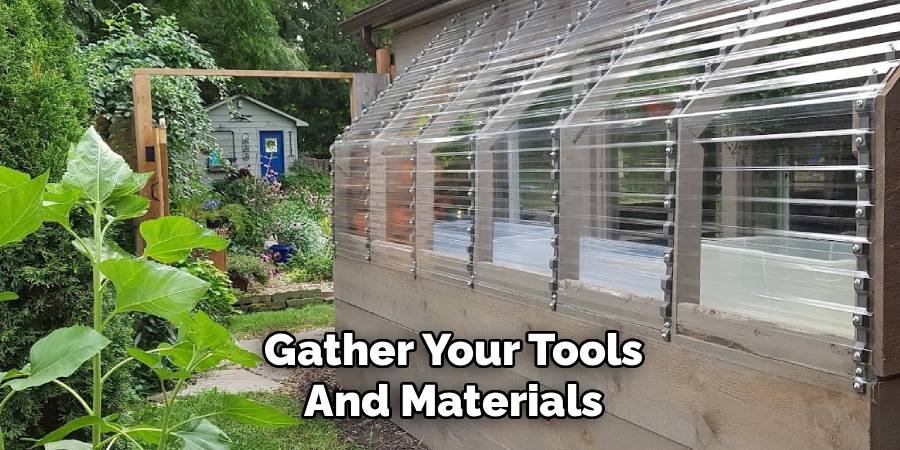
Step 1: Gather Your Tools and Materials
Before you begin, gathering all necessary supplies will make the installation process smooth and efficient. You will need a high-quality, UV-stabilized greenhouse plastic film, which is designed to withstand sun exposure without becoming brittle. For fastening, have a staple gun with stainless steel staples on hand.
To create a secure and lasting hold, you will also need wiggle wire and a corresponding lock channel, or alternatively, wooden battens and screws. A sharp utility knife or scissors are essential for clean cuts. Don’t forget a measuring tape for accuracy and safety gear, including gloves and safety glasses. Having a friend to help you handle the large sheet of plastic is also highly recommended, especially on a breezy day.
Step 2: Prepare the Wood Frame
A smooth surface is critical for preventing tears and extending the life of your greenhouse plastic. Carefully inspect your entire wood frame for any rough spots, splinters, or sharp edges. Pay close attention to corners and joints where the plastic will be pulled tight. Use sandpaper to smooth down any imperfections you find.
It’s also a good idea to check for protruding nails or screw heads and ensure they are flush with the wood surface. For added protection, you can apply a specialized batten tape or a simple white latex paint to the top surfaces of the rafters and purlins. This creates a smoother, less abrasive barrier and reduces heat buildup on the wood, which can degrade the plastic over time.
Step 3: Wait for the Right Weather Conditions
Choosing the right day for installation is one of the most important factors for success. The ideal weather is a calm, overcast, and moderately warm day. Wind is your biggest enemy when handling large sheets of plastic, as even a light breeze can turn the film into an unmanageable sail, making it difficult to position and creating a safety hazard.
Extreme temperatures should also be avoided. If you install the plastic on a very hot, sunny day, it will be expanded. As it cools down, it will shrink and tighten, potentially putting excessive stress on the seams and attachment points. Conversely, installing it on a cold day may result in a loose, saggy fit when the temperature rises.
Step 4: Measure and Cut the Plastic
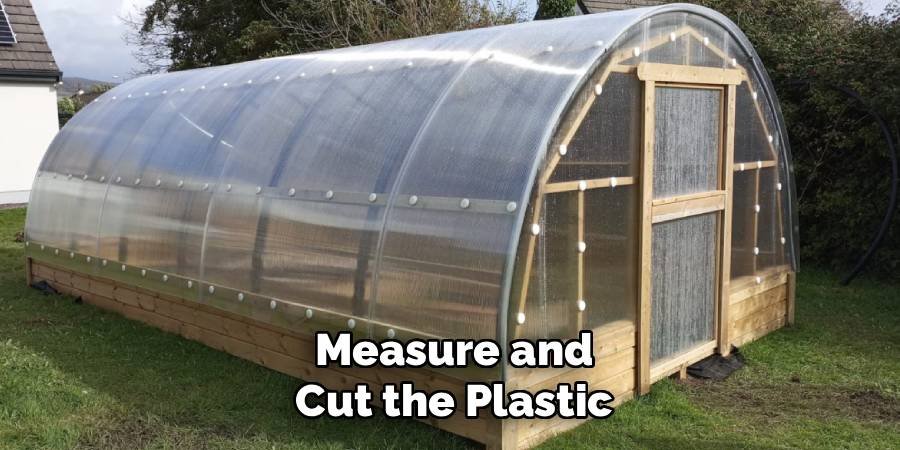
Accurate measurement is key to a professional-looking and effective greenhouse cover. Measure the dimensions of the section you plan to cover, such as the roof or a wall. Always add at least six inches to a foot of extra plastic on all sides. This excess material gives you plenty of room to grip, pull the plastic taut, and secure it properly into the lock channel or under the battens.
It’s much better to have extra to trim off later than to find yourself with a sheet that is too small. Lay the plastic film on a clean, flat surface, like a lawn or driveway, to measure and cut. Use a straight edge and a sharp utility knife to ensure a clean, straight cut.
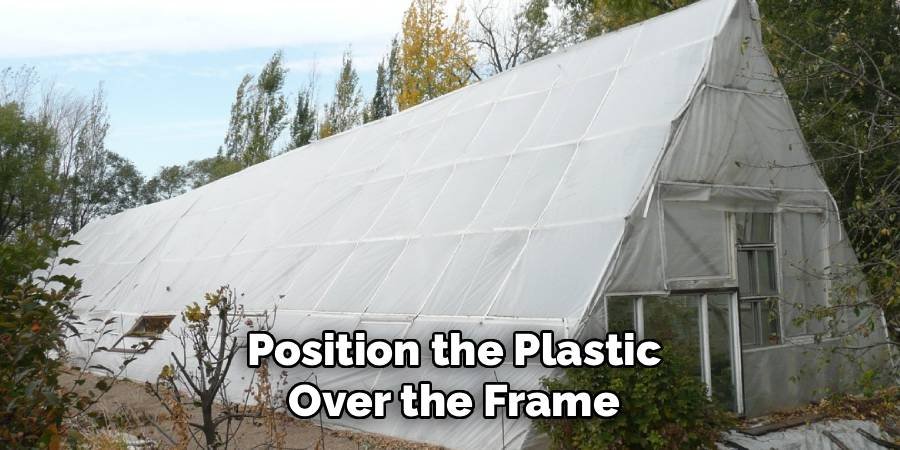
Step 5: Position the Plastic Over the Frame
This step is much easier with a helper. Carefully unroll the plastic sheet over the section of the wood frame you are covering. Start at one end and slowly work your way to the other, ensuring the plastic doesn’t snag on any part of the frame. If you are covering the roof, one person can be on each side of the greenhouse to gently pull the film over the peak. Take your time to align the sheet, making sure the overhang is relatively even on all sides. Avoid dragging the plastic across the ground or the frame, as this can cause small punctures or scratches that could develop into larger tears later on.
Step 6: Begin Securing the First Side
Start attaching the plastic along one of the longest, straightest sides of the frame, typically a side wall or the base. This provides an anchor point to work from. If using a wiggle wire and lock channel system, you will have already installed the channel onto the frame. Begin at one corner and press the plastic into the channel.
Then, insert the wiggle wire in a back-and-forth motion, securely locking the plastic in place. If you are using wooden battens, place a batten over the plastic along the wood frame and drive screws through it every 12 to 18 inches. This initial attachment should be firm but not overly tight, as you will be pulling the plastic taut from the opposite side.
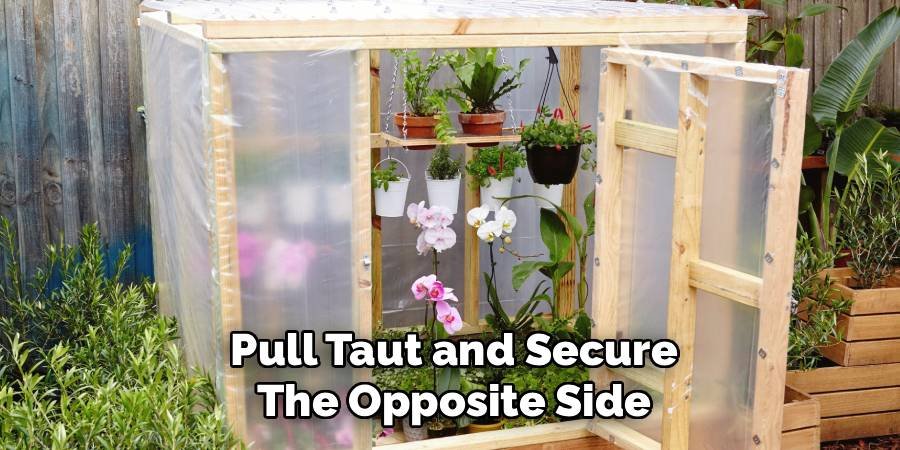
Step 7: Pull Taut and Secure the Opposite Side
Once the first side is anchored, move to the opposite side of the frame. This is where you will create the necessary tension for a snug fit. With your helper, pull the greenhouse plastic firmly and evenly to remove any slack or wrinkles. The goal is to make the plastic taut like a drum skin, but be careful not to pull so hard that you risk tearing it. As you pull, secure the plastic using the same method you used on the first side, whether it’s with wiggle wire or battens. Work your way down the length of the frame, maintaining consistent tension throughout. This step is crucial for preventing sagging and wind damage.
Maintaining Your Greenhouse Plastic
To get the most out of your investment, regular maintenance is key. Periodically check the tension of the plastic, especially after strong winds or significant temperature changes, and tighten it as needed. Keep the plastic clean by washing it with a soft cloth and a mild soap-and-water solution at least once a year. This removes dirt and grime that can block sunlight and reduce its effectiveness. Inspect the entire surface for any small rips or punctures and repair them immediately with a specialized greenhouse repair tape to prevent them from getting larger. These simple steps will help extend the life of your plastic and keep your greenhouse performing at its best.
Common Mistakes to Avoid
When attaching greenhouse plastic, several common errors can lead to problems down the road. One major mistake is installing the plastic on a windy or very hot day, which makes it difficult to achieve proper tension. Another error is not preparing the wood frame; sharp edges or splinters can easily puncture the film. Many people also forget to add enough excess plastic when cutting, leaving them without enough material to grip and secure properly. Finally, avoid over-tightening the plastic. While it should be taut, excessive tension can put too much stress on the material and the fasteners, leading to premature failure, especially at the seams and corners.
FAQ Frequently Asked Questions
How Long Does Greenhouse Plastic Last?
High-quality, UV-stabilized greenhouse plastic typically lasts for four to six years, depending on the thickness of the film, climate conditions, and proper installation.
What Is the Best Way to Attach Greenhouse Plastic?
Using a wiggle wire and lock channel system is widely considered the best method. It provides a continuous, secure hold and makes it easy to replace the plastic.
Can I Use a Regular Staple Gun?
A heavy-duty staple gun with stainless steel staples can be used, but it’s best to cover the staples with a wooden batten to distribute pressure and prevent tearing.
Should Greenhouse Plastic Be Tight?
Yes, the plastic should be pulled taut like a drum skin. A tight fit prevents wind damage, sheds rain and snow properly, and improves overall insulation.
What Thickness of Plastic Is Best for a Greenhouse?
A 6-mil (0.006 inches) thickness is the industry standard. It offers a great balance of durability, light transmission, and longevity for most home greenhouse applications.
Conclusion
Learning how to attach greenhouse plastic to wood frame is a manageable task that makes a significant difference in your greenhouse’s performance and lifespan. By following these steps—from preparing the frame and waiting for the right weather to securing the plastic with even tension—you set yourself up for success.
The process requires patience and attention to detail, but the result is a durable, efficient growing environment that will protect your plants for years to come. Remember to conduct regular maintenance checks and address any small issues before they become larger problems. With a securely covered frame, you are ready to start planting and enjoy the benefits of your new greenhouse. Your garden (and worms!) will thank you.
About Ravuk Barg
B.Sc. Horticulture Science | Certified Master Gardener
Ravuk Barg has spent more than a decade with his hands in the soil and his head full of questions about why some gardens thrive while others struggle. What started as a single raised bed of tomatoes and basil in a modest backyard has grown into a deep, working knowledge of everything from seed germination and soil amendment to companion planting and seasonal pruning.
Over the years, Ravuk has gardened through drought summers, waterlogged springs, and pest invasions that would make most gardeners hang up their trowels for good. Those hard seasons, he’ll tell you, taught him more than any perfect growing year ever could. He writes from that earned experience—covering vegetable growing, ornamental planting, houseplant care, composting, and garden design with equal confidence and curiosity.
Philosophy & Approach
Ravuk’s approach to gardening is rooted in practicality. He favors organic methods not out of dogma, but because they work long-term—resulting in healthier soil, fewer inputs, and stronger plants. He has a particular fondness for heirloom vegetable varieties (the kind with proper flavor), unruly cottage-style flower beds, and the stubborn houseplants that everyone else gave up on.
The Mission: Give readers the honest, experience-backed advice that helps them actually succeed in their gardens—not just the ideal version, but the real one; weeds, failures, and all.
Education & Credentials
-
B.Sc. in Horticulture Science
-
Greenfield Agricultural University
-
Focus: Plant Physiology, Soil Ecology, and Sustainable Crop Production
-
-
Master Gardener Certification
-
Cooperative Extension Service
-
Focus: 200+ hours of hands-on practical training and community garden work
-
Continuing Education
-
Organic Pest Management
-
Native Plant Landscaping
-
Sustainable Crop Production