

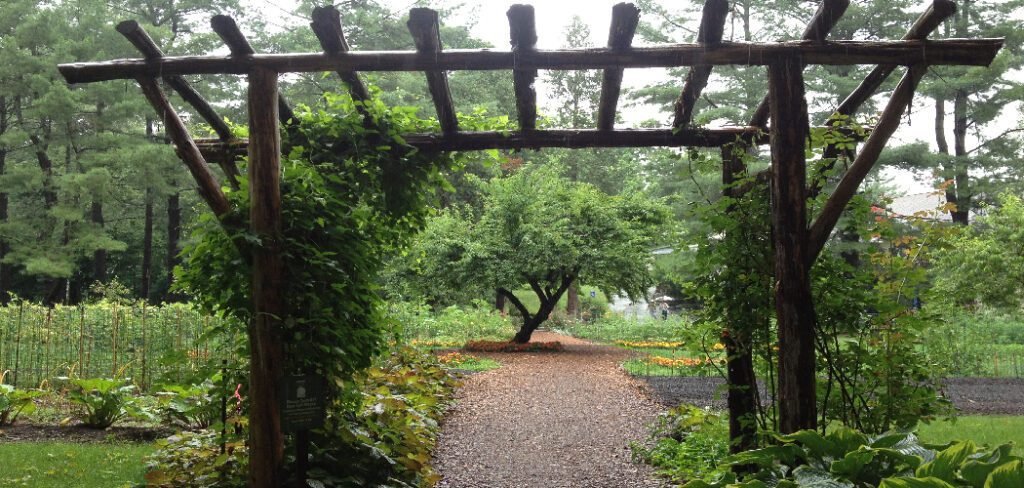
An arbor can transform your garden, creating a beautiful entryway, supporting climbing plants, or serving as a stunning focal point. But its beauty is only matched by its need for stability. A poorly secured arbor is a hazard, vulnerable to strong winds, shifting soil, and accidental bumps. Properly installing your structure is essential for safety and longevity.
This guide provides a clear, step-by-step process on how to anchor an srbor in the garden, ensuring your investment remains secure and upright for years to come. We will walk you through everything from selecting the right location to the final touches, making the project straightforward even for beginners.
Why Anchoring Your Arbor is Crucial
Securing your garden arbor is not just a suggestion; it’s a fundamental step for safety and durability. An unanchored arbor is essentially a large kite waiting for a windy day. Strong gusts of wind can easily topple it, potentially causing damage to surrounding plants, property, or even injuring someone. Furthermore, the ground is not always perfectly stable. Seasonal changes, soil erosion, and moisture can cause the ground to shift, making an unsecured structure lean or sink over time.
A properly anchored arbor withstands these environmental pressures, maintaining its position and structural integrity. This stability also provides a reliable framework for climbing plants like roses, clematis, or wisteria, which can become quite heavy as they mature.
8 Step-by-Step Guide: How To Anchor an Srbor in the Garden
Step 1: Choose the Perfect Location
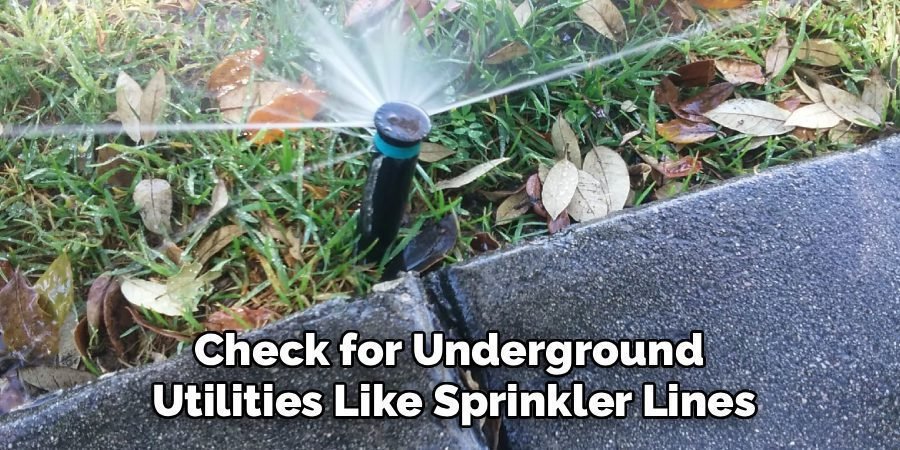
Before you dig, decide on the ideal spot for your arbor. Consider its purpose. Is it an entrance to a garden path, a frame for a bench, or a standalone feature? Check for underground utilities like sprinkler lines, electrical wires, or pipes by contacting your local utility locating service. Ensure the chosen area is relatively level and has good drainage to prevent water from pooling around the footings, which could cause rot or instability over time. Visualize the arbor in all seasons to understand how sunlight and shade will affect it and any plants you plan to grow.
Step 2: Gather Your Tools and Materials
Having everything you need on hand will make the installation process much smoother. You will need a tape measure, a post-hole digger or auger, a level, a shovel, and a wheelbarrow for mixing concrete. For materials, you will need the arbor kit itself, four galvanized steel post anchors appropriate for the size of your arbor’s legs (e.g., spike anchors or bolt-down anchors), and several bags of ready-mix concrete. It’s also wise to have gravel for drainage, a mallet or hammer, and safety gear like gloves and eye protection.
Step 3: Assemble the Arbor Frame
Most arbors come in a kit with instructions. It’s often easier to assemble the main structure—the sides and the top—on a flat surface like a lawn or patio before moving it into its final position. Following the manufacturer’s directions, connect the pieces, but do not fully tighten all the bolts just yet. Leaving them slightly loose will give you a small amount of flexibility, which is helpful when you are trying to fit the arbor’s legs into the anchor points later on. This pre-assembly step allows you to confirm all parts are present and fit together correctly.
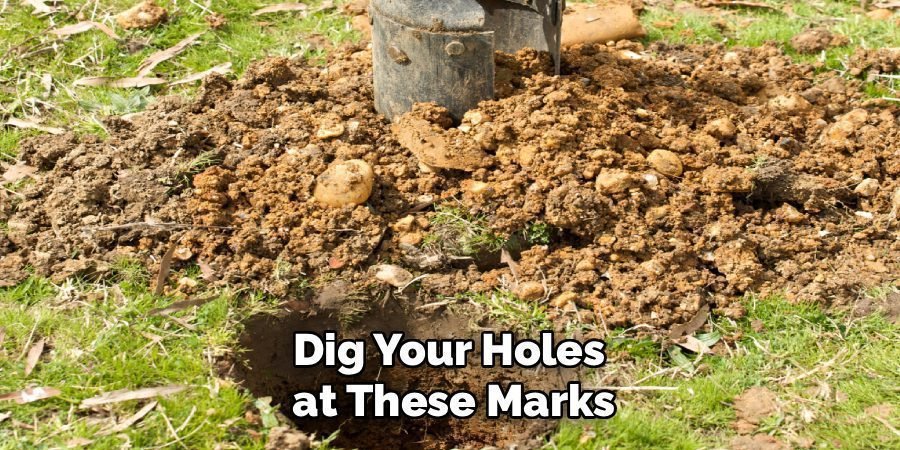
Step 4: Mark and Dig the Post Holes
With the arbor loosely assembled, place it in the chosen location and mark the ground where each of the four legs will stand. A small stake or spray paint works well for this. Move the arbor aside and dig your holes at these marks. The holes should be approximately 8–10 inches in diameter and about 18–24 inches deep. The depth is important; it ensures the concrete footing extends below the frost line in colder climates, which prevents the ground from heaving and pushing the posts up during winter freezes. A post-hole digger will make this job much easier than a standard shovel.
Step 5: Add a Gravel Base for Drainage
Once your holes are dug, pour about 4 to 6 inches of gravel into the bottom of each one. Tamp the gravel down firmly with the end of a post or a 2×4. This gravel layer is a critical component for drainage. It creates a barrier that prevents the concrete footing and the bottom of the arbor post from sitting directly in moist soil. By allowing water to drain away, you significantly reduce the risk of wood rot for wooden arbors and minimize frost heave for all types of structures, extending the life of your installation.
Step 6: Mix and Pour the Concrete
Prepare your ready-mix concrete according to the package instructions, typically by adding water in a wheelbarrow or a mixing tub until you reach a thick, oatmeal-like consistency. It should not be too soupy or too dry. Before pouring, place your post anchors into the holes, ensuring they are centered. Carefully pour the concrete into each hole, filling it up to about 2 inches below ground level. This slight recess allows you to cover the concrete with soil or mulch later for a seamless look. Work quickly, as concrete begins to set within a short period.
Step 7: How to Anchor an Arbor in the Garden by Setting the Posts
This is the most critical part of the process. With the concrete still wet, carefully move your pre-assembled arbor and lower its legs into the post anchors. Use your level to check that the arbor is perfectly plumb (vertically straight) on all sides. Adjust as needed by gently shifting the legs within the wet concrete. It is helpful to have a second person for this step to hold the structure steady while you make adjustments. Once it is perfectly level and plumb, brace it with scraps of wood if necessary to hold it in place while the concrete cures.
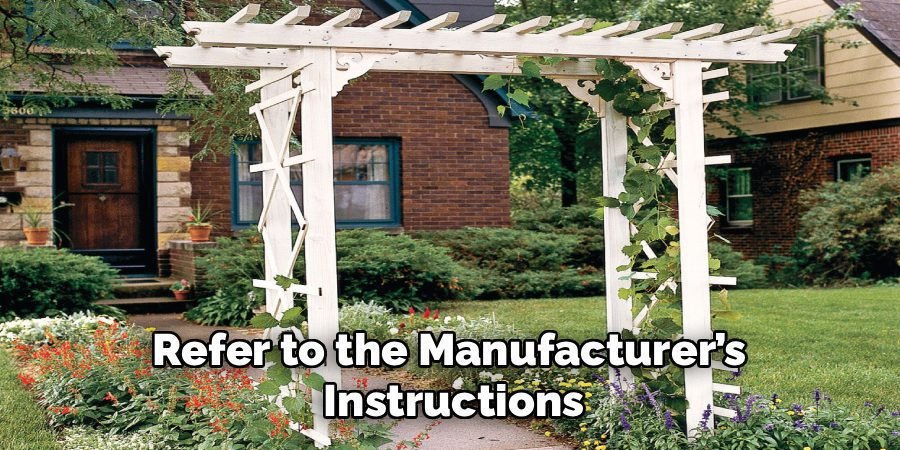
Step 8: Allow Concrete to Cure and Finish the Job
Concrete needs time to cure and reach its full strength. Refer to the manufacturer’s instructions, but generally, you should allow it to cure for at least 24 to 48 hours before disturbing the arbor. During this time, resist the urge to hang anything on it or otherwise put stress on the structure. Once the concrete is fully cured, you can go back and tighten all the bolts on the arbor frame. Finally, backfill the remaining 2 inches of the holes with soil or mulch to cover the concrete, giving your installation a clean, professional finish.
Frequently Asked Questions (FAQ)
Can I Anchor an Arbor Without Using Concrete?
Yes, you can use alternatives like galvanized steel ground spikes or screw-in anchors. These are driven deep into the ground, and the arbor posts are then attached to them. This method is faster and less permanent than concrete, making it a good option for lighter arbors or for renters. However, for heavy-duty arbors, especially those that will support vigorous climbing plants or are located in very windy areas, concrete footings provide superior stability and are generally the recommended long-term solution.
How Deep Should the Anchor Holes Be?
The depth of your anchor holes is critical for stability. A general rule is to dig holes that are about one-third the height of the post that will be buried, but a minimum depth of 18 to 24 inches is recommended for most arbors. In regions with cold winters, it is crucial to dig below the frost line. The frost line is the depth at which the groundwater in the soil is expected to freeze. Placing your footing below this line prevents the structure from being pushed upward by frozen ground, a phenomenon known as frost heave.
What Type of Arbor Material Is Best for Durability?
Vinyl and cellular PVC arbors are excellent choices for durability and low maintenance, as they resist rot, pests, and weathering without needing to be painted or sealed. Metal arbors, especially those made from powder-coated aluminum or galvanized steel, are also very durable and strong. Traditional wood arbors, such as cedar or redwood, have natural resistance to rot and insects and offer a classic look, but they require regular maintenance like sealing or staining to maintain their longevity and appearance over time.
How Do I Make Sure My Arbor Is Perfectly Level?
Using a carpenter’s level is essential. After placing the arbor legs into the wet concrete or anchors, place the level against each vertical post to check if it is plumb (perfectly vertical). Then, place the level across the top horizontal beams to ensure the entire structure is level from side to side and front to back. Adjust the arbor’s position gently until the bubble on the level is centered in all checks. Having a helper hold the structure steady while you check and adjust is extremely useful.
Can I Install an Arbor on a Slope or Uneven Ground?
Yes, it is possible to install an arbor on a slope, but it requires extra planning. The key is to ensure the arbor itself is level, even if the ground is not. This is achieved by digging the post holes to different depths. The posts on the downhill side will need to be set deeper into the ground, or you may need to use longer posts on that side. The top of all your concrete footings should be level with each other. This ensures the arbor stands straight and looks right, rather than leaning with the slope.
Conclusion
You now have the knowledge and confidence to create a lasting and secure garden feature. By following these steps—from selecting the right spot and gathering your materials to carefully setting the posts in concrete—you can ensure your arbor remains a stable and beautiful addition to your landscape for many years. Taking the time to do it right prevents future headaches and protects your investment. Now that you know how to anchor an srbor in the garden, you are ready to enhance your outdoor space with a structure that is as strong as it is elegant.
About Ravuk Barg
B.Sc. Horticulture Science | Certified Master Gardener
Ravuk Barg has spent more than a decade with his hands in the soil and his head full of questions about why some gardens thrive while others struggle. What started as a single raised bed of tomatoes and basil in a modest backyard has grown into a deep, working knowledge of everything from seed germination and soil amendment to companion planting and seasonal pruning.
Over the years, Ravuk has gardened through drought summers, waterlogged springs, and pest invasions that would make most gardeners hang up their trowels for good. Those hard seasons, he’ll tell you, taught him more than any perfect growing year ever could. He writes from that earned experience—covering vegetable growing, ornamental planting, houseplant care, composting, and garden design with equal confidence and curiosity.
Philosophy & Approach
Ravuk’s approach to gardening is rooted in practicality. He favors organic methods not out of dogma, but because they work long-term—resulting in healthier soil, fewer inputs, and stronger plants. He has a particular fondness for heirloom vegetable varieties (the kind with proper flavor), unruly cottage-style flower beds, and the stubborn houseplants that everyone else gave up on.
The Mission: Give readers the honest, experience-backed advice that helps them actually succeed in their gardens—not just the ideal version, but the real one; weeds, failures, and all.
Education & Credentials
-
B.Sc. in Horticulture Science
-
Greenfield Agricultural University
-
Focus: Plant Physiology, Soil Ecology, and Sustainable Crop Production
-
-
Master Gardener Certification
-
Cooperative Extension Service
-
Focus: 200+ hours of hands-on practical training and community garden work
-
Continuing Education
-
Organic Pest Management
-
Native Plant Landscaping
-
Sustainable Crop Production