

A small greenhouse is a fantastic addition to any garden, extending your growing season and protecting your delicate plants. However, these lightweight structures can be vulnerable to strong winds and bad weather. If not properly secured, your investment could be damaged or even destroyed.
Learning how to anchor a small greenhouse is a critical step that ensures it remains a safe and stable environment for your plants year-round. This guide will walk you through the entire process, from choosing the right spot to selecting the best anchoring method, so you can have peace of mind knowing your garden sanctuary is secure.
Why Anchoring Is Important
Anchoring your greenhouse isn’t just a suggestion; it’s a necessity. Small greenhouses, often made from lightweight materials like aluminum and polycarbonate panels, can act like a kite in high winds. A strong gust can lift, shift, or completely topple an unsecured structure, leading to costly damage to the frame, panels, and the precious plants inside.
Properly securing your greenhouse to the ground provides the stability it needs to withstand the elements. This not only protects your financial investment but also prevents potential safety hazards from flying debris. A well-anchored greenhouse will have a much longer lifespan, allowing you to enjoy the benefits of year-round gardening without worrying about its structural integrity every time the weather turns. It’s a foundational step that guarantees your gardening efforts are protected.
8 Step-by-Step Guide on How to Anchor a Small Greenhouse
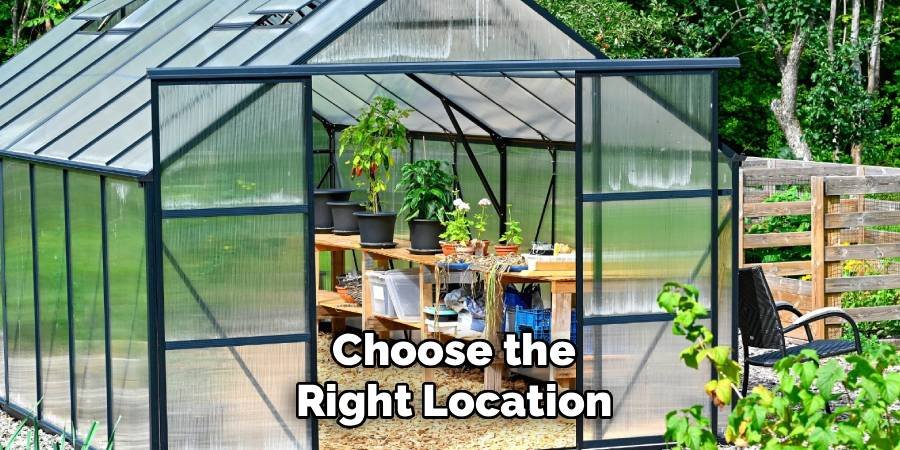
Step 1: Choose the Right Location
Before you even think about anchors, selecting the perfect spot is crucial. Look for a level area in your yard that receives ample sunlight but is also somewhat sheltered from direct, high winds. Placing your greenhouse near a fence, wall, or a line of trees can provide a natural windbreak, reducing the force it has to endure. Also, consider the ground itself. You need a stable foundation, so avoid areas that are prone to flooding or have very loose, sandy soil. A solid, well-drained spot will make the anchoring process much easier and more effective in the long run.
Step 2: Prepare a Solid Foundation
A level base is non-negotiable for a stable greenhouse. If your chosen location isn’t perfectly flat, you’ll need to prepare it. You can create a foundation using several materials. A simple option is to use treated timber to build a perimeter frame that sits directly on the ground. For a more permanent solution, consider a gravel pad or pouring a concrete slab. A concrete foundation offers the best possible stability and provides a solid surface to which you can bolt the greenhouse frame directly. Whichever method you choose, use a spirit level to ensure the foundation is perfectly even.
Step 3: Assemble the Greenhouse Frame
Follow the manufacturer’s instructions to assemble the main frame of your greenhouse on top of your prepared foundation. At this stage, it’s best to leave the panels off. Assembling only the frame makes the structure much lighter and easier to move and adjust. This ensures you can position it perfectly on your foundation before permanently fixing it in place. Building the frame first also gives you clear access to the base, which is essential for installing the anchors correctly. Double-check that the frame is square and all connections are tight before moving on to the next step.
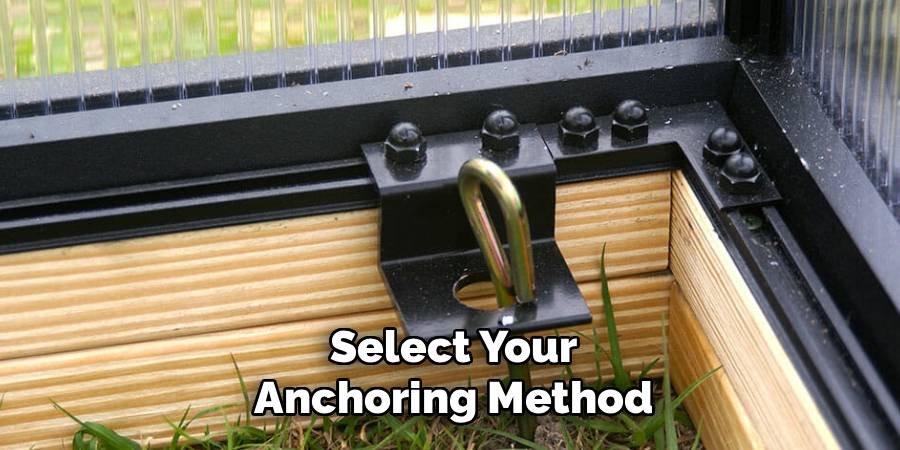
Step 4: Select Your Anchoring Method
There are several ways to secure a greenhouse, and the best method depends on your foundation. If you have a concrete slab, expansion bolts (like sleeve or wedge anchors) are an excellent choice. For a soil or gravel base, you can use auger-style ground anchors or drive stakes deep into the earth. Auger anchors are screwed into the ground and provide a very strong hold. Another effective option is a “dig-in” method, where you attach posts to the greenhouse base and bury them in concrete-filled holes. Consider your local weather conditions when making your choice.
Step 5: Attach Anchors to the Greenhouse Base
Once you’ve chosen your anchors, it’s time to attach them. If you are bolting the greenhouse to a concrete slab, drill holes through the base frame and into the concrete using a masonry bit. Then, insert and tighten the expansion bolts. For ground anchors, position them at each corner of the greenhouse. Screw the auger anchors deep into the soil until only the top loop is visible. For stake-based systems, drive them into the ground at an angle away from the greenhouse for maximum resistance. The key is to ensure there is a secure connection point at each corner of the structure.
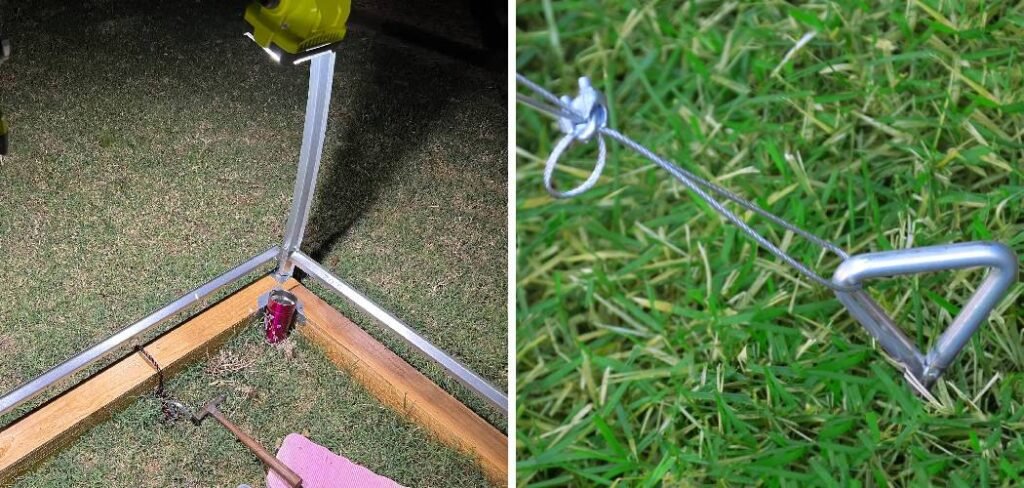
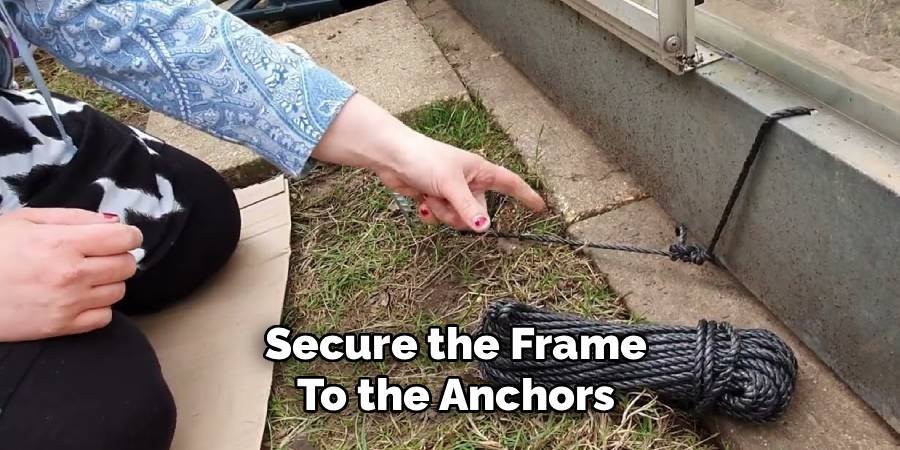
Step 6: Secure the Frame to the Anchors
With the anchors in place, the next step is to connect them firmly to the greenhouse frame. For ground anchors that have a loop or eyelet, you can use heavy-duty galvanized wire, cables, or turnbuckles to create a tight connection. Loop the wire through the anchor and around the base frame of the greenhouse, then tighten it until there is no slack. Turnbuckles are especially useful as they allow you to easily adjust the tension. If you used expansion bolts on a concrete pad, this step is already complete, as the bolts pass directly through the frame.
Step 7: Consider Additional Bracing
For areas with very high winds, adding extra bracing can provide another layer of security. You can install diagonal bracing kits, which are often sold by greenhouse manufacturers, inside the corners of the frame. These kits help prevent the frame from twisting or racking under pressure. Another great tip for securing the structure is to run a cable or strap over the entire roof of the greenhouse, attaching it to ground anchors on either side. This helps hold the structure down from the top, preventing lift during powerful gusts. This step is a key part of learning how to anchor a small greenhouse for extreme weather.
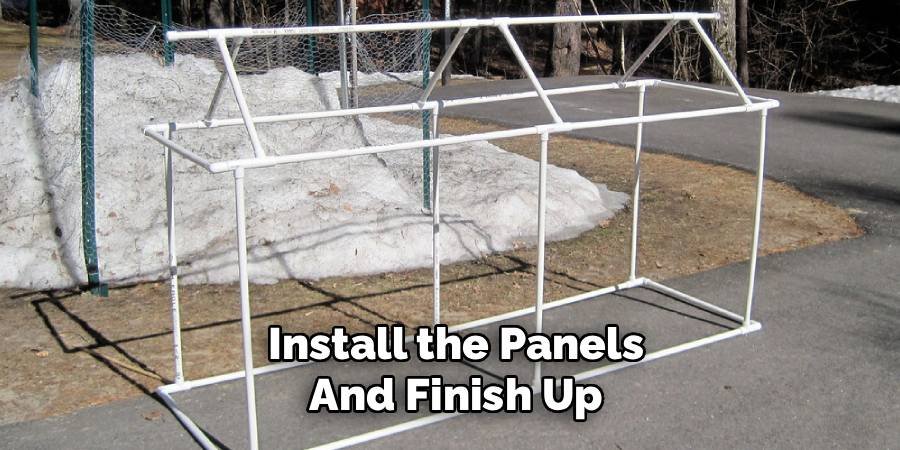
Step 8: Install the Panels and Finish Up
Now that the frame is securely anchored, you can proceed with installing the polycarbonate or glass panels according to the manufacturer’s instructions. With the frame locked down, you won’t have to worry about it shifting while you work. Once all the panels are in place, do a final check of all your anchors and connections. Ensure everything is tight and secure. Give the greenhouse a firm shake to test for any movement. A properly anchored greenhouse should feel solid and unmoving, ready to protect your plants for years to come.
Frequently Asked Questions
Can I Anchor a Greenhouse Without a Concrete Base?
Absolutely. While a concrete base provides maximum stability, it’s not the only option. You can effectively anchor a greenhouse directly into soil or on a gravel pad using auger-style ground anchors, also known as earth anchors. These screw deep into the ground and provide a very strong hold. You can then use galvanized wire or steel cables to connect the greenhouse frame to these anchors. Another method is to dig holes at each corner, set posts attached to the frame in the holes, and fill them with concrete.
How Many Anchors Do I Need for My Small Greenhouse?
As a general rule, you should use at least one anchor at each corner of your greenhouse. For a standard 6×8 foot greenhouse, four anchors are the minimum. If your greenhouse is longer than 10 feet or you live in an area with particularly high winds, it is highly recommended to add extra anchors along the longer sides. Placing an anchor every 4 to 6 feet along the perimeter will provide excellent stability and prevent the frame from bowing under wind pressure.
What Are the Best Types of Anchors for Windy Areas?
In windy regions, you need the most robust anchoring system possible. The best options include:
- Concrete Foundations: Bolting the greenhouse frame directly to a concrete slab using expansion bolts.
- Auger Anchors: These screw-in anchors provide a superior grip in soil compared to simple stakes.
- Concrete Footings: Digging holes at each corner and burying anchor posts in concrete provides an immovable base.
Combining these methods with internal cross-bracing and over-the-top straps will give your greenhouse the ultimate defense against strong winds.
How Deep Should Ground Anchors Be?
The depth depends on the type of anchor and your soil conditions. For auger-style anchors, you should screw them into the ground until the entire screw portion is buried, and only the top loop is exposed. This is typically between 15 and 30 inches deep. For stakes, they should be driven at least 12 to 18 inches into the ground. In areas with loose or sandy soil, you will need to go deeper or use anchors with wider flutes to achieve a secure hold.
Can I Move My Greenhouse After It Has Been Anchored?
Moving an anchored greenhouse can be difficult, depending on the method used. If you bolted it to a concrete slab, you would need to unbolt it completely. If you used auger anchors, you can unscrew them from the ground and reinstall them in a new location. However, a greenhouse anchored with concrete footings is considered a permanent installation and cannot be easily moved. If you anticipate needing to relocate your greenhouse in the future, choose a less permanent anchoring method like stakes or auger anchors.
Conclusion
Securing your small greenhouse is one of the most important projects you can undertake as a gardener. It transforms a fragile structure into a durable, weather-resistant haven for your plants. By following these steps—from preparing a solid foundation to choosing the right anchors and ensuring every connection is tight—you safeguard your investment and create a stable growing environment. Taking the time to properly learn how to anchor a small greenhouse will give you confidence that your garden sanctuary can withstand whatever nature throws at it, allowing you to focus on the joy of gardening.
About Ravuk Barg
B.Sc. Horticulture Science | Certified Master Gardener
Ravuk Barg has spent more than a decade with his hands in the soil and his head full of questions about why some gardens thrive while others struggle. What started as a single raised bed of tomatoes and basil in a modest backyard has grown into a deep, working knowledge of everything from seed germination and soil amendment to companion planting and seasonal pruning.
Over the years, Ravuk has gardened through drought summers, waterlogged springs, and pest invasions that would make most gardeners hang up their trowels for good. Those hard seasons, he’ll tell you, taught him more than any perfect growing year ever could. He writes from that earned experience—covering vegetable growing, ornamental planting, houseplant care, composting, and garden design with equal confidence and curiosity.
Philosophy & Approach
Ravuk’s approach to gardening is rooted in practicality. He favors organic methods not out of dogma, but because they work long-term—resulting in healthier soil, fewer inputs, and stronger plants. He has a particular fondness for heirloom vegetable varieties (the kind with proper flavor), unruly cottage-style flower beds, and the stubborn houseplants that everyone else gave up on.
The Mission: Give readers the honest, experience-backed advice that helps them actually succeed in their gardens—not just the ideal version, but the real one; weeds, failures, and all.
Education & Credentials
-
B.Sc. in Horticulture Science
-
Greenfield Agricultural University
-
Focus: Plant Physiology, Soil Ecology, and Sustainable Crop Production
-
-
Master Gardener Certification
-
Cooperative Extension Service
-
Focus: 200+ hours of hands-on practical training and community garden work
-
Continuing Education
-
Organic Pest Management
-
Native Plant Landscaping
-
Sustainable Crop Production