

A lush, vibrant lawn is the pride of many homeowners, but achieving it often involves more than just regular watering and mowing. One of the best-kept secrets to a thriving turf is harnessing the power of nature’s own helpers: mycorrhizal fungi. These beneficial microbes form a symbiotic relationship with your grass roots, extending their reach and boosting their ability to absorb water and nutrients.
If you’re looking for a sustainable way to create a healthier, more resilient lawn, Learning how to add mycorrhizae to lawn is a game-changer. This guide will walk you through the entire process, making it simple for even beginner gardeners to unlock the benefits of this amazing natural partnership.
Why Mycorrhizae Are Essential for a Healthy Lawn
Mycorrhizal fungi are not just a trendy garden supplement; they are a fundamental component of a healthy soil ecosystem. These fungi create a vast network of microscopic filaments, called hyphae, that attach to and extend far beyond the grass’s root system. This “fungal net” acts as a secondary root system, dramatically increasing the surface area available for nutrient and water absorption.
For your lawn, this means better access to essential nutrients like phosphorus and nitrogen, which are often locked up in the soil and unavailable to roots alone. Lawns treated with mycorrhizae are more drought-tolerant because the fungal network can seek out moisture from a larger soil volume. This partnership also enhances your lawn’s natural defenses against common stressors, including soil-borne diseases and environmental pressures. By fostering this beneficial relationship, you build a stronger, self-sustaining turf that requires less fertilizer, less water, and less chemical intervention over time.
8 Step-by-Step Guide on How to Add Mycorrhizae to Lawn
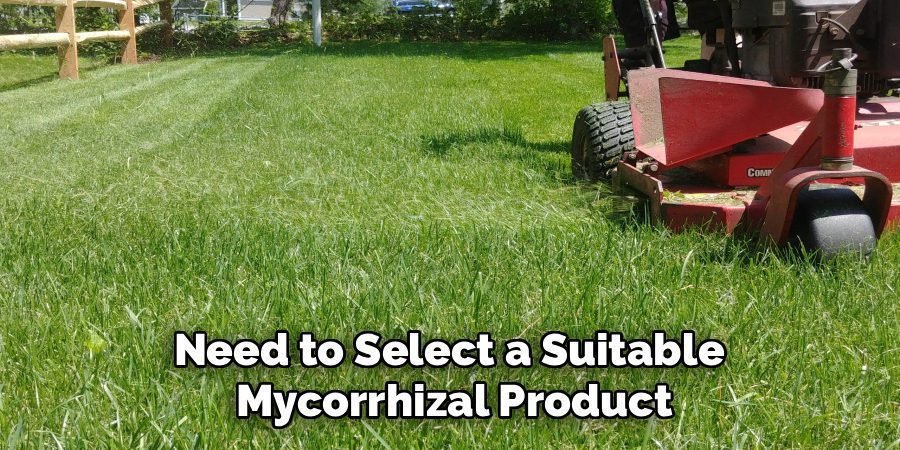
Step 1: Choose the Right Mycorrhizae Product
First, you need to select a suitable mycorrhizal product. These come in various forms, including granular, powder, and liquid. For established lawns, granular products are often the easiest to apply with a standard fertilizer spreader. Powders can be mixed with water to create a liquid drench. Look for products containing Endomycorrhizae (also known as Arbuscular Mycorrhizal Fungi or AMF), as this is the type that forms a relationship with turfgrass. Check the label for a high concentration of propagules or spores to ensure you are getting a potent and effective product for your lawn care efforts.
Step 2: Determine the Best Time to Apply
Timing is crucial for successful inoculation. The best time to apply mycorrhizae is during periods of active root growth, which typically occurs in the spring and fall. Applying the fungi when temperatures are mild allows them to establish themselves quickly without the stress of extreme summer heat or winter cold. Aerating your lawn just before application is highly recommended, as this creates channels for the fungi to reach the root zone more effectively. Avoid applying right before a heavy downpour that could wash the product away or during a drought when the soil is too dry for the fungi to thrive.
Step 3: Prepare Your Lawn for Application
Proper preparation ensures the mycorrhizae make direct contact with the soil and roots. Start by mowing your lawn to a slightly shorter height than usual, around 2 to 2.5 inches. This allows the product to reach the soil surface more easily. After mowing, it’s highly beneficial to aerate your lawn. Core aeration, which pulls small plugs of soil from the ground, is ideal. These holes create direct pathways for the mycorrhizal spores to get down into the root zone where they are needed most. Rake away any excess thatch or debris before you begin the application process.
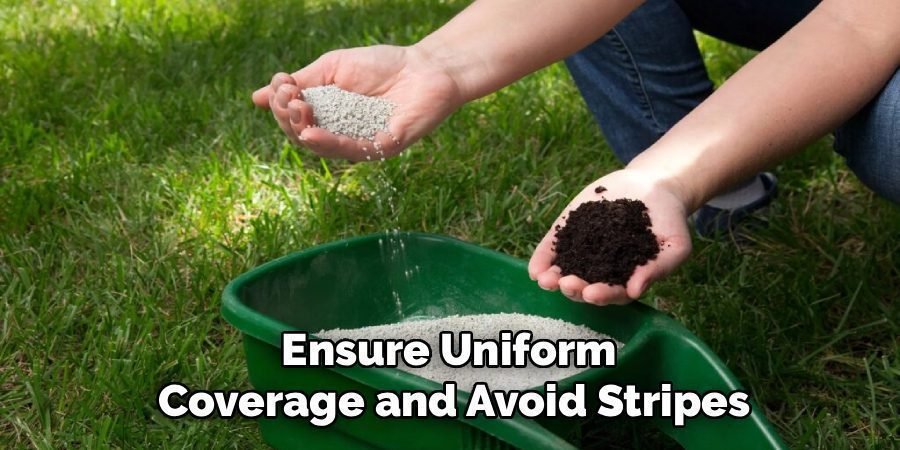
Step 4: How to Add Mycorrhizae to Lawn with a Spreader
For granular mycorrhizae, a broadcast or drop spreader is the most efficient tool for an even application. Calibrate your spreader according to the product manufacturer’s instructions, as application rates can vary. To ensure uniform coverage and avoid stripes, apply half of the recommended amount while walking in one direction (e.g., north to south) and the other half while walking in a perpendicular direction (e.g., east to west). This crisscross pattern helps distribute the granules evenly across the entire lawn, giving every blade of grass a chance to benefit from the fungal inoculation.
Step 5: Mix and Apply Liquid Mycorrhizae
If you’ve chosen a water-soluble powder or liquid concentrate, you will need to mix it with water before application. Follow the package directions carefully to get the correct ratio of product to water. A hose-end sprayer or a pump sprayer is perfect for this task. Systematically spray the mixture across your entire lawn, ensuring you get even coverage. Walk at a steady pace and overlap your spray patterns slightly to avoid missing any spots. This method is excellent for delivering the fungi directly to the soil surface, where they can be watered into the root zone.
Step 6: Water the Lawn Thoroughly After Application
Immediately after applying the mycorrhizae, whether granular or liquid, it is essential to water your lawn. This step serves two critical purposes. First, it washes the spores off the grass blades and down into the soil where they can make contact with the roots. Second, it activates the spores and provides the moisture they need to germinate and begin growing. Water the lawn for about 15 to 20 minutes, applying enough to moisten the top few inches of soil but not so much that you create runoff. This ensures the fungi stay in the root zone.
Step 7: Apply to New Lawns or During Seeding
Applying mycorrhizae when establishing a new lawn is one of the most effective methods. If you are seeding, you can mix granular mycorrhizae directly with the grass seed and apply them together with a spreader. This ensures the fungi are present right as the new roots begin to develop. If you are laying sod, you can lightly sprinkle the granular product on the prepared soil right before you lay the sod pieces down. This direct contact with the new roots gives your lawn a powerful head start and promotes rapid, healthy establishment from day one.

Step 8: Post-Application Care and Maintenance
After you learn how to add mycorrhizae to lawn and complete the application, maintain a supportive environment for the fungi. For the next few weeks, reduce the use of high-phosphorus synthetic fertilizers, as excessive phosphorus can suppress the symbiotic relationship. Instead, opt for organic or slow-release, low-phosphorus fertilizers. Continue your regular mowing and watering schedule, but be mindful that your lawn will become more efficient at water uptake over time. The mycorrhizal network can take several weeks to months to fully establish, so patience is key. Over time, you’ll notice a more resilient and vibrant lawn.
Frequently Asked Questions (FAQ)
Can I Use Fertilizer with Mycorrhizae?
Yes, you can use fertilizer, but it’s best to be strategic. High levels of phosphorus can inhibit the development of the mycorrhizal relationship, as the plant will not signal the fungi for help if it already has an abundant supply. It is recommended to use slow-release, organic, or low-phosphorus fertilizers after application. This approach provides the necessary nutrients for your grass without disrupting the beneficial fungal partnership you are trying to establish.
How Often Should I Apply Mycorrhizae to My Lawn?
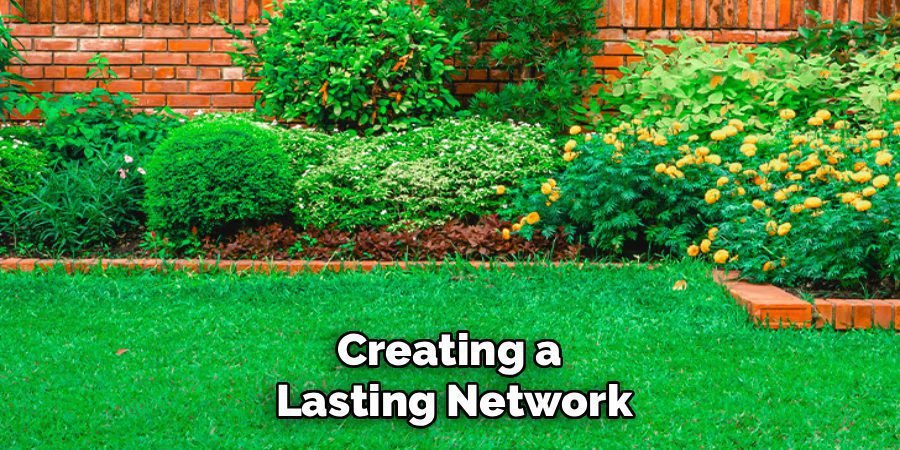
For most established lawns, a single thorough application is often sufficient to establish a permanent colony of mycorrhizal fungi. These fungi will grow and reproduce within the soil, creating a lasting network. However, if your lawn undergoes significant stress or soil disruption, such as heavy re-landscaping, tilling, or soil compaction, a reapplication may be beneficial. For new lawns, applying during seeding or sodding is a one-time step that provides long-term benefits.
Will Mycorrhizae Harm My Pets or Children?
Mycorrhizal fungi are naturally occurring, non-toxic soil organisms and are completely safe for pets, children, and wildlife. They are not pathogens or chemicals. The products are simply carriers for these beneficial spores. Once watered into the soil, they become part of the natural ecosystem. You can confidently let your family and pets enjoy the lawn immediately after you have watered the product into the soil, as there is no risk of harm.
Can Mycorrhizae Help a Struggling or Patchy Lawn?
Absolutely. Mycorrhizae can be particularly helpful for struggling or patchy areas of a lawn. These weak spots often suffer from poor soil conditions, compaction, or nutrient deficiencies. By introducing mycorrhizae, you improve the root system’s ability to access locked-up nutrients and water, which can invigorate weak grass and help it compete against weeds. Aerating these specific patches before application can be especially effective, as it ensures the spores reach the stressed root systems.
What is the Difference Between Endo and Ectomycorrhizae?
The main difference is how they interact with plant roots. Endomycorrhizae penetrate the root cells to exchange nutrients, forming a symbiotic relationship from within. This type is what grasses and most garden plants use. Ectomycorrhizae, on the other hand, form a sheath around the outside of the roots and are primarily associated with woody plants and trees like pines and oaks. When treating a lawn, it is crucial to use a product containing endomycorrhizae for it to be effective.
Conclusion
Building a healthy, resilient lawn is about working with nature, not against it. By introducing beneficial mycorrhizal fungi, you are creating a stronger, more self-sufficient ecosystem right beneath your feet. This powerful symbiotic relationship enhances nutrient uptake, improves drought resistance, and strengthens your turf against disease. The process is straightforward, and the long-term rewards—a greener lawn with less need for water and fertilizer—are well worth the effort. Now that you know how to add mycorrhizae to lawn, you have the knowledge to cultivate a truly thriving outdoor space.
About Ravuk Barg
B.Sc. Horticulture Science | Certified Master Gardener
Ravuk Barg has spent more than a decade with his hands in the soil and his head full of questions about why some gardens thrive while others struggle. What started as a single raised bed of tomatoes and basil in a modest backyard has grown into a deep, working knowledge of everything from seed germination and soil amendment to companion planting and seasonal pruning.
Over the years, Ravuk has gardened through drought summers, waterlogged springs, and pest invasions that would make most gardeners hang up their trowels for good. Those hard seasons, he’ll tell you, taught him more than any perfect growing year ever could. He writes from that earned experience—covering vegetable growing, ornamental planting, houseplant care, composting, and garden design with equal confidence and curiosity.
Philosophy & Approach
Ravuk’s approach to gardening is rooted in practicality. He favors organic methods not out of dogma, but because they work long-term—resulting in healthier soil, fewer inputs, and stronger plants. He has a particular fondness for heirloom vegetable varieties (the kind with proper flavor), unruly cottage-style flower beds, and the stubborn houseplants that everyone else gave up on.
The Mission: Give readers the honest, experience-backed advice that helps them actually succeed in their gardens—not just the ideal version, but the real one; weeds, failures, and all.
Education & Credentials
-
B.Sc. in Horticulture Science
-
Greenfield Agricultural University
-
Focus: Plant Physiology, Soil Ecology, and Sustainable Crop Production
-
-
Master Gardener Certification
-
Cooperative Extension Service
-
Focus: 200+ hours of hands-on practical training and community garden work
-
Continuing Education
-
Organic Pest Management
-
Native Plant Landscaping
-
Sustainable Crop Production