

As a gardener, you pour your heart into nurturing your plants. The thought of winter’s chill undoing all your hard work can be discouraging. Fortunately, protecting your green haven is easier than you might think. A well-insulated greenhouse can be the difference between a thriving year-round garden and a dormant, empty space. This guide will walk you through exactly how do you insulate a greenhouse for winter, providing simple, effective steps to keep your plants safe and warm. We’ll cover everything from sealing gaps to choosing the right materials, ensuring you have the confidence to tackle this project and extend your growing season.
Why Insulating Your Greenhouse Matters
Protecting your greenhouse from the cold is about more than just keeping plants alive; it’s an investment in your gardening passion. An uninsulated structure is highly vulnerable to heat loss. This means any warmth from the sun or a heater escapes quickly, forcing your heating system to work overtime and driving up energy costs. More importantly, fluctuating temperatures and frost can cause serious damage to your plants, leading to wilting, stunted growth, or even death. By properly insulating, you create a stable, warm environment that shields your plants from the harshest winter weather, reduces your energy bills, and allows you to enjoy gardening throughout the year.
8 Step-by-Step Guide on How Do You Insulate a Greenhouse for Winter
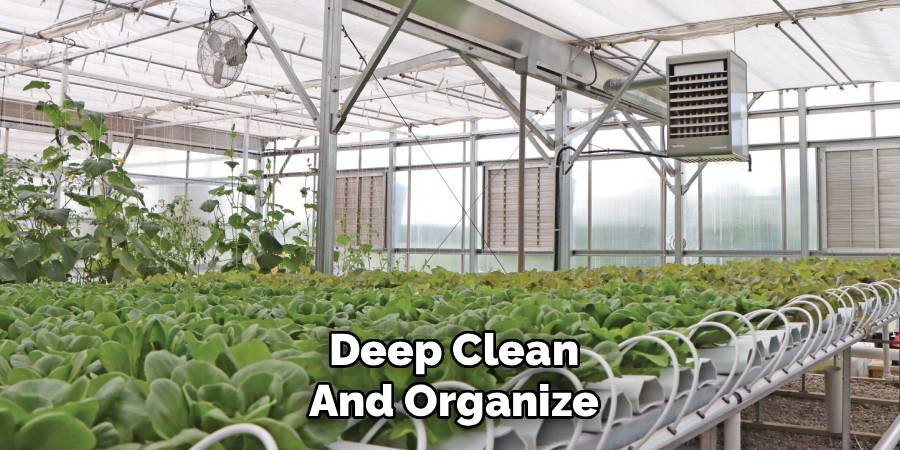
Step 1: Deep Clean and Organize
Before you can begin insulating, a thorough cleaning is essential. Start by removing all plants, pots, tools, and benches from the greenhouse. This gives you a clear, unobstructed space to work in. Sweep out any old soil, leaves, and other debris from the floor. Use a mild soap and water solution to wash the glazing panels, both inside and out. Clean panes allow maximum sunlight to enter and warm the space, which is crucial during the shorter winter days. A clean environment also helps prevent pests and diseases from overwintering and causing problems in the spring.
Step 2: Inspect for and Seal Air Leaks
With the greenhouse empty and clean, your next task is to conduct a detailed inspection for any gaps or cracks. Pay close attention to the areas where the glazing panels meet the frame, around doors, and near vents. Even small openings can let a surprising amount of cold air in and warm air out. On a windy day, you can often feel these drafts with your hand. For sealing, use a high-quality, weather-resistant silicone caulk for gaps in the frame and replace any worn-out weatherstripping around doors and vents. This simple step is one of the most effective ways to prevent heat loss.
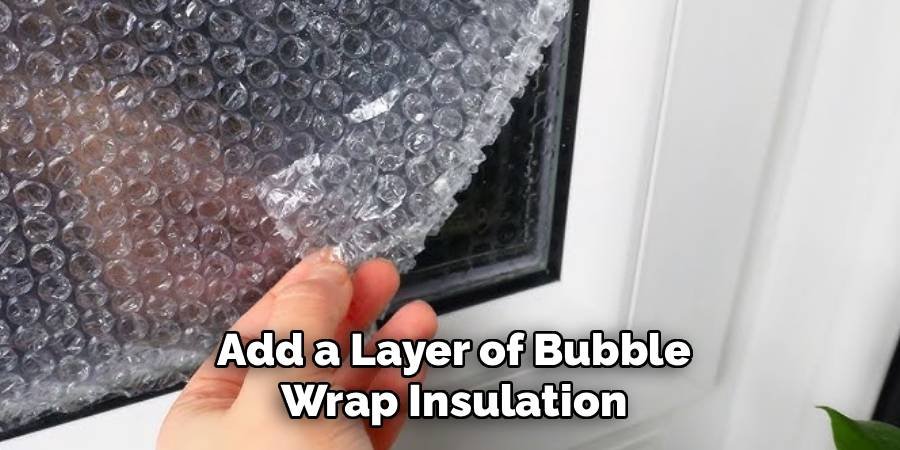
Step 3: Add a Layer of Bubble Wrap Insulation
One of the most popular and cost-effective methods for greenhouse insulation is using horticultural bubble wrap. This is not the same as standard packaging bubble wrap; it is thicker, UV-stabilized, and designed to withstand the greenhouse environment. The trapped air within the bubbles creates an insulating barrier that significantly reduces heat loss. Cut the bubble wrap to fit each pane of glass or polycarbonate and attach it directly to the interior of the frame using specialized clips or double-sided tape. Ensure there is a small air gap between the glazing and the bubble wrap for maximum effectiveness.
Step 4: How to Insulate a Greenhouse Floor for Winter
A surprising amount of cold can seep up from the ground, so insulating the floor is a critical step. If you have a soil or gravel floor, laying down a thick layer of mulch, straw, or wood chips can provide a natural insulating barrier. For concrete or paved floors, consider placing insulating floor mats or polystyrene foam boards down, especially in the main walkways. Another effective technique is to place your potted plants on benches or shelves rather than directly on the cold ground. This elevates them away from the coldest surface and improves air circulation around their root systems.
Step 5: Insulate the North-Facing Wall
The north-facing wall of your greenhouse typically receives the least amount of sunlight and is most exposed to cold winter winds. Because it contributes little to solar heating, you can afford to cover it with a more robust insulating material without blocking valuable light. Attach reflective foam insulation boards or even a thick thermal blanket to the interior of the north wall. The reflective surface will bounce any available light and heat back into the greenhouse, while the insulation itself will block the cold from penetrating. This targeted approach significantly improves your greenhouse’s overall heat retention.
Step 6: Use Thermal Mass to Store Heat
Harness the power of the sun by incorporating thermal mass into your greenhouse. Thermal mass refers to materials that can absorb and store heat during the day and then slowly release it at night as temperatures drop. Large barrels or containers painted black and filled with water are an excellent option. Place them in sunny spots where they can soak up the daytime warmth. Stone, concrete, or large rocks also work well. This passive heating method helps to stabilize the internal temperature, reducing the need for an electric or gas heater and protecting your plants from sudden temperature swings overnight.
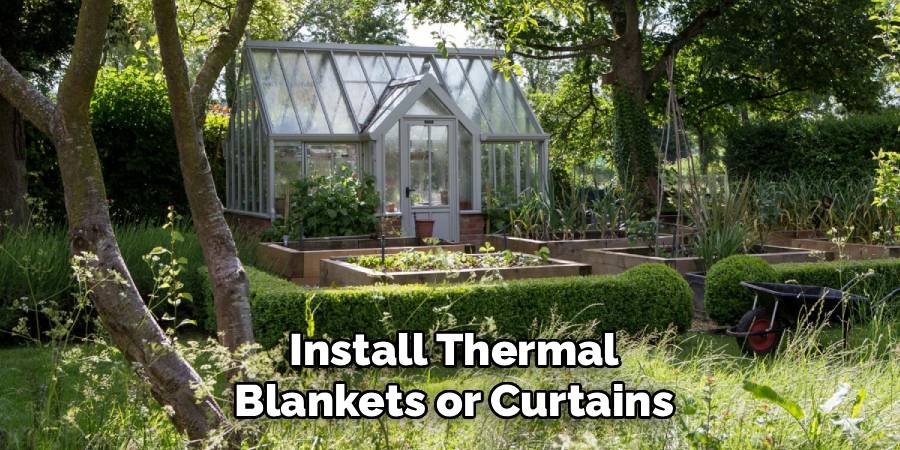
Step 7: Install Thermal Blankets or Curtains
For an extra layer of protection during the coldest nights, consider installing thermal blankets or energy curtains. You can hang these from the greenhouse ceiling or frame in the late afternoon, just before sunset, to trap the day’s accumulated warmth. In the morning, simply pull them back to allow sunlight to enter and warm the space again. This method acts like putting a cozy blanket over your entire greenhouse, providing a significant boost in insulation when it’s needed most. You can purchase commercial-grade thermal curtains or create your own using thick fabrics or frost cloths.
8. Improve Sealing and Weatherproofing
Ensure your greenhouse is well-sealed to prevent drafts and heat loss. Inspect the structure for any gaps, cracks, or damaged areas where cold air could enter. Use weatherstripping, caulk, or foam sealants to seal around doors, windows, and any other openings. Additionally, check that all panels or coverings are securely in place and replace any that are cracked or loose. Proper sealing not only retains heat but also protects your plants from extreme temperature fluctuations during the colder months.
Frequently Asked Questions (FAQ)
What Is the Cheapest Way to Insulate a Greenhouse?
The most budget-friendly method is to use horticultural bubble wrap. It is relatively inexpensive, easy to install, and highly effective at creating an insulating air barrier against the glazing. Thoroughly sealing all air leaks with silicone caulk is another low-cost, high-impact step. Combining these two methods provides significant protection without a large financial investment, making it an ideal choice for beginner gardeners or those with smaller structures.
Can I Use Regular Bubble Wrap for My Greenhouse?
While you can use regular packaging bubble wrap in a pinch, it is not recommended for long-term use. Standard bubble wrap is not UV-stabilized, meaning it will quickly degrade, become brittle, and turn yellow when exposed to sunlight. Horticultural bubble wrap is specifically designed to be thicker and more durable to withstand the greenhouse environment for several seasons, offering better insulation and value over time.
Should I Insulate the Roof of My Greenhouse?
Yes, you should insulate the roof, as a significant amount of heat is lost upwards. However, you must strike a balance between insulation and light transmission.
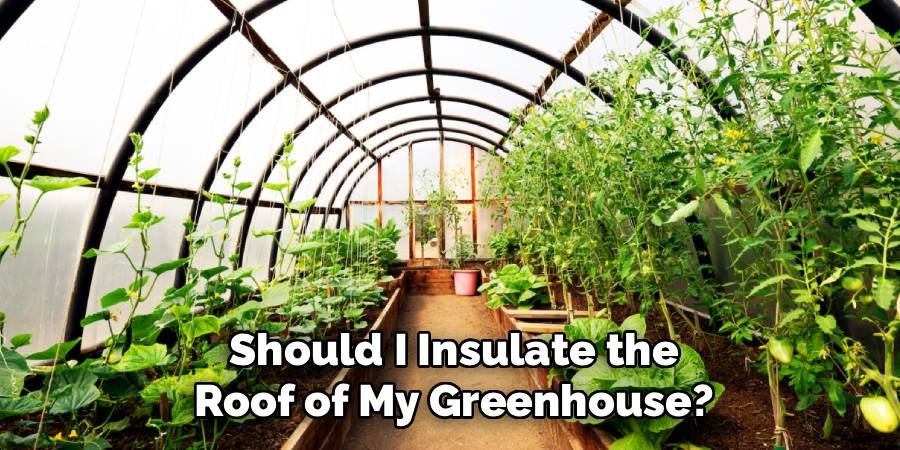
- Apply a single layer of horticultural bubble wrap to the roof panels.
- This will provide insulation while still allowing sufficient sunlight to reach your plants.
- Avoid using opaque materials on the roof, as blocking sunlight during short winter days can be detrimental to plant health.
How Can I Heat My Greenhouse Without Electricity?
You can use passive heating methods. The most effective technique involves using thermal mass, such as large, black barrels filled with water. These absorb solar energy during the day and radiate heat back at night. Another option is to create a small-scale compost pile inside the greenhouse; the decomposition process generates a surprising amount of natural heat. For very cold climates, a well-maintained paraffin or propane heater can also be used, but ensure proper ventilation to avoid harmful fumes.
Do I Need to Ventilate an Insulated Greenhouse in Winter?
Absolutely. Even in winter, ventilation is crucial for preventing the buildup of humidity, which can lead to fungal diseases like botrytis and mildew. A lack of air exchange can also cause condensation to form on the inside of your glazing, reducing light penetration. On mild, sunny days, open the door or vents for a short period around midday to allow fresh air to circulate without causing a drastic drop in temperature.
Conclusion
Preparing your garden for the colder months doesn’t have to be a daunting task. By following these steps, you can create a snug and stable environment for your plants to flourish all winter long. From a thorough cleaning and sealing drafts to adding layers of bubble wrap and leveraging thermal mass, each action contributes to a warmer, more energy-efficient space. Now that you understand how do you insulate a greenhouse for winter, you are well-equipped to protect your botanical treasures from the cold and extend your growing season for year-round enjoyment.
About Ravuk Barg
B.Sc. Horticulture Science | Certified Master Gardener
Ravuk Barg has spent more than a decade with his hands in the soil and his head full of questions about why some gardens thrive while others struggle. What started as a single raised bed of tomatoes and basil in a modest backyard has grown into a deep, working knowledge of everything from seed germination and soil amendment to companion planting and seasonal pruning.
Over the years, Ravuk has gardened through drought summers, waterlogged springs, and pest invasions that would make most gardeners hang up their trowels for good. Those hard seasons, he’ll tell you, taught him more than any perfect growing year ever could. He writes from that earned experience—covering vegetable growing, ornamental planting, houseplant care, composting, and garden design with equal confidence and curiosity.
Philosophy & Approach
Ravuk’s approach to gardening is rooted in practicality. He favors organic methods not out of dogma, but because they work long-term—resulting in healthier soil, fewer inputs, and stronger plants. He has a particular fondness for heirloom vegetable varieties (the kind with proper flavor), unruly cottage-style flower beds, and the stubborn houseplants that everyone else gave up on.
The Mission: Give readers the honest, experience-backed advice that helps them actually succeed in their gardens—not just the ideal version, but the real one; weeds, failures, and all.
Education & Credentials
-
B.Sc. in Horticulture Science
-
Greenfield Agricultural University
-
Focus: Plant Physiology, Soil Ecology, and Sustainable Crop Production
-
-
Master Gardener Certification
-
Cooperative Extension Service
-
Focus: 200+ hours of hands-on practical training and community garden work
-
Continuing Education
-
Organic Pest Management
-
Native Plant Landscaping
-
Sustainable Crop Production