

An old or unused pond can often feel like a wasted space in your yard. Perhaps it’s become difficult to maintain, or maybe your vision for your outdoor area has simply changed. Whatever the reason, you have a fantastic opportunity to reclaim that space and create something new and beautiful. This guide will walk you through the process of how to convert a pond into a garden, turning that watery pit into a thriving patch of green.
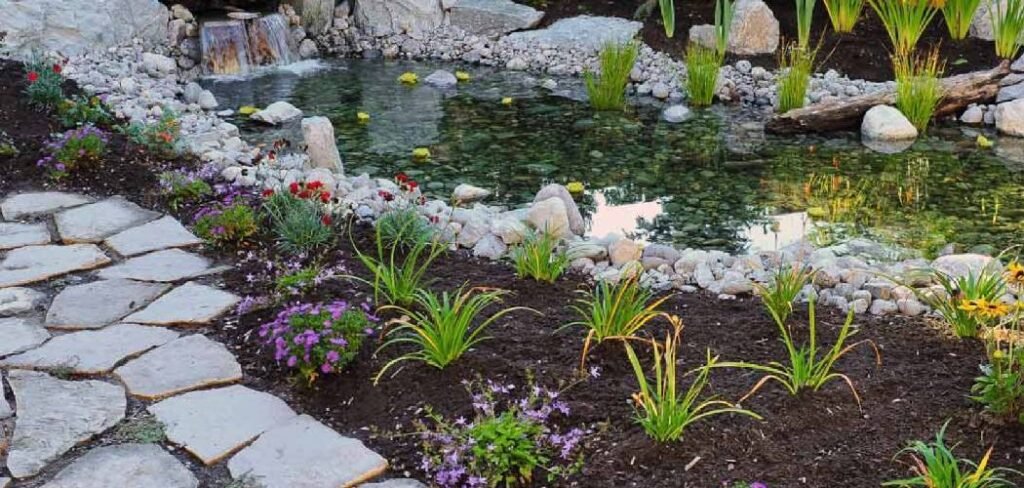
It’s a rewarding project that can completely transform the look and feel of your backyard. With a bit of planning and some physical effort, you can create a vibrant garden bed that adds color, life, and value to your home.
Why Transform Your Pond?
Deciding to repurpose a pond is about more than just changing your landscape; it’s about making your outdoor space work for you. Ponds require significant upkeep, from cleaning filters and managing algae to ensuring the health of fish and aquatic plants. This can be time-consuming and expensive. By converting it into a garden, you trade high-maintenance water features for a more versatile and often lower-maintenance green space. This new garden bed can become a home for beautiful flowers, a productive vegetable patch, or a serene rock garden. It also eliminates potential safety hazards for households with small children or pets, giving you peace of mind while enhancing your property’s overall appeal.
9 Step-by-Step Guide on How to Convert a Pond into a Garden
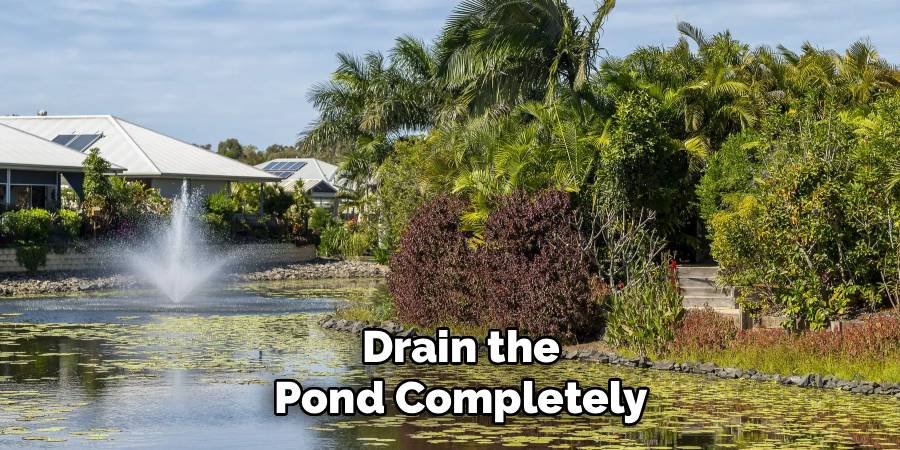
Step 1: Drain the Pond Completely
The first essential step is to completely drain the pond of all water. For smaller ponds, a bucket may suffice, but for larger ones, you will likely need a submersible pump. You can rent these from most hardware or tool rental stores. Place the pump at the lowest point of the pond and run the outlet hose to a suitable drainage area, like a storm drain or a part of your yard that can handle a large volume of water. Be mindful of local regulations regarding water disposal. Continue pumping until the pond is empty, leaving only muck and sludge at the bottom.
Step 2: Remove Aquatic Life and Plants
Before you start filling the pond, you must safely remove and rehome any fish, frogs, or other aquatic animals. You can temporarily house them in a large container or tub filled with the pond water. It is crucial to find a new, permanent home for them, whether it’s with a friend who has a pond, a local garden center, or a specialized rescue organization. Do not release them into local waterways, as this can harm the native ecosystem. Similarly, dig out all aquatic plants, as they can rot and create air pockets in your new garden bed, causing the soil to sink over time.
Step 3: Clear Out Sludge and Debris
Once the pond is empty and the wildlife is removed, it’s time to get messy. The bottom of the pond will be covered in a layer of sludge, composed of decomposed leaves, fish waste, and other organic matter. Use a shovel and a bucket to scoop out this material. While it might seem unpleasant, this nutrient-rich sludge is an excellent addition to your compost pile. After removing the sludge, give the pond liner or basin a thorough cleaning with a stiff brush and hose to remove any remaining algae or residue. This ensures a clean slate for your garden project.
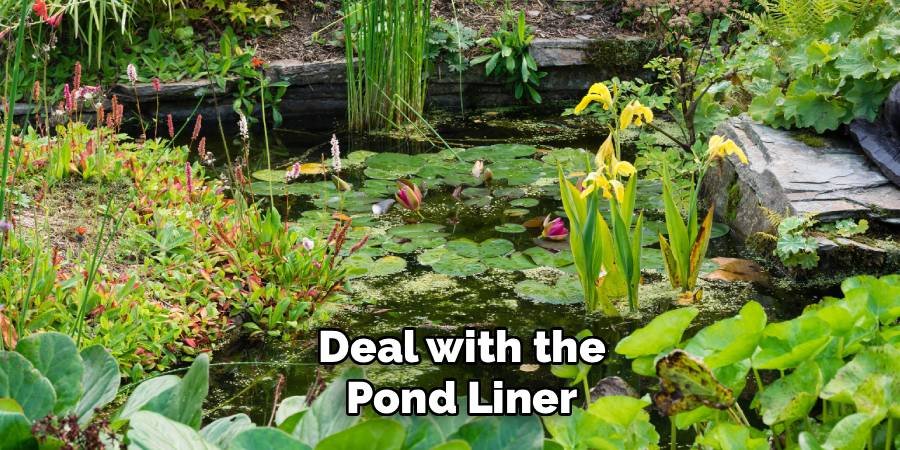
Step 4: Deal with the Pond Liner
Next, you need to decide what to do with the pond liner. If it is a flexible liner, you can use a utility knife to cut it into manageable pieces and remove it. However, removing it isn’t always necessary. A simpler option is to puncture it thoroughly to allow for proper drainage. Use a drill, shovel, or pickaxe to create dozens of holes across the entire surface of the liner. This step is critical; without adequate drainage, your new garden bed will become a waterlogged swamp, drowning the roots of your plants. For pre-formed rigid or concrete ponds, this step is even more important.
Step 5: How to Convert a Pond into a Garden by Creating Drainage Holes
For rigid fiberglass or concrete ponds, creating drainage is the most physically demanding part of the project. You will need to break through the bottom to connect your new garden with the earth below. For concrete, a sledgehammer or a rented jackhammer will be necessary to smash several large holes in the base. For a pre-formed plastic shell, a drill with a large bit or a reciprocating saw can be used to cut out multiple drainage holes. The goal is to ensure that excess water has a clear path to escape, preventing the “bathtub effect” and promoting healthy plant growth.
Step 6: Add a Base Layer for Drainage
With the liner or shell punctured, the next step is to create a drainage layer. This prevents the fill material from clogging the holes you just made and further improves water flow. Fill the bottom 25% of the pond cavity with coarse materials like gravel, broken bricks, small rocks, or even larger pieces of the concrete you may have broken up. This layer creates air pockets that allow water to move freely down and away from the plant roots. This is especially important in deeper ponds, as it reduces the amount of expensive topsoil you’ll need to purchase.
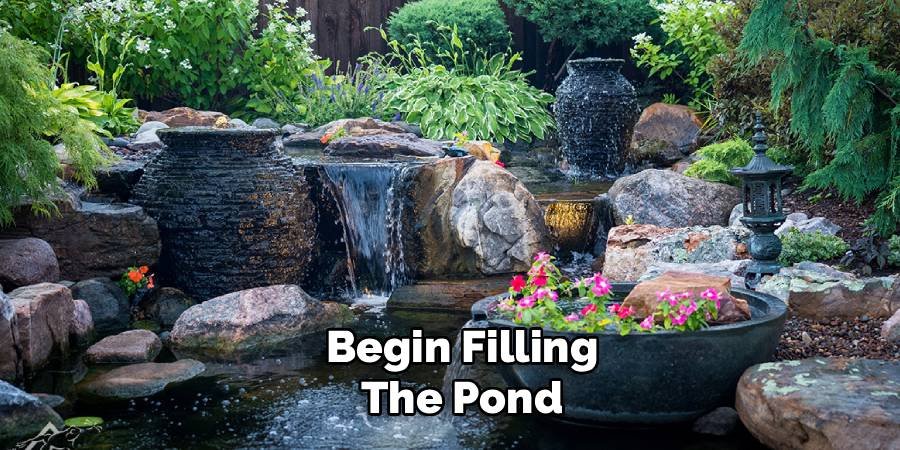
Step 7: Begin Filling the Pond
Now you can start filling the main body of the pond. To save money on topsoil, use less expensive materials for the bulk of the fill. Subsoil, which is the layer of earth beneath the topsoil in your yard, is a great option. You can also use a mixture of sand and compost. Fill the pond in layers, lightly compacting each one as you go to prevent major settling later on. Continue adding your fill material until you are about 12 inches from the top edge of the former pond. This top layer will be reserved for high-quality soil.
Step 8: Top with High-Quality Garden Soil
The final 12 inches of your new garden bed should be filled with a high-quality topsoil or a garden mix rich in organic matter. This nutrient-dense layer is where your plants’ roots will establish themselves, so it’s worth investing in good soil. You can buy bagged garden soil from a nursery or have a bulk mix of soil and compost delivered. Spread it evenly over the fill material, bringing the soil level up to match the surrounding ground. Gently rake the surface to create a smooth, level bed ready for planting.
Step 9: How to Convert a Pond into a Garden and Choose Your Plants
Congratulations, you have successfully transformed your pond into a garden bed! Now for the fun part: choosing your plants. Consider the amount of sunlight the area receives throughout the day. Is it full sun, part shade, or full shade? Select plants that are well-suited to those conditions. You might opt for a colorful flower bed with perennials and annuals, a functional vegetable garden, or a low-maintenance rock garden with succulents and ornamental grasses. Let the soil settle for a week or two, then you can begin planting and watch your new garden come to life.
Frequently Asked Questions
Can I Fill a Pond Without Draining It?
No, it is not recommended to fill a pond without draining it first. Trapped water, along with decaying organic matter like sludge and aquatic plants, will create an unstable, waterlogged environment. This can lead to:
- Significant soil sinking over time.
- Foul odors from decomposition.
- Poor drainage that will kill plant roots.
Properly draining and cleaning the pond is a crucial first step for creating a healthy and long-lasting garden bed.
What Is the Cheapest Way to Fill an Old Pond?
The most budget-friendly method is to use materials you already have. After creating a drainage layer with rocks or rubble, use subsoil excavated from another part of your yard as the primary fill. You can also ask neighbors if they have excess soil from a recent project. Mixing in organic materials like leaves and grass clippings (not from the pond sludge) can also add bulk. The key is to only purchase high-quality topsoil and compost for the final top layer where plants will grow.
Do I Have to Remove a Concrete Pond Liner?
You do not have to remove the entire concrete shell, which can be a very difficult and expensive task. The most important thing is to ensure drainage. Use a sledgehammer or jackhammer to break several large holes in the bottom of the concrete basin. This will allow water to drain into the ground beneath. You can then fill the shell as you would any other pond, using the broken concrete pieces as part of your initial drainage layer.
How Long Does It Take for the New Soil to Settle?
It is wise to let the new soil settle for at least one to two weeks before planting. Even with some light tamping during the filling process, the soil will naturally compact further, especially after the first rainfall or watering. This waiting period allows you to identify any low spots that need more soil. Topping up these areas before planting ensures you have a level and stable garden bed for your new plants to thrive in.
What Kind of Garden Is Best for a Converted Pond Area?
The best type of garden depends on your yard’s conditions and your personal preferences. Because the area will have deep, well-draining soil, it is an excellent spot for plants that enjoy these conditions. Consider a perennial flower bed, a small vegetable or herb garden, or a collection of ornamental shrubs. Be sure to assess the sunlight the area gets. A sunny spot is perfect for vegetables and vibrant flowers, while a shady spot is ideal for hostas, ferns, and hydrangeas.
Conclusion
By following these steps, you can successfully tackle the project of transforming an unused pond into a beautiful and functional garden. The process involves draining the pond, rehoming wildlife, ensuring proper drainage, and filling the space with the right materials. While it requires some effort, the result is a rewarding new feature for your landscape that you can enjoy for years to come. Learning how to convert a pond into a garden empowers you to reclaim your outdoor space and cultivate a garden that truly reflects your style and needs. Now, you are ready to get started on creating the garden of your dreams.
About Ravuk Barg
B.Sc. Horticulture Science | Certified Master Gardener
Ravuk Barg has spent more than a decade with his hands in the soil and his head full of questions about why some gardens thrive while others struggle. What started as a single raised bed of tomatoes and basil in a modest backyard has grown into a deep, working knowledge of everything from seed germination and soil amendment to companion planting and seasonal pruning.
Over the years, Ravuk has gardened through drought summers, waterlogged springs, and pest invasions that would make most gardeners hang up their trowels for good. Those hard seasons, he’ll tell you, taught him more than any perfect growing year ever could. He writes from that earned experience—covering vegetable growing, ornamental planting, houseplant care, composting, and garden design with equal confidence and curiosity.
Philosophy & Approach
Ravuk’s approach to gardening is rooted in practicality. He favors organic methods not out of dogma, but because they work long-term—resulting in healthier soil, fewer inputs, and stronger plants. He has a particular fondness for heirloom vegetable varieties (the kind with proper flavor), unruly cottage-style flower beds, and the stubborn houseplants that everyone else gave up on.
The Mission: Give readers the honest, experience-backed advice that helps them actually succeed in their gardens—not just the ideal version, but the real one; weeds, failures, and all.
Education & Credentials
-
B.Sc. in Horticulture Science
-
Greenfield Agricultural University
-
Focus: Plant Physiology, Soil Ecology, and Sustainable Crop Production
-
-
Master Gardener Certification
-
Cooperative Extension Service
-
Focus: 200+ hours of hands-on practical training and community garden work
-
Continuing Education
-
Organic Pest Management
-
Native Plant Landscaping
-
Sustainable Crop Production