

Have you ever noticed your potted plants looking a little sad, with water pooling on the surface instead of soaking in? The culprit might be compacted soil. Over time, the soil in containers can become dense and hard, squeezing out the air pockets that roots need to breathe and grow.
This common issue can lead to stunted growth, yellowing leaves, and poor plant health. But don’t worry, it’s a problem with a straightforward solution. Learning how to fix compacted soil in pots is a simple skill that can revive your plants and help them thrive. This guide will walk you through the process, ensuring your container garden remains a healthy, vibrant space.
Why Compacted Soil Happens in Pots
Compacted soil is a frequent problem for container gardeners, and understanding why it occurs is the first step toward preventing it. The primary cause is watering. Over time, the force of water from a watering can or hose presses down on soil particles, gradually squeezing them together. This is especially true if you water too heavily or too frequently. Another factor is the natural breakdown of organic matter.
As materials like peat moss and compost decompose, they become smaller particles that fill in the air gaps, leading to a denser soil structure. Finally, the type of soil mix you use plays a significant role. Heavy garden soils or low-quality potting mixes are more prone to compaction than light, airy mixes designed specifically for containers.
8 Step-by-Step Guide on How to Fix Compacted Soil in Pots
Revitalizing your potted plants is easier than you think. By following these steps, you can decompact the soil, improve drainage, and create a healthier environment for your plant’s roots.
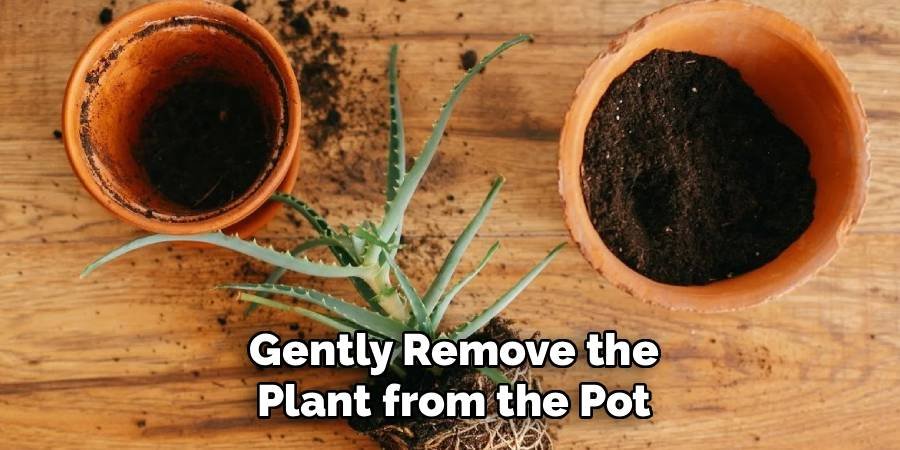
Step 1: Gently Remove the Plant from the Pot
The first step is to carefully take the plant out of its container. Lay the pot on its side and gently tap the bottom and sides to loosen the root ball. If it’s stubborn, you can run a butter knife or a thin trowel around the inner edge of the pot. Avoid pulling on the plant’s stem, as this can cause damage. The goal is to slide the entire root ball out in one piece. This process gives you full access to the soil and roots, allowing you to assess the extent of the compaction and begin the repair process without causing unnecessary stress to the plant.
Step 2: Examine the Root Ball and Soil
Once the plant is free, take a moment to inspect the root ball. You will likely see that the roots are tightly wound in a circular pattern, a condition known as being “root-bound.” The soil itself will feel hard and dense to the touch, with few visible air pockets. You might notice that the roots are concentrated at the bottom or sides of the pot, struggling to penetrate the compacted core. This visual confirmation helps you understand how severe the problem is and confirms that compacted soil is indeed the issue affecting your plant’s health.
Step 3: Loosen the Compacted Roots
Now it’s time to gently untangle the roots. Using your fingers, a small hand rake, or even a chopstick, carefully tease the roots apart, starting from the bottom of the root ball and working your way up. Your goal is to loosen the dense, circling mass so the roots can grow outward once repotted. Don’t be afraid to be firm but gentle; you may break a few fine roots, but this is a necessary part of encouraging new, healthy growth. For very tough root balls, you can make a few shallow vertical cuts with a clean knife to help break up the pattern.
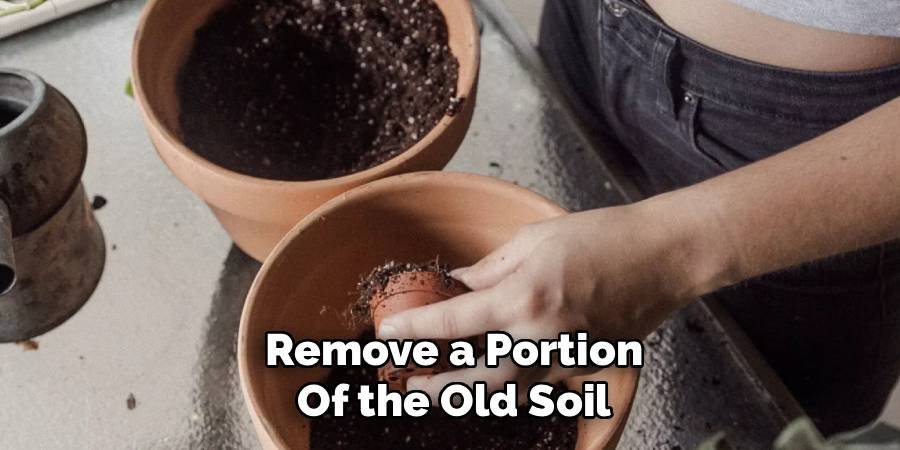
Step 4: Remove a Portion of the Old Soil
With the roots loosened, you can now remove some of the old, compacted potting medium. Gently shake the root ball to dislodge the soil that is no longer serving the plant. You can also use your fingers to carefully crumble away about one-third of the old soil, focusing on the hard, dense clumps. This step is crucial for making space for fresh, nutrient-rich potting mix. Removing the depleted soil ensures that the plant will have access to a better growing environment with improved aeration and water absorption capabilities.
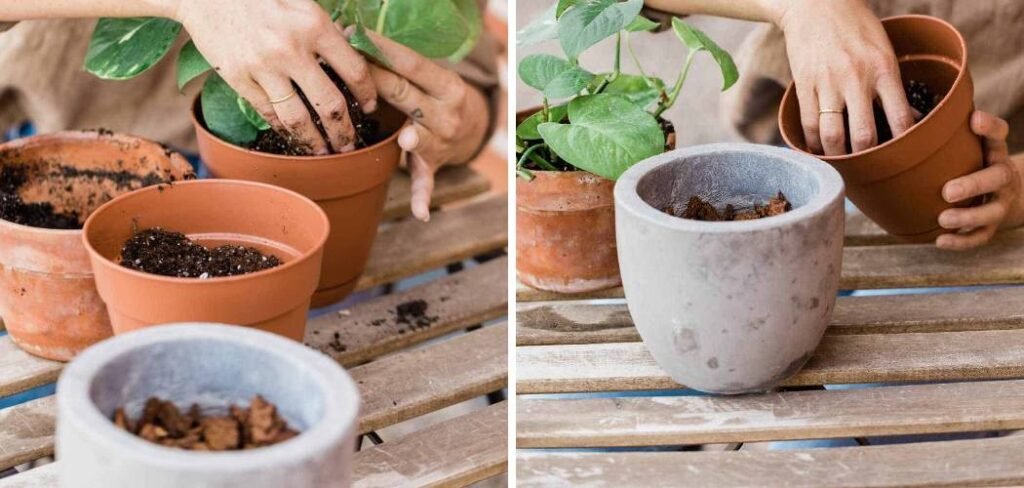
Step 5: Prepare a Fresh, Aerated Potting Mix
The key to preventing future compaction is using the right soil. Create or purchase a high-quality potting mix that is light and well-draining. A good mix often contains ingredients like perlite, vermiculite, or coco coir. These materials create permanent air pockets in the soil, resisting compaction and ensuring that roots have access to oxygen. Avoid using soil directly from your garden, as it is too heavy and will quickly compact again in a container. This fresh mix will provide the ideal structure for your plant’s recovery and long-term health.
Step 6: Add a Base Layer to the Pot
Before you put the plant back, it’s important to prepare the pot. If you are reusing the same container, give it a good scrub with soap and water to remove any old soil residue or potential pathogens. Once it’s clean, add a few inches of your fresh potting mix to the bottom of the pot. This new base layer creates a soft landing for the plant’s newly loosened roots and immediately improves drainage from the bottom up. It ensures that water won’t pool at the base, which is a common problem with compacted soil.
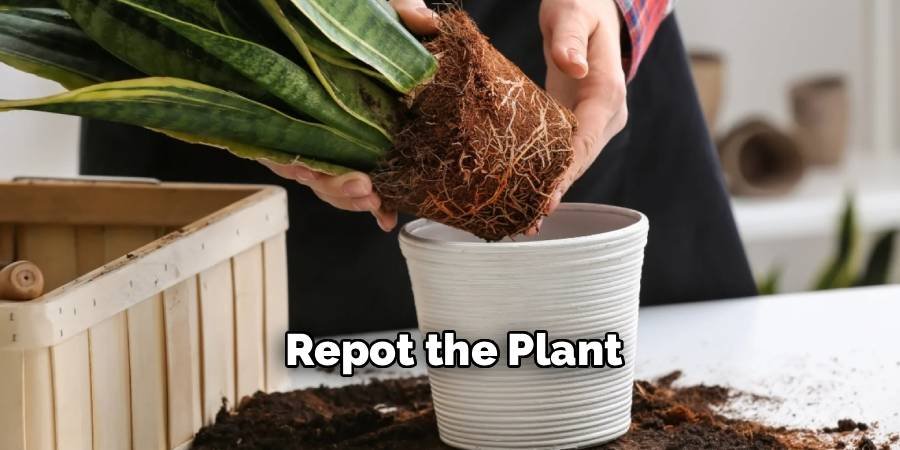
Step 7: Repot the Plant
Place your plant back into the pot, setting the root ball on top of the fresh layer of soil. Check that the top of the root ball sits about an inch below the rim of the pot. This space is important for watering. Once you have the plant centered and at the correct height, begin filling in the sides with your new, airy potting mix.
Gently press the soil down around the root ball to eliminate large air pockets and secure the plant, but avoid packing it down too tightly. Remember, the goal of understanding how to fix compacted soil in pots is to maintain a light structure.
Step 8: Water Thoroughly
The final step is to give your newly repotted plant a deep, thorough watering. Water slowly until you see it draining freely from the holes at the bottom of the pot. This initial watering helps the new soil settle around the roots and eliminates any remaining air gaps. It also rehydrates the plant after the stress of the repotting process. For the next few weeks, monitor the soil moisture carefully, allowing the top inch or two to dry out between waterings. This will encourage the roots to grow outward into the fresh soil.
Maintenance
Proper maintenance is essential to ensure your plant thrives in its new pot. Begin by placing the plant in a location with appropriate light conditions suited to its needs. Avoid sudden changes in its environment, as this can shock the plant. Regularly check for signs of pests or diseases, and address any issues promptly.
Fertilize your plant as recommended for its type, but wait a few weeks after repotting to allow it to settle before feeding. Periodically prune yellowing leaves or spent flowers to encourage healthy growth. By providing consistent care and attention, your plant will adapt well to its new environment and flourish over time.
Common Mistakes to Avoid
When repotting plants, several common mistakes can hinder their growth or even cause harm. One frequent error is choosing a pot that is either too small or excessively large. A pot that is too small restricts root growth, while an oversized pot can lead to water retention and root rot. Another mistake is failing to use fresh, nutrient-rich soil.
Reusing old, depleted soil does not provide the necessary resources for your plant to thrive. Additionally, neglecting to trim dead or unhealthy roots before repotting can lead to disease or hinder new growth. Overwatering after repotting is also a common issue; while initial thorough watering is vital, oversaturating the soil in the following weeks can stress the plant. Avoid these pitfalls to help your repotted plant flourish.
Frequently Asked Questions (FAQ)
Can I Just Add New Soil on Top of Compacted Soil?
Simply adding a layer of fresh soil on top is not an effective solution. The compacted layer underneath will still act as a barrier, preventing roots from growing downward and blocking proper water drainage. This can lead to a shallow root system and cause water to pool at the surface, starving the deeper roots of both water and oxygen. To truly fix the problem, you must follow the full process of removing the plant and replacing the old, dense soil.
How Can I Prevent Soil Compaction in the Future?
To prevent soil from compacting again, you can take a few proactive steps:
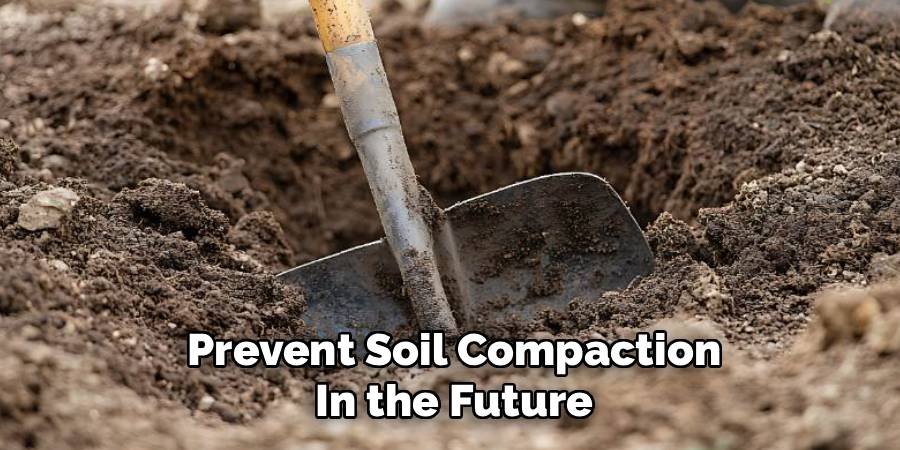
- Use the Right Soil: Always start with a high-quality, lightweight potting mix containing perlite or vermiculite.
- Water Gently: Use a watering can with a rose attachment to diffuse the water stream. Water the soil, not the plant, and do so slowly.
- Aerate Periodically: You can gently poke a chopstick or thin dowel into the soil every few months to create air channels.
- Refresh Soil Annually: Plan to repot your plants with fresh soil every 12 to 18 months.
What Are the Signs of Compacted Soil in Pots?
The signs of compacted soil are often mistaken for other plant problems. Look for:
- Water pooling on the soil surface or running down the sides of the pot without being absorbed.
- Slow or stunted plant growth.
- Yellowing leaves, especially lower ones.
- The soil pulling away from the sides of the pot when dry.
- The plant becoming “root-bound,” with roots visibly circling the container.
Is It Better to Use a Larger Pot When Repotting?
When repotting a plant from compacted soil, it’s generally best to choose a pot that is only one or two inches larger in diameter. Moving to a pot that is too large can cause problems with overwatering, as the excess soil will hold moisture that the plant’s roots cannot yet reach, potentially leading to root rot. A slightly larger pot provides enough new space for roots to grow without overwhelming the plant.
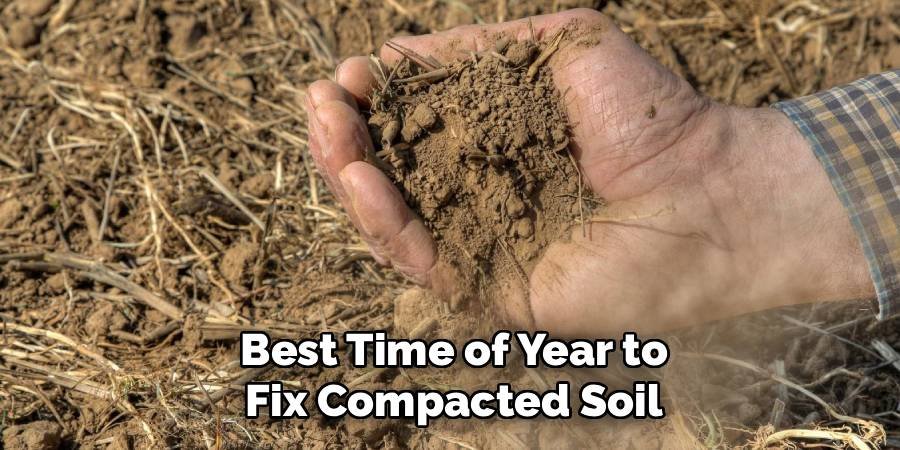
What’s the Best Time of Year to Fix Compacted Soil?
The best time to repot a plant and fix compacted soil is during its active growing season, which for most houseplants is in the spring or early summer. Repotting during this period allows the plant to recover more quickly from the stress and take full advantage of the fresh soil and improved conditions. Avoid repotting during the plant’s dormant period in the fall or winter, as its slow growth will make recovery more difficult.
Conclusion
Dealing with compacted soil is a common challenge for anyone who loves container gardening, but it doesn’t have to be a death sentence for your plants. By following these steps, you can effectively break up dense soil, encourage healthy root growth, and restore your plants to their full potential. The process is simple and rewarding, empowering you to create the best possible environment for your indoor or outdoor pots. Now that you know how to fix compacted soil in pots, you can confidently tackle this issue and enjoy a thriving container garden for years to come.
About Ravuk Barg
B.Sc. Horticulture Science | Certified Master Gardener
Ravuk Barg has spent more than a decade with his hands in the soil and his head full of questions about why some gardens thrive while others struggle. What started as a single raised bed of tomatoes and basil in a modest backyard has grown into a deep, working knowledge of everything from seed germination and soil amendment to companion planting and seasonal pruning.
Over the years, Ravuk has gardened through drought summers, waterlogged springs, and pest invasions that would make most gardeners hang up their trowels for good. Those hard seasons, he’ll tell you, taught him more than any perfect growing year ever could. He writes from that earned experience—covering vegetable growing, ornamental planting, houseplant care, composting, and garden design with equal confidence and curiosity.
Philosophy & Approach
Ravuk’s approach to gardening is rooted in practicality. He favors organic methods not out of dogma, but because they work long-term—resulting in healthier soil, fewer inputs, and stronger plants. He has a particular fondness for heirloom vegetable varieties (the kind with proper flavor), unruly cottage-style flower beds, and the stubborn houseplants that everyone else gave up on.
The Mission: Give readers the honest, experience-backed advice that helps them actually succeed in their gardens—not just the ideal version, but the real one; weeds, failures, and all.
Education & Credentials
-
B.Sc. in Horticulture Science
-
Greenfield Agricultural University
-
Focus: Plant Physiology, Soil Ecology, and Sustainable Crop Production
-
-
Master Gardener Certification
-
Cooperative Extension Service
-
Focus: 200+ hours of hands-on practical training and community garden work
-
Continuing Education
-
Organic Pest Management
-
Native Plant Landscaping
-
Sustainable Crop Production