

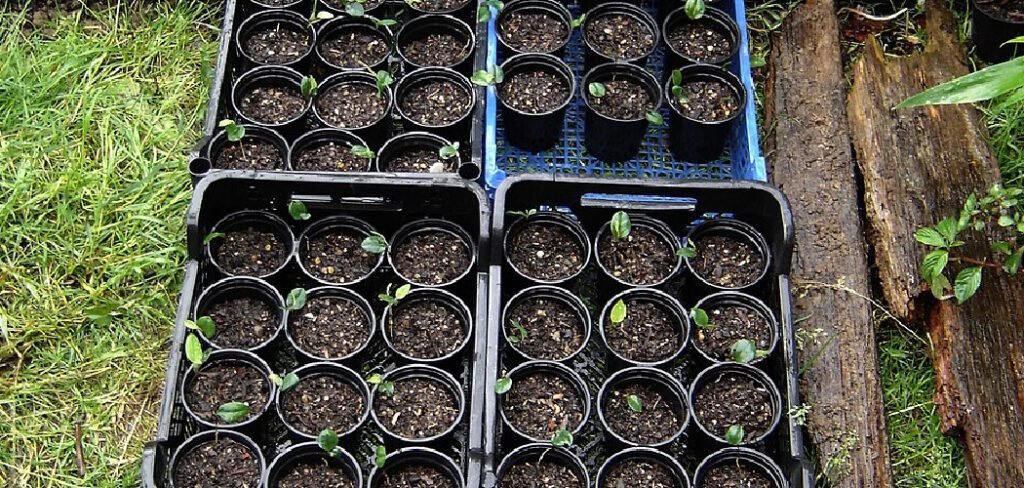
Welcome to the world of peat pots! These biodegradable containers are a fantastic choice for starting seeds, allowing you to transplant your seedlings directly into the garden without disturbing their delicate roots. However, their unique material requires a specific watering approach. Unlike plastic pots, peat can either dry out too quickly or become overly saturated, both of which can harm your young plants.
Understanding how to water peat pots correctly is the key to nurturing strong, healthy seedlings from the very beginning. This guide will walk you through everything you need to know, ensuring your gardening efforts lead to a thriving and beautiful harvest.
Why Proper Watering for Peat Pots Matters
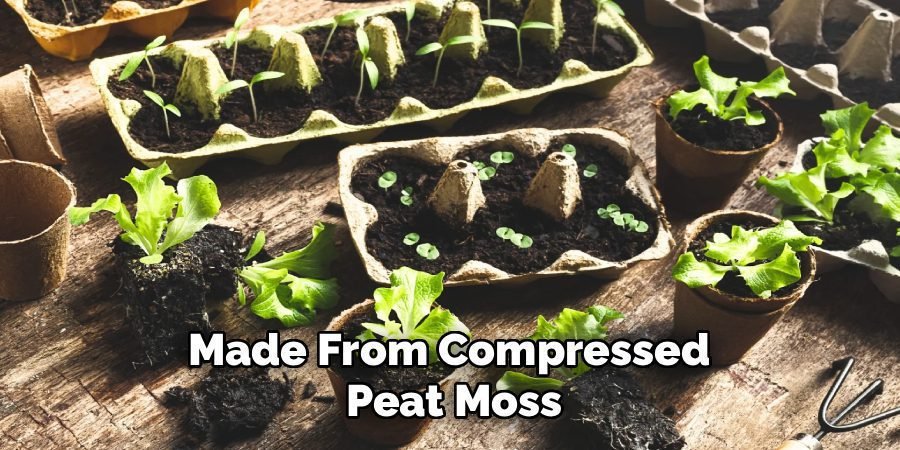
Peat pots are a gardener’s ally, but their effectiveness hinges on proper moisture management. Made from compressed peat moss, these pots are porous, which is both a benefit and a challenge. The porosity allows for excellent air circulation to the roots, preventing them from becoming waterlogged. However, it also means they can wick moisture away from the soil and dry out rapidly, potentially stressing or killing your seedlings. Conversely, if peat pots remain too wet, they can become a breeding ground for mold and fungus, leading to “damping off,” a fatal disease for young plants.
Mastering the watering technique ensures your seedlings get the perfect balance of moisture and air they need to flourish.
8 Step-by-Step Guide on How to Water Peat Pots
Step 1: Prepare Your Pots Before Planting
Before you even add soil, it’s crucial to pre-moisten your peat pots. Dry peat acts like a sponge and will pull moisture away from your potting mix, leaving your seeds thirsty. To prevent this, submerge the empty pots in a tray of water for about an hour until they are uniformly dark and damp. This initial saturation ensures the pot itself won’t compete with the soil for water. Once they are thoroughly soaked, remove them from the water and let any excess drip away before filling them with your seed-starting mix.
Step 2: Choose the Right Watering Tray
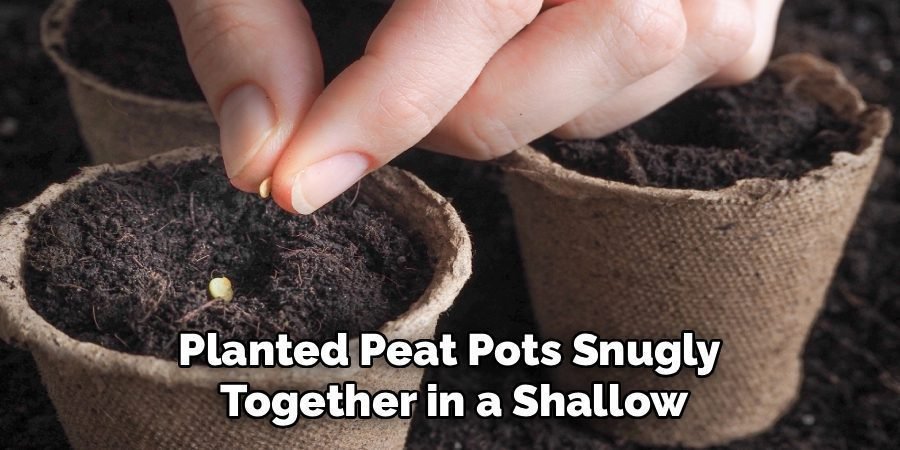
The secret to consistent moisture is watering from the bottom up. Place your filled and planted peat pots snugly together in a shallow, waterproof tray. A nursery flat or even a simple baking dish will work perfectly. Grouping the pots closely helps reduce moisture loss from the sides of the pots and creates a more humid microenvironment, which is beneficial for germination. The tray will act as a reservoir, allowing the pots to absorb water slowly and evenly, preventing the soil surface from becoming compacted or dislodging your delicate seeds.
Step 3: Add Water to the Tray, Not the Pot
Instead of pouring water directly onto the soil, add about an inch of room-temperature water into the bottom of the tray. This bottom-watering method is the most effective way to hydrate peat pots. It encourages roots to grow downward in search of moisture, which builds a stronger and more resilient root system. Direct overhead watering can disturb seeds, compact the soil, and leave the pot itself dry. By letting the peat and soil wick up the moisture they need from the reservoir below, you ensure a deep, thorough soaking every time.
Step 4: Let the Pots Absorb the Water
Patience is key during this step. Allow the peat pots to sit in the tray of water for about 20 to 30 minutes. You will be able to see the moisture wicking up the sides of the pots as the soil becomes progressively darker. The goal is for the soil surface to feel damp to the touch, but not soaking wet. This process ensures the entire soil column is hydrated, providing a consistent water supply for the seed and its emerging roots. It’s a much more reliable method than guessing with a watering can from above.
Step 5: Master the Process of How to Water Peat Pots by Checking Soil Moisture
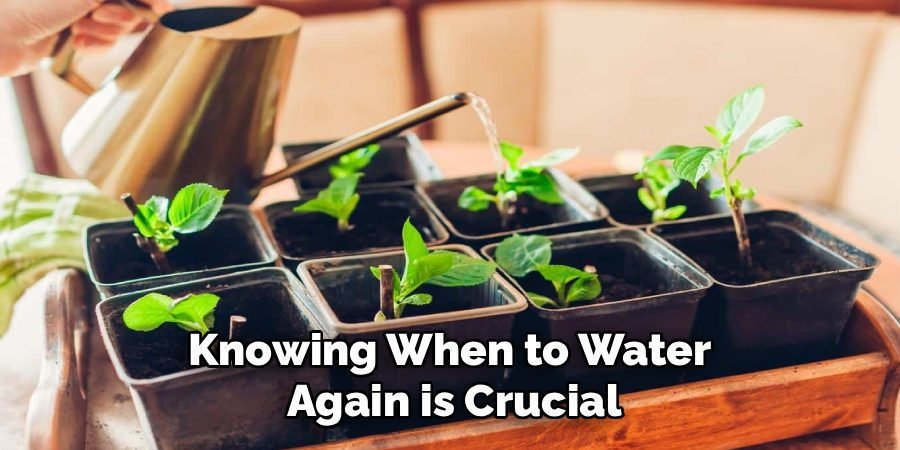
Knowing when to water again is crucial. The best way to check is by touch and sight. The peat pots will lighten in color as they dry out, and the soil surface will feel dry. You can also test the weight; a well-watered pot will feel significantly heavier than a dry one. Aim to water when the top half-inch of soil is dry. For most indoor environments, this might mean watering every two to three days. Avoid letting the pots dry out completely, as rehydrating very dry peat can be difficult and stressful for the plant.
Step 6: Discard Excess Water
Once the pots have absorbed enough water and the soil surface is moist, it is critical to pour out any remaining water from the tray. Leaving your peat pots sitting in standing water is a common mistake that can lead to disaster. Oversaturation starves the roots of oxygen and creates the perfect damp, cool conditions for mold and fungal diseases like damping off to take hold. Ensuring the pots are damp but not waterlogged is the delicate balance you need to maintain for healthy seedling development. Let the tray remain dry until the next watering is needed.
Step 7: Ensure Good Air Circulation
Good airflow is an unsung hero in preventing problems with peat pots. Proper circulation helps the surfaces of the pots dry out slightly between waterings, which is a major deterrent for mold growth. If you are starting seeds indoors, consider running a small, gentle fan in the room for a few hours each day. This not only helps with moisture management but also strengthens the stems of your seedlings, preparing them for the more challenging conditions they will face outdoors. A little breeze goes a long way in keeping your future garden healthy.
Step 8: Harden Off Before Transplanting
As your seedlings mature and prepare for their move to the garden, you need to “harden them off.” This process involves gradually exposing them to outdoor conditions. During this time, your watering needs will change. The sun and wind will cause the peat pots to dry out much faster than they did indoors. You will need to monitor them closely, possibly watering them daily. Continue using the bottom-watering method, but be vigilant. This final stage ensures that both the plant and its biodegradable pot are ready for a seamless transition into the garden soil.
Common Mistakes to Avoid
When transitioning your plants outdoors, there are a few common mistakes that can hinder their growth or even cause transplant shock. One of the most frequent errors is skipping the hardening-off process entirely. This can leave your plants unprepared for the intensity of outdoor conditions, such as direct sunlight, wind, and cooler nights. Another mistake is overwatering or underwatering during this critical period.
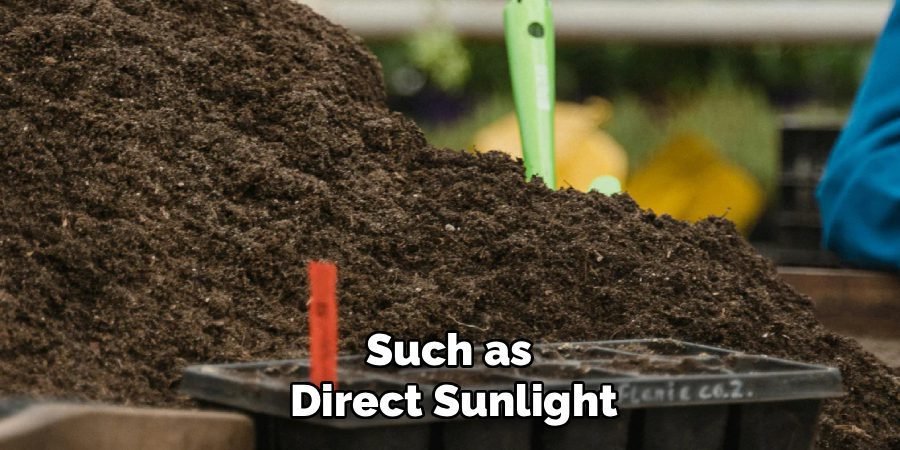
While it’s essential to keep the soil moist, overwatering can lead to soggy conditions that harm the plant’s roots, while underwatering can quickly dry out the peat pots. Lastly, planting too early in the season, before the risk of frost is fully gone, can expose your plants to damaging cold. Being mindful of these pitfalls will help your plants thrive in their new environment.
Frequently Asked Questions (FAQ)
How Often Should I Water Seedlings in Peat Pots?
The frequency depends on your environment, but a good rule is to check the pots daily. Water when the top layer of soil feels dry and the pot itself looks light brown. For many indoor setups, this averages out to every 2-3 days. Avoid a strict schedule and instead water based on the plant’s actual needs.
Can You Overwater Peat Pots?
Yes, absolutely. Overwatering is a common problem that can lead to root rot and fungal diseases. To avoid this, always water from the bottom and pour out any excess water from the tray after about 30 minutes. The goal is damp, not soggy, soil. Letting the pots sit in standing water is the quickest way to harm your seedlings.
Should I Mist My Seedlings in Peat Pots?
Misting is generally not necessary and can sometimes encourage mold on the surface of the peat. The bottom-watering method provides all the moisture the roots need. If you are using a humidity dome for germination, that will provide sufficient moisture for the leaves. Once seedlings have emerged, focus on proper soil hydration and good air circulation instead of misting.
Why Are My Peat Pots Growing Mold?
Mold on peat pots is almost always a sign of too much moisture and not enough air circulation. This happens when the pots are kept constantly wet or when they are in a stagnant, humid environment. To fix this, allow the pots to dry out more between waterings, always discard excess water, and increase airflow with a small fan.
Do I Need to Remove the Peat Pot Before Planting?
No, the main benefit of peat pots is that you can plant them directly into the ground. The roots will grow through the pot walls as the pot biodegrades. To help this process, you can gently tear the bottom of the pot or make a few vertical slits down the sides just before planting. This ensures the roots can expand into the surrounding soil without any restriction.
Conclusion
Growing seedlings in peat pots is a rewarding and eco-friendly way to start your garden. Success comes down to mastering one simple but vital technique: proper watering. By preparing your pots, using the bottom-watering method, and monitoring moisture levels carefully, you can avoid common pitfalls like mold and dried-out soil. This ensures your young plants develop strong roots in a healthy, stable environment. Now that you know how to water peat pots effectively, you are well-equipped to nurture your seeds into strong seedlings, ready for a seamless and successful transition into your garden.

About Ravuk Barg
B.Sc. Horticulture Science | Certified Master Gardener
Ravuk Barg has spent more than a decade with his hands in the soil and his head full of questions about why some gardens thrive while others struggle. What started as a single raised bed of tomatoes and basil in a modest backyard has grown into a deep, working knowledge of everything from seed germination and soil amendment to companion planting and seasonal pruning.
Over the years, Ravuk has gardened through drought summers, waterlogged springs, and pest invasions that would make most gardeners hang up their trowels for good. Those hard seasons, he’ll tell you, taught him more than any perfect growing year ever could. He writes from that earned experience—covering vegetable growing, ornamental planting, houseplant care, composting, and garden design with equal confidence and curiosity.
Philosophy & Approach
Ravuk’s approach to gardening is rooted in practicality. He favors organic methods not out of dogma, but because they work long-term—resulting in healthier soil, fewer inputs, and stronger plants. He has a particular fondness for heirloom vegetable varieties (the kind with proper flavor), unruly cottage-style flower beds, and the stubborn houseplants that everyone else gave up on.
The Mission: Give readers the honest, experience-backed advice that helps them actually succeed in their gardens—not just the ideal version, but the real one; weeds, failures, and all.
Education & Credentials
-
B.Sc. in Horticulture Science
-
Greenfield Agricultural University
-
Focus: Plant Physiology, Soil Ecology, and Sustainable Crop Production
-
-
Master Gardener Certification
-
Cooperative Extension Service
-
Focus: 200+ hours of hands-on practical training and community garden work
-
Continuing Education
-
Organic Pest Management
-
Native Plant Landscaping
-
Sustainable Crop Production