

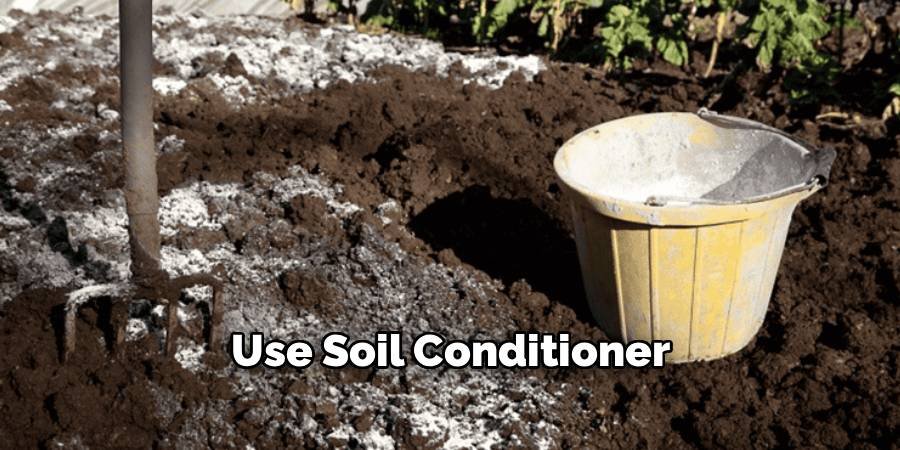
Are you struggling with poor soil in your garden? Do your plants look weak and unhealthy? The answer might be learning how to use soil conditioner properly. Soil conditioner is a magical product that can transform your garden soil from poor to perfect. Many gardeners don’t know the right way to use soil conditioner, which is why their gardens don’t grow well.
Soil conditioners help soften hard soil and improve the way water and air move through the soil. They also help plants get the nutrients they need to grow strong and healthy. When you learn to use soil conditioners correctly, you will see amazing changes in your garden.
What is Soil Conditioner and Why Do You Need It?
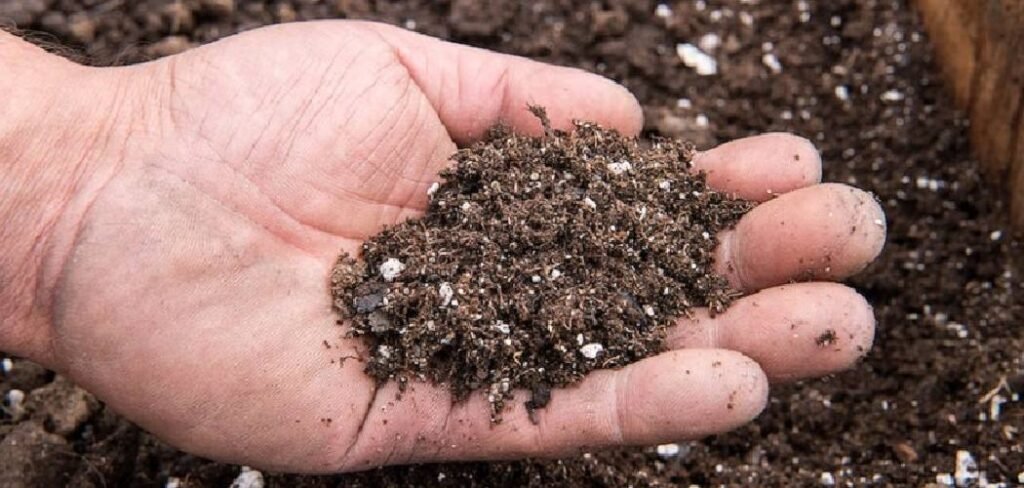
Soil conditioners are special products that make your garden soil better for plants. Think of them as vitamins for your soil. Just as humans need vitamins to stay healthy, soil needs a soil conditioner to function properly.
Regular garden soil can become hard and packed over time. This makes it difficult for plant roots to grow and for water to reach where it needs to be. Loosening the soil solves these problems by loosening and sponging it. This helps the soil retain water better during dry periods and drain properly when it rains too much. Good soil conditioners contain organic matter, such as compost, peat moss, or old manure. These materials break down slowly and provide food for the tiny creatures that live in healthy soil. These creatures help plants grow by providing nutrients in a form that the plant roots can use.
10 Step by Step How to Use Soil Conditioner Properly
Step 1: Test Your Soil First
Before you learn how to use a soil conditioner, you need to know what type of soil you have. Get a simple soil test kit from a garden store. It will tell you if your soil is too acidic, too basic, or just right. The test will show you what nutrients your soil is lacking.
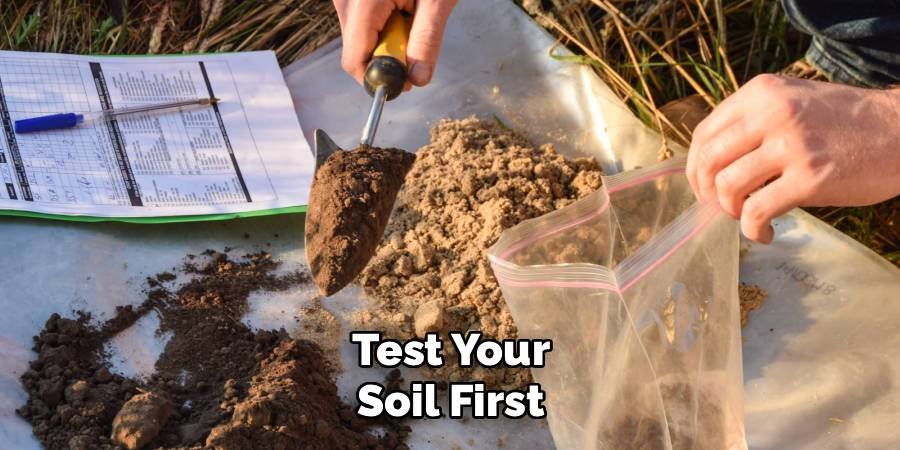
Dig up some soil from different parts of your garden and mix it together. Follow the instructions on your test kit. Most tests are easy to do and give quick results. Write down the results so you can choose the right type of soil conditioner.
Step 2: Choose the Right Soil Conditioner
Not all soil conditioners are created equal. Some work well for clay soil, while others are better suited for sandy soil. Clay soil is heavy and doesn’t drain well, so it needs a conditioner that makes it lighter and more open. Sandy soil drains very quickly and needs a conditioner that helps it retain water and nutrients. For clay soil, choose a conditioner with coarse ingredients like bark chips or perlite. For sandy soil, choose a conditioner with fine organic matter like compost or aged manure. If you’re not sure what type of soil you have, choose an all-purpose soil conditioner.
Step 3: Plan the Right Time to Apply
Timing is very important when learning to use soil conditioners. Usually, the best time is in early spring before planting or in the fall after harvesting. The soil should not be too wet or too dry when applying the conditioner.
If the soil sticks to your shoes when you walk on it, it is too wet. Wait a few days for it to dry. If the soil is dusty and hard, water it lightly the day before applying the conditioner. The ideal soil should feel slightly damp but not stick to your tools.
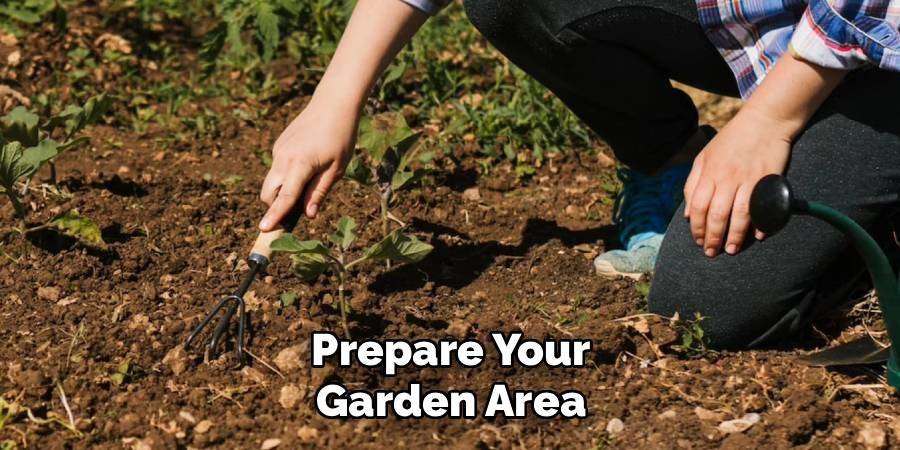
Step 4: Prepare Your Garden Area
Clear the area where you want to apply the soil conditioner. Remove all weeds, old plant material, and rocks. If there is grass, you may need to remove it first. Use a rake to smooth and level the surface of the soil. Break up any large clumps of soil with a hoe or garden fork. This will help the soil conditioner mix in properly. Don’t clear the soil when it is too wet, as it may thicken instead of loosening.
Step 5: Calculate How Much You Need
Most soil conditioners have instructions on how much to use. Typically, you will need about 2-4 inches of conditioner to cover the entire area of your garden. For a small garden measuring 4 feet by 8 feet, you will need about 8-16 cubic feet of conditioner. It is better to use a little less than to use too much. You can use more later, but using too much at once can actually harm your plants. Start with the smaller amount recommended on the package.
Step 6: Spread the Conditioner Evenly
This is an important step in learning how to use soil conditioner properly. Use a rake or shovel to spread the conditioner evenly throughout your garden. Try to make the layer the same thickness throughout. Don’t dump all the conditioner in one spot and then try to spread it out. Instead, divide your conditioner into several piles around the garden, then spread each pile in one area. This helps ensure even coverage.
Step 7: Mix It Into the Soil
Now comes the most important part of using soil conditioner. You don’t just have to put it on top of the soil, you have to mix it in with the existing soil. Use a garden fork, rototiller, or hoe to work the conditioner into the top 6-8 inches of soil. Turn the soil over a few times to make sure the conditioner is well-mixed. When you’re done, you won’t be able to see the conditioner and the original soil layer. The mixture will look uniform throughout.
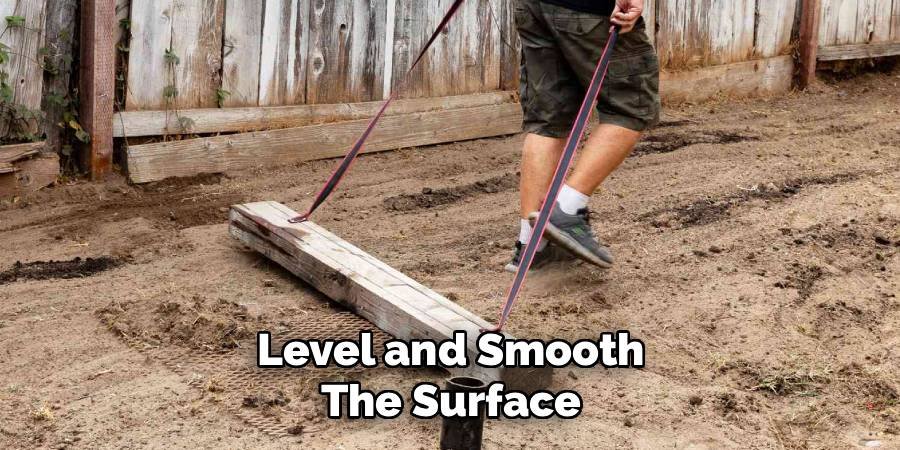
Step 8: Level and Smooth the Surface
After mixing, use a rake to level the surface of your treated soil. If any large rocks or debris come up during mixing, remove them. The surface should be smooth but not tightly packed. A gentle pack is all you need. Don’t walk on the newly treated soil more than necessary, as this can compact the soil and ruin some of the good work you’ve done.
Step 9: Water Lightly if Needed
If your soil is dry when you apply the conditioner, give the area a light watering. This helps the conditioner begin the process of working into your soil. Don’t water too much, as this can wash away the conditioner or make the soil too muddy. All you need is a light sprinkling. The goal is to moisten the conditioner so that it begins to break down and naturally mix with the soil.
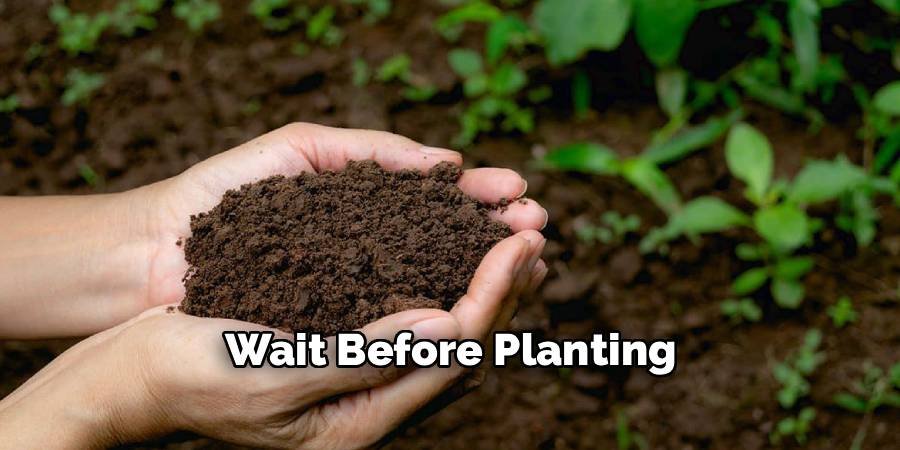
Step 10: Wait Before Planting
This final step in how to use soil conditioner is often forgotten, but it’s very important. Wait at least a week before planting anything in your treated soil. This will give the conditioner time to start working and the soil time to settle into its new structure. During this waiting period, keep the soil slightly moist but not wet. You can cover it with a light mulch to prevent weed growth and retain moisture.
Benefits of Using Soil Conditioner Correctly
When you know how to use soil conditioner properly, your garden will benefit in many ways.The soil will drain well, which will prevent the roots of the plant from rotting in standing water. At the same time, it will retain moisture well during dry periods, so you won’t need to water as often.
Plants grown in conditioned soil have stronger root systems. Stronger roots mean healthier plants that can better resist disease and pests. Your vegetables will taste better and your flowers will be more colorful and bloom longer. Soil conditioners also feed the beneficial bacteria and fungi that live in healthy soil. These tiny organisms help break down nutrients so that plants can use them. They also help protect plant roots from harmful bacteria and fungi.
Common Mistakes to Avoid
Many people make mistakes when learning to use soil conditioner. A common mistake is to use too much at once. This can actually harm the plant by enriching the soil too much or changing its composition too quickly. Another mistake is not mixing the conditioner into the soil properly. Simply spreading it on top does not work well because it creates layers that do not work together. Always mix the conditioner into the soil thoroughly. Do not apply soil conditioner to wet soil, as it can create mud that can dry and form a hard clump. Also, do not apply it in very hot, dry weather when it will blow away or dry out before it can work.
Different Types of Soil Conditioners
Organic soil conditioners include compost, aged manure, leaf mold, and peat moss. These are generally the best choices for most gardens because they improve soil structure and slowly add nutrients over time. Mineral conditioners include perlite, vermiculite, and sand. They don’t add nutrients but are great for improving drainage and soil structure. They work especially well in clay soils that need better drainage. Some conditioners combine organic and mineral materials. These all-purpose conditioners work well in most garden conditions and are a good choice for those who are just learning how to use soil conditioners.
FAQs About How to Use Soil Conditioner
Q: How often should I use soil conditioner in my garden? Answer: Most gardens use soil conditioner once or twice a year. Apply it in the spring before planting and optionally in the fall after harvesting. Very poor soil may require more frequent treatments until it improves.
Q: Can I use too much soil conditioner? Answer: Yes, using too much soil conditioner can harm your plants. It can make the soil overly fertile, causing the plants to grow too quickly and become weak. It can also change the structure of the soil too quickly, which can stress the roots of the plants.
Q: Is soil conditioner the same as fertilizer? Answer: No, soil conditioners and fertilizers are different. Fertilizers provide nutrients directly to plants. Soil conditioners improve soil structure and help plants use nutrients better. Both are often needed for best results.
Q: Can I make my own soil conditioner at home? Answer: Yes, you can make excellent soil conditioners by composting kitchen waste, yard waste, and old manure. Homemade compost is one of the best soil conditioners and is much less expensive than store-bought products.
Q: Will soil conditioner help my lawn grow better? Answer: Yes, soil conditioners can help lawns, but the application method is different. For lawns, you usually need to aerate the soil first, then spread a thin layer of conditioner and rake it into the aeration holes.
Conclusion
Learning to use soil conditioners is one of the best investments you can make in your garden’s future. When you follow these 10 easy steps, you’ll transform poor soil into rich, healthy soil that supports strong, productive plants. Remember that soil conditioning is not a one-time task but an ongoing process that becomes easier and more rewarding over time. The key to success with soil conditioners is patience and proper application. Start with a soil test, choose the right product for your soil type, and apply it at the right time using the right method. Mix it thoroughly with your existing soil, and give it time to work its magic before planting.
Good soil is the foundation of every successful garden. When you understand how to use soil conditioners properly, you’re investing in better crops, more beautiful flowers, and easier gardening for years to come. Your plants will thank you with stronger growth, improved disease resistance, and more abundant yields. Take the time to condition your soil properly, and you’ll enjoy the benefits for many growing seasons to come.
About Ravuk Barg
B.Sc. Horticulture Science | Certified Master Gardener
Ravuk Barg has spent more than a decade with his hands in the soil and his head full of questions about why some gardens thrive while others struggle. What started as a single raised bed of tomatoes and basil in a modest backyard has grown into a deep, working knowledge of everything from seed germination and soil amendment to companion planting and seasonal pruning.
Over the years, Ravuk has gardened through drought summers, waterlogged springs, and pest invasions that would make most gardeners hang up their trowels for good. Those hard seasons, he’ll tell you, taught him more than any perfect growing year ever could. He writes from that earned experience—covering vegetable growing, ornamental planting, houseplant care, composting, and garden design with equal confidence and curiosity.
Philosophy & Approach
Ravuk’s approach to gardening is rooted in practicality. He favors organic methods not out of dogma, but because they work long-term—resulting in healthier soil, fewer inputs, and stronger plants. He has a particular fondness for heirloom vegetable varieties (the kind with proper flavor), unruly cottage-style flower beds, and the stubborn houseplants that everyone else gave up on.
The Mission: Give readers the honest, experience-backed advice that helps them actually succeed in their gardens—not just the ideal version, but the real one; weeds, failures, and all.
Education & Credentials
-
B.Sc. in Horticulture Science
-
Greenfield Agricultural University
-
Focus: Plant Physiology, Soil Ecology, and Sustainable Crop Production
-
-
Master Gardener Certification
-
Cooperative Extension Service
-
Focus: 200+ hours of hands-on practical training and community garden work
-
Continuing Education
-
Organic Pest Management
-
Native Plant Landscaping
-
Sustainable Crop Production