

Houseplants are an essential part of home décor and indoor air purification, but keeping them alive and thriving can be tricky without proper care techniques. One underrated yet practical solution is how to use clay pebbles for houseplants. These lightweight, porous balls made from heated clay are popular in hydroponics but offer significant benefits for traditional potted plants as well.
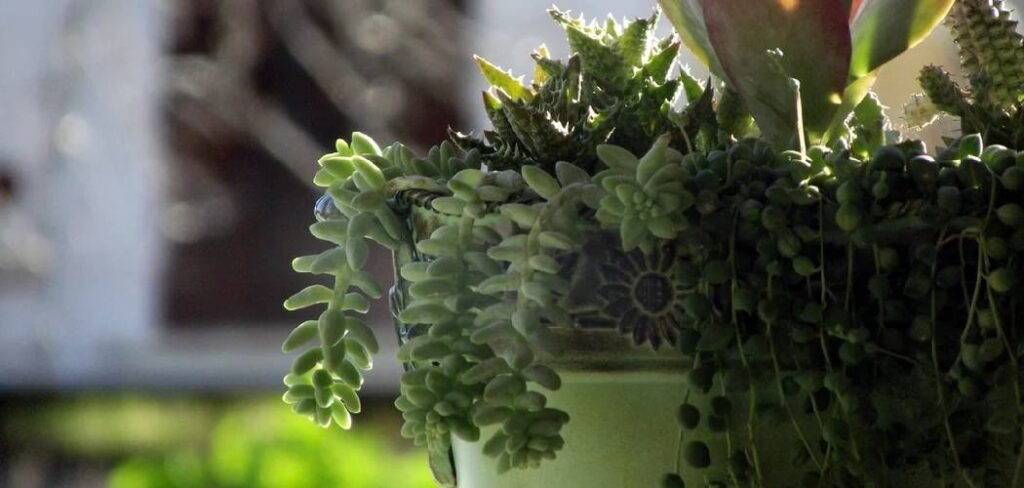
Clay pebbles enhance drainage, prevent overwatering, and create an ideal root environment. They’re especially beneficial for plant enthusiasts looking to maintain healthy greenery with minimal effort. Whether you’re a beginner or seasoned gardener, incorporating clay pebbles into your plant care routine can improve your houseplants’ growth and overall health.
This guide will walk you through their benefits, explain how to use them, and provide tips to avoid common mistakes. By the end, you’ll feel confident in adding clay pebbles to your plant-care toolkit and ensuring your indoor plants flourish.
Why You Need to Use Clay Pebbles
Clay pebbles provide numerous advantages that make them a go-to for houseplant care. First, they significantly improve drainage, preventing water from pooling at the bottom of pots and leading to root rot. Additionally, their porous structure promotes excellent aeration, ensuring that plant roots can “breathe” and grow robustly.
These pebbles also help retain just the right amount of moisture. They absorb water, releasing it slowly over time, which keeps soil consistently hydrated without becoming soggy. For fitting aesthetics, clay pebbles also lend a clean, modern look when used as a top layer in planters. All these features make them an excellent addition to houseplants, especially for those prone to overwatering or lacking proper drainage solutions.
10 Step-by-Step Guide on How to Use Clay Pebbles for Houseplants
Successfully using clay pebbles for houseplants is simple when broken into actionable steps. Below is a detailed guide to help beginners incorporate this growing medium seamlessly into their plant care routine.
Step 1: Gather Your Materials
Before starting, collect everything you’ll need, including clay pebbles, the plant you want to pot, a planter or pot with drainage holes, and soil (if applicable). You may also need a strainer for rinsing the pebbles.
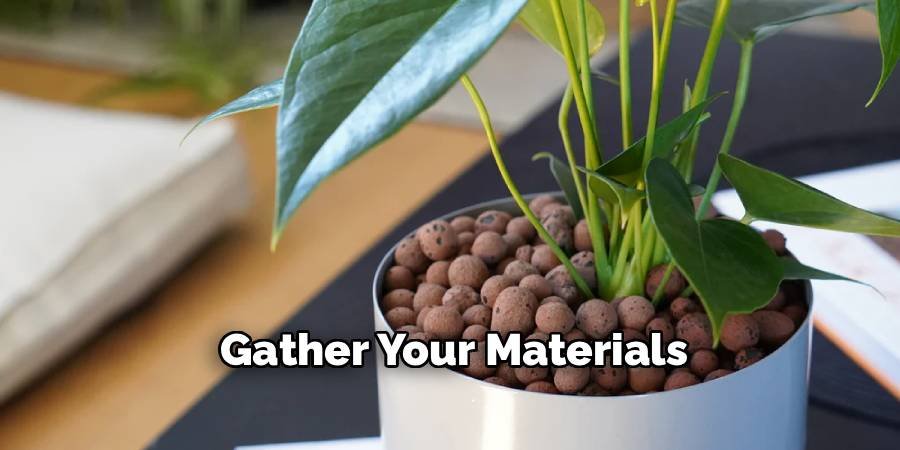
Clay pebbles act as a foundation for proper drainage, so having the right tools ensures you set up your plant for success. Remember to choose quality clay pebbles designed for horticultural use—they’ll be durable, lightweight, and free of harmful additives.
Step 2: Wash the Clay Pebbles
Rinse the clay pebbles thoroughly before use. Place them in a strainer or colander and run water over them until the water runs clear. This step removes excess clay dust, preventing it from clogging your pot’s drainage or muddying the water in hydroponic setups.
Clean clay pebbles also ensure your plant roots aren’t exposed to unnecessary residues, maintaining a healthy environment for growth.
Step 3: Create a Drainage Layer
Start by filling the bottom of your pot with a 1–2 inch layer of clay pebbles. This layer acts as a drainage buffer, ensuring excess water flows away from the soil above instead of sitting stagnant.
This step is particularly important for plants prone to root rot, as the drainage layer prevents their roots from sitting in water. Think of this layer as insurance against overwatering mishaps.
Step 4: Add Soil or Direct Planting
Decide whether you’ll use clay pebbles alone (as in hydroponic systems) or alongside soil. For soil-based plants, add a layer of soil above the drainage layer, ensuring plant roots have access to both moisture and nutrients.

If you’re going fully hydroponic, place the plant roots directly into the clay pebbles. Ensure the base of the plant is stable and upright within the medium.
Step 5: Position the Plant
Carefully place your plant into the pot, positioning it so that the roots are evenly surrounded by soil—or clay pebbles if going hydroponic. This step helps reduce stress on plant roots and ensures balanced access to water and nutrients.
Make sure not to overfill the pot, leaving space at the top to water without spillage. A well-placed plant adjusts more easily, leading to healthier growth.
Step 6: Water Evenly
After planting, water slowly and evenly. If using soil, water until it drains through the clay pebble layer at the bottom. This ensures the entire root zone is adequately hydrated.
For hydroponic setups, add water to the reservoir or base as needed, letting it wick up through the clay pebbles to reach the roots. Monitoring water levels here is key to avoiding dry spells.
Step 7: Use Clay Pebbles as Mulch
For aesthetic and functional purposes, you can spread a thin layer of clay pebbles across the soil’s surface. This not only looks neat but also helps retain moisture and prevents soil from splashing during watering.
This mulch layer acts as a barrier, slowing evaporation and keeping the soil temperature stable—a win-win for your plant!
Step 8: Integrate with Hydroponics (Optional)
If you’re interested in hydroponics, clay pebbles are an excellent medium to start with. Place your plant directly into the clay pebbles, using a water reservoir system underneath.
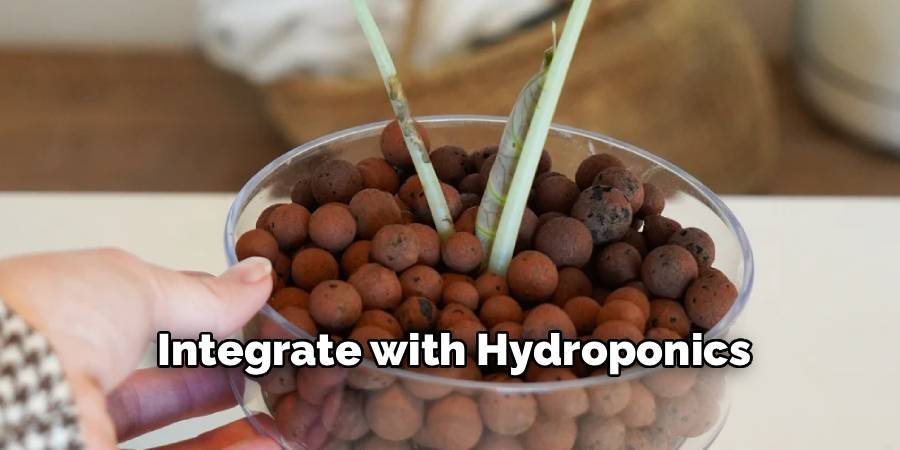
The porous pebbles allow water to circulate freely around the roots, promoting steady hydration and nutrient uptake. This step suits plants like herbs, vegetables, or specialized houseplants like orchids.
Step 9: Monitor Moisture Levels
Keep an eye on the moisture content of your pot. While clay pebbles are great at maintaining consistent hydration, every plant has different needs.
Feel the soil or touch the pebbles to determine if watering is necessary. Over time, you’ll develop a sense of how often your plant needs attention, ensuring optimal growth.
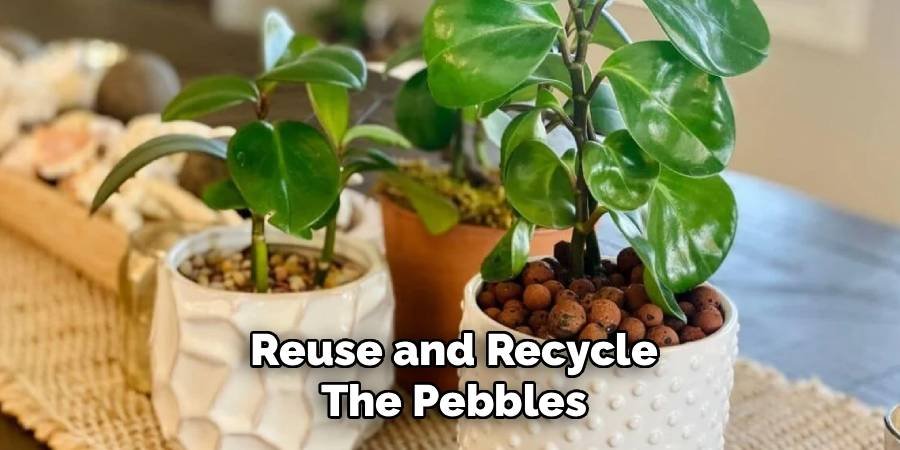
Step 10: Reuse and Recycle the Pebbles
One of the biggest advantages of clay pebbles is their reusability. When repotting or rotating plants, wash and sterilize the pebbles to use again.
This eco-friendly approach not only saves money but also reduces waste. With proper care, a single batch of clay pebbles can provide years of reliable use.
To further enhance the efficiency of clay pebbles, consider combining them with other growing mediums. This practice can provide additional stability and nutrient retention for your plants, especially for those with specific growing requirements. Mixing clay pebbles with soil or coco coir can create a balanced environment that supports healthy root development while maintaining adequate drainage. Always monitor your plants’ response to this combination and adjust ratios as needed for optimal results.
Maintaining Your Clay Pebbles
To maintain clay pebbles, clean them periodically to remove any build-up of algae, salt, or organic debris. Rinse the pebbles thoroughly under water, and for tougher residue, soak them in a mild vinegar solution.
If you’re reusing clay pebbles from a previous planting, always sterilize them by boiling or using a diluted bleach solution. Proper maintenance extends the lifespan of your pebbles and prevents cross-contamination between plants.
When using clay pebbles, ensure proper drainage to avoid waterlogging, which can lead to root rot or other plant health issues. Monitor the moisture levels regularly by checking if the pebbles remain damp but not overly saturated. Additionally, mixing clay pebbles with other growing media, such as coco coir or perlite, can improve aeration and water retention, creating an optimal environment for plant growth. Adopting these practices will maximize the efficiency and effectiveness of your hydroponic or soil-based gardening system.
Common Mistakes to Avoid
Using clay pebbles is simple, but there are a few common pitfalls to steer clear of. First, avoid overwatering. Although clay pebbles regulate moisture, overwatering can cause algae or bacterial growth.
Another mistake is skipping the initial rinse. Failing to wash away clay dust can result in clogged drainage and unhealthy roots. Lastly, don’t use clay pebbles with plants that prefer dry conditions, as their moisture-retaining properties may lead to overhydration.
Additionally, it’s important to monitor the pH levels of your growing medium. Clay pebbles are generally pH-neutral, but nutrient solutions and water can alter the pH balance over time, potentially impacting plant health. Regularly testing and adjusting the pH can help ensure optimal growth conditions. Furthermore, reusing clay pebbles requires thorough cleaning and sterilization to remove residue and prevent the spread of disease. Proper maintenance will extend their lifespan and support a healthy growing environment for your plants.
FAQ
What plants work best with clay pebbles?
Clay pebbles are ideal for moisture-loving plants like ferns, pothos, and peace lilies. They’re also great for hydroponics, orchids, and vegetables.
Can clay pebbles be used alone?
Yes, especially in hydroponic systems. For potted plants, they’re best used with soil as a drainage layer or mulch.
How many times can I reuse clay pebbles?
With proper cleaning and sterilization, clay pebbles can be reused indefinitely, making them a cost-effective choice.
Do clay pebbles rot over time?
No, clay pebbles are inorganic and don’t decompose, ensuring long-term use without breaking down.
Are clay pebbles eco-friendly?
Yes, they’re sustainable, reusable, and made from natural clay. Proper use can reduce waste and improve plant care efficiency.
Conclusion
Using clay pebbles for houseplants is a simple yet effective way to enhance growth, ensure proper drainage, and maintain healthy roots. By following these steps, you’ll create an optimal environment for your plants to thrive.
Whether you opt for a hydroponic setup or add clay pebbles to traditional pots, your plants will thank you for the improved care. Start small, get creative with your arrangements, and enjoy the fruits (or leaves!) of your labor. Your houseplants—and your green thumb—will flourish.
About Ravuk Barg
B.Sc. Horticulture Science | Certified Master Gardener
Ravuk Barg has spent more than a decade with his hands in the soil and his head full of questions about why some gardens thrive while others struggle. What started as a single raised bed of tomatoes and basil in a modest backyard has grown into a deep, working knowledge of everything from seed germination and soil amendment to companion planting and seasonal pruning.
Over the years, Ravuk has gardened through drought summers, waterlogged springs, and pest invasions that would make most gardeners hang up their trowels for good. Those hard seasons, he’ll tell you, taught him more than any perfect growing year ever could. He writes from that earned experience—covering vegetable growing, ornamental planting, houseplant care, composting, and garden design with equal confidence and curiosity.
Philosophy & Approach
Ravuk’s approach to gardening is rooted in practicality. He favors organic methods not out of dogma, but because they work long-term—resulting in healthier soil, fewer inputs, and stronger plants. He has a particular fondness for heirloom vegetable varieties (the kind with proper flavor), unruly cottage-style flower beds, and the stubborn houseplants that everyone else gave up on.
The Mission: Give readers the honest, experience-backed advice that helps them actually succeed in their gardens—not just the ideal version, but the real one; weeds, failures, and all.
Education & Credentials
-
B.Sc. in Horticulture Science
-
Greenfield Agricultural University
-
Focus: Plant Physiology, Soil Ecology, and Sustainable Crop Production
-
-
Master Gardener Certification
-
Cooperative Extension Service
-
Focus: 200+ hours of hands-on practical training and community garden work
-
Continuing Education
-
Organic Pest Management
-
Native Plant Landscaping
-
Sustainable Crop Production