

Achieving a lush, green lawn is a goal for many homeowners, and one of the most effective tools to help you get there is a simple spreader. Whether you’re applying fertilizer, grass seed, or pest control products, using a spreader ensures even coverage, preventing the patchy, uneven results that come from hand application. Learning how to use a spreader correctly is a fundamental skill for any aspiring home gardener. This guide will walk you through the entire process, from choosing the right spreader and product to applying it like a pro for a healthy, beautiful yard.
Why a Spreader Is Essential for Lawn Care
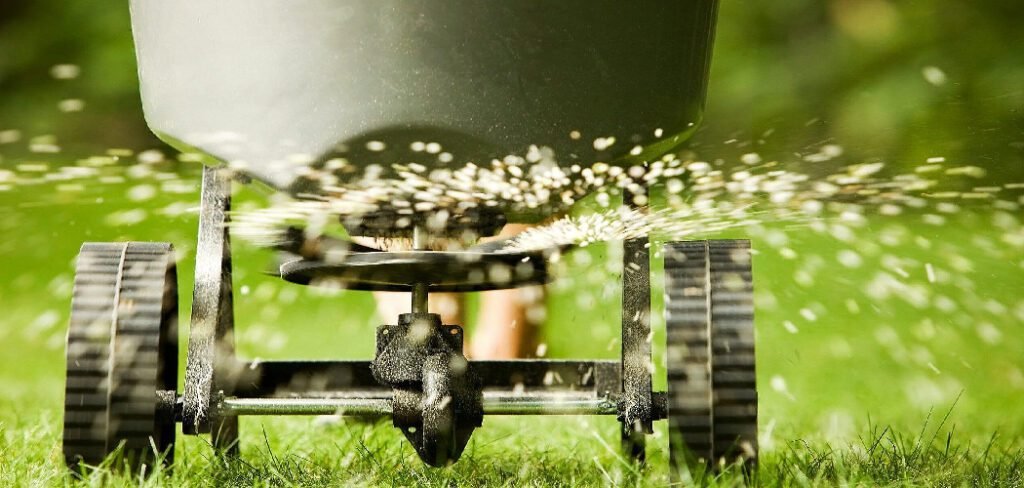
Using a spreader is the key to uniform application of lawn care products. When you spread fertilizer, seed, or granules by hand, it’s nearly impossible to distribute them evenly. This often leads to clumps of product in some areas and bare patches in others. An over-fertilized spot can burn the grass, turning it yellow or brown, while under-fertilized areas will look weak and pale. A spreader, whether it’s a broadcast or drop model, is engineered to deliver a consistent, measured amount of product across your entire lawn, ensuring every blade of grass gets what it needs to thrive.
8 Step Methods Guide How to Use a Spreader
Step 1: Choose the Right Spreader
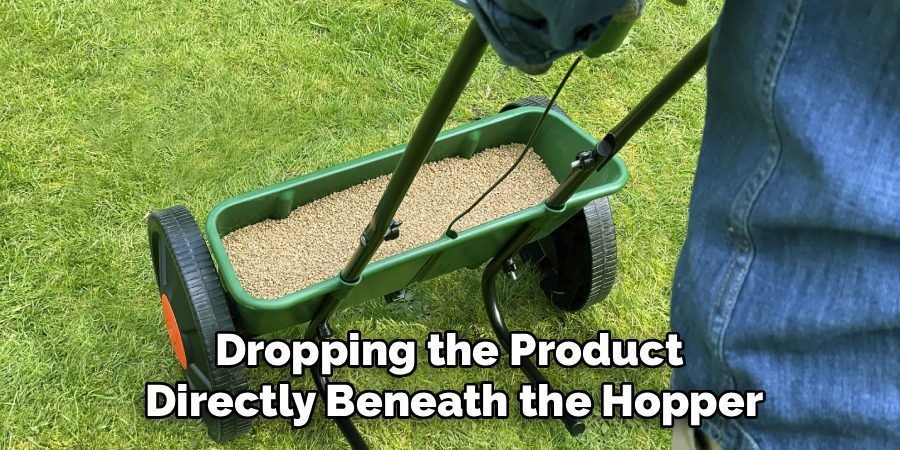
First, you need to select the best spreader for your yard’s size and shape. There are two main types: broadcast and drop spreaders. Broadcast spreaders, also known as rotary spreaders, are ideal for larger lawns because they throw granules in a wide arc, covering a lot of ground quickly. Drop spreaders are more precise, dropping the product directly beneath the hopper. This makes them perfect for smaller yards or for working around garden beds, sidewalks, and driveways where you need to control the application and avoid spreading product onto unwanted surfaces.
Step 2: Read Product and Spreader Instructions
Before you do anything else, take a moment to read the instructions on both your product bag (fertilizer, seed, etc.) and your spreader. The product label will provide a recommended application rate or setting. Your spreader’s manual will tell you how to adjust its settings to match that rate. This step is critical because applying too much product can damage your lawn, while applying too little will be ineffective. Matching the product’s requirements to your spreader’s capabilities is the foundation for a successful application.
Step 3: Calibrate Your Spreader
Calibrating your spreader ensures it distributes the correct amount of product. To do this, find a clean, flat surface like a driveway and a scale. Set your spreader to the recommended setting from the product bag. Measure out a specific amount of product, like one pound, and pour it into the hopper. Then, push the spreader over a pre-measured area (e.g., 100 square feet) and collect the distributed granules. Weigh the collected product. If it matches the recommended rate, you’re good to go. If not, adjust the setting and test again.
Step 4: Prepare the Application Area
Proper preparation makes the application process smoother and more effective. Start by mowing your lawn a day or two before you plan to use the spreader. This helps the granules reach the soil more easily. It’s also important to clear the lawn of any leaves, toys, or other debris that could block the spreader or cause uneven application. If you’re applying fertilizer, lightly watering the lawn the day before can help the soil absorb the nutrients, but check your product’s instructions, as some require a dry lawn.
Step 5: Fill the Spreader Correctly
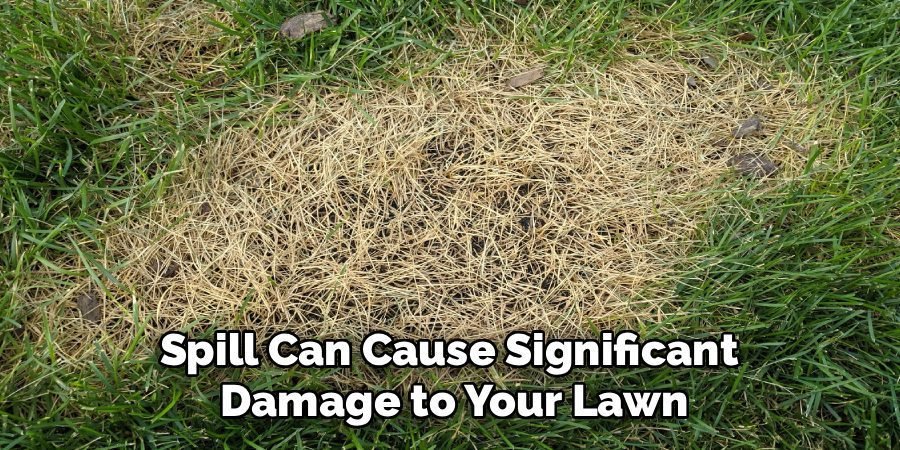
Always fill your spreader on a hard, non-lawn surface like a driveway or sidewalk. This prevents any spills from concentrating product in one spot and burning your grass. Use a scoop or a funnel to carefully pour the granules into the hopper, avoiding overfilling. If you do spill any product, be sure to sweep it up immediately and either return it to the bag or dispose of it properly. Never fill the spreader while it is sitting on the grass, as even a small spill can cause significant damage to your lawn.
Step 6: Create a Header Strip
The first part of your application path is called the header strip. This is a pass you make around the entire perimeter of your lawn. Start by closing the spreader’s hopper gate. Push the spreader to your starting point along the edge of the lawn, then open the gate and walk at a steady pace, creating a border. This header strip gives you a buffer zone to turn the spreader around without accidentally overlapping or missing spots when you start making your primary passes. Make two passes to create a wider header strip for easier turns.
Step 7: How to Use a Spreader for the Main Application
With the header strip complete, it’s time for the main application. Begin at one end of the lawn and walk in straight, parallel lines. Your goal is to slightly overlap each pass to ensure even coverage. For a broadcast spreader, the edge of one pass should slightly overlap the wheel tracks of the previous pass. For a drop spreader, you should line up the wheel of the new pass directly against the wheel track of the last one. Maintain a consistent, comfortable walking speed to ensure the product is distributed evenly across the entire lawn.
Step 8: Clean Up and Water In
Once you have covered the entire lawn, your job is almost done. First, close the spreader’s hopper and return any unused product to its original bag. Next, thoroughly clean your spreader. Use a hose to wash out the hopper and rinse the wheels and undercarriage to remove any corrosive materials like fertilizer. Allow it to dry completely before storing. Finally, check your product’s label for post-application watering instructions. Most fertilizers need to be watered in to activate them and help them absorb into the soil.

Maintenance
Proper maintenance of your lawn care tools ensures their longevity and optimal performance. After each use, make it a habit to inspect your equipment for any damage or wear. Replace any worn-out parts as needed to prevent further issues. Store tools in a clean, dry place to protect them from rust and deterioration. For motorized equipment, such as mowers, check oil levels, clean air filters regularly, and sharpen blades at least once per season. Taking these steps will not only keep your tools in excellent condition but also ensure your lawn care efforts yield the best results.
Frequently Asked Questions (FAQ)
What Is the Difference Between a Broadcast and a Drop Spreader?
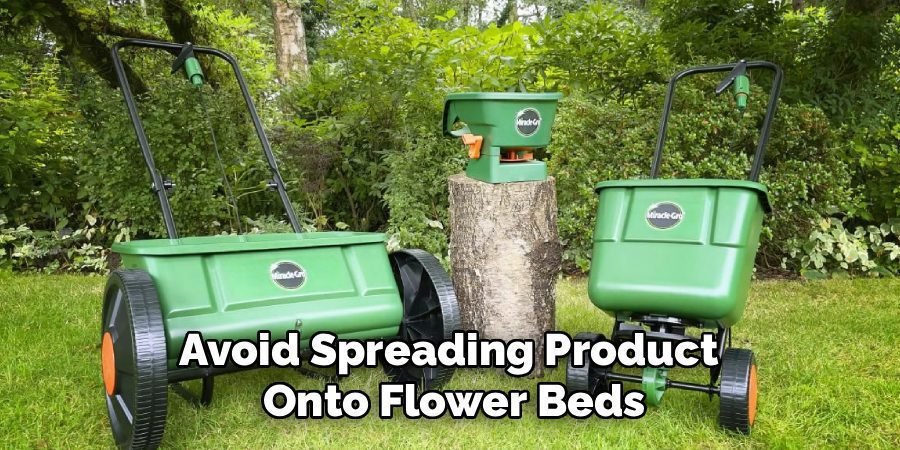
A broadcast spreader, also called a rotary spreader, uses a rotating plate to fling granules in a wide arc, covering large areas quickly. It’s great for big, open lawns. A drop spreader is more precise; it drops granules directly below the hopper in a straight line. This type is better for smaller yards or areas where you need to avoid spreading product onto flower beds, patios, or driveways, as it gives you much greater control over where the product lands.
How Do I Know What Spreader Setting to Use?
The correct spreader setting is found on the back of the product bag you are using, whether it’s fertilizer, seed, or another lawn treatment. The manufacturer provides a chart with recommended settings for various popular spreader models and brands. Find your spreader’s brand and model on the chart to get the precise setting number. If your specific model isn’t listed, you may need to calibrate your spreader manually to ensure you’re applying the product at the correct rate.
Should I Water My Lawn Before or After Using a Spreader?
This depends entirely on the product you are applying. Always read the instructions on the product label. Many granular fertilizers work best when applied to a dry lawn and then watered in immediately after application to help the nutrients absorb into the soil. However, some weed-and-feed products require application on a damp lawn so the granules stick to the weed leaves. Following the product’s specific directions is crucial for achieving the best results and avoiding damage to your lawn.
How Fast Should I Walk When Using a Spreader?
Maintaining a consistent, steady pace is key to even application. A normal, comfortable walking speed of about 3 miles per hour is generally recommended. Walking too slowly will cause you to over-apply the product, which can burn your grass. Walking too quickly will result in a lighter, less effective application. The goal is to find a natural rhythm you can maintain across the entire lawn to ensure uniform coverage from start to finish.
Can I Use a Spreader for Grass Seed?
Yes, a spreader is the best tool for applying grass seed. Using one ensures you get even distribution, which is essential for growing a thick, uniform lawn and avoiding patchy areas. Both broadcast and drop spreaders work well for seeding. A broadcast spreader is efficient for overseeding a large, existing lawn, while a drop spreader offers the precision needed for starting a new lawn or filling in specific bare spots without wasting seed on surrounding areas.
Conclusion
Mastering how to use a spreader is a simple yet powerful step toward achieving the lawn of your dreams. By choosing the right tool, carefully calibrating it, and following a methodical application process, you can ensure that every inch of your yard receives the exact amount of fertilizer, seed, or treatment it needs. You’ll avoid the common pitfalls of uneven growth, burned spots, and wasted product. With this knowledge, you are now equipped to tackle your next lawn care project with confidence and get professional-quality results.
About Ravuk Barg
B.Sc. Horticulture Science | Certified Master Gardener
Ravuk Barg has spent more than a decade with his hands in the soil and his head full of questions about why some gardens thrive while others struggle. What started as a single raised bed of tomatoes and basil in a modest backyard has grown into a deep, working knowledge of everything from seed germination and soil amendment to companion planting and seasonal pruning.
Over the years, Ravuk has gardened through drought summers, waterlogged springs, and pest invasions that would make most gardeners hang up their trowels for good. Those hard seasons, he’ll tell you, taught him more than any perfect growing year ever could. He writes from that earned experience—covering vegetable growing, ornamental planting, houseplant care, composting, and garden design with equal confidence and curiosity.
Philosophy & Approach
Ravuk’s approach to gardening is rooted in practicality. He favors organic methods not out of dogma, but because they work long-term—resulting in healthier soil, fewer inputs, and stronger plants. He has a particular fondness for heirloom vegetable varieties (the kind with proper flavor), unruly cottage-style flower beds, and the stubborn houseplants that everyone else gave up on.
The Mission: Give readers the honest, experience-backed advice that helps them actually succeed in their gardens—not just the ideal version, but the real one; weeds, failures, and all.
Education & Credentials
-
B.Sc. in Horticulture Science
-
Greenfield Agricultural University
-
Focus: Plant Physiology, Soil Ecology, and Sustainable Crop Production
-
-
Master Gardener Certification
-
Cooperative Extension Service
-
Focus: 200+ hours of hands-on practical training and community garden work
-
Continuing Education
-
Organic Pest Management
-
Native Plant Landscaping
-
Sustainable Crop Production