

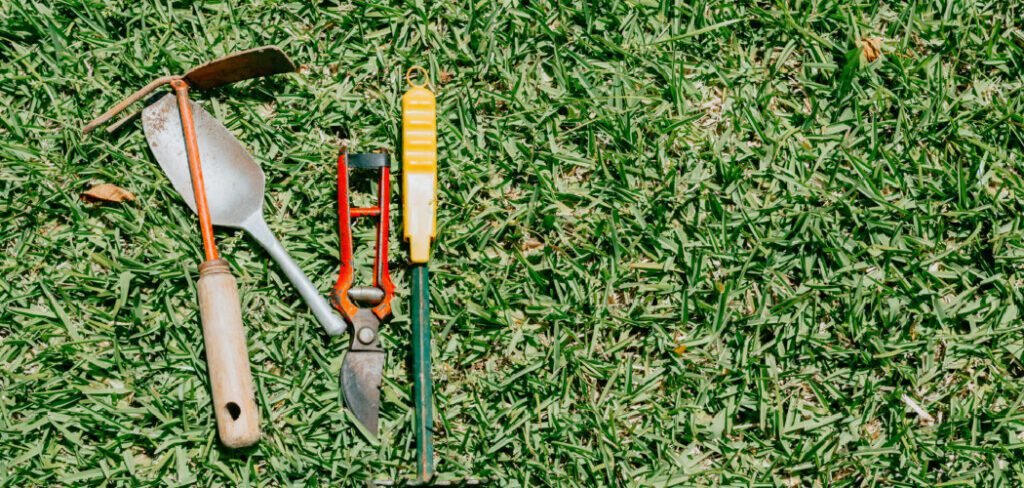
Nothing disrupts the serenity of a morning in the garden quite like spotting a dandelion claiming territory in your favorite flower bed. Weeds are inevitable, but they don’t have to be a headache. While many gardeners reach for chemical sprays or heavy machinery, the humble hand weeder remains one of the most effective tools for maintaining a pristine landscape. It is precise, environmentally friendly, and satisfyingly simple to master.
Understanding how to use a hand weeder correctly can save you hours of back-breaking labor and prevent those pesky intruders from returning. Whether you are dealing with taproots that seem to reach the center of the earth or shallow crabgrass, the right technique makes all the difference. This guide will walk you through everything you need to know to turn weeding from a chore into a therapeutic part of your gardening routine.
Why Use a Hand Weeder?
In an age of advanced gardening gadgets, you might wonder why a simple metal tool with a wooden handle is still indispensable. The primary benefit lies in precision. Unlike hoes or tillers which disrupt large areas of soil, a hand weeder allows you to target a specific plant without disturbing the root systems of your prized petunias or tomatoes. This surgical approach keeps your soil structure intact and prevents dormant weed seeds from being brought to the surface where they can germinate.
Furthermore, using manual tools eliminates the need for harsh herbicides. This is crucial for organic gardeners who want to protect local pollinators, pets, and children from chemical exposure. Hand weeding also ensures you get the entire root system out. Many weeds can regenerate from a small fragment of root left behind; a hand weeder leverages physics to lift the whole plant, ensuring it is gone for good.
7 Step-by-Step Guide on How to Use a Hand Weeder
Step 1: Choose the Right Time and Soil Conditions
Success in the garden often depends as much on timing as it does on technique. Before you even head out to the shed to grab your tools, you need to assess the soil conditions. Attempting to pull weeds from bone-dry, compacted clay is a recipe for frustration and broken tools. The ideal time to weed is shortly after a good rain or a thorough watering session.
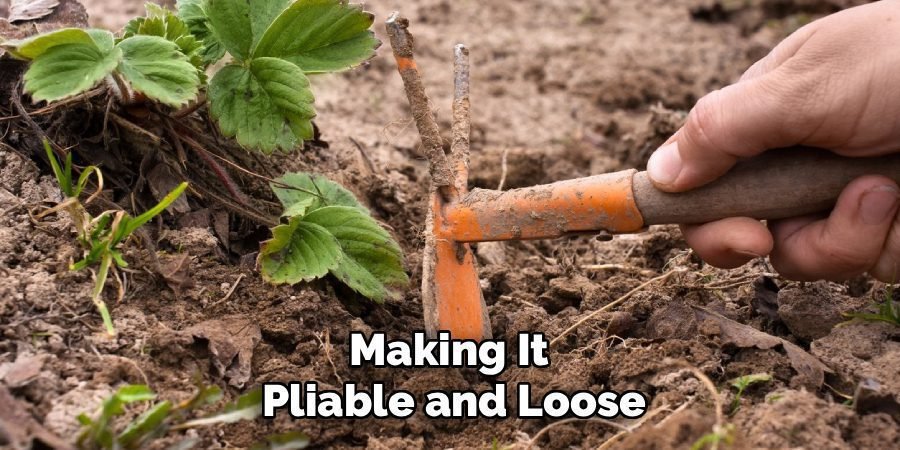
Moisture softens the soil structure, making it pliable and loose. This looseness is critical because it reduces the friction holding the roots in place. If the ground is too dry, you are likely to snap the tops off the weeds while leaving the roots buried, which defeats the purpose entirely. Aim for soil that is moist but not muddy.
Step 2: Identify the Weed and Root Type
Not all weeds are created equal, and understanding what lies beneath the surface will dictate your approach. Take a moment to inspect the intruder before you strike. Is it a dandelion with a long, singular taproot, or is it something like clover with a spreading, fibrous root system? This assessment is vital for determining the angle of attack.
For taproots, you will need to penetrate deeply and vertically alongside the root. For fibrous roots, you might need to work around the perimeter to loosen the entire clump. Knowing exactly what you are dealing with ensures you apply the right leverage. This brief pause for identification prevents you from tearing the foliage and leaving the vital growth points underground, ensuring your efforts in learning how to use a hand weeder pay off.
Step 3: Position the Tool for Maximum Leverage
Proper positioning is the secret to removing stubborn vegetation without straining your wrist. Hold the weeder firmly by the handle, treating it like an extension of your arm. Locate the base of the weed where the stem meets the soil. You want to insert the forked tip or blade of your weeder into the soil directly next to this base.
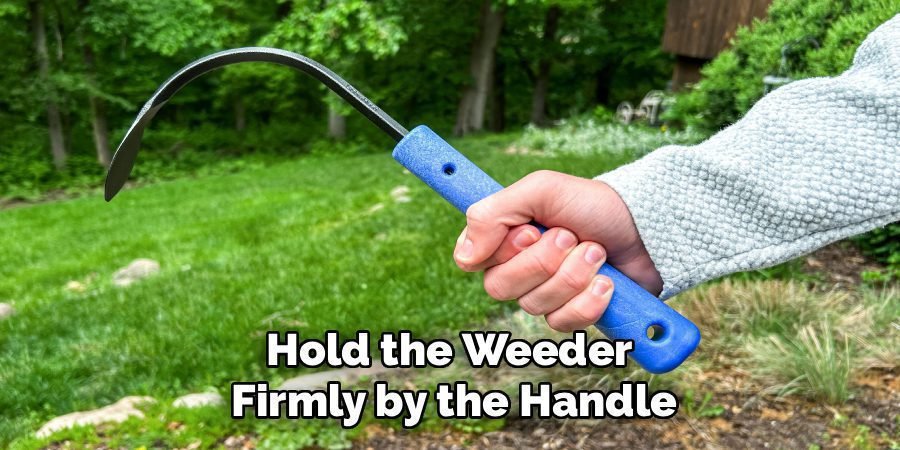
Do not aim for the leaves; aim for the root collar. The tool needs to go deep enough to get under the main root mass. Insert the metal shaft into the ground at a roughly 45-degree angle. This angle is crucial because it sets up the fulcrum point you will use in the next step. If you go in too shallow, you will miss the root; too steep, and you lose leverage.
Step 4: Loosen the Soil Around the Base
Once your tool is inserted near the base of the weed, resist the urge to immediately yank the plant out. Instead, gently rock the handle back and forth or side to side. Your goal here is to break the suction of the soil and create some wiggle room around the root system. Think of it like loosening a tooth. This action disturbs the soil particles clinging to the root hairs, significantly reducing the resistance you will feel when you eventually pull.
For particularly stubborn or large weeds, you may need to remove the tool and re-insert it at different points around the circle of the weed’s base. By working around the circumference, you ensure that the soil is loose on all sides, preparing the plant for a clean extraction.
Step 5: Leverage the Weed Out of the Ground
Now comes the extraction phase, where the design of the tool really shines. With the forked tip securely positioned under the root crown or taproot, press down on the handle. This motion uses the surface of the soil as a fulcrum, lifting the tip of the tool—and the weed—upward. As you apply this downward pressure on the handle, reach down with your free hand and grasp the base of the weed firmly. Pull up on the plant simultaneously as the tool lifts the roots from below.
This coordinated effort of lifting with the tool and pulling with your hand maximizes your mechanical advantage. It ensures that the force is applied to the root rather than just stretching the stem, which often snaps if pulled alone.
Step 6: Inspect the Hole for Root Fragments
After the satisfaction of popping the weed out of the ground, your job isn’t quite finished. Look closely at the weed in your hand and the hole left in the earth. Does the root look complete? Many perennial weeds have survival mechanisms that allow them to regrow from tiny pieces of root left behind. If the root looks snapped or jagged, you likely left a piece in the ground.
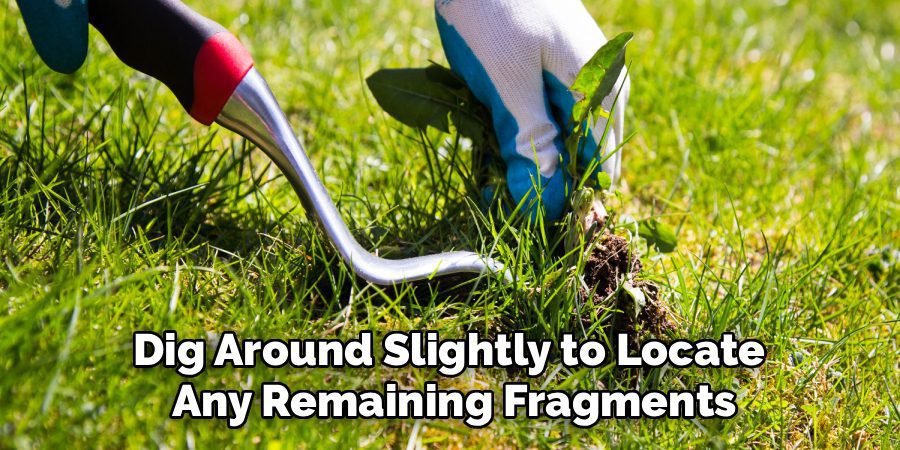
Use the tip of your hand weeder to gently sift through the soil in the hole. Dig around slightly to locate any remaining fragments. Fishing these leftovers out now prevents the frustration of seeing the same weed resprout in the exact same spot two weeks later. This attention to detail is what separates a quick fix from a long-term solution.
Step 7: Smooth and Restore the Soil Surface
The final step in the weeding process is often overlooked but is important for the health of your garden bed. Once the weed and all root fragments are removed, you will be left with a small divot or hole. Leaving this open exposes the subsoil to drying out and creates an uneven surface. Use the side of your hand weeder or your gloved hand to push the surrounding soil back into the hole. Pat it down gently to level the surface.
If you are working in a mulched bed, rake the mulch back over the spot to suppress new weed growth. This restores the aesthetic of your garden and helps maintain soil moisture levels. It effectively closes the door on the operation, leaving your garden bed looking as if the weed was never there.
Frequently Asked Questions
What is the difference between a fulcrum weeder and a hori-hori knife?
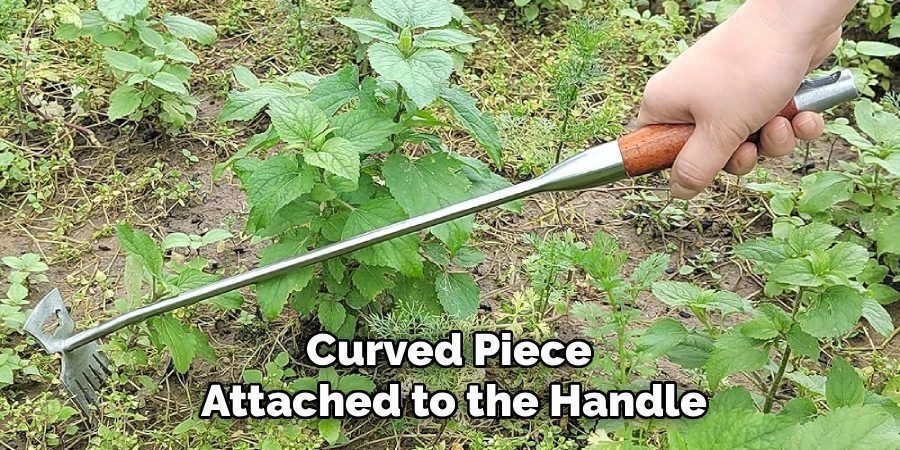
A fulcrum weeder, often called a dandelion digger, has a distinct bend in the metal shaft or a curved piece attached to the handle. This acts as a pivot point to pry weeds out using leverage. A hori-hori knife, on the other hand, is a versatile, serrated gardening knife.
While a fulcrum weeder is specialized for popping out taproots, a hori-hori is a multi-purpose tool used for:
- Digging
- Cutting tough roots
- Planting bulbs
- Sawing through sod
Can I use a hand weeder on dry, hard soil?
It is possible, but not recommended. Using a hand weeder on dry, compacted soil makes the job significantly harder. The dry earth holds onto roots tightly, increasing the likelihood that the weed will snap off at the stem rather than coming out by the root.
Additionally, forcing a tool into concrete-like soil puts excessive stress on your wrist and the tool itself, potentially bending the metal shaft. Always water the area deeply a few hours before you plan to weed for the best results.
How do I maintain my hand weeder to keep it sharp?
Maintenance is key to longevity. After each use, wipe off any soil and moisture to prevent rust. Store the tool in a dry place. Over time, the tips or blades may become dull from hitting rocks.

To sharpen it:
- Secure the tool in a vice.
- Use a metal file or a sharpening stone.
- File the edge at the original bevel angle.
- Apply a light coat of oil to the metal parts before winter storage to protect against corrosion.
Is a hand weeder effective for all types of weeds?
Hand weeders are most effective for weeds with distinct taproots (like dandelions, thistles, and plantain) or small clumps of fibrous weeds. The forked tip is designed to capture and lift these specific root structures.
However, they are less effective for:
- Creeping weeds like ground ivy or bindweed that root at multiple nodes.
- Large patches of grass infiltrating a bed.
- Tiny seedlings that are better addressed with a hoe.
For extensive spreading weeds, a different tool might be more efficient.
Can hand weeding cause physical strain or injury?
Yes, repetitive motion can cause strain, particularly in the wrist and lower back. To minimize this, use a kneeling pad to protect your knees and keep your back straighter. Switch hands periodically to balance the workload on your muscles.
Ensure you are using the leverage of the tool rather than relying solely on your grip strength to pull. If you have arthritis, look for ergonomic hand weeders with padded, larger handles designed to reduce grip fatigue.
Conclusion
Mastering the art of weeding is a rite of passage for every gardener. It transforms a tedious chore into a satisfying exercise in maintaining order and health within your green space. By choosing the right moment, using the proper leverage, and ensuring you remove the entire root, you protect your plants and save yourself future effort.
Remember, the goal is not just to remove the visible green, but to address the root of the problem. We hope this guide on how to use a hand weeder empowers you to take control of your garden beds with confidence. So, grab your gloves, head outside, and enjoy the therapeutic process of creating a healthier, more beautiful garden.
About Ravuk Barg
B.Sc. Horticulture Science | Certified Master Gardener
Ravuk Barg has spent more than a decade with his hands in the soil and his head full of questions about why some gardens thrive while others struggle. What started as a single raised bed of tomatoes and basil in a modest backyard has grown into a deep, working knowledge of everything from seed germination and soil amendment to companion planting and seasonal pruning.
Over the years, Ravuk has gardened through drought summers, waterlogged springs, and pest invasions that would make most gardeners hang up their trowels for good. Those hard seasons, he’ll tell you, taught him more than any perfect growing year ever could. He writes from that earned experience—covering vegetable growing, ornamental planting, houseplant care, composting, and garden design with equal confidence and curiosity.
Philosophy & Approach
Ravuk’s approach to gardening is rooted in practicality. He favors organic methods not out of dogma, but because they work long-term—resulting in healthier soil, fewer inputs, and stronger plants. He has a particular fondness for heirloom vegetable varieties (the kind with proper flavor), unruly cottage-style flower beds, and the stubborn houseplants that everyone else gave up on.
The Mission: Give readers the honest, experience-backed advice that helps them actually succeed in their gardens—not just the ideal version, but the real one; weeds, failures, and all.
Education & Credentials
-
B.Sc. in Horticulture Science
-
Greenfield Agricultural University
-
Focus: Plant Physiology, Soil Ecology, and Sustainable Crop Production
-
-
Master Gardener Certification
-
Cooperative Extension Service
-
Focus: 200+ hours of hands-on practical training and community garden work
-
Continuing Education
-
Organic Pest Management
-
Native Plant Landscaping
-
Sustainable Crop Production