

A well-maintained garden bed with a crisp, clean edge is a beautiful sight. The dark, rich color of mulch against a vibrant green lawn creates a professional-looking landscape. But over time, those neat lines can blur. Grass creeps into your flower beds, and mulch scatters onto your lawn, creating a messy, untidy appearance. This common problem can make your yard look neglected and can even be unhealthy for both your grass and your garden plants. Learning how to separate mulch from grass is a fundamental skill for any homeowner who wants to keep their landscape looking its best.

This guide will provide you with a straightforward, effective method to restore order to your garden edges.
Why Separating Mulch and Grass Matters
Maintaining a clear boundary between your lawn and garden beds is about more than just looks. When mulch and grass mix, several issues can arise. Grass that invades mulch beds competes with your garden plants for water, sunlight, and essential nutrients, potentially stunting their growth. Conversely, when mulch, especially wood chips, spills onto the lawn, it can smother the turf, creating dead patches and inhibiting healthy grass growth. A clean separation also makes mowing and trimming much easier, preventing you from accidentally flinging mulch everywhere with your lawnmower or damaging your plants with a string trimmer.
A defined edge gives your entire landscape a polished, intentional feel.
8 Step-by-Step Guide on How to Separate Mulch from Grass
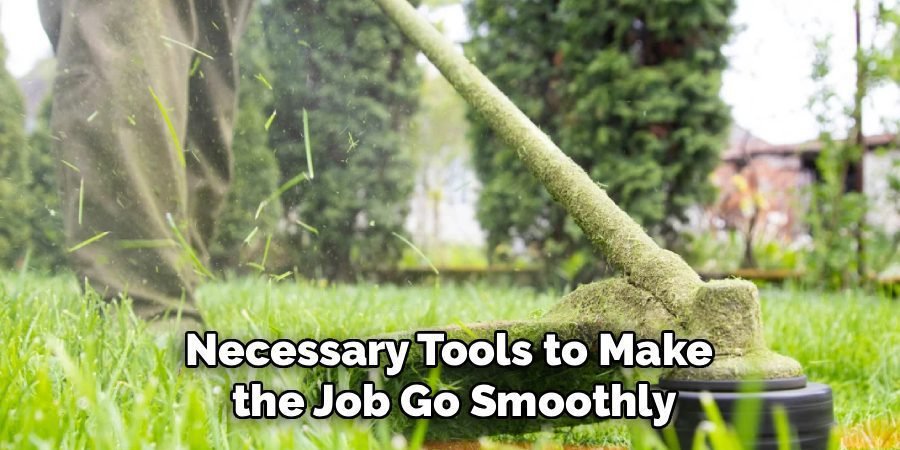
Step 1: Gather Your Tools and Materials
Before you begin, it’s best to collect all the necessary tools to make the job go smoothly. You will need a sturdy pair of gardening gloves to protect your hands, a flat-head shovel or a garden spade for creating a clean edge, and a leaf rake or a hard-tined rake for gathering the mixed materials. A wheelbarrow or large buckets will be essential for transporting the separated mulch and grass clippings. For finer cleanup, a shop vac can be surprisingly effective. Having everything ready at the start prevents interruptions and helps you work more efficiently.
Step 2: Rake the Loose Mulch Away from the Grass
Start by gently pulling back the loose mulch from the edge where it meets the lawn. Use a leaf rake or your hands to create a clear working area, about six to twelve inches wide, along the entire border of the garden bed. This initial step helps you see exactly where the grass ends and the mulch bed should begin. It also prevents you from accidentally mixing more mulch into the lawn as you work. Be careful not to disturb the root systems of your garden plants during this process.
Step 3: Define the Edge with a Shovel
With the mulch pulled back, use a flat-head shovel or a garden spade to create a crisp, defined trench along the lawn’s edge. Press the shovel straight down into the soil, about four to six inches deep. Rock the shovel back and forth slightly to loosen the soil and slice through any encroaching grass roots. This action creates a physical barrier that helps prevent grass from spreading into the mulch bed in the future. Work your way along the entire length of the garden bed, ensuring the line is straight or follows your desired curve.
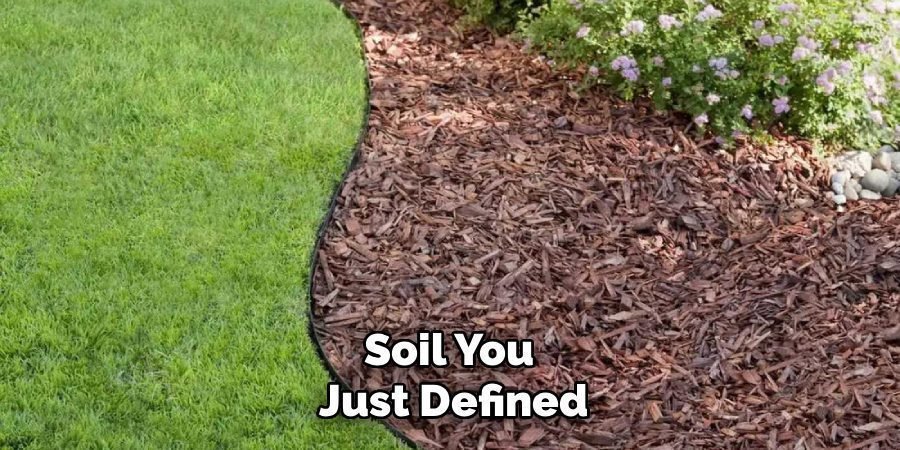
Step 4: Remove the Invading Grass and Soil
Once you have cut the edge, use your shovel or a hand trowel to scoop out the strip of turf and soil you just defined. This removed section will likely contain a mix of grass, roots, and soil. Place this debris directly into your wheelbarrow or bucket for disposal or composting. This step is crucial for cleanly separating the two areas. Taking the time to remove this strip thoroughly ensures that you are getting rid of the invasive grass runners that are causing the problem in the first place.
Step 5: Sift and Separate the Mixed Materials
Now, address the pile of mixed grass and mulch that you raked away earlier. This is a key part of how to separate mulch from grass effectively. You can do this manually by hand, picking out the larger pieces of mulch and placing them back into the garden bed while discarding the grass clumps. For a faster method, you can use a garden sieve or a homemade sifter made from hardware cloth stapled to a wooden frame. Shaking the mixture over the sifter will allow the smaller soil particles and grass clippings to fall through, leaving the larger mulch pieces behind.
Step 6: Use a Leaf Blower or Shop Vac for Fine Debris
After you have manually separated the larger pieces, you will likely be left with smaller bits of mulch on the lawn. A leaf blower set to a low speed can be used to gently blow the remaining mulch back into the garden bed. Alternatively, a shop vac is an excellent tool for this task. It can suck up stray wood chips from the grass without disturbing the lawn itself. This step adds a final, polished touch to your cleanup process, ensuring the lawn is completely free of mulch debris.
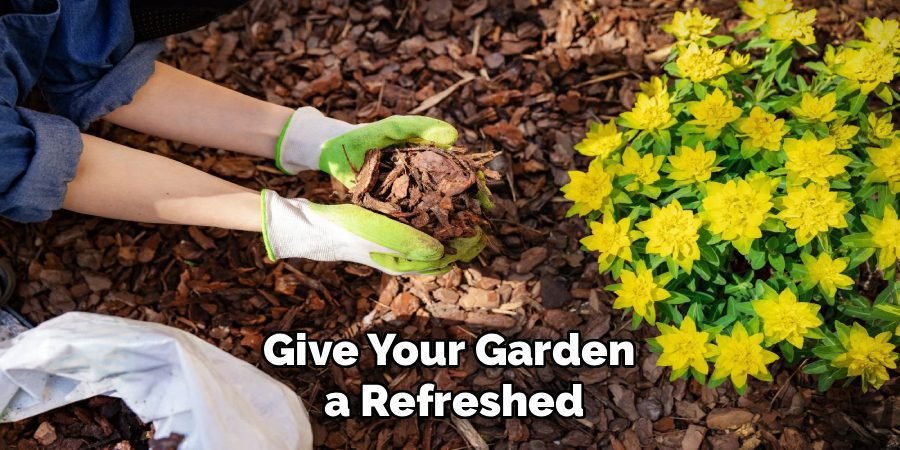
Step 7: Reapply the Cleaned Mulch
With the edge now clean and defined, you can spread the salvaged mulch back into the garden bed. Distribute it evenly, ensuring it reaches the new trench you created but does not spill over onto the lawn. You may find that you need to add a fresh layer of mulch to bring the bed up to the ideal depth of two to three inches. This fresh application will help suppress weeds, retain soil moisture, and give your garden a refreshed, tidy appearance.
Step 8: Consider Installing a Permanent Edging
To prevent this problem from happening again, think about installing a permanent landscape edging. Materials like plastic, metal, stone, or brick create a durable physical barrier that keeps mulch in and grass out. This is a more long-term solution that significantly reduces future maintenance. While it requires an upfront investment of time and money, installing proper edging will save you from having to repeat the separation process season after season, making it a smart choice for long-term garden health and aesthetics.
Maintenance
Proper maintenance is essential to ensure that your garden remains vibrant and well-organized over time. Regularly inspect the edging to make sure it stays in place and hasn’t shifted due to weather or soil movement. Remove any debris or weeds that may accumulate along the border to maintain a clean and polished look. If you’ve used organic materials like wood for edging, consider treating them occasionally to prevent decay and prolong their lifespan. By dedicating a little time to upkeep, you can enjoy the benefits of a neat and thriving garden with minimal future effort.
Common Mistakes to Avoid
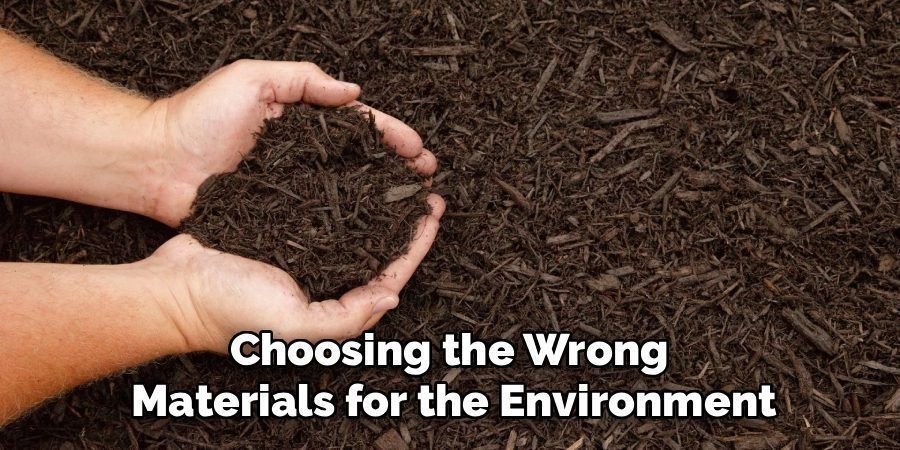
When installing garden edging, there are a few common mistakes that can undermine the final result. One major mistake is failing to properly prepare the ground before laying the edging. Uneven surfaces or insufficiently compacted soil can cause the edging to shift or collapse over time. Another frequent issue is choosing the wrong materials for the environment; for instance, wood may not hold up well in damp climates, where stone or plastic might be more appropriate. Additionally, selecting edging that doesn’t complement the overall design of your garden can detract from the aesthetic appeal.
Finally, neglecting to secure the edging firmly can result in loose or uneven borders, leading to frustration and the need for repeated adjustments. By avoiding these pitfalls, you can ensure a professional and lasting finish for your garden.
Frequently Asked Questions (FAQ)
What Is the Best Tool for Edging a Garden Bed?
The best tool often depends on the scale of the job and personal preference. For creating a new, sharp edge, a half-moon edger or a flat-head spade is ideal. These tools allow you to press straight down and create a clean, vertical cut. For maintaining an existing edge, a motorized stick edger can save a lot of time and effort, especially for larger yards. For smaller, more intricate beds, a simple garden knife or hand trowel provides excellent control and precision for getting the job done right.
Can I Use a Leaf Blower to Separate Mulch from Grass?
Yes, a leaf blower can be a very helpful tool, especially for the final cleanup. After you have manually removed most of the mixed material, set your leaf blower to a low power setting. Use it to gently blow the remaining loose, dry wood chips or mulch from your lawn back into the garden bed. Be careful not to use too much force, as this can blow away topsoil or damage delicate grass. It is most effective for light, dry mulch rather than heavy, wet material.

How Can I Prevent Grass from Growing into My Mulch Beds?
Prevention is the most effective long-term strategy. The best method is to install a physical barrier, such as steel, plastic, or stone edging, that extends several inches into the ground. This blocks the grass roots and runners. Additionally, creating a deep “V” shaped trench, about 4-6 inches deep, between the lawn and the mulch bed serves as an effective natural barrier. Regularly maintaining this edge with a spade or string trimmer will also keep the grass from creeping back into your garden beds.
Is It Okay to Leave a Little Mulch in the Grass?
While a few stray pieces of mulch are unlikely to cause significant harm, it is best to remove as much as possible. A thick layer of mulch, especially wood chips, can smother the grass beneath it by blocking sunlight and air, leading to yellowing or dead patches on your lawn. Furthermore, as wood mulch decomposes, it can temporarily tie up nitrogen in the soil, which could affect the health of your turf. A clean lawn simply looks better and is healthier in the long run.
What Should I Do with the Mix of Grass and Mulch I Remove?
The mixture of grass, soil, and old mulch can be added to your compost pile. The grass clippings provide nitrogen (a “green” material), while the decomposing wood mulch provides carbon (a “brown” material), creating a balanced mix for healthy compost. Avoid using this mixture if you have treated your lawn with herbicides recently, as the chemicals could persist in the compost and harm your garden plants later. If you do not have a compost pile, you can dispose of the material in your yard waste bin.
Conclusion
Restoring a clean, crisp line between your lawn and garden beds is a rewarding task that instantly elevates the look of your landscape. By following these steps, you can effectively tackle the overgrown edges and messy overlaps that detract from your yard’s beauty. The process involves more than just aesthetics; it promotes a healthier environment for both your grass and your cherished plants. Now that you know how to separate mulch from grass, you have the skills to maintain a polished, professional-looking yard throughout the year.
Taking the time to do this job right will save you future headaches and keep your garden looking its absolute best.
About Ravuk Barg
B.Sc. Horticulture Science | Certified Master Gardener
Ravuk Barg has spent more than a decade with his hands in the soil and his head full of questions about why some gardens thrive while others struggle. What started as a single raised bed of tomatoes and basil in a modest backyard has grown into a deep, working knowledge of everything from seed germination and soil amendment to companion planting and seasonal pruning.
Over the years, Ravuk has gardened through drought summers, waterlogged springs, and pest invasions that would make most gardeners hang up their trowels for good. Those hard seasons, he’ll tell you, taught him more than any perfect growing year ever could. He writes from that earned experience—covering vegetable growing, ornamental planting, houseplant care, composting, and garden design with equal confidence and curiosity.
Philosophy & Approach
Ravuk’s approach to gardening is rooted in practicality. He favors organic methods not out of dogma, but because they work long-term—resulting in healthier soil, fewer inputs, and stronger plants. He has a particular fondness for heirloom vegetable varieties (the kind with proper flavor), unruly cottage-style flower beds, and the stubborn houseplants that everyone else gave up on.
The Mission: Give readers the honest, experience-backed advice that helps them actually succeed in their gardens—not just the ideal version, but the real one; weeds, failures, and all.
Education & Credentials
-
B.Sc. in Horticulture Science
-
Greenfield Agricultural University
-
Focus: Plant Physiology, Soil Ecology, and Sustainable Crop Production
-
-
Master Gardener Certification
-
Cooperative Extension Service
-
Focus: 200+ hours of hands-on practical training and community garden work
-
Continuing Education
-
Organic Pest Management
-
Native Plant Landscaping
-
Sustainable Crop Production