

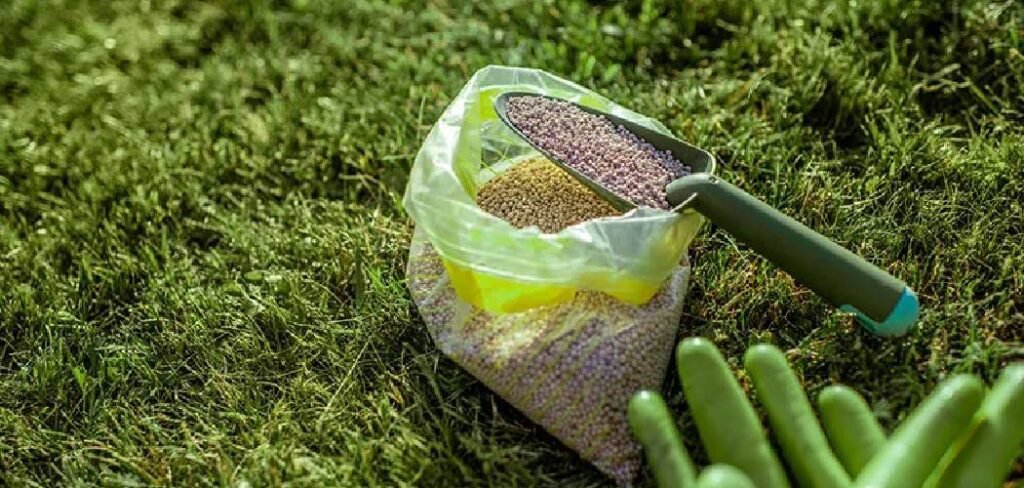
Transforming your lawn into a lush, sustainable paradise doesn’t have to mean hours of maintenance or harsh chemicals. Learning how to seed clover into lawn opens up a world of natural lawn care benefits that will revolutionize your outdoor space.
Clover acts as nature’s own fertilizer factory, pulling nitrogen from the air and feeding it directly to your grass. This remarkable plant creates a self-sustaining ecosystem that reduces your need for synthetic fertilizers while providing a soft, green carpet that stays vibrant through drought conditions.
Unlike traditional grass monocultures, clover-enhanced lawns require less water, naturally resist pests, and provide valuable nectar for pollinators. The deep root system aerates compacted soil, while the dense growth pattern crowds out weeds naturally.
Whether you’re dealing with bare patches, poor soil conditions, or simply want to reduce lawn maintenance, adding clover creates a resilient, eco-friendly landscape that thrives with minimal intervention.
5 Step-by-Step Guide: How to Seed Clover Into Lawn
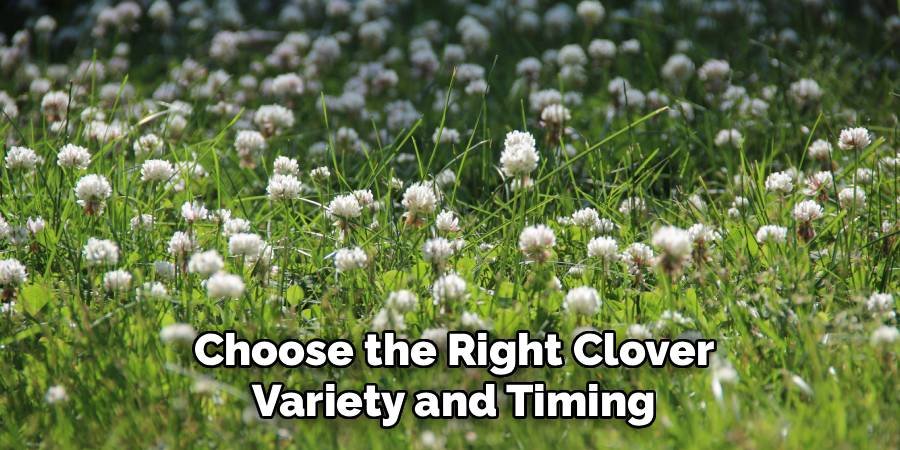
Step 1: Choose the Right Clover Variety and Timing
Selecting the appropriate clover variety sets the foundation for your seeding success. White clover works exceptionally well for most lawn applications due to its low-growing habit and ability to withstand foot traffic. This hardy perennial spreads through stolons, creating a dense mat that complements existing grass perfectly.
Timing your seeding project correctly ensures optimal germination rates and establishment. Early spring offers ideal conditions as soil temperatures warm and natural rainfall supports seed germination. Fall seeding also works well, giving clover time to establish roots before winter dormancy.
Red clover grows taller and works better for larger areas or meadow-style lawns, while micro clover offers the finest texture for formal landscapes. Consider your local climate zone when selecting varieties, as some perform better in cooler northern regions while others thrive in warmer southern climates.
Purchase certified seed from reputable suppliers to ensure high germination rates and avoid unwanted weeds. Fresh seed typically shows better performance than older stock, so check packaging dates before buying.
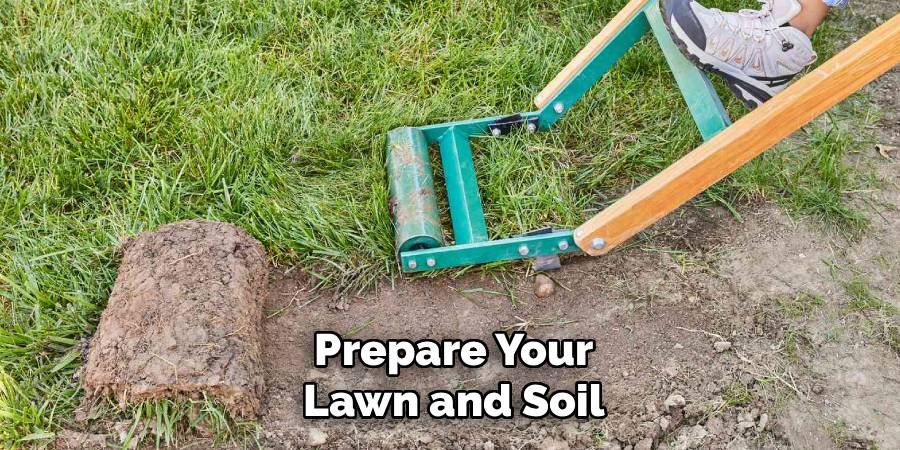
Step 2: Prepare Your Lawn and Soil
Proper soil preparation dramatically improves your seeding success rate and long-term clover establishment. Begin by mowing your existing grass shorter than usual, setting your mower to about 1.5 inches to reduce competition for light and space.
Rake the area thoroughly to remove thatch buildup, fallen leaves, and debris that could prevent seed-to-soil contact. Pay special attention to compacted areas where clover seeds might struggle to penetrate the surface.
Test your soil pH using a simple home testing kit or professional soil analysis. Clover thrives in slightly acidic to neutral soil with pH levels between 6.0 and 7.0. If your soil tests too acidic, apply lime according to package directions several weeks before seeding.
Light scarification helps create tiny grooves in the soil surface that capture and hold clover seeds. Use a rake or dethatching tool to lightly scratch the soil without damaging existing grass roots. This process improves seed placement and reduces seed loss from wind or water runoff.
Step 3: Calculate and Apply Clover Seeds
Accurate seed application ensures even coverage without waste or thin spots that invite weed competition. Most white clover varieties require 2-4 ounces of seed per 1,000 square feet when overseeding into existing grass. For bare areas or new lawn establishment, increase the rate to 4-8 ounces per 1,000 square feet.
Mix clover seeds with an equal amount of fine sand or sawdust to improve visibility during application and prevent uneven distribution. This carrier material helps you see where you’ve seeded and identifies any missed spots before finishing the project.
Broadcast seeds using a spreader for large areas or hand-seeding for smaller spaces and detailed work around obstacles. Apply half the total seed amount in one direction, then spread the remaining half perpendicular to your first pass for even coverage.
Work during calm weather conditions to prevent wind from carrying lightweight clover seeds away from target areas. Early morning or late evening applications avoid harsh sunlight that can stress newly planted seeds and reduce moisture availability for germination.
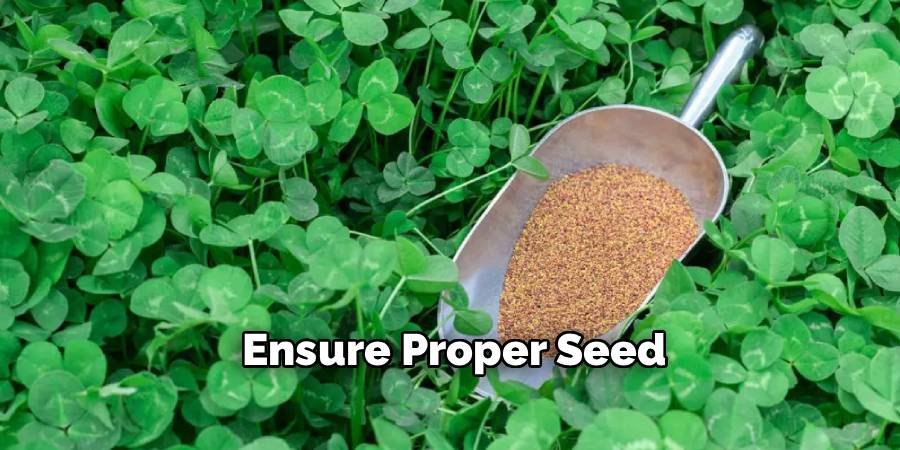
Step 4: Ensure Proper Seed-to-Soil Contact
Achieving good seed-to-soil contact ranks among the most critical factors for successful clover establishment. Clover seeds need direct contact with moist soil to absorb water and begin the germination process effectively.
Lightly rake the seeded area using a leaf rake or the back of a garden rake to work seeds into the soil surface. Apply gentle pressure to avoid burying seeds too deeply, as clover seeds are small and require light for optimal germination.
Rolling the seeded area with a lightweight lawn roller improves seed contact without causing soil compaction. Fill the roller partially with water to achieve appropriate weight, typically around 100-150 pounds for most residential applications.
In areas with slopes or heavy rainfall potential, consider applying a thin layer of straw mulch or erosion control fabric to prevent seed washout. Keep mulch coverage light enough to allow sunlight penetration while providing protection from heavy rain or irrigation.
Step 5: Establish Proper Watering and Maintenance Schedule
Consistent moisture management during the first 2-3 weeks determines your clover seeding success. Seeds need constant soil moisture to germinate but shouldn’t sit in waterlogged conditions that promote fungal diseases or seed rot.
Water lightly and frequently during the germination period, applying just enough moisture to keep the soil surface damp without creating puddles. Most areas benefit from brief watering sessions 2-3 times daily rather than single heavy applications that can wash seeds away.
Monitor soil moisture by checking the surface with your finger or a moisture meter. The top inch should feel consistently moist but not soggy. Adjust watering frequency based on weather conditions, increasing during hot, dry periods and reducing during cool, humid weather.
Avoid foot traffic on newly seeded areas until clover seedlings reach about 2 inches in height and show established root systems. This typically occurs 3-4 weeks after seeding under optimal conditions. Light foot traffic can actually benefit established clover by encouraging lateral spread and denser growth patterns.

FAQ
When is the best time to seed clover into my existing lawn?
The optimal seeding windows are early spring (March-May) and fall (September-October), depending on your location. Spring seeding takes advantage of natural rainfall and warming soil temperatures that promote rapid germination. Fall seeding allows clover to establish strong root systems before winter, leading to vigorous growth the following spring. Avoid seeding during peak summer heat or when frost is imminent.
How long does it take for clover seeds to germinate and establish?
Clover seeds typically germinate within 7-15 days under proper conditions of consistent moisture and soil temperatures between 60-70°F. Full establishment occurs over 6-8 weeks as the root system develops and plants begin spreading. You’ll notice the first green shoots within two weeks, with significant coverage appearing after 4-6 weeks. Patience during this period ensures strong, healthy clover that will thrive for years.
Can I seed clover without killing my existing grass?
Absolutely! Overseeding clover into existing grass creates beneficial partnerships rather than competition. The nitrogen-fixing properties of clover actually feed surrounding grass, creating healthier, greener lawns overall. Proper preparation through mowing short and light raking ensures good seed contact without damaging grass roots. The two plants complement each other, with grass providing structure while clover adds fertility and drought resistance.
How much clover seed do I need for my lawn size?
For overseeding into existing grass, use 2-4 ounces of white clover seed per 1,000 square feet. New lawn installations or bare patches require 4-8 ounces per 1,000 square feet for adequate coverage. Measure your lawn area by multiplying length times width, then calculate seed needs accordingly. It’s better to err slightly on the heavy side than risk thin coverage that allows weed competition.
Will clover attract bees and is this a concern for families?
Clover does attract pollinators, including bees, but this creates ecological benefits rather than significant safety concerns. Bees focus on flower nectar collection and rarely show aggressive behavior in lawn settings. Regular mowing before flowers fully develop minimizes bee activity while maintaining clover’s nitrogen-fixing benefits. Many families find the occasional bee presence worthwhile for supporting pollinator populations and enjoying chemical-free lawn care.
Conclusion
Successfully learning how to seed clover into lawn transforms your outdoor space into a sustainable, low-maintenance paradise that benefits both your family and the environment. This natural approach reduces your reliance on synthetic fertilizers while creating resilient grass that thrives through challenging weather conditions.
The nitrogen-fixing properties of clover work continuously to feed your lawn, while deep root systems improve soil structure and water retention. Your maintenance schedule becomes simpler as clover naturally crowds out weeds and requires less frequent watering than traditional grass monocultures.
Remember that patience during the establishment period pays dividends for years to come. Consistent watering, proper timing, and good seed-to-soil contact create the foundation for a thriving clover-enhanced lawn.
Your commitment to this eco-friendly approach supports local pollinators, reduces chemical runoff, and creates a soft, lush carpet that family and pets will love. The initial investment in quality seed and proper preparation techniques delivers long-term rewards through reduced maintenance costs and improved lawn health that continues year after year.
About Ravuk Barg
B.Sc. Horticulture Science | Certified Master Gardener
Ravuk Barg has spent more than a decade with his hands in the soil and his head full of questions about why some gardens thrive while others struggle. What started as a single raised bed of tomatoes and basil in a modest backyard has grown into a deep, working knowledge of everything from seed germination and soil amendment to companion planting and seasonal pruning.
Over the years, Ravuk has gardened through drought summers, waterlogged springs, and pest invasions that would make most gardeners hang up their trowels for good. Those hard seasons, he’ll tell you, taught him more than any perfect growing year ever could. He writes from that earned experience—covering vegetable growing, ornamental planting, houseplant care, composting, and garden design with equal confidence and curiosity.
Philosophy & Approach
Ravuk’s approach to gardening is rooted in practicality. He favors organic methods not out of dogma, but because they work long-term—resulting in healthier soil, fewer inputs, and stronger plants. He has a particular fondness for heirloom vegetable varieties (the kind with proper flavor), unruly cottage-style flower beds, and the stubborn houseplants that everyone else gave up on.
The Mission: Give readers the honest, experience-backed advice that helps them actually succeed in their gardens—not just the ideal version, but the real one; weeds, failures, and all.
Education & Credentials
-
B.Sc. in Horticulture Science
-
Greenfield Agricultural University
-
Focus: Plant Physiology, Soil Ecology, and Sustainable Crop Production
-
-
Master Gardener Certification
-
Cooperative Extension Service
-
Focus: 200+ hours of hands-on practical training and community garden work
-
Continuing Education
-
Organic Pest Management
-
Native Plant Landscaping
-
Sustainable Crop Production