

Having a bumpy, uneven lawn can make your yard look messy and cause problems when you walk or play on it. If you want to know how to sand level lawn, you’ve come to the right place! Sand leveling is one of the best ways to fix an uneven lawn and make it look amazing.
When your lawn has dips, bumps, and rough spots, it doesn’t just look bad – it can also make it hard to mow and can cause water to pool in certain areas. Learning how to sand level lawn will help you create a smooth, even surface that looks professional and feels great under your feet.
What Does It Mean to Sand Level a Lawn?
Sand leveling a lawn means using sand and soil to fill in low spots and smooth out bumpy areas in your yard. This process helps create an even surface across your entire lawn. When you learn how to sand level lawn properly, you can fix problems like:
- Small holes and dips in the grass
- Bumpy areas that make walking difficult
- Uneven spots that collect water
- Areas where the grass doesn’t grow well
The sand leveling process involves spreading a mixture of sand and topsoil over your lawn to fill in the low areas and create a smooth, flat surface.
Why Should You Sand Level Your Lawn?
There are many good reasons to learn how to sand level lawn:
Better Appearance: A level lawn looks much nicer and more professional than a bumpy one.
Easier Maintenance: When your lawn is level, it’s much easier to mow, water, and take care of.
Better Drainage: Level lawns drain water better, which helps prevent puddles and soggy spots.
Safer to Use: A smooth lawn is safer for kids to play on and for adults to walk across.
Healthier Grass: Even lawns help grass grow better because water and nutrients spread more evenly.
10 Effective Methods for How to Sand Level Lawn
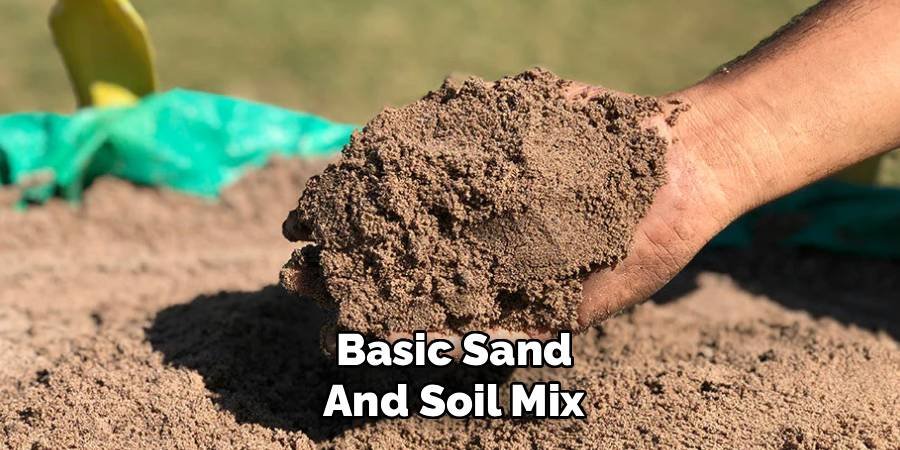
Method 1: Basic Sand and Soil Mix
The most common way to sand level lawn is using a mixture of sand and topsoil. Mix equal parts of fine sand and good quality topsoil. This mixture fills in small dips and creates a smooth surface. Spread the mixture evenly over low areas using a rake, then water lightly to help it settle.
Method 2: Topdressing Technique
Topdressing is when you spread a thin layer of sand mixture over your entire lawn. This method works well for lawns with many small bumps and dips. Apply no more than half an inch of mixture at a time. Use a leveling rake to spread it evenly, making sure the grass blades can still stick through.
Method 3: Spot Treatment Method
For lawns with just a few problem areas, spot treatment is perfect. Identify the low spots in your yard and fill them individually with sand mixture. This method uses less material and takes less time than treating the whole lawn. Focus on areas that collect water or feel soft when you walk on them.
Method 4: Rolling and Leveling
After applying sand mixture, use a lawn roller to help level everything out. Fill the roller with water to make it heavy enough to press down the sand and soil. Roll in different directions to ensure even coverage. This method helps create a very smooth, professional-looking surface.
Method 5: Rake and Drag Method
Use a landscape rake or drag mat to spread sand mixture evenly across your lawn. This method works especially well for larger areas. Drag the tool in straight lines across your yard, then go perpendicular to ensure even coverage. This technique helps you see exactly where you need more or less material.

Method 6: Core Aeration Before Leveling
Before you sand level lawn, use a core aerator to make small holes in the grass. This helps the sand mixture get down to the soil level and creates better results. The holes allow air, water, and nutrients to reach the roots more easily, which helps your grass stay healthy during the leveling process.
Method 7: Overseeding Combination
Combine sand leveling with overseeding for the best results. After spreading your sand mixture, plant new grass seed in any thin or bare areas. The sand provides a good base for new seeds to grow, and you’ll end up with a thick, level lawn that looks amazing.
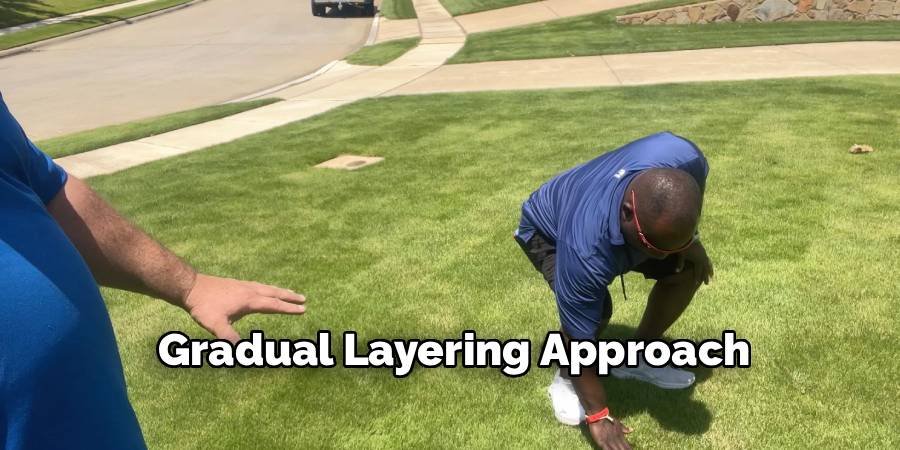
Method 8: Gradual Layering Approach
Instead of applying all your sand mixture at once, do it in thin layers over several weeks. Apply a quarter-inch layer, let it settle for a week, then add another layer if needed. This gradual method is gentler on your grass and gives you more control over the final result.
Method 9: Professional Sand Selection
Choose the right type of sand for your project. River sand or mason sand works best because it drains well and mixes easily with soil. Avoid using sand from sandboxes or beaches, as these types can contain salt or other materials that might hurt your grass.
Method 10: Timing and Weather Method
Pick the right time to sand level lawn for the best results. Early spring or early fall are the best times because the weather is mild and grass grows actively. Avoid leveling during hot summer months or freezing winter weather. Also, choose a day when rain isn’t expected for at least 24 hours.
Tools and Materials You’ll Need
To successfully sand level lawn, gather these important tools and materials:
Materials:
- Fine sand (river sand or mason sand)
- Quality topsoil
- Grass seed (if needed)
- Water for mixing and settling
Tools:
- Landscape rake or leveling rake
- Shovel for mixing
- Wheelbarrow or cart
- Garden hose with sprayer
- Lawn roller (optional)
- Core aerator (optional)
Step-by-Step Process
Here’s how to sand level lawn in simple steps:
- Check Your Lawn: Walk around your yard and mark all the low spots and bumpy areas that need fixing.
- Choose Your Day: Pick a calm day with no wind and no rain expected.
- Mix Your Materials: Combine equal parts sand and topsoil in a wheelbarrow.
- Apply the Mixture: Spread the sand mixture over low areas using your rake.
- Level Everything Out: Use your rake to spread the mixture evenly, making sure grass can still poke through.
- Water Lightly: Spray with water to help the mixture settle into place.
- Wait and Check: Let everything settle for a few days, then check if you need to add more mixture anywhere.

Common Mistakes to Avoid
When learning how to sand level lawn, avoid these common problems:
- Don’t use too much mixture at once (never more than half an inch)
- Don’t completely bury your grass under the sand
- Don’t use the wrong type of sand
- Don’t level during bad weather
- Don’t forget to water after applying the mixture
Frequently Asked Questions (FAQs)
1. How much sand do I need to level my lawn?
The amount of sand depends on how uneven your lawn is. For most yards, you’ll need about 1-2 cubic yards of sand mixture for every 1,000 square feet of lawn. It’s better to start with less and add more if needed.
2. What type of sand is best for leveling lawns?
River sand or mason sand works best for lawn leveling. These types of sand drain well and mix easily with soil. Avoid using playground sand, beach sand, or sand with lots of clay, as these can cause drainage problems.
3. Can I sand level my lawn in summer?
It’s not the best time to sand level lawn in hot summer weather. The grass is stressed from heat, and adding sand can make it worse. Spring and fall are the best times because the weather is milder and grass grows more actively.
4. How long does it take to see results after sand leveling?
You should see some improvement right away, but it takes about 2-4 weeks for everything to settle completely. The grass will grow through the sand mixture, and your lawn will look smoother and more even.
5. Do I need to add grass seed after sand leveling?
You don’t always need to add grass seed, but it’s a good idea if you have thin or bare spots in your lawn. The sand mixture provides a good base for new seeds to grow, so it’s a perfect time to thicken up your grass.
Conclusion
Learning how to sand level lawn is one of the best things you can do to improve your yard’s appearance and usefulness. A level lawn looks professional, drains better, and is much easier to maintain. By following the 10 effective methods we’ve shared, you can transform your bumpy, uneven lawn into a smooth, beautiful space that you’ll be proud to show off.
Remember that sand leveling takes some patience and the right materials, but the results are worth the effort. Choose the right type of sand, pick good weather for the job, and don’t rush the process. Whether you use the basic sand and soil mix method or try the gradual layering approach, you’ll end up with a lawn that looks and feels much better.
Take your time, follow the steps carefully, and soon you’ll have the level, attractive lawn you’ve always wanted. Your family and neighbors will notice the difference, and you’ll enjoy spending time in your improved outdoor space.
About Ravuk Barg
B.Sc. Horticulture Science | Certified Master Gardener
Ravuk Barg has spent more than a decade with his hands in the soil and his head full of questions about why some gardens thrive while others struggle. What started as a single raised bed of tomatoes and basil in a modest backyard has grown into a deep, working knowledge of everything from seed germination and soil amendment to companion planting and seasonal pruning.
Over the years, Ravuk has gardened through drought summers, waterlogged springs, and pest invasions that would make most gardeners hang up their trowels for good. Those hard seasons, he’ll tell you, taught him more than any perfect growing year ever could. He writes from that earned experience—covering vegetable growing, ornamental planting, houseplant care, composting, and garden design with equal confidence and curiosity.
Philosophy & Approach
Ravuk’s approach to gardening is rooted in practicality. He favors organic methods not out of dogma, but because they work long-term—resulting in healthier soil, fewer inputs, and stronger plants. He has a particular fondness for heirloom vegetable varieties (the kind with proper flavor), unruly cottage-style flower beds, and the stubborn houseplants that everyone else gave up on.
The Mission: Give readers the honest, experience-backed advice that helps them actually succeed in their gardens—not just the ideal version, but the real one; weeds, failures, and all.
Education & Credentials
-
B.Sc. in Horticulture Science
-
Greenfield Agricultural University
-
Focus: Plant Physiology, Soil Ecology, and Sustainable Crop Production
-
-
Master Gardener Certification
-
Cooperative Extension Service
-
Focus: 200+ hours of hands-on practical training and community garden work
-
Continuing Education
-
Organic Pest Management
-
Native Plant Landscaping
-
Sustainable Crop Production