

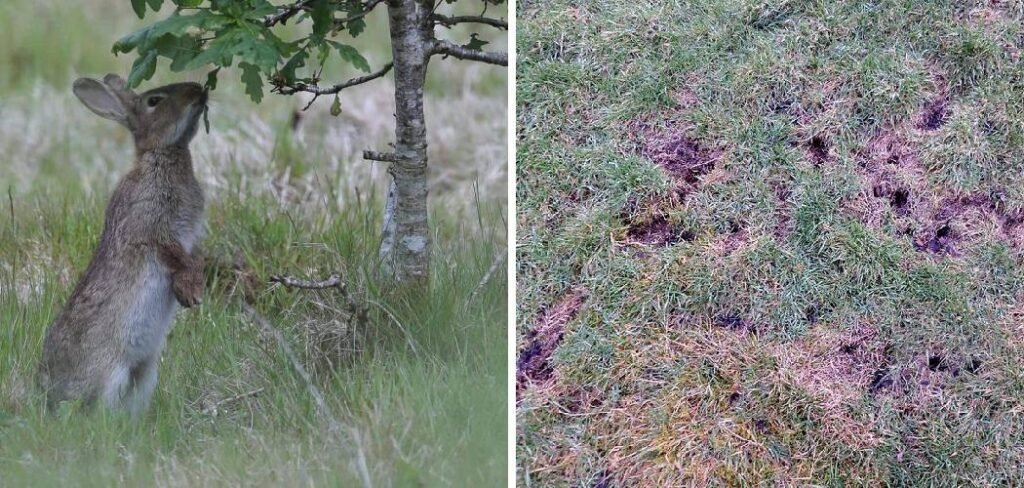
Waking up to find your once-lush lawn looking patchy and nibbled can be frustrating. Often, the culprits are rabbits, who love to munch on tender grass shoots, leaving behind unsightly brown or yellow spots. These areas of damage, typically small circular patches where the grass is cropped extremely short, can disrupt your yard’s uniform appearance.
Learning how to repair lawn damaged by rabbits is a key skill for any homeowner wanting to restore their green space. This guide will walk you through the entire process, from assessing the damage to implementing effective, long-lasting solutions. With a bit of care and attention, you can bring your lawn back to its former glory and enjoy a beautiful, healthy yard once again.
Why Addressing Rabbit Damage Matters
Ignoring the small, chewed-up patches left by rabbits might not seem like a big deal at first, but it can lead to bigger problems for your lawn’s health. These damaged spots are more than just cosmetic issues; they are vulnerable points in your yard’s ecosystem. Weeds are opportunistic and will quickly invade these bare areas, competing with your grass for nutrients, water, and sunlight. Furthermore, the stressed, weakened turf is more susceptible to diseases and insect infestations. Addressing the damage promptly not only restores your lawn’s appearance but also strengthens its overall resilience, preventing a minor nuisance from escalating into a major landscaping headache.
8 Step Method Guide on How to Repair Lawn Damaged by Rabbits
Step 1: Assess the Extent of the Damage

Before you can begin repairs, take a walk around your property to get a clear picture of the problem. Look for the telltale signs of rabbit activity: small, circular patches of grass chewed down to the soil, often accompanied by small, round droppings. Differentiating this from other issues is key. Fungal diseases often create larger, more irregular patterns, while insect damage may cause widespread thinning. Note the size and location of each damaged area. This initial assessment will help you determine how much seed, soil, and other materials you will need for the repair job.
Step 2: Clear and Rake the Damaged Areas
Once you have identified all the affected spots, the next task is to prepare the ground for new growth. Use a sturdy garden rake to gently but firmly remove any dead grass, leftover thatch, and debris from each patch. This process, known as scarifying, is crucial for exposing the soil surface. It allows air, water, and nutrients to penetrate the ground more effectively. Clearing the area ensures that your new grass seed will have direct contact with the soil, which is essential for successful germination and establishing strong roots.
Step 3: Loosen and Amend the Soil
Compacted soil is a major barrier to new grass growth. After raking, use a hand trowel or a small garden fork to loosen the top one to two inches of soil in the bare patches. This aeration process breaks up the dense earth, creating a more favorable environment for delicate seedlings to take root. To give your new grass a head start, mix in a thin layer of high-quality compost or topsoil. This amendment enriches the ground with vital organic matter and nutrients, improves moisture retention, and supports a healthy soil structure for robust growth.
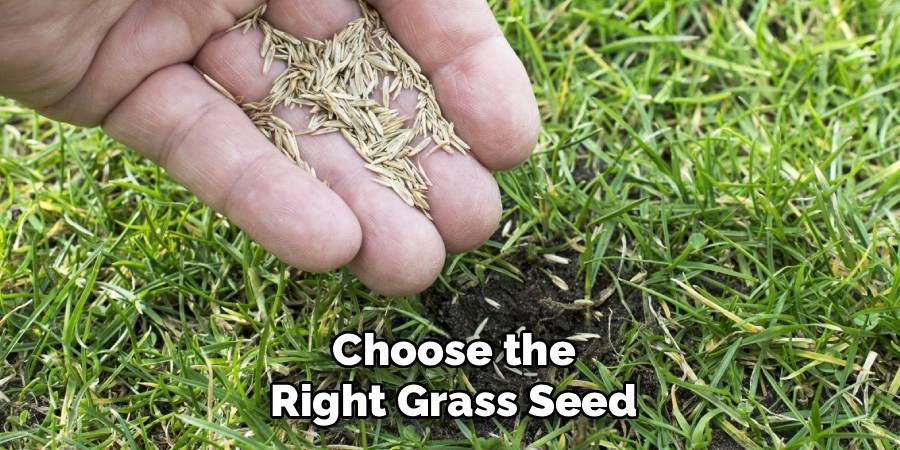
Step 4: Choose the Right Grass Seed
Selecting the correct type of grass seed is critical for ensuring the repaired patches blend seamlessly with the rest of your lawn. Examine the healthy grass surrounding the damaged areas to identify its type. Is it a cool-season grass like Kentucky bluegrass or fescue, or a warm-season variety like Bermuda or Zoysia? Purchase a high-quality seed mix that matches your existing lawn. Using the same type of grass ensures a uniform color and texture once the new growth is established, preventing a mismatched, patchwork appearance in your yard.
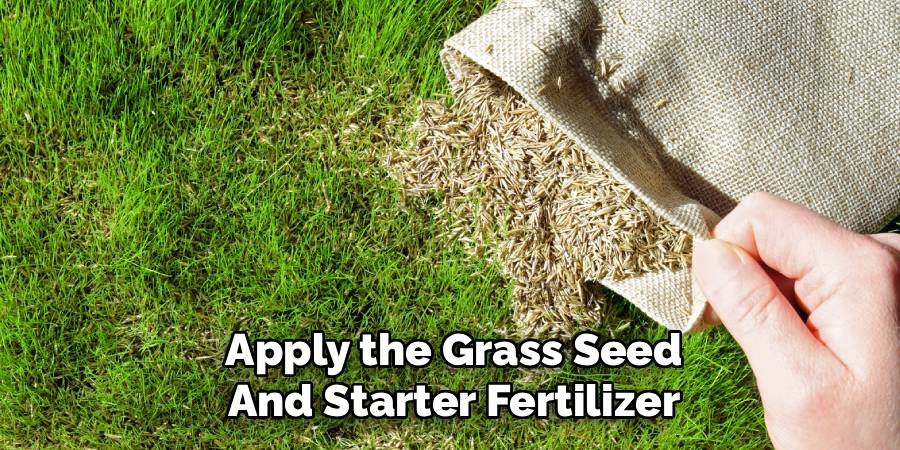
Step 5: Apply the Grass Seed and Starter Fertilizer
With the ground prepared, it is time to sow the seeds. Spread the grass seed evenly over the loosened soil in each patch. A common mistake is to apply too much seed, which forces seedlings to compete for resources. Aim for the density recommended on the seed package, typically about 15-20 seeds per square inch. Immediately after seeding, apply a starter fertilizer. These specialized fertilizers are formulated with a higher phosphorus content to promote strong root development, giving your new grass the essential nutrients it needs to establish quickly and thrive.
Step 6: How to Repair Lawn Damaged by Rabbits by Protecting the Seed
Newly sown seeds are vulnerable to being washed away by rain, eaten by birds, or disturbed by foot traffic. To protect them, lightly cover the seeded areas with a thin layer of straw, peat moss, or a commercial seed-starting mulch. This protective layer helps retain soil moisture, maintain a consistent temperature, and hold the seeds in place. It also serves as a visual reminder to avoid walking on the repaired patches. For added protection against rabbits returning to the same spot, you can place a small, temporary fence or netting over the area.
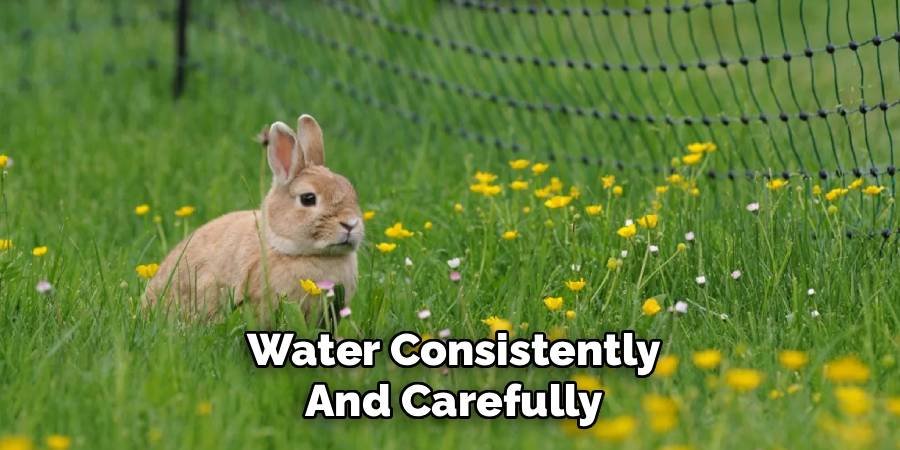
Step 7: Water Consistently and Carefully
Proper watering is arguably the most important step for ensuring seed germination. For the first two weeks, the soil must remain consistently moist, but not waterlogged. Water the patches lightly one to two times a day, using a gentle spray setting on your hose to avoid dislodging the seeds. Once the seedlings emerge and begin to grow, you can gradually reduce the frequency of watering while increasing the duration. This encourages the roots to grow deeper into the soil, establishing a more drought-tolerant and resilient turf for the long term.
Step 8: Implement Rabbit Deterrents for Future Prevention
Repairing the damage is only half the battle; preventing it from happening again is just as important. Rabbits are creatures of habit, so you need to make your lawn less appealing to them. Consider installing a low wire fence (at least two feet high and buried six inches deep) around your yard or vulnerable garden areas. Motion-activated sprinklers can also be an effective, humane deterrent. Additionally, you can apply natural, scent-based repellents around the perimeter of your lawn. These products use odors that rabbits dislike, such as garlic or dried blood, encouraging them to forage elsewhere.
Frequently Asked Questions
How Can I Tell if Rabbits Are Damaging My Lawn?
Identifying rabbit damage is fairly straightforward. Look for:
- Small, circular patches of grass chewed down very low to the ground.
- The presence of small, round, pea-sized droppings scattered nearby.
- Damage that often appears overnight in the same general areas.
- Clean, 45-degree angle cuts on plant stems or grass blades, which is a signature of rabbit teeth.
Will Grass Grow Back on Its Own After Rabbit Damage?
In some cases, if the damage is minimal and the grass roots are intact, the turf may recover on its own. However, rabbits often graze the grass down to the crown, the vital growth point at the soil’s surface. When the crown is damaged or destroyed, the grass cannot regrow. For these bare spots, and to prevent weeds from taking over, it is always best to reseed the area to ensure a full and healthy recovery.
What Time of Year Is Best for Repairing a Lawn?
The ideal time for lawn repair depends on your grass type. For cool-season grasses like fescue, bluegrass, and ryegrass, early fall is the best time. The combination of warm soil and cool air temperatures provides perfect conditions for seed germination and establishment. Early spring is the second-best option. For warm-season grasses such as Bermuda, St. Augustine, and Zoysia, late spring to early summer is the prime window for repairs, as these varieties thrive in the heat.
Are There Any Plants That Naturally Repel Rabbits?
Yes, you can strategically place certain plants around your lawn’s perimeter to help deter rabbits. Rabbits tend to avoid plants with strong scents, fuzzy textures, or spiny leaves. Good choices include:
- Lavender
- Rosemary
- Marigolds
- Sage
- Mint
- Catnip
These plants can act as a natural, fragrant barrier to make your yard less attractive to foraging bunnies.
How Long Does It Take for Repaired Patches to Grow In?
Patience is key after seeding. You can typically expect to see the first signs of germination within 7 to 14 days, though some grass types may take up to 21 days. The new grass will be tender at first. It generally takes about 4 to 6 weeks for the patches to fill in and become dense enough to blend with the surrounding lawn. Avoid mowing the new grass until it has reached a height of at least 3 to 4 inches.
Conclusion
Restoring a lawn from the persistent nibbling of rabbits is a manageable task that pays off with a beautiful, uniform green space. By carefully assessing the damage, preparing the soil, seeding properly, and protecting the new growth, you can effectively mend those unsightly patches. Remember that prevention is just as crucial as the repair itself. Implementing deterrents like fencing or repellents will help safeguard your hard work for the future. Don’t let a few furry visitors discourage you. With this guide on how to repair lawn damaged by rabbits, you have the knowledge and steps needed to reclaim your yard and keep it looking its best.
About Ravuk Barg
B.Sc. Horticulture Science | Certified Master Gardener
Ravuk Barg has spent more than a decade with his hands in the soil and his head full of questions about why some gardens thrive while others struggle. What started as a single raised bed of tomatoes and basil in a modest backyard has grown into a deep, working knowledge of everything from seed germination and soil amendment to companion planting and seasonal pruning.
Over the years, Ravuk has gardened through drought summers, waterlogged springs, and pest invasions that would make most gardeners hang up their trowels for good. Those hard seasons, he’ll tell you, taught him more than any perfect growing year ever could. He writes from that earned experience—covering vegetable growing, ornamental planting, houseplant care, composting, and garden design with equal confidence and curiosity.
Philosophy & Approach
Ravuk’s approach to gardening is rooted in practicality. He favors organic methods not out of dogma, but because they work long-term—resulting in healthier soil, fewer inputs, and stronger plants. He has a particular fondness for heirloom vegetable varieties (the kind with proper flavor), unruly cottage-style flower beds, and the stubborn houseplants that everyone else gave up on.
The Mission: Give readers the honest, experience-backed advice that helps them actually succeed in their gardens—not just the ideal version, but the real one; weeds, failures, and all.
Education & Credentials
-
B.Sc. in Horticulture Science
-
Greenfield Agricultural University
-
Focus: Plant Physiology, Soil Ecology, and Sustainable Crop Production
-
-
Master Gardener Certification
-
Cooperative Extension Service
-
Focus: 200+ hours of hands-on practical training and community garden work
-
Continuing Education
-
Organic Pest Management
-
Native Plant Landscaping
-
Sustainable Crop Production