

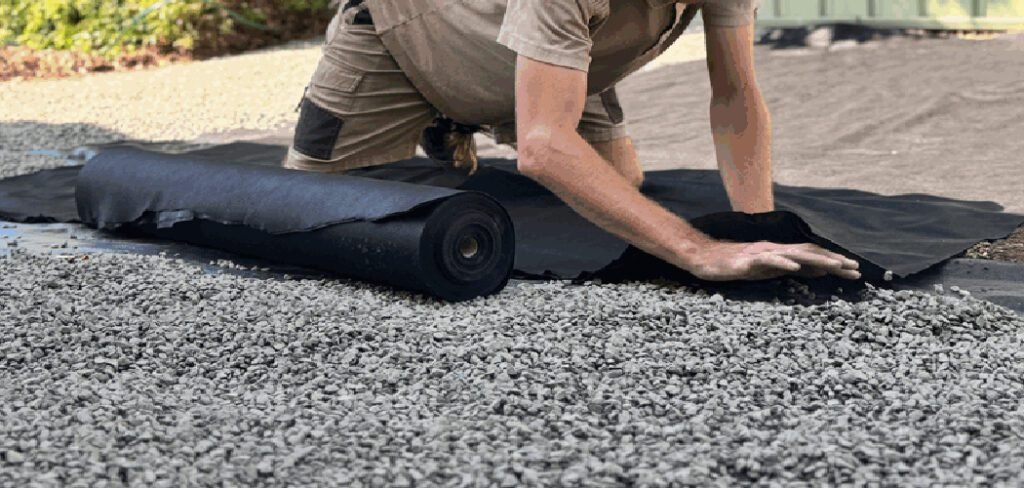
Landscape fabric is often installed with the best intentions: to suppress weeds and create a low-maintenance garden. While it can be effective for a time, it often creates more problems than it solves in the long run. If your garden’s health is declining or weeds are popping up through the material, learning how to remove landscape fabric is a crucial step toward rejuvenating your soil and plants. This guide will walk you through the process, making it manageable for any home gardener. Removing this barrier can restore your garden’s natural ecosystem, allowing water, air, and nutrients to move freely once again.
Why Remove Landscape Fabric?
Over time, landscape fabric can become a significant problem for your garden’s health. It compacts the soil beneath it, creating an anaerobic environment that harms beneficial microorganisms and earthworms. This compaction prevents water and nutrients from reaching plant roots, leading to stressed or dying plants.
Furthermore, weeds eventually find a way to grow on top of or through the fabric, making them even more difficult to remove as their roots intertwine with the material. Eventually, the fabric itself starts to break down, leaving unsightly plastic fragments littered throughout your garden bed. Removing it is essential for restoring soil structure, improving plant health, and creating a truly sustainable garden.
Step-by-Step Guide on How to Remove Landscape Fabric
Step 1: Gather Your Tools
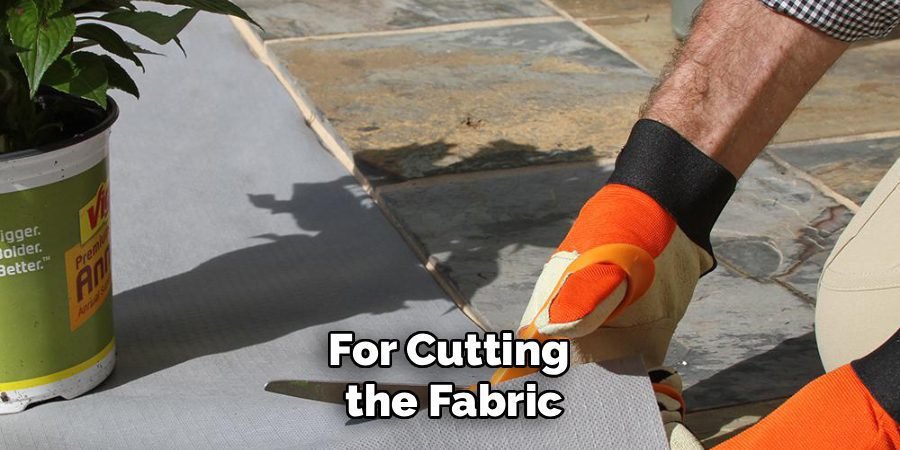
Before you begin, gathering the right tools will make the job much smoother. You will need a pair of heavy-duty gardening gloves to protect your hands from sharp objects and blisters. A sturdy shovel or spade will be essential for moving mulch and soil. For cutting the fabric, a sharp utility knife or a pair of strong scissors is a must. A garden rake or pitchfork is perfect for pulling away large sections of the fabric and clearing debris. Finally, have a wheelbarrow or several large garden bags ready to collect the old fabric and any accumulated debris for easy disposal.
Step 2: Clear the Area Above the Fabric
The first hands-on step is to remove whatever is covering the landscape fabric. This is typically a layer of mulch, such as wood chips, bark, or decorative stones. Use your shovel and rake to carefully scrape back this top layer. If the mulch is still in good condition, you can move it onto a tarp to reuse later. If it’s old, decomposed, and mixed with soil and weeds, it’s best to add it to your compost pile or dispose of it. Be methodical and work in small sections to ensure you expose the entire surface of the fabric.
Step 3: Remove Landscape Pins and Staples
Landscape fabric is held in place by metal or plastic pins and staples pushed into the ground. You must remove these before you can pull up the fabric. Scan the edges and seams of the material to locate them. Some may be visible, while others might be hidden under a thin layer of soil. You can often pull them out by hand, but if they are stuck fast, use a pair of pliers or the claw of a hammer for extra leverage. Collect all the pins as you go to prevent them from becoming a hazard in your garden later.
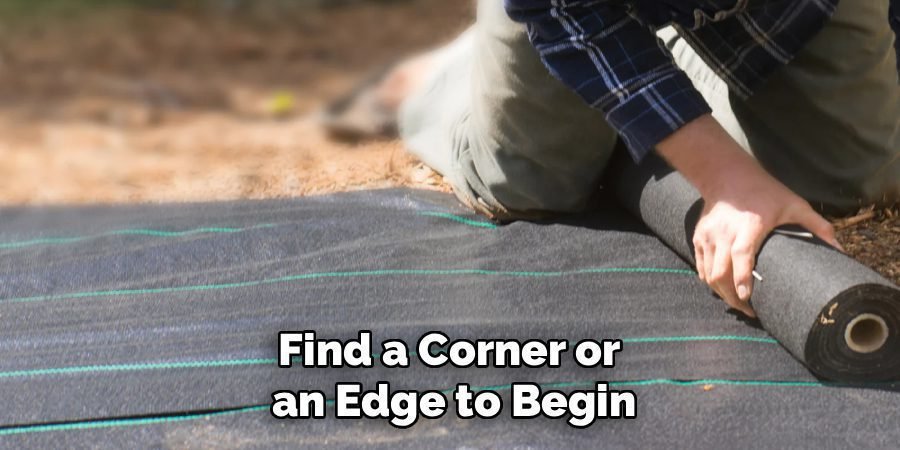
Step 4: Make an Initial Cut
Once the surface is clear and the pins are removed, it’s time to start tackling the fabric itself. Find a corner or an edge to begin. If the fabric is old and brittle, it might tear easily. However, more durable material will require a cut. Use your utility knife to make a long, straight incision down the middle of a section. This creates a manageable piece to work with and provides an edge to grip. Cutting the fabric into smaller, strip-like sections can make the removal process much less overwhelming, especially in larger garden beds.
Step 5: Start Pulling and Rolling the Fabric
With a section cut, you can begin the removal. Grab an edge and start pulling it back. The fabric will likely be embedded with soil and plant roots, which can create resistance. Gently wiggle the fabric back and forth to loosen the roots and soil. As you lift a section, roll it up like a carpet. This method helps contain the dirt and weeds clinging to the material, keeping the surrounding area cleaner. If you encounter a stubborn root that has grown through the fabric, use your utility knife to cut around it.
Step 6: Address Stubborn Roots and Weeds
As you proceed, you will almost certainly find plants and weeds that have woven their roots directly through the fabric. This is a common issue that makes removal tricky. Instead of trying to rip the fabric free, which can damage desirable plants, take a moment to carefully cut the fabric around the base of the plant. For tenacious weeds, you may need to use your shovel or a trowel to dig around the root system to free the fabric. This part of the process shows why understanding how to remove landscape fabric involves patience as much as effort.
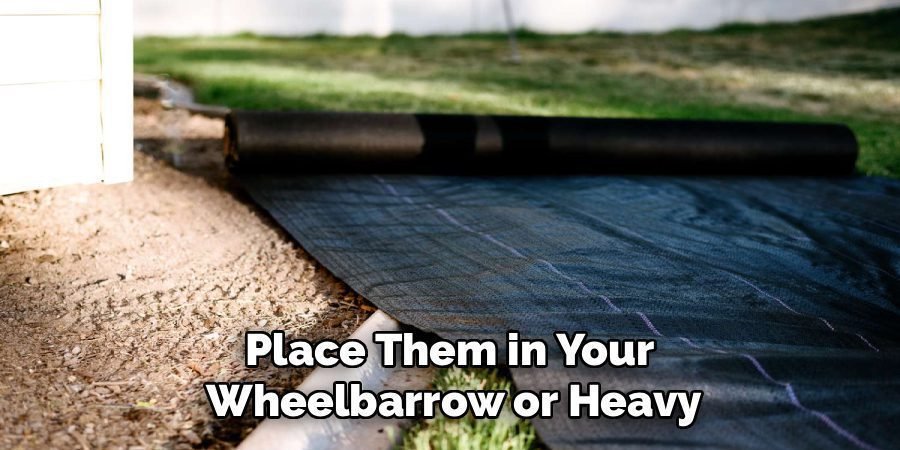
Step 7: Clean and Dispose of the Old Fabric
Once you have rolled up all the sections of landscape fabric, place them in your wheelbarrow or heavy-duty garden bags. Landscape fabric is typically made of polypropylene or polyester and is not biodegradable, so it should not be placed in your compost bin. Check with your local waste management provider for the correct disposal method. Some municipalities may require it to be taken to a transfer station, while others might allow it in your regular trash. Proper disposal ensures the plastic materials do not continue to pollute the environment.
Step 8: Amend and Prepare the Soil
After all the fabric is gone, your soil will need some attention. The ground will likely be compacted and depleted of nutrients. Use a garden fork or tiller to loosen the soil to a depth of at least 6 to 8 inches. This will aerate the soil and break up any compaction. Next, enrich the soil by adding a generous layer of organic matter, such as compost, aged manure, or leaf mold. Mix this into the top few inches of your garden bed. This step is vital for restoring soil health and creating a thriving environment for your plants.
Level and Water the Soil
After enriching the soil, take the time to level it out with a rake. This ensures a smooth, even surface for planting and prevents water from pooling in low spots. Once the soil is leveled, thoroughly water it to help settle it and begin integrating the organic matter into the soil structure. Proper hydration at this stage creates an ideal environment for seeds or plants to establish strong roots.
Frequently Asked Questions
What Is the Best Time of Year to Remove Landscape Fabric?
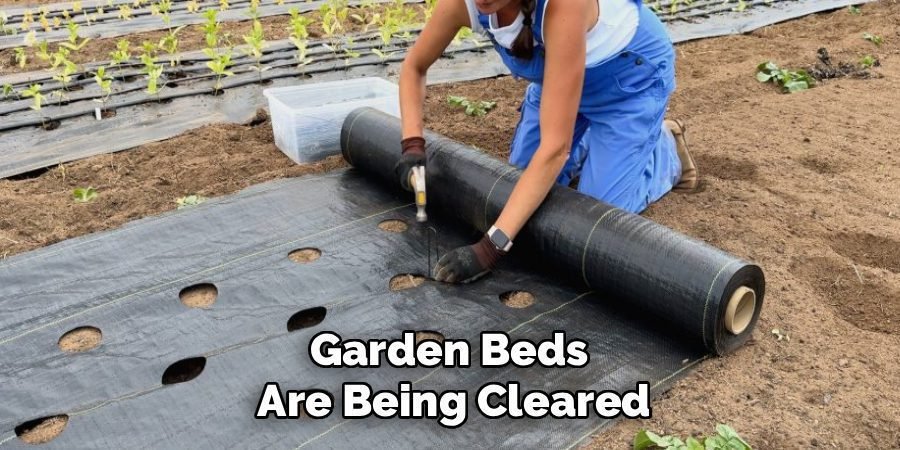
The best time to remove landscape fabric is during the fall or early spring. In the fall, most plants are dormant, and garden beds are being cleared, making access easier. In early spring, the ground is usually soft and workable before new growth begins. Tackling this job during cooler weather is also more comfortable than working in the heat of summer.
Can I Reuse Old Landscape Fabric?
It is generally not recommended to reuse old landscape fabric. Over time, the material degrades, tears, and becomes clogged with soil and roots, making it ineffective. Reusing it would likely reintroduce the same problems you are trying to solve, such as poor drainage and weed growth. It is better to dispose of the old material and start fresh.
Will Removing the Fabric Harm My Existing Plants?
There is a risk of harming existing plants, especially if their roots have grown through the fabric. To minimize damage, work carefully around the base of your plants. Use a utility knife to cut the fabric away from the root ball rather than trying to pull it free. Water your plants well a day or two before you begin, as this can make the soil and roots more pliable.
What Should I Use Instead of Landscape Fabric for Weed Control?
A thick layer of organic mulch, about 3 to 4 inches deep, is an excellent alternative. Materials like wood chips, straw, or shredded leaves suppress weeds, retain soil moisture, and break down over time to enrich the soil. Another effective and eco-friendly method is sheet mulching, which involves layering cardboard or newspaper on the soil before adding mulch on top.
How Do I Dispose of the Old Fabric and Pins?
Old landscape fabric is typically considered household waste and can be disposed of in your regular trash, but it’s wise to check with your local waste management services first. Metal landscape pins can often be recycled with other scrap metal. Collect them in a separate container to ensure they don’t end up in a landfill or pose a hazard.
Conclusion
Taking on the task of removing landscape fabric is a worthwhile investment in the long-term health and beauty of your garden. By clearing away the suffocating barrier, you allow your soil to breathe, absorb water, and support the complex web of life that healthy plants depend on. The process requires some physical effort, but by following the steps outlined in this guide—from gathering your tools to amending the soil—you can accomplish it efficiently. Now that you know how to remove landscape fabric, you are empowered to reclaim your garden beds and cultivate a more vibrant, sustainable, and truly low-maintenance outdoor space.
About Ravuk Barg
B.Sc. Horticulture Science | Certified Master Gardener
Ravuk Barg has spent more than a decade with his hands in the soil and his head full of questions about why some gardens thrive while others struggle. What started as a single raised bed of tomatoes and basil in a modest backyard has grown into a deep, working knowledge of everything from seed germination and soil amendment to companion planting and seasonal pruning.
Over the years, Ravuk has gardened through drought summers, waterlogged springs, and pest invasions that would make most gardeners hang up their trowels for good. Those hard seasons, he’ll tell you, taught him more than any perfect growing year ever could. He writes from that earned experience—covering vegetable growing, ornamental planting, houseplant care, composting, and garden design with equal confidence and curiosity.
Philosophy & Approach
Ravuk’s approach to gardening is rooted in practicality. He favors organic methods not out of dogma, but because they work long-term—resulting in healthier soil, fewer inputs, and stronger plants. He has a particular fondness for heirloom vegetable varieties (the kind with proper flavor), unruly cottage-style flower beds, and the stubborn houseplants that everyone else gave up on.
The Mission: Give readers the honest, experience-backed advice that helps them actually succeed in their gardens—not just the ideal version, but the real one; weeds, failures, and all.
Education & Credentials
-
B.Sc. in Horticulture Science
-
Greenfield Agricultural University
-
Focus: Plant Physiology, Soil Ecology, and Sustainable Crop Production
-
-
Master Gardener Certification
-
Cooperative Extension Service
-
Focus: 200+ hours of hands-on practical training and community garden work
-
Continuing Education
-
Organic Pest Management
-
Native Plant Landscaping
-
Sustainable Crop Production