

Is your flower bed looking a little tired, overgrown, or just not bringing you the joy it once did? You’re not alone. Many gardeners find that their beds need a refresh after a few seasons. Transforming a lackluster garden space into a vibrant, beautiful display is a rewarding project that any homeowner can tackle. This guide provides a clear, step-by-step approach on how to redo an existing flower bed, turning it from an eyesore into a stunning feature of your landscape. We will walk you through everything from planning and clearing to planting and mulching, ensuring you have the confidence and knowledge to succeed.

Why Redo Your Flower Bed?
Revamping a flower bed is more than just a cosmetic fix; it’s a crucial part of maintaining a healthy and beautiful garden. Over time, soil can become compacted and depleted of essential nutrients, hindering plant growth. Weeds may take over, competing with your flowers for water and sunlight, while some perennial plants can become overgrown and crowd out their neighbors. Redoing your bed allows you to address these issues head-on. It’s an opportunity to improve soil health, get rid of persistent weeds, and redesign the layout with new colors, textures, and plant varieties.
This fresh start ensures your plants have the best possible environment to thrive, resulting in a more vibrant and resilient garden.
8 Step-by-Step Guide on How to Redo an Existing Flower Bed
Step 1: Assess and Plan Your New Design
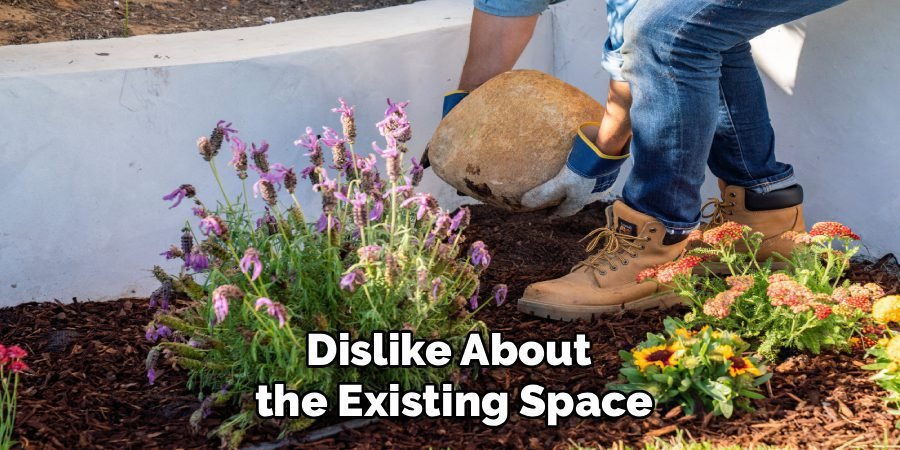
Before you dig in, take some time to evaluate your current flower bed and envision its future. Consider what you like and dislike about the existing space. Note the amount of sunlight the area receives throughout the day—is it full sun, partial shade, or full shade? This information is critical for selecting the right plants. Sketch out a simple design on paper. Think about color schemes, plant heights, and bloom times to create a garden that offers visual interest all season long. This planning phase prevents costly mistakes and ensures your new bed meets your aesthetic goals.
Step 2: Clear Out Old Plants and Weeds
Now it’s time for the physical work to begin. Start by removing any plants you don’t want to keep. You can transplant healthy perennials to another part of your garden or a temporary holding bed. Next, tackle the weeds. Be thorough, making sure to pull them out by the roots to prevent regrowth. For stubborn, deep-rooted weeds, a garden fork can be helpful to loosen the soil around them. A clean slate is essential for a successful redesign, as it eliminates competition for the new plants you’ll be adding.
Step 3: Define or Redefine the Border
A crisp, clear edge gives your flower bed a professional and tidy appearance. If you already have an edge, now is the time to clean it up. If you’re starting fresh or want to change the shape, use a garden hose or rope to outline the new border. Once you are happy with the shape, use a spade or half-moon edger to cut a clean line into the sod. This defined boundary not only looks great but also helps prevent grass from creeping into your flower bed, reducing future maintenance and keeping your garden looking sharp.
Step 4: Amend the Soil for Better Health
Healthy plants start with healthy soil. After years of use, the soil in an existing bed is often compacted and lacking in nutrients. To fix this, spread a 2- to 4-inch layer of organic matter, such as compost, aged manure, or leaf mold, over the entire bed. Use a tiller or a garden fork to work this material into the top 8 to 12 inches of existing soil. This process improves soil structure, enhances drainage, and replenishes the nutrients your new plants will need to establish strong roots and flourish.
Step 5: Arrange Your New Plants
Before you start digging holes, arrange your new plants on top of the prepared soil according to your plan. This allows you to visualize the final look and make adjustments easily. Place taller plants, like shrubs or ornamental grasses, towards the back of the bed. Arrange mid-size perennials in the middle and position shorter, ground-cover plants along the front edge. Consider spacing needs, as plants will grow and fill in over time. This step ensures you are happy with the layout before committing to planting.

Step 6: How to Plant Your Flowers Correctly
Once you’re satisfied with the arrangement, it’s time to plant. Dig a hole for each plant that is about twice as wide as its root ball and just as deep. Gently remove the plant from its container and loosen any tightly bound roots with your fingers. Place the plant in the hole, ensuring the top of the root ball is level with the surrounding soil. Fill the hole back in with soil, lightly tamping it down to remove air pockets. Proper planting depth is crucial for the plant’s long-term health.
Step 7: Water Thoroughly After Planting
Immediately after planting, give your new flower bed a deep, thorough watering. This helps settle the soil around the roots and reduces transplant shock. Ensure the water penetrates deep into the root zone. For the first few weeks, your new plants will need consistent moisture to help them establish themselves. Check the soil every couple of days and water again when the top inch feels dry. Consistent watering is one of the most important factors in ensuring your redesigned bed gets off to a great start.
Step 8: Apply a Layer of Mulch
The final step is to apply a 2- to 3-inch layer of mulch over the entire flower bed. Mulch, such as shredded bark, wood chips, or pine straw, offers numerous benefits. It helps retain soil moisture, suppresses weed growth, and regulates soil temperature. It also gives the bed a finished, polished look. Be sure to keep the mulch a few inches away from the base of your plants to prevent rot and discourage pests. This simple action will protect your investment and significantly reduce future maintenance.
Common Mistakes to Avoid
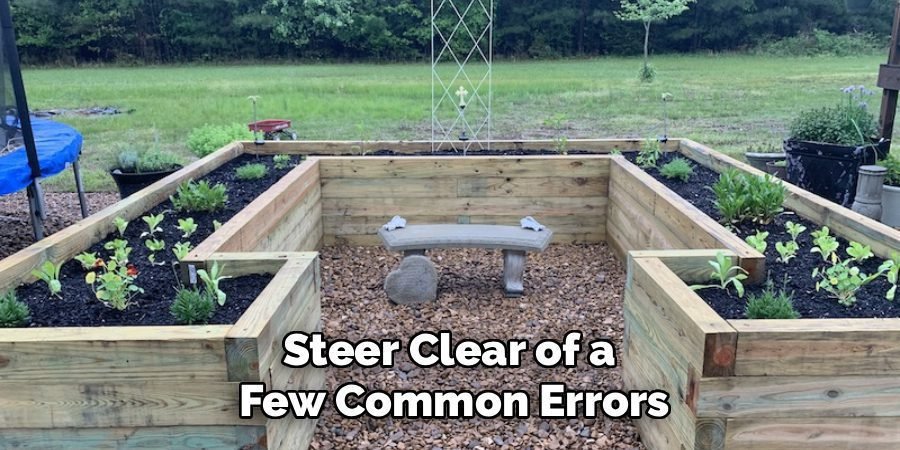
When mulching your flower bed, it’s important to steer clear of a few common errors. One frequent mistake is applying too much mulch, which can lead to excessive moisture retention and create conditions for root rot or fungal diseases. Another is piling mulch directly against plant stems or tree trunks, as this can cause rot and attract pests. Choosing the wrong type of mulch for your plants or climate can also hinder plant growth rather than support it. Lastly, neglecting to refresh the mulch periodically can lead to compaction and reduced effectiveness over time. Being mindful of these pitfalls will help ensure your flower bed thrives.
Frequently Asked Questions
What Is The Best Time Of Year To Redo A Flower Bed?
The best time to redo a flower bed is typically in the spring or fall. In spring, the soil is workable, and new plants have the entire growing season to establish themselves before winter. Fall is another excellent option because the soil is still warm, which encourages root growth, and cooler air temperatures put less stress on the plants. Avoid redoing your beds during the peak heat of summer, as the high temperatures and intense sun can cause significant stress to new plantings.
How Do I Get Rid Of Grass And Weeds Permanently?
Permanently removing grass and weeds requires a thorough approach. The most effective organic method is to dig them out completely, ensuring you get the entire root system. For larger areas, you can use a technique called solarization, where you cover the bed with clear plastic for 6-8 weeks in the summer to bake and kill everything underneath. Another method is sheet mulching, where you layer cardboard or newspaper over the area, followed by compost and mulch, which smothers the weeds and grass over time.

Can I Reuse Any Of The Old Soil?
Yes, you should absolutely reuse the old soil. There is no need to replace it entirely. The key is to amend it properly. Over time, soil becomes depleted of nutrients and can get compacted. By adding organic matter like compost, rotted manure, or leaf mold, you are replenishing vital nutrients and improving the soil’s structure. Tilling or turning this organic material into the top 8-12 inches of your existing soil will revitalize it and create a healthy foundation for your new plants.
How Much Does It Cost To Redo A Flower Bed?
The cost can vary widely depending on the size of the bed, the types of plants you choose, and the materials you need. A small DIY project might only cost $100 to $300 for new plants, a few bags of compost, and mulch. For larger beds or those requiring professional landscaping, premium plants, new edging, and significant soil amendments, the cost could range from several hundred to over a thousand dollars. Creating a budget and plan beforehand will help you manage expenses.
How Do I Choose The Right Plants For My Redesigned Bed?
Choosing the right plants is crucial for long-term success. Start by assessing your site’s conditions, particularly the amount of sunlight it receives (full sun, part shade, or full shade). Select plants that are appropriate for your USDA Hardiness Zone. Think about creating year-round interest by mixing evergreen plants with perennials that have different bloom times. Consider a variety of heights, textures, and colors to create a visually appealing design. Visiting a local nursery can provide inspiration and expert advice on plants that thrive in your specific area.
Conclusion
Redoing a flower bed may seem like a big undertaking, but by breaking it down into manageable steps, you can transform your garden with confidence. From planning and clearing to amending the soil and planting, each stage contributes to creating a healthy, beautiful space that will flourish for years to come. You now have a comprehensive roadmap for success. Don’t be afraid to get your hands dirty and bring your garden vision to life. By following this guide on how to redo an existing flower bed, you are well on your way to creating a landscape you can be proud of.
About Ravuk Barg
B.Sc. Horticulture Science | Certified Master Gardener
Ravuk Barg has spent more than a decade with his hands in the soil and his head full of questions about why some gardens thrive while others struggle. What started as a single raised bed of tomatoes and basil in a modest backyard has grown into a deep, working knowledge of everything from seed germination and soil amendment to companion planting and seasonal pruning.
Over the years, Ravuk has gardened through drought summers, waterlogged springs, and pest invasions that would make most gardeners hang up their trowels for good. Those hard seasons, he’ll tell you, taught him more than any perfect growing year ever could. He writes from that earned experience—covering vegetable growing, ornamental planting, houseplant care, composting, and garden design with equal confidence and curiosity.
Philosophy & Approach
Ravuk’s approach to gardening is rooted in practicality. He favors organic methods not out of dogma, but because they work long-term—resulting in healthier soil, fewer inputs, and stronger plants. He has a particular fondness for heirloom vegetable varieties (the kind with proper flavor), unruly cottage-style flower beds, and the stubborn houseplants that everyone else gave up on.
The Mission: Give readers the honest, experience-backed advice that helps them actually succeed in their gardens—not just the ideal version, but the real one; weeds, failures, and all.
Education & Credentials
-
B.Sc. in Horticulture Science
-
Greenfield Agricultural University
-
Focus: Plant Physiology, Soil Ecology, and Sustainable Crop Production
-
-
Master Gardener Certification
-
Cooperative Extension Service
-
Focus: 200+ hours of hands-on practical training and community garden work
-
Continuing Education
-
Organic Pest Management
-
Native Plant Landscaping
-
Sustainable Crop Production