

A lush, vibrant lawn is the pride of any homeowner, but achieving that perfect green carpet requires more than just regular watering and mowing. Over time, soil can become compacted, preventing essential nutrients, water, and air from reaching the grassroots. This is where aeration comes in as a game-changing solution. Aerating involves perforating the soil with small holes to alleviate compaction and allow your lawn to breathe. However, the success of this process heavily depends on the groundwork you lay beforehand.

This guide will walk you through exactly how to prepare your lawn for aeration, ensuring you get the best possible results for a healthier, more resilient yard.
Why Lawn Prep Matters for Aeration
Properly preparing your lawn before you aerate is not just a suggestion; it’s a critical step that directly impacts the effectiveness of the treatment. When you take the time to set up your yard correctly, you ensure the aeration machine can penetrate the soil to the proper depth without being hindered by debris or overly dry ground. This deeper penetration allows for better air exchange, improved water absorption, and enhanced nutrient uptake at the root level.
Furthermore, a well-prepped lawn minimizes stress on the grass during the process and creates the perfect seedbed if you plan on overseeding, leading to a thicker, healthier turf in the long run.
8 Step-by-Step Guide on How to Prepare Your Lawn for Aeration
Step 1: Time It Right
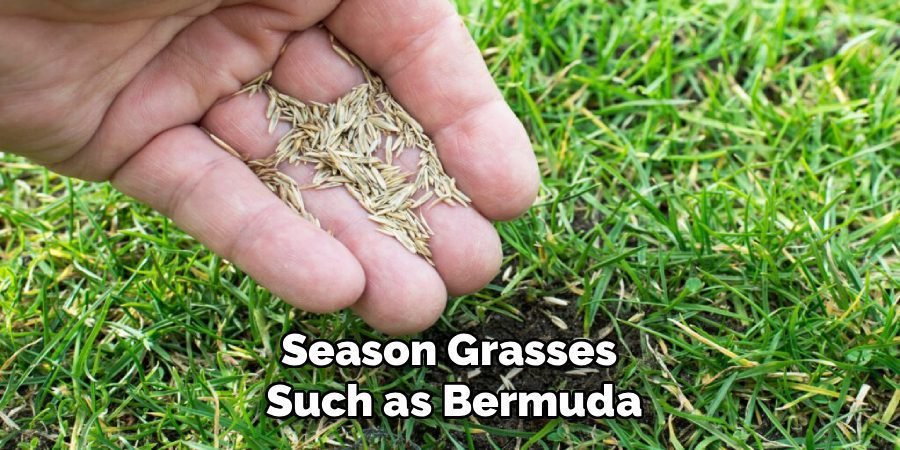
Choosing the right time to aerate is crucial for your lawn’s health. The best time is during the growing season when the grass can heal and fill in any open areas after the soil plugs are removed. For cool-season grasses like fescue, bluegrass, and ryegrass, aim for the early spring or fall. For warm-season grasses such as Bermuda, Zoysia, and St. Augustine, late spring or early summer is ideal. Aerating during these periods ensures the turf recovers quickly, preventing weeds from taking over the bare spots.
Step 2: Mow Your Lawn
A few days before you plan to aerate, mow your lawn slightly shorter than you normally would. Aim for a height of about 1.5 to 2 inches. This shorter cut serves two purposes. First, it makes it easier for the aeration machine to move across the turf and penetrate the soil effectively. Second, it reduces the amount of stress on the grass blades, allowing the plant to focus its energy on root recovery and growth after the aeration process is complete. Be sure to bag the clippings to keep the surface clear.
Step 3: Mark Irrigation Heads and Obstacles
Before bringing any heavy equipment onto your lawn, take a thorough walk through your yard and mark any hidden obstacles. Use small flags to identify the locations of sprinkler heads, valve boxes, shallow utility lines, or any other buried items. Aerators have powerful tines that can easily damage these systems, leading to costly repairs. Clearly marking these spots will help you or your lawn care professional navigate the area safely, ensuring the aeration is done without any unintended consequences or expensive surprises.
Step 4: Water Your Lawn Thoroughly
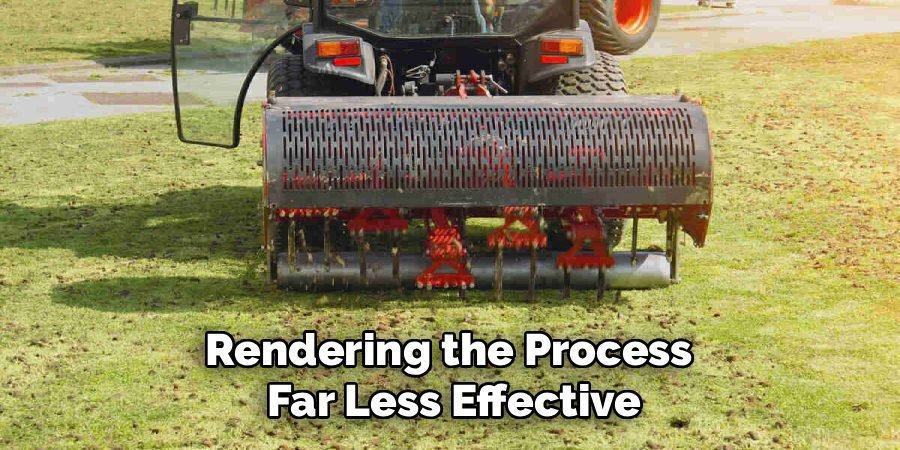
One of the most important steps in preparing for aeration is to ensure your soil is properly moisturized. The ground should be damp but not saturated. For best results, water your lawn deeply one to two days before you aerate. This allows the moisture to soften the soil, making it easier for the aerator’s tines to pull out 2- to 3-inch plugs. If the ground is too dry and hard, the tines will not be able to penetrate deeply enough, rendering the process far less effective.
Step 5: How to Prepare Your Lawn for Aeration by Clearing Debris
For the aerator to work efficiently, the lawn surface must be completely clear. Spend some time removing any debris such as leaves, fallen branches, stones, and children’s toys from the yard. A clean surface ensures the machine can move smoothly without getting clogged or damaged. This step also prevents any objects from being driven into the soil by the aerator, which could create larger problems. A quick rake-through is usually sufficient to gather up any loose material and prepare the turf for treatment.
Step 6: Decide on Core vs. Spike Aeration
Understand the type of aeration your lawn needs. Core aeration, which pulls plugs of soil from the lawn, is the most effective method for relieving heavy soil compaction. Spike aeration simply pokes holes into the ground without removing soil and is better for less compacted lawns or as a lighter, more frequent treatment. For most homeowners dealing with clay-heavy or high-traffic yards, core aeration is the recommended choice. Knowing which method you’ll be using helps you set expectations for the results and post-aeration care.
Step 7: Plan for Overseeding and Fertilizing
Aeration creates the perfect opportunity to improve your lawn’s density and health through overseeding and fertilizing. The holes created by the aerator provide excellent seed-to-soil contact, which dramatically increases germination rates. Plan to apply a high-quality grass seed and a starter fertilizer immediately after you finish aerating. This powerful combination will help new grass establish quickly, filling in bare spots and creating a thicker, more resilient turf that is better equipped to choke out weeds and withstand stress.
Step 8: Prepare Your Post-Aeration Plan
Knowing what to do after aeration is just as important as the preparation itself. The soil plugs pulled during core aeration should be left on the lawn to break down naturally. They contain valuable nutrients and microorganisms that will return to the soil as they decompose over a couple of weeks. Continue your regular watering schedule, especially if you have overseeded, to keep the soil moist for the new seeds. Avoid heavy foot traffic for a week or two to give the new grass a chance to grow.

Fertilize the Lawn
After aeration, applying a high-quality fertilizer is an excellent way to provide the nutrients your lawn needs to thrive. Choose a fertilizer appropriate for your grass type and the current season, as this can have a significant impact on growth and health. Apply the fertilizer evenly across the lawn, following the manufacturer’s instructions to avoid over-fertilizing, which can damage the grass. This step ensures the newly aerated soil has access to essential nutrients, helping your lawn grow thicker, greener, and more resilient.
Water Your Lawn Properly
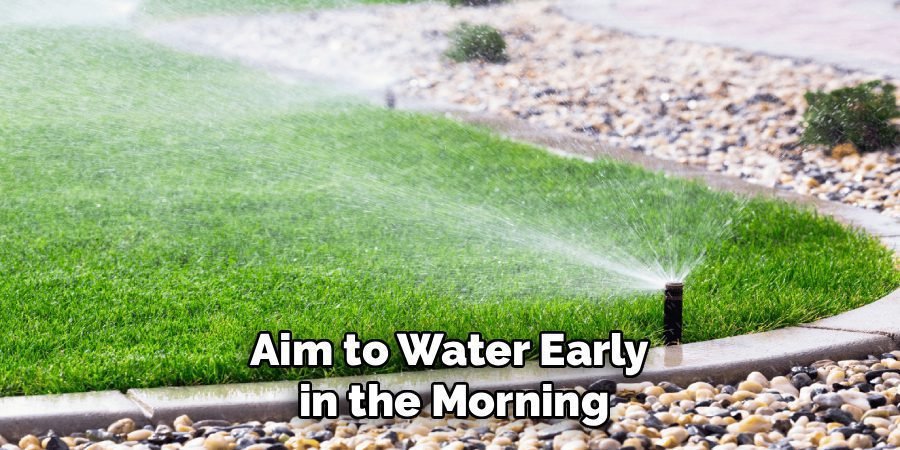
After fertilizing, it’s important to water your lawn thoroughly to help the nutrients penetrate the soil and reach the grass roots. Watering deeply ensures the fertilizer is absorbed effectively and stimulates root growth. Avoid overwatering, as this can cause runoff and waste the fertilizer. Aim to water early in the morning, as this reduces evaporation and allows the lawn to dry before evening, minimizing the risk of disease. Proper watering is key to maintaining a healthy and vibrant lawn.
Frequently Asked Questions (FAQ)
Should I Dethatch Before I Aerate?
Yes, it is highly recommended to dethatch your lawn before aerating if the thatch layer is more than half an inch thick. Thatch is a layer of dead grass, roots, and other organic matter that can block water and nutrients from reaching the soil. Removing this layer first allows the aerator to penetrate the soil more effectively, maximizing the benefits of the process. If your thatch layer is thin, however, dethatching is not necessary and aeration alone will be sufficient to improve your lawn’s health.
What Is the Best Time of Day to Aerate a Lawn?
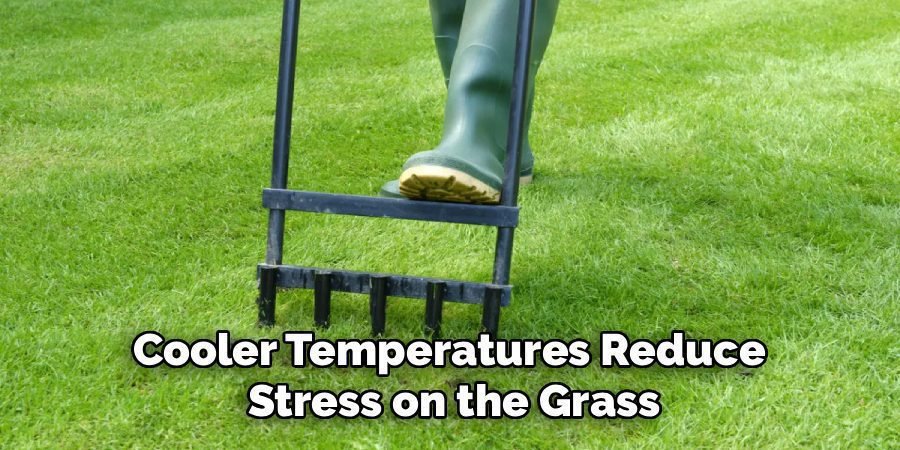
The best time of day to aerate is typically in the morning. The cooler temperatures reduce stress on the grass, and the soil is more likely to be moist from overnight dew or a recent watering. Aerating when it is cool helps the lawn recover more quickly. Avoid aerating during the hottest part of the afternoon, as the intense sun and heat can dry out the exposed soil and grassroots very quickly, potentially causing more harm than good to your turf.
Can I Aerate a New Lawn?
It is generally not necessary to aerate a newly seeded or sodded lawn. New lawns need time for their root systems to become fully established, which usually takes about a year. Aerating too soon can disturb this delicate new growth and damage the young turf. Wait until your lawn has gone through a full growing season and is well-established before considering aeration. The soil in a new lawn is typically loose enough and does not suffer from the compaction that affects older, more established yards.
How Often Should a Lawn Be Aerated?
The frequency of aeration depends on your soil type and the amount of traffic your lawn receives. Lawns with heavy clay soil or those that experience high foot traffic (from children, pets, or outdoor activities) should be aerated annually. For sandy soils or lawns with very little traffic, aerating every two to three years is often enough. A good way to check is to dig out a small section of turf; if the grassroots are not growing deeper than two inches, it is a sign that the soil is compacted.
What Should I Do with the Soil Plugs After Aeration?
After core aerating, you will see small plugs of soil and thatch scattered across your lawn. You should leave them right where they are. These plugs contain beneficial microorganisms and nutrients that will benefit your lawn. As you water your lawn and it rains, the plugs will break down and decompose over a couple of weeks, returning valuable organic matter back into the soil. Mowing over them once they have dried out can also help speed up the decomposition process.
Conclusion
Preparing your lawn for aeration is a straightforward process that yields significant rewards. By following these steps—from timing it right and mowing beforehand to watering properly and planning your post-aeration care—you set the stage for a successful treatment. This preparation ensures the aerator can do its job effectively, breaking up compacted soil and allowing your turf to breathe. Taking the time to understand how to prepare your lawn for aeration will transform it from a simple chore into a powerful strategy for cultivating a thicker, greener, and healthier yard that you can enjoy for years to come.
About Ravuk Barg
B.Sc. Horticulture Science | Certified Master Gardener
Ravuk Barg has spent more than a decade with his hands in the soil and his head full of questions about why some gardens thrive while others struggle. What started as a single raised bed of tomatoes and basil in a modest backyard has grown into a deep, working knowledge of everything from seed germination and soil amendment to companion planting and seasonal pruning.
Over the years, Ravuk has gardened through drought summers, waterlogged springs, and pest invasions that would make most gardeners hang up their trowels for good. Those hard seasons, he’ll tell you, taught him more than any perfect growing year ever could. He writes from that earned experience—covering vegetable growing, ornamental planting, houseplant care, composting, and garden design with equal confidence and curiosity.
Philosophy & Approach
Ravuk’s approach to gardening is rooted in practicality. He favors organic methods not out of dogma, but because they work long-term—resulting in healthier soil, fewer inputs, and stronger plants. He has a particular fondness for heirloom vegetable varieties (the kind with proper flavor), unruly cottage-style flower beds, and the stubborn houseplants that everyone else gave up on.
The Mission: Give readers the honest, experience-backed advice that helps them actually succeed in their gardens—not just the ideal version, but the real one; weeds, failures, and all.
Education & Credentials
-
B.Sc. in Horticulture Science
-
Greenfield Agricultural University
-
Focus: Plant Physiology, Soil Ecology, and Sustainable Crop Production
-
-
Master Gardener Certification
-
Cooperative Extension Service
-
Focus: 200+ hours of hands-on practical training and community garden work
-
Continuing Education
-
Organic Pest Management
-
Native Plant Landscaping
-
Sustainable Crop Production