

A lush, green lawn is the centerpiece of a beautiful yard, but sometimes starting fresh is the only way to achieve it. If your current lawn is patchy, weed-infested, or damaged beyond repair, laying new sod can provide an instant transformation. While it might seem as simple as rolling out a green carpet, the success of your new lawn depends entirely on the groundwork you lay beforehand.
Understanding how to prepare old lawn for new sod is the single most important factor in ensuring your new grass takes root and thrives for years to come. This guide will walk you through the essential steps to create the perfect foundation for a vibrant, healthy lawn.
Why Preparing Your Lawn Matters
Properly preparing your yard is not a step you can afford to skip. The health of your new sod is directly linked to the quality of the soil beneath it. Simply laying new turf over an old, compacted, or weed-filled lawn is a recipe for disaster. The new roots will struggle to penetrate the hard ground, compete with existing weeds for nutrients and water, and may fail to establish themselves altogether. This can lead to a patchy, weak lawn that quickly deteriorates. By taking the time to remove old grass, till the soil, and add essential nutrients, you create a welcoming environment where the sod’s root system can grow deep and strong, ensuring a resilient and beautiful lawn.
7 Steps Methods How to Prepare Old Lawn for New Sod
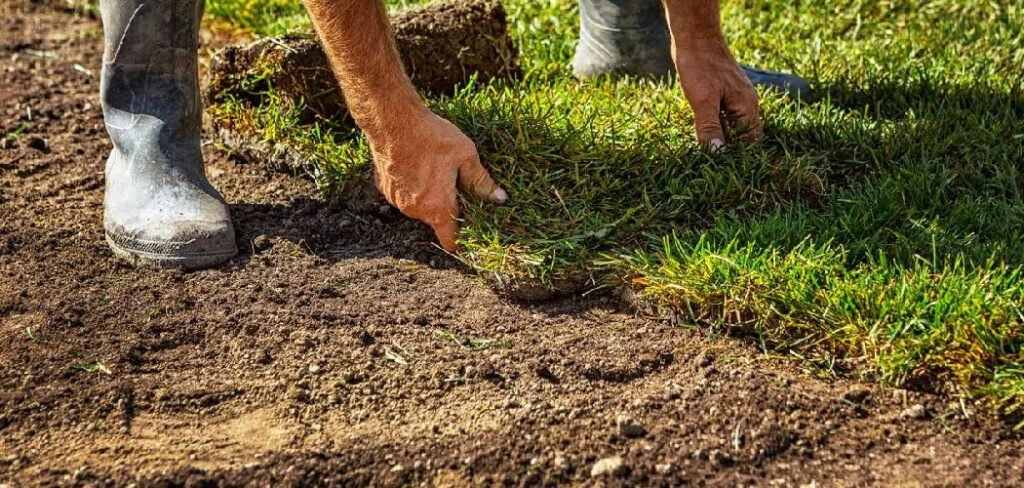
Step 1: Clear the Existing Lawn
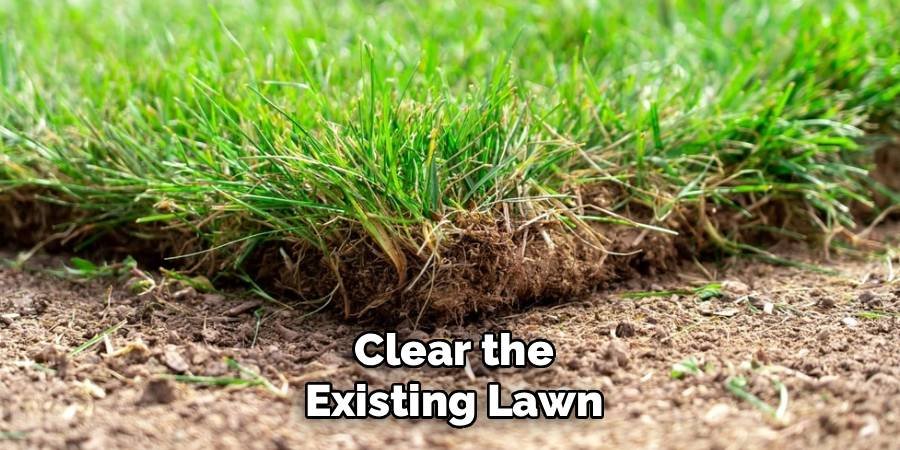
The first task is to remove all the old grass and weeds. You have a few options for this. For smaller areas, a sod cutter, which you can rent from a local hardware store, is highly effective. It slices under the turf, allowing you to roll it up and remove it easily. Another method is to use a non-selective herbicide to kill the existing vegetation. This process can take one to two weeks, as you need to wait for the grass to die completely. Once it’s brown and dry, you can rake it away or use a power rake to clear the debris.
Step 2: Test Your Soil
Before you start amending the soil, you need to know what you’re working with. A soil test will give you valuable information about its pH level and nutrient composition. You can purchase a DIY soil testing kit or send a sample to a local cooperative extension service for a more detailed analysis. The results will tell you if your soil is too acidic or alkaline and which nutrients, like nitrogen, phosphorus, or potassium, it may be lacking. This information is crucial for the next steps, as it allows you to add the right amendments to create an ideal growing environment.
Step 3: Till the Soil
Once the old lawn is gone and you know your soil’s needs, it’s time to break up the ground. Tilling loosens compacted soil, which is essential for proper drainage and deep root growth. For the best results, use a rototiller to a depth of four to six inches. This process aerates the soil, making it easier for the new sod’s roots to penetrate and establish themselves. Go over the entire area systematically, moving in overlapping rows to ensure no spots are missed. Breaking up the hardpan soil creates a soft, receptive bed for your new turf.
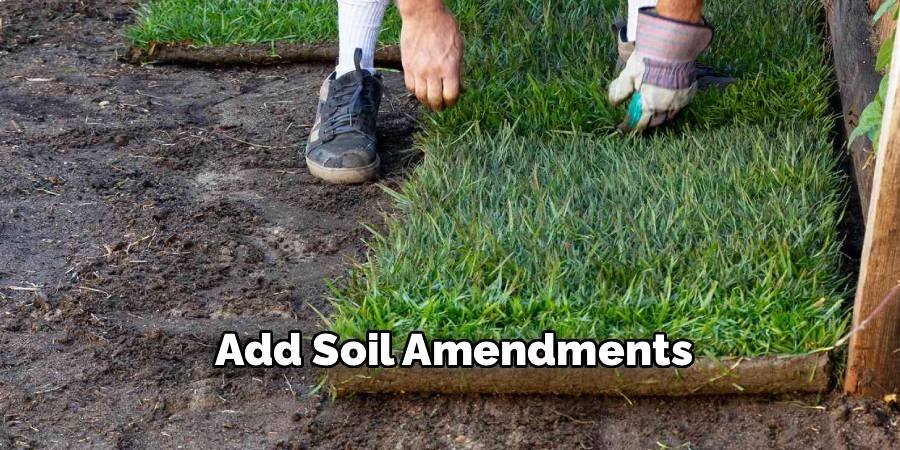
Step 4: Add Soil Amendments
With the soil tilled, it’s time to improve its quality by adding amendments. Based on your soil test results, you may need to add lime to raise the pH or sulfur to lower it. The ideal pH for most turfgrasses is between 6.0 and 7.0. This is also the perfect time to incorporate organic matter, such as compost or peat moss. Spreading a two-inch layer of compost over the tilled soil will improve its structure, increase its ability to retain moisture, and provide a slow-release source of vital nutrients. These additions are a key part of how to prepare old lawn for new sod successfully.
Step 5: Mix and Grade the Area
After spreading the amendments, you need to mix them thoroughly into the top layer of your existing soil. Use your rototiller again to blend everything together, working it into the top four to six inches of soil. Once everything is mixed, you need to grade the area. Use a landscaping rake to level the surface, breaking up any large clumps of dirt and removing rocks or other debris. Ensure the soil slopes gently away from your home’s foundation to prevent water from pooling. The final soil level should be about one inch below sidewalks or driveways to account for the thickness of the sod.
Step 6: Lightly Water and Settle the Soil
Before laying the sod, it’s a good practice to lightly water the prepared area. This helps the soil settle and reveals any low spots you may have missed during grading. If you notice any depressions where water puddles, fill them in with more soil and rake them smooth. After watering, use a lawn roller—partially filled with water—to lightly compact the soil. You don’t want to make it hard, but you do want to create a firm, stable base. The goal is a surface you can walk on without sinking in more than half an inch.
Step 7: Apply a Starter Fertilizer
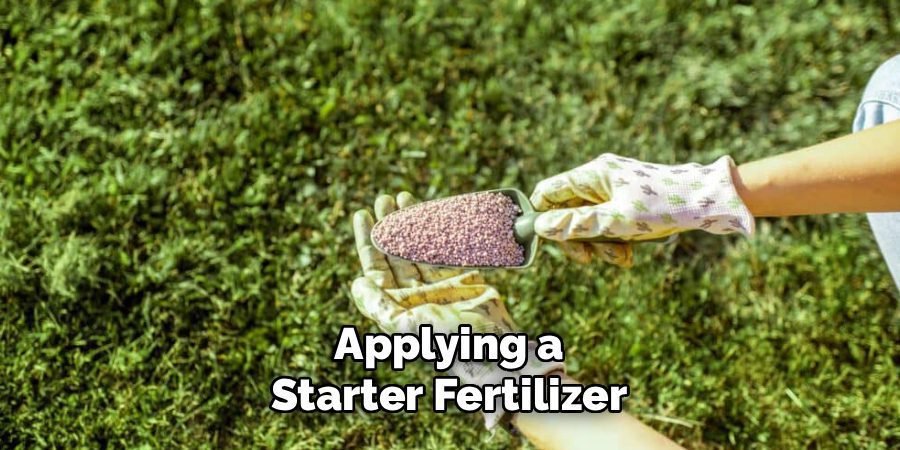
The final step in your preparation process is applying a starter fertilizer. This type of fertilizer is high in phosphorus, the nutrient that promotes strong root development. A healthy root system is crucial for your new sod to establish quickly and become resilient. Spread the fertilizer evenly over the entire prepared area according to the package directions. Be careful not to over-apply, as too much fertilizer can burn the new roots. Applying this right before you lay the sod ensures the nutrients are readily available. This last step completes the process of how to prepare old lawn for new sod.
Frequently Asked Questions
What Is the Best Way to Remove an Old Lawn?
The most effective method depends on your timeline and budget. A sod cutter is the fastest way, physically removing the old turf in a single day. For a less labor-intensive approach, you can smother the lawn with cardboard or plastic sheeting, which takes several weeks but kills the grass and weeds organically. A non-selective herbicide is also an option, though it requires waiting for the vegetation to die completely before you can proceed with removal and tilling.
How Long Does It Take for New Sod to Root?
New sod typically begins to establish roots within 10 to 14 days. During this initial period, it is crucial to keep the sod and the soil beneath it consistently moist. You can check for rooting by gently lifting a corner of a sod piece. If you feel resistance, the roots are starting to anchor into the soil. It can take up to six weeks for the lawn to become fully established and ready for regular foot traffic and mowing.
Can I Lay New Sod Directly Over Old Grass?
No, you should never lay new sod directly over an existing lawn. The new roots will not be able to penetrate the thatch layer and compacted soil of the old lawn. This prevents them from accessing the water and nutrients they need to survive. Furthermore, the old grass and weeds will compete with the new sod, eventually growing through it and ruining its appearance. Proper removal of the old lawn is essential for success.
When Is the Best Time of Year to Lay Sod?
The best time to lay sod is during the cool-season growing periods of early fall or spring. In the fall, the cooler temperatures and ample rainfall reduce the stress on the new turf, allowing it to establish roots before winter dormancy. Spring is also a good option, as the grass has the entire growing season to develop a strong root system. Avoid laying sod in the heat of summer, as the high temperatures can quickly dry it out and cause it to fail.
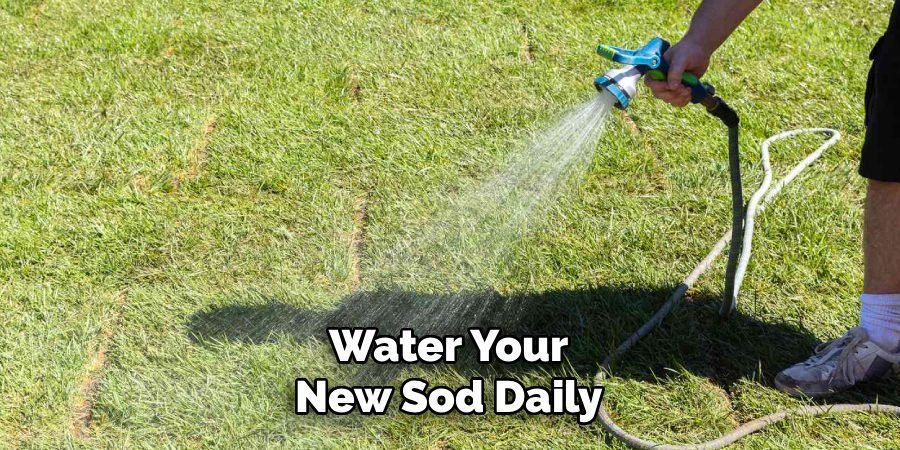
How Much Should I Water New Sod?
For the first two weeks, water your new sod daily, or even twice a day in hot, dry weather. The goal is to keep the sod and the top inch of soil beneath it consistently damp. After two weeks, you can reduce watering to every other day. Once the sod is firmly rooted (usually after 3-4 weeks), you can transition to a deeper, less frequent watering schedule of one to two times per week, which encourages deep root growth.
Conclusion
Creating a beautiful new lawn is an achievable goal for any homeowner. The secret isn’t in the sod itself, but in the careful preparation that happens before the first piece is ever laid. By clearing the old lawn, testing and amending the soil, and creating a smooth, nutrient-rich foundation, you give your new turf the best possible start. Following these steps ensures your investment of time and money pays off with a green, healthy lawn that you can enjoy for many seasons. Now that you know how to prepare old lawn for new sod, you are ready to transform your yard.
About Ravuk Barg
B.Sc. Horticulture Science | Certified Master Gardener
Ravuk Barg has spent more than a decade with his hands in the soil and his head full of questions about why some gardens thrive while others struggle. What started as a single raised bed of tomatoes and basil in a modest backyard has grown into a deep, working knowledge of everything from seed germination and soil amendment to companion planting and seasonal pruning.
Over the years, Ravuk has gardened through drought summers, waterlogged springs, and pest invasions that would make most gardeners hang up their trowels for good. Those hard seasons, he’ll tell you, taught him more than any perfect growing year ever could. He writes from that earned experience—covering vegetable growing, ornamental planting, houseplant care, composting, and garden design with equal confidence and curiosity.
Philosophy & Approach
Ravuk’s approach to gardening is rooted in practicality. He favors organic methods not out of dogma, but because they work long-term—resulting in healthier soil, fewer inputs, and stronger plants. He has a particular fondness for heirloom vegetable varieties (the kind with proper flavor), unruly cottage-style flower beds, and the stubborn houseplants that everyone else gave up on.
The Mission: Give readers the honest, experience-backed advice that helps them actually succeed in their gardens—not just the ideal version, but the real one; weeds, failures, and all.
Education & Credentials
-
B.Sc. in Horticulture Science
-
Greenfield Agricultural University
-
Focus: Plant Physiology, Soil Ecology, and Sustainable Crop Production
-
-
Master Gardener Certification
-
Cooperative Extension Service
-
Focus: 200+ hours of hands-on practical training and community garden work
-
Continuing Education
-
Organic Pest Management
-
Native Plant Landscaping
-
Sustainable Crop Production