

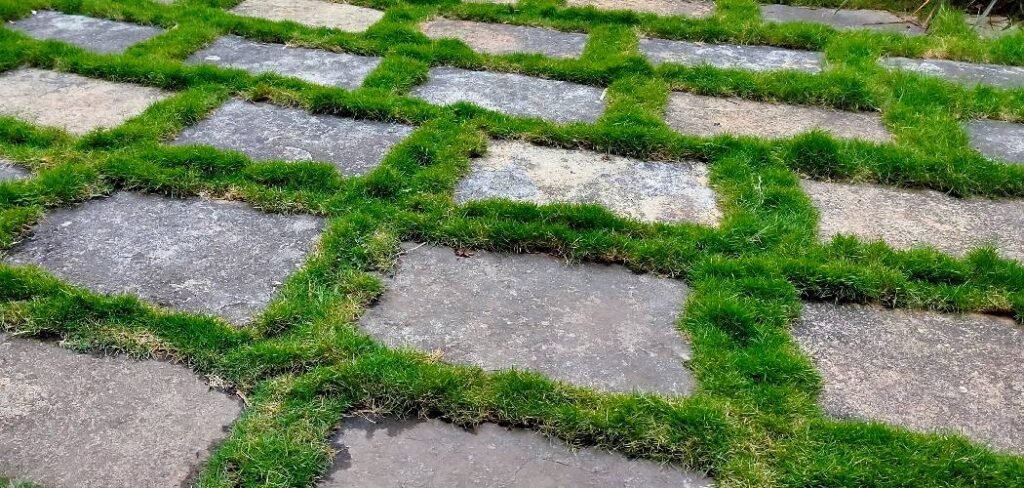
Dreaming of a lush, green lawn but faced with a yard full of rocks? It can feel like an impossible gardening challenge. Rocky terrain complicates everything from root development to water retention, leaving many homeowners frustrated. However, achieving a beautiful lawn on a difficult plot is entirely possible with the right approach and a bit of effort.
This guide will walk you through exactly how to plant grass in rocky soil, transforming your stony ground into a verdant oasis. We will cover soil preparation, seed selection, and the essential steps needed to establish healthy, resilient turf that will thrive for years to come.
Why Rocky Soil Poses a Challenge for Lawns
Rocky soil is more than just an inconvenience; it presents real obstacles for grass growth. The primary issue is root development. Grass roots need space to spread out and anchor themselves firmly in the ground. Rocks physically block this growth, leading to shallow, weak root systems that are less able to find water and nutrients. This makes the grass more vulnerable to drought, heat stress, and foot traffic.
Furthermore, a high concentration of rocks displaces the fine soil particles that hold moisture and organic matter. Water tends to drain away too quickly, depriving the grass of the consistent hydration it needs. This poor water retention also means that any fertilizer you apply can be washed away before the roots have a chance to absorb it. Finally, rocks can make it difficult to achieve a smooth, level surface, which is essential for even mowing and a manicured appearance. Addressing these core issues is the key to successfully growing a lawn in rocky conditions.
8 Step-by-Step Guide How to Plant Grass in Rocky Soil
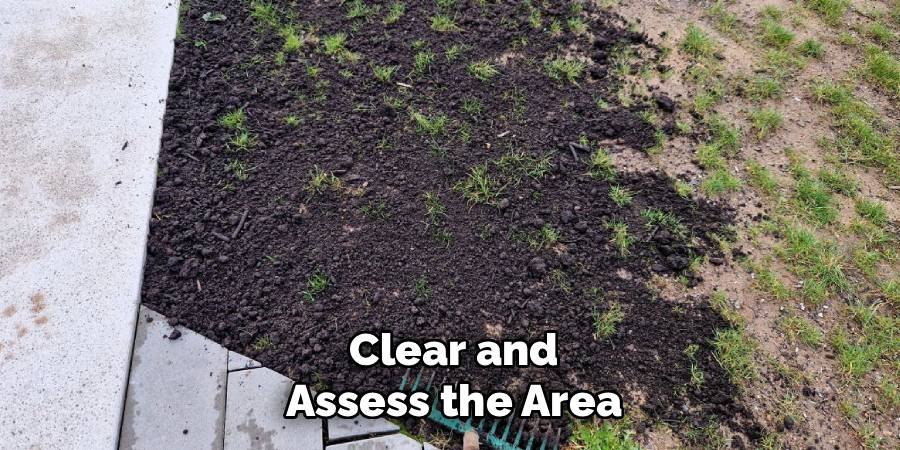
Step 1: Clear and Assess the Area
Before you can add anything to your soil, you must first remove what’s on the surface. Begin by clearing the entire area of large, visible rocks, weeds, sticks, and any other debris. Use a sturdy landscape rake or a shovel to gather the surface-level stones. This initial clearing will give you a better view of the landscape you are working with. As you clear the area, take note of the density of the rocks. Are they small and pebbly, or are there large, deeply embedded boulders? This assessment will help you decide how much soil amendment you will need later.
Step 2: Test Your Soil’s Composition
Understanding your soil’s health is a critical step. A soil test will reveal its pH level and nutrient deficiencies. You can purchase a simple DIY test kit from a local garden center or send a sample to your local cooperative extension service for a more detailed analysis. Rocky soils are often alkaline and lack essential nutrients like nitrogen and phosphorus. The results of your test will provide a clear roadmap for what amendments are needed to create a hospitable environment for grass seeds to germinate and thrive, ensuring you don’t waste time or money on the wrong products.
Step 3: Remove as Many Rocks as Possible
This is the most labor-intensive part of the process, but it is absolutely essential for long-term success. For soil with smaller rocks, use a rototiller to churn the top 4-6 inches of soil. This will bring many hidden rocks to the surface. After tilling, go over the area with a landscape rake or a rock rake to pull the stones out. For larger, more embedded rocks, you may need a digging bar or pickaxe. While you won’t be able to remove every single stone, your goal is to create a clear layer of soil for the grass roots to establish themselves without obstruction.
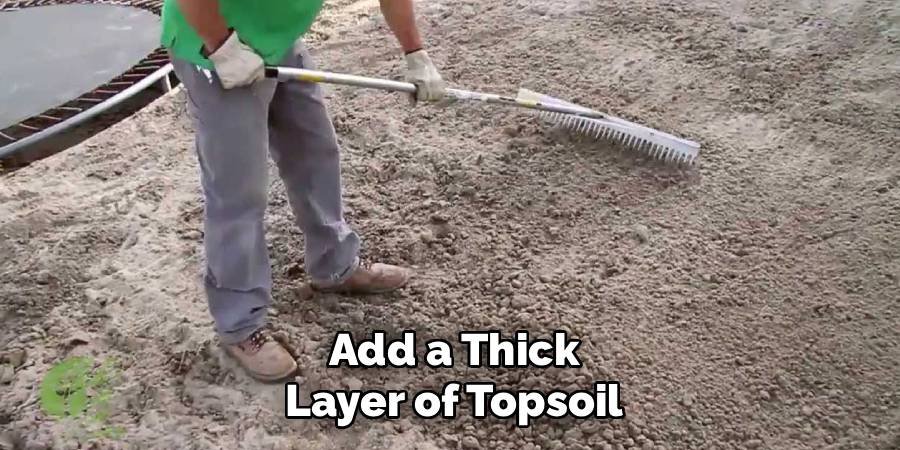
Step 4: Add a Thick Layer of Topsoil
Once you have removed a significant amount of rock, it’s time to build a better foundation. Spread a high-quality topsoil mix evenly across the entire area. Aim for a layer that is at least 4 to 6 inches deep. This new layer will provide a loose, nutrient-rich medium for the grass seeds to germinate in. It acts as a buffer between the new seeds and the remaining rocks below. For an even bigger boost, mix compost into the topsoil before spreading it. This will improve soil structure, water retention, and microbial activity, giving your new lawn the best possible start.
Step 5: Grade and Level the Surface
With your new topsoil and amendments in place, the next step is to create a smooth, properly graded surface. Use the back of a landscape rake to level out any high spots and fill in any low spots. The goal is to create a gentle slope that directs water away from your home’s foundation but doesn’t cause rapid runoff. A level surface ensures even seed distribution, uniform moisture, and makes mowing much easier down the line. Take your time with this step, as a properly graded lawn is crucial for both aesthetics and drainage.
Step 6: Choose the Right Grass Seed
Not all grass types are suited for challenging conditions. When learning how to plant grass in rocky soil, seed selection is paramount. Look for resilient, drought-tolerant grass varieties that are known for developing deep root systems. Tall fescue is an excellent choice due to its ability to grow deep roots that can navigate around obstacles. Other good options include Zoysia grass for warmer climates and certain types of ryegrass or Kentucky bluegrass if they are part of a durable mix. Read the seed bag labels carefully to ensure the variety is appropriate for your climate and sun exposure.
Step 7: Spread the Seed and Fertilizer
Now it’s time to sow your lawn. Use a broadcast or drop spreader for even distribution, following the application rates recommended on the seed bag. To ensure complete coverage, spread half of the seed while walking in one direction (e.g., north to south) and the other half while walking in the perpendicular direction (e.g., east to west). Immediately after seeding, apply a starter fertilizer. These fertilizers are specially formulated with a higher phosphorus content to promote strong root development, which is exactly what your new grass needs to navigate its rocky foundation.
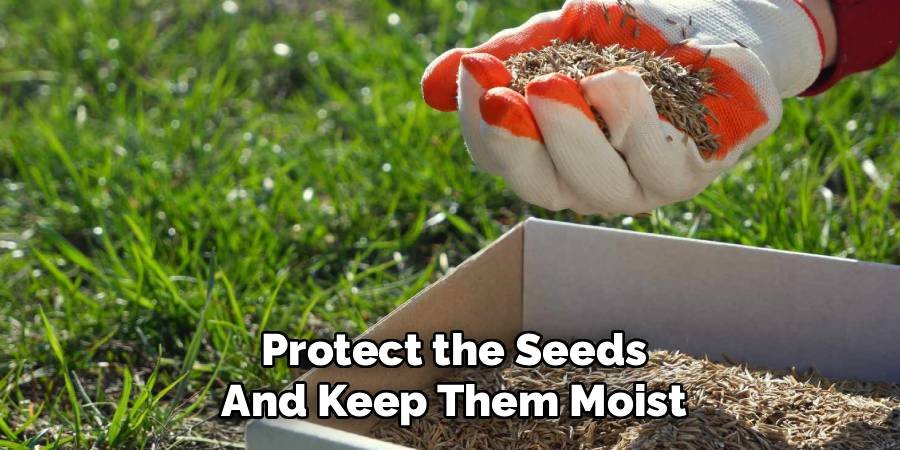
Step 8: Protect the Seeds and Keep Them Moist
Your newly sown seeds are vulnerable. To protect them from being washed away by rain or eaten by birds, cover the area with a light layer of straw or a germination blanket. This covering also helps retain soil moisture, which is critical for germination. Water the area lightly but frequently—two to three times a day for the first few weeks—to keep the top inch of soil consistently moist but not waterlogged. The goal is to prevent the seeds from drying out. Once the grass begins to sprout and reaches about an inch in height, you can gradually reduce the watering frequency but increase the duration to encourage deeper root growth.
Frequently Asked Questions
What Is The Best Grass For Rocky Soil?
The best grasses for rocky soil are those with deep and aggressive root systems that can navigate around underground obstacles. Tall fescue is a top recommendation for its excellent drought tolerance and ability to send roots deep into the ground. Other strong contenders include:
- Zoysia grass: A warm-season grass that is very durable.
- Bermuda grass: Known for its resilience and ability to repair itself.
- Certain Kentucky bluegrass blends: When mixed with hardier grasses like fescue, they can perform well.
Can I Plant Grass Seed Directly On Top Of Rocky Soil?
Planting grass seed directly on rocky soil without any preparation has a very low chance of success. The seeds will struggle to find enough soil to germinate, and any that do sprout will have shallow roots. These seedlings will be highly susceptible to drying out and will not be able to establish a durable turf. It is essential to amend the soil by removing rocks and adding a thick layer of topsoil and compost to create a viable growing medium.
How Deep Should Topsoil Be For A New Lawn?
For a new lawn, especially in rocky conditions, you should aim for a topsoil depth of at least 4 to 6 inches. This depth provides ample room for the new grass roots to establish themselves without immediately hitting the rocky sub-layer. A deeper topsoil layer also improves moisture retention and provides a rich source of nutrients, giving your lawn a much stronger foundation for long-term health and resilience.
Should I Use A Roller After Planting Grass Seed?
Using a lawn roller after seeding can be beneficial. Gently rolling the seeded area ensures good seed-to-soil contact, which is crucial for germination. It presses the seeds firmly into the topsoil, preventing them from being washed away by rain or blown away by wind. However, be sure to use a roller that is only about one-third full of water. A roller that is too heavy can compact the soil, making it difficult for delicate new roots to penetrate.

How Often Should I Water New Grass In Rocky Soil?
New grass seed requires consistent moisture. For the first two to three weeks, water lightly 2-3 times per day to keep the top inch of soil constantly damp. Since rocky soil drains quickly, this frequent watering is critical. Once the grass sprouts and reaches a height of one inch, you can reduce watering to once per day but for a longer duration. This encourages the roots to grow deeper in search of water, which is key to establishing a drought-tolerant lawn.
Conclusion
Creating a green, vibrant lawn on a rocky plot is a rewarding project that is well within your reach. While it requires more upfront work than planting on ideal soil, the results are well worth the effort. By clearing the area, amending the soil with rich topsoil and compost, and choosing a hardy grass variety, you provide the perfect environment for a resilient lawn to take hold. Following these steps will help you overcome the challenges of your terrain. Now that you understand how to plant grass in rocky soil, you can move forward with confidence and transform your difficult yard into the beautiful lawn you’ve always wanted.
About Ravuk Barg
B.Sc. Horticulture Science | Certified Master Gardener
Ravuk Barg has spent more than a decade with his hands in the soil and his head full of questions about why some gardens thrive while others struggle. What started as a single raised bed of tomatoes and basil in a modest backyard has grown into a deep, working knowledge of everything from seed germination and soil amendment to companion planting and seasonal pruning.
Over the years, Ravuk has gardened through drought summers, waterlogged springs, and pest invasions that would make most gardeners hang up their trowels for good. Those hard seasons, he’ll tell you, taught him more than any perfect growing year ever could. He writes from that earned experience—covering vegetable growing, ornamental planting, houseplant care, composting, and garden design with equal confidence and curiosity.
Philosophy & Approach
Ravuk’s approach to gardening is rooted in practicality. He favors organic methods not out of dogma, but because they work long-term—resulting in healthier soil, fewer inputs, and stronger plants. He has a particular fondness for heirloom vegetable varieties (the kind with proper flavor), unruly cottage-style flower beds, and the stubborn houseplants that everyone else gave up on.
The Mission: Give readers the honest, experience-backed advice that helps them actually succeed in their gardens—not just the ideal version, but the real one; weeds, failures, and all.
Education & Credentials
-
B.Sc. in Horticulture Science
-
Greenfield Agricultural University
-
Focus: Plant Physiology, Soil Ecology, and Sustainable Crop Production
-
-
Master Gardener Certification
-
Cooperative Extension Service
-
Focus: 200+ hours of hands-on practical training and community garden work
-
Continuing Education
-
Organic Pest Management
-
Native Plant Landscaping
-
Sustainable Crop Production