

Welcome to the ultimate guide for creating the perfect home for your nightcrawlers. Whether you’re an avid angler looking for plump, healthy bait or a gardener aiming to produce nutrient-rich compost, providing the right environment is crucial. A common question among beginners is how to make worm bedding for nightcrawlers that keeps them happy and thriving. It’s much simpler than you might think. This process involves creating a balanced mix of materials that provide moisture, air, and food. In this article, we’ll walk you through everything you need to know, from selecting the right materials to maintaining the ideal conditions.
The Importance of Proper Worm Bedding
Creating a suitable habitat for nightcrawlers is essential for their survival and productivity. Proper bedding isn’t just a filler material; it’s a complete life-support system. It regulates moisture, provides a food source, allows for air circulation, and gives the worms space to burrow and reproduce. Poor bedding can lead to an unhealthy environment, causing worms to become sluggish, attempt to escape, or even die. By learning to prepare the right bedding, you ensure your nightcrawlers remain active and healthy, whether you’re using them for fishing bait or to supercharge your garden’s compost.
7 Step-by-Step Guide on How to Make Worm Bedding for Nightcrawlers
Step 1: Gather Your Carbon-Rich Materials
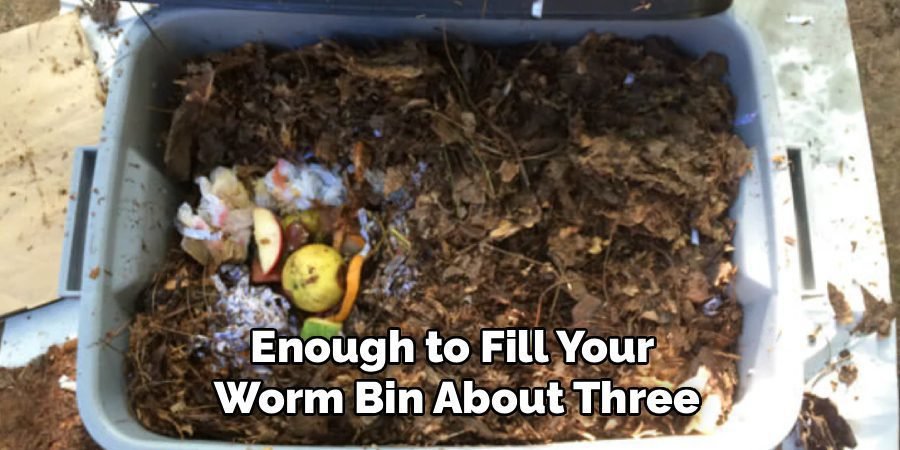
The foundation of any good worm bedding is carbon-based or “brown” material. These materials provide the bulk of the habitat and a slow-release food source. Your best options are shredded newspaper (avoiding glossy pages), cardboard, coconut coir, aged leaves, or peat moss. Shredding these items into thin strips or small pieces is key. This increases the surface area, making it easier for the materials to absorb moisture and for the worms to move through and consume them. Aim for a substantial amount, enough to fill your worm bin about three-quarters full.
Step 2: Prepare and Soak the Bedding Materials
Once you’ve gathered your shredded carbon materials, the next step is to hydrate them. Place your shredded paper, cardboard, or other chosen items into a large bucket or tub. Add clean, dechlorinated water, ensuring all the material is completely submerged. Chlorine can be harmful to worms, so let tap water sit out for 24 hours to allow the chlorine to dissipate before using it. Let the materials soak for at least a few hours, or until they are fully saturated and soft. This step is crucial for achieving the right moisture level.
Step 3: Wring Out Excess Water
Your goal is to create a damp, not soaking wet, environment. After the materials have soaked, grab handfuls and wring them out thoroughly. You want the bedding to feel like a damp sponge. When you squeeze a handful, only a few drops of water should come out. If too much water remains, the bedding can become compacted and anaerobic, creating a sour-smelling environment that is unhealthy for your worms. Take your time with this step, as getting the moisture content right from the start prevents many future problems.
Step 4: Add Grit to Aid Digestion
Worms don’t have teeth. Instead, they use a gizzard to grind up their food, and they need a gritty substance to help with this process. Adding a small amount of grit to the bedding is essential for their digestive health. You can use a variety of materials for this, including crushed eggshells, sand, rock dust, or a small amount of soil from your garden. Sprinkle a handful or two of your chosen grit over the damp bedding and mix it in gently. This simple addition makes it much easier for nightcrawlers to process their food.
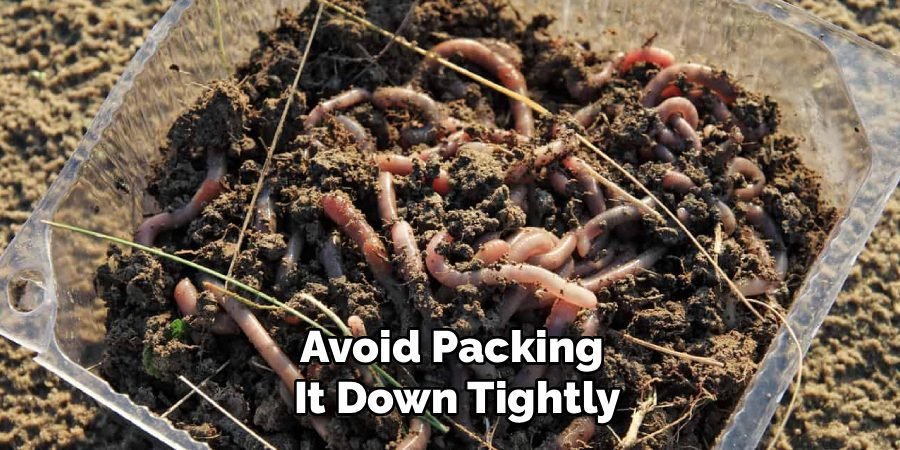
Step 5: Fluff and Fill Your Worm Bin
Now it’s time to add the prepared bedding to your worm bin. As you place the damp, shredded material into the container, be sure to fluff it up. Avoid packing it down tightly. The goal is to create a light, airy environment that allows for good oxygen flow throughout the bin. Worms breathe through their skin and require oxygen to survive. A loose, fluffy bedding ensures they can move freely and access the air they need. Fill the bin about three-quarters of the way to the top, leaving space for food scraps and the worms themselves.
Step 6: Introduce a Small Amount of Food
Before adding your nightcrawlers, it’s a good idea to introduce a small amount of food to kickstart the ecosystem. Bury some kitchen scraps like vegetable peels, fruit cores (avoiding citrus), and coffee grounds into a corner of the bedding. This initial food source will attract beneficial microbes, which begin breaking down the organic matter. The worms feed on both the microbes and the decaying food. Starting with a small amount prevents overfeeding, which can lead to odors and pests. This step enriches the bedding and makes it more inviting.
Step 7: Introduce Your Nightcrawlers
Your worm bin is now ready for its new residents. Gently place your nightcrawlers on top of the bedding. Don’t worry about burying them; they are natural burrowers and will quickly make their way down into the dark, moist environment you’ve created. It’s best to leave the lid off for a short time and place the bin under a light source. Since worms are sensitive to light, this will encourage them to dig down into their new home more quickly. After an hour or so, you can put the lid on.
Maintain the Bedding Conditions
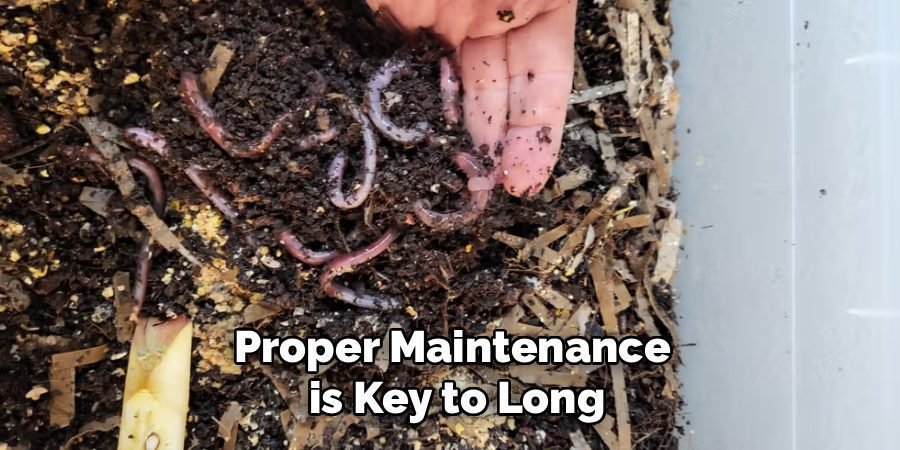
Your work isn’t done once the worms are in. Proper maintenance is key to long-term success. Check the moisture level weekly by feeling the bedding. If it feels dry, use a spray bottle to add more dechlorinated water. Every time you feed your worms, bury the food scraps in a different section of the bin to prevent odor and pest issues. As the worms consume the bedding and food, they will produce castings. This is a sign of a healthy system and is a core part of learning how to make worm bedding for nightcrawlers effectively over the long term.
Frequently Asked Questions (FAQ)
What Should I Not Use for Worm Bedding?
You should avoid materials that can harm your worms or create an unhealthy environment. This includes glossy magazine paper, which contains toxic inks, and any materials treated with chemicals, pesticides, or herbicides. Also, avoid using exclusively wood chips or sawdust, as they can be too acidic and take a long time to break down. Stick to safe, organic materials like shredded newspaper, cardboard, and coconut coir to ensure your worms have a healthy and productive home.
How Often Should I Change the Worm Bedding?
You don’t need to change the entire bedding often. As worms consume the original bedding and food, they convert it into nutrient-rich castings. A healthy bin is a mix of bedding, castings, and worms. You will primarily be “harvesting” the finished compost (castings) every 3 to 6 months. When you harvest, you will separate the worms and add fresh bedding to the bin. This process replenishes their environment while providing you with valuable compost for your garden.
Can I Use Soil From My Garden as Bedding?
While you can add a handful of garden soil to your bin as grit, you should not use it as the primary bedding material. Garden soil is too dense and compacts easily, which restricts airflow and makes it difficult for worms to move and breathe. This can lead to anaerobic conditions and can also introduce unwanted pests or predators into your worm bin. A light, fluffy, carbon-based bedding is a much better choice for creating an optimal habitat.
Why Are My Worms Trying to Escape the Bin?
Worms trying to escape is a common sign that something is wrong with their environment. The most frequent causes are bedding that is too wet or too acidic, a lack of food, or an anaerobic (oxygen-deprived) environment. Check the moisture level—it should be damp, not soggy. Ensure you are not overfeeding, especially with acidic foods. Fluffing the bedding can help improve air circulation. Addressing these issues quickly will usually encourage your worms to stay put.
What Is the Ideal Temperature for Nightcrawler Bedding?
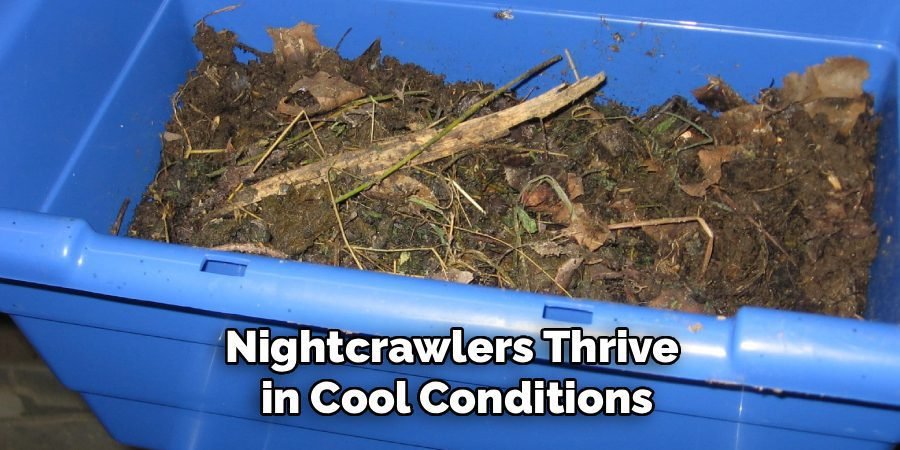
Nightcrawlers thrive in cool conditions. The ideal temperature range for their bedding is between 50°F and 70°F (10°C to 21°C). They can tolerate slight fluctuations, but extreme heat or cold can be fatal. Keep your worm bin in a cool, shaded location like a basement, garage, or a well-insulated shed. Avoid placing it in direct sunlight, as the bin can heat up quickly and cook the worms inside. Monitoring the temperature is crucial for maintaining a healthy and productive worm population.
Conclusion
Creating a thriving habitat for your worms is a rewarding and straightforward process. Now that you have a clear understanding of how to make worm bedding for nightcrawlers, you’re well-equipped to build a system that keeps them healthy and productive. By gathering the right carbon materials, achieving the perfect moisture balance, and maintaining the bin properly, you’ll provide an ideal home for your burrowing friends. Whether your goal is to have a ready supply of fishing bait or to produce powerful organic compost, mastering this skill is the first step toward success.
About Ravuk Barg
B.Sc. Horticulture Science | Certified Master Gardener
Ravuk Barg has spent more than a decade with his hands in the soil and his head full of questions about why some gardens thrive while others struggle. What started as a single raised bed of tomatoes and basil in a modest backyard has grown into a deep, working knowledge of everything from seed germination and soil amendment to companion planting and seasonal pruning.
Over the years, Ravuk has gardened through drought summers, waterlogged springs, and pest invasions that would make most gardeners hang up their trowels for good. Those hard seasons, he’ll tell you, taught him more than any perfect growing year ever could. He writes from that earned experience—covering vegetable growing, ornamental planting, houseplant care, composting, and garden design with equal confidence and curiosity.
Philosophy & Approach
Ravuk’s approach to gardening is rooted in practicality. He favors organic methods not out of dogma, but because they work long-term—resulting in healthier soil, fewer inputs, and stronger plants. He has a particular fondness for heirloom vegetable varieties (the kind with proper flavor), unruly cottage-style flower beds, and the stubborn houseplants that everyone else gave up on.
The Mission: Give readers the honest, experience-backed advice that helps them actually succeed in their gardens—not just the ideal version, but the real one; weeds, failures, and all.
Education & Credentials
-
B.Sc. in Horticulture Science
-
Greenfield Agricultural University
-
Focus: Plant Physiology, Soil Ecology, and Sustainable Crop Production
-
-
Master Gardener Certification
-
Cooperative Extension Service
-
Focus: 200+ hours of hands-on practical training and community garden work
-
Continuing Education
-
Organic Pest Management
-
Native Plant Landscaping
-
Sustainable Crop Production