

Growing your own vegetables is a rewarding experience, connecting you to your food and nature. A key ingredient to a bountiful harvest is the quality of your soil. While standard garden soil can work, creating a nutrient-dense, living ecosystem for your plants can elevate your gardening game.
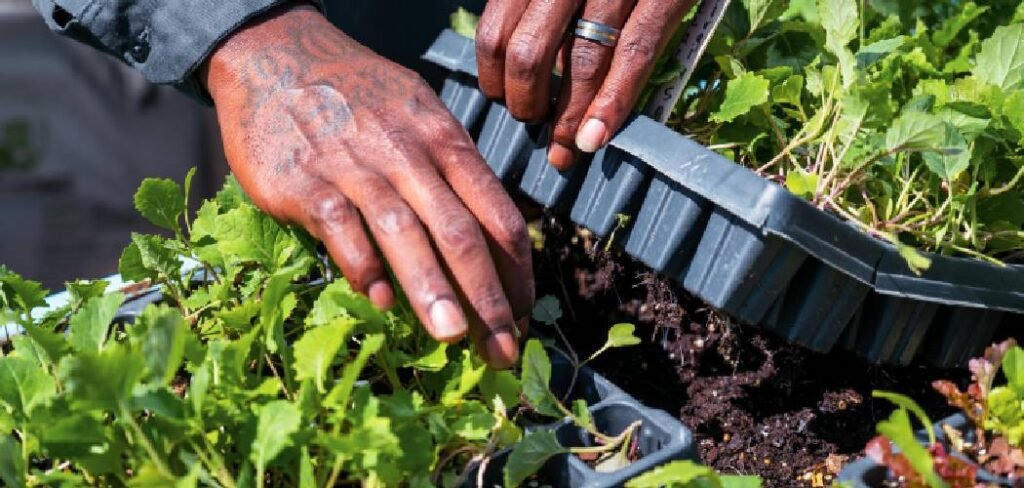
This is where super soil comes in. It’s a pre-amended, organic soil mix that “cooks” over time, developing a rich web of microbial life. This process makes nutrients readily available to your plants, eliminating the need for chemical fertilizers. This guide will walk you through exactly how to make super soil for vegetables, empowering you to build a foundation for a thriving garden.
Why Create Your Own Super Soil?
Opting to create your own super soil gives you complete control over what goes into your garden and, ultimately, your food. Commercial soils can contain synthetic fertilizers or unknown components. By mixing your own, you ensure it is 100% organic and tailored to the needs of heavy-feeding vegetable plants like tomatoes, peppers, and squash. This method not only promotes healthier, more vigorous plant growth but also fosters a sustainable, self-sufficient gardening practice. A well-made super soil can be reused for several seasons, improving with time and saving you money in the long run.
8 Step-by-Step Guide on How to Make Super Soil for Vegetables
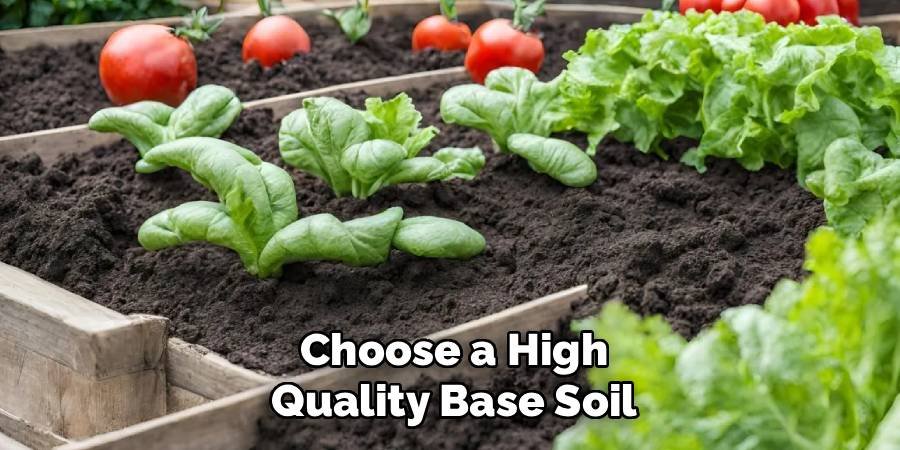
Step 1: Choose a High-Quality Base Soil
The foundation of your super soil is a good-quality base. Select a premium organic potting soil that is free from pesticides and synthetic fertilizers. Look for a mix that already contains ingredients like peat moss, coco coir, or aged forest products. These materials provide excellent structure, aeration, and water retention. Starting with a strong base ensures your amendments blend well and gives the microbial life a healthy environment to colonize. A good base mix is the canvas on which you will create your masterpiece.
Step 2: Gather Your Core Amendments
Next, you will gather the core dry amendments that provide the essential macronutrients: nitrogen (N), phosphorus (P), and potassium (K). Key ingredients include high-nitrogen sources like blood meal or bat guano, and high-phosphorus sources like bone meal. For potassium, kelp meal is an excellent choice as it also contains trace minerals and growth hormones. These amendments will fuel the initial stages of plant growth, ensuring your vegetables have the energy they need for strong stems and lush foliage.
Step 3: Add Secondary and Micronutrients
Vegetables need more than just N-P-K to thrive. This step involves adding amendments that provide crucial secondary and micronutrients. Earthworm castings are a powerhouse, introducing beneficial microbes, enzymes, and a wide array of nutrients. Azomite or glacial rock dust are fantastic for supplying a broad spectrum of trace minerals that are often missing from standard soils. Epsom salt (magnesium sulfate) can also be added to aid in chlorophyll production and nutrient uptake, leading to healthier and more productive plants.
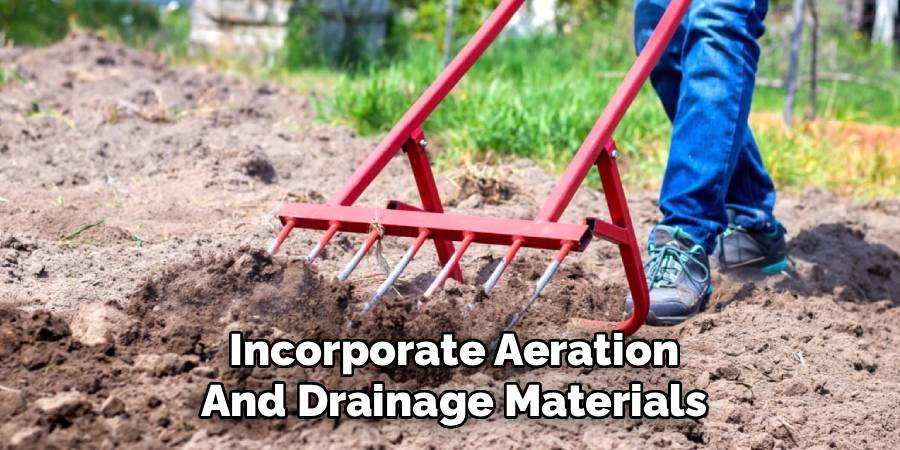
Step 4: Incorporate Aeration and Drainage Materials
To prevent your soil from becoming compacted and waterlogged, you must add materials that improve aeration and drainage. Perlite and pumice are the most common choices. These lightweight, porous volcanic rocks create air pockets within the soil, allowing roots to breathe and grow without restriction. Proper aeration is critical for preventing root rot and ensuring that the beneficial microorganisms in your super soil have the oxygen they need to flourish and break down organic matter into plant-available food.
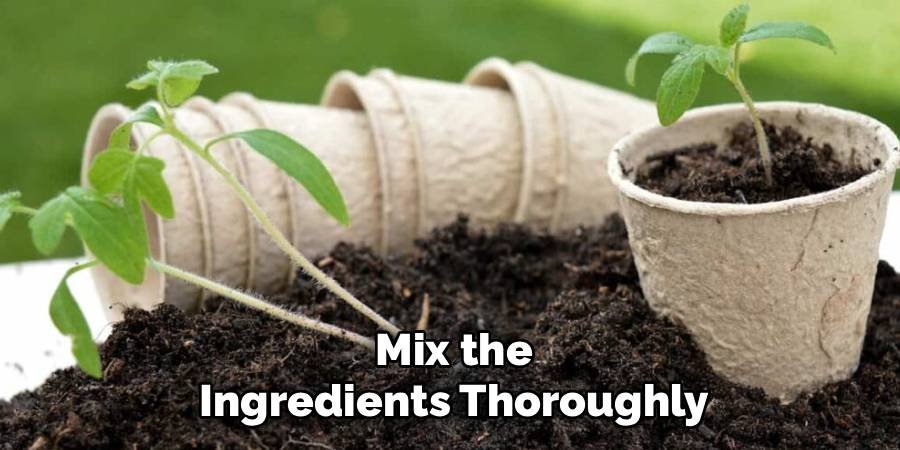
Step 5: Mix the Ingredients Thoroughly
Now it’s time to combine everything. On a large tarp or in a clean wheelbarrow, spread out your base soil. Evenly sprinkle all your dry amendments—the core nutrients, micronutrients, and aeration materials—over the top of the base soil. Use a shovel or a rake to mix everything together thoroughly. Turn the pile over repeatedly, ensuring there are no clumps or pockets of any single ingredient. A uniform consistency is key to making a balanced super soil where every handful is packed with the same goodness.
Step 6: Moisten the Soil Mixture
Once your dry ingredients are fully combined, it’s time to add water. The goal is to make the soil moist, but not soaking wet. Think of a wrung-out sponge. Use a hose with a spray nozzle or a watering can to lightly moisten the pile as you continue to mix it. This moisture activates the microbial life within the amendments, like the bacteria and fungi in the worm castings, and kickstarts the decomposition process. This is the first step in “cooking” your soil.
Step 7: “Cook” the Super Soil
This is the most critical phase. Your freshly mixed soil needs time to mature, or “cook.” Store the moist soil in a covered container, like a large bin with a lid or simply by covering the pile on the tarp. Keep it in a warm, dark place for at least 30 to 90 days. During this time, the microorganisms will break down the organic amendments, converting them into nutrients that your plants can easily absorb. This process neutralizes “hot” ingredients like blood meal, making the soil safe for young plants.
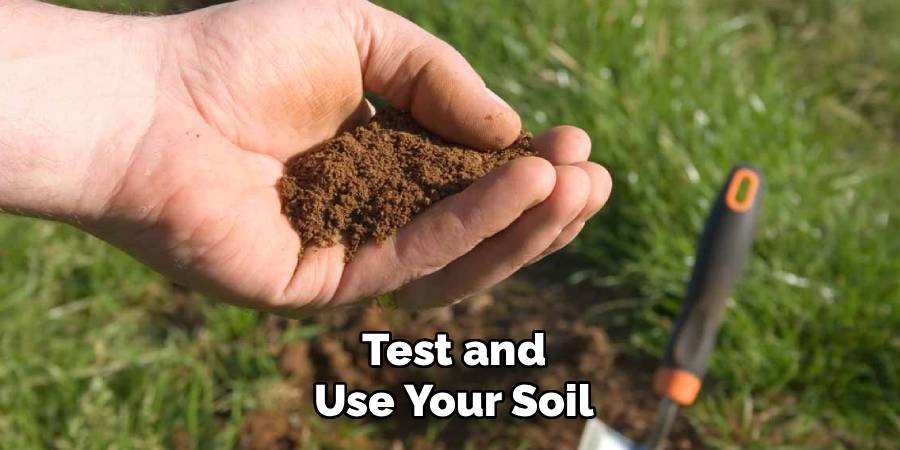
Step 8: Test and Use Your Soil
After the cooking period, your super soil is ready. It should have a rich, earthy smell and a dark, crumbly texture. You can now use it in your garden beds or containers. A common method is to fill the bottom third or half of your pot with the super soil and top it off with your base potting mix. This allows young plants to establish their roots in the milder soil before growing down into the nutrient-dense layer, preventing any potential nutrient burn.
Maintenance
Maintaining your super soil is essential to ensure it continues to provide optimal nutrients for your plants. Regularly check the moisture levels of the soil to avoid it drying out completely, as beneficial microbes thrive in slightly moist conditions. Replenish the organic matter over time by mixing in compost, worm castings, or other natural amendments at the end of each growing season. If reusing the soil, allow it to rest for a few weeks after removing old plants and adding amendments. This resting period allows the soil biology to recover and ensures it’s ready to support the next round of healthy plant growth.
Frequently Asked Questions (FAQ)
Can I Reuse Super Soil for the Next Growing Season?
Yes, you can and should reuse your super soil. After a growing season, the soil will be depleted of some nutrients. To re-amend it, simply add back a smaller amount of the original amendments, such as:
- Earthworm castings
- Kelp meal
- A balanced organic fertilizer blend
Mix these in, moisten the soil, and let it rest for a few weeks before planting again. This process helps rebuild the soil’s vitality for another successful harvest.
Is Super Soil Safe for Seedlings and Young Plants?
Freshly made super soil can be too “hot” or nutrient-rich for delicate seedlings and young plants, potentially causing nutrient burn. It is best to let it cook for at least 30 days. When planting, you can fill the bottom half of the container with super soil and the top half with a plain organic potting mix. This gives the plant’s roots time to mature before reaching the nutrient-dense layer below, ensuring a safe and healthy start.
How Do I Know if My Super Soil Is “Cooked” and Ready?
You will know your super soil is ready when it no longer feels warm to the touch (a sign of active decomposition) and has a pleasant, rich, earthy smell, similar to a forest floor. It should not smell sour, ammoniacal, or unpleasant. The texture should be dark, moist, and crumbly. This process typically takes between 30 and 90 days, depending on the ingredients and ambient temperature. Patience during this stage is key to success.
What Are the Best Vegetables to Grow in Super Soil?
Super soil is ideal for heavy-feeding vegetables that require a lot of nutrients throughout their growing cycle. This includes plants like:
- Tomatoes
- Peppers
- Squash (zucchini, pumpkins)
- Corn
- Cucumbers
- Broccoli and cauliflower
These plants will thrive in the nutrient-rich environment, producing larger and more flavorful yields without the need for additional liquid fertilizers. Lighter feeders, like lettuce and herbs, can also be grown but may do best in the top layer of less-concentrated soil.
Can I Make Super Soil Without Animal Products Like Blood or Bone Meal?
Absolutely. You can create a completely vegan super soil mix by substituting plant-based amendments. For nitrogen, use alfalfa meal, cottonseed meal, or neem seed meal instead of blood meal. For phosphorus, rock phosphate is a great vegan alternative to bone meal. Kelp meal, a key ingredient that is already plant-based, provides potassium and trace minerals. These substitutes will provide all the necessary nutrients for a powerful, 100% plant-based super soil.
Conclusion
Creating your own living soil is a game-changer for any vegetable gardener. It puts you in charge of your garden’s health from the ground up, promoting robust plant growth and nutrient-dense produce without relying on synthetic chemicals. By following these steps, you can create a thriving ecosystem in a pot or garden bed that will feed your plants for the entire season. The process is a rewarding journey in itself, connecting you more deeply with the natural cycles of decomposition and growth. Now that you know how to make super soil for vegetables, you are well on your way to your most productive and delicious harvest yet.
About Ravuk Barg
B.Sc. Horticulture Science | Certified Master Gardener
Ravuk Barg has spent more than a decade with his hands in the soil and his head full of questions about why some gardens thrive while others struggle. What started as a single raised bed of tomatoes and basil in a modest backyard has grown into a deep, working knowledge of everything from seed germination and soil amendment to companion planting and seasonal pruning.
Over the years, Ravuk has gardened through drought summers, waterlogged springs, and pest invasions that would make most gardeners hang up their trowels for good. Those hard seasons, he’ll tell you, taught him more than any perfect growing year ever could. He writes from that earned experience—covering vegetable growing, ornamental planting, houseplant care, composting, and garden design with equal confidence and curiosity.
Philosophy & Approach
Ravuk’s approach to gardening is rooted in practicality. He favors organic methods not out of dogma, but because they work long-term—resulting in healthier soil, fewer inputs, and stronger plants. He has a particular fondness for heirloom vegetable varieties (the kind with proper flavor), unruly cottage-style flower beds, and the stubborn houseplants that everyone else gave up on.
The Mission: Give readers the honest, experience-backed advice that helps them actually succeed in their gardens—not just the ideal version, but the real one; weeds, failures, and all.
Education & Credentials
-
B.Sc. in Horticulture Science
-
Greenfield Agricultural University
-
Focus: Plant Physiology, Soil Ecology, and Sustainable Crop Production
-
-
Master Gardener Certification
-
Cooperative Extension Service
-
Focus: 200+ hours of hands-on practical training and community garden work
-
Continuing Education
-
Organic Pest Management
-
Native Plant Landscaping
-
Sustainable Crop Production