

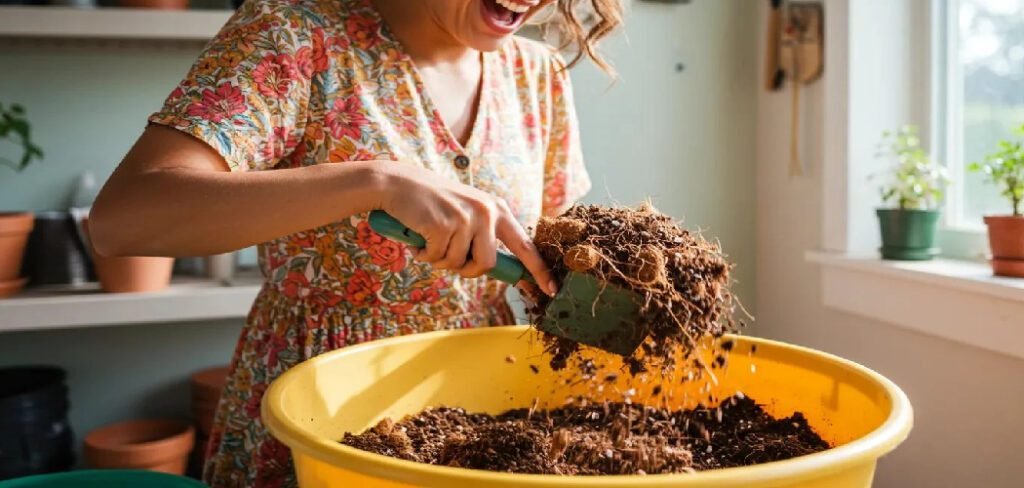
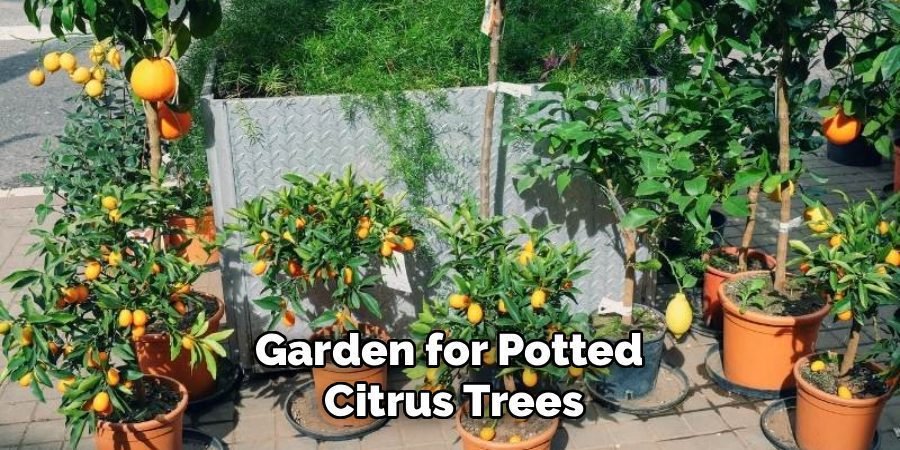
Growing citrus trees in containers can be incredibly rewarding, bringing the fresh scent of blossoms and the promise of juicy fruit right to your patio or balcony. However, the secret to a thriving citrus tree lies beneath the surface—in its soil. Commercial potting mixes can be expensive and may not provide the specific drainage and nutrient balance that citrus trees need. Learning how to make potting soil for citrus trees gives you complete control over the growing medium, ensuring your lemon, lime, or orange tree has the perfect foundation to flourish. This guide will walk you through creating a custom blend that is both effective and affordable.
Why Your Citrus Tree Needs Special Soil
Citrus trees have unique requirements that set them apart from many other container plants. Their roots are highly susceptible to rot, which means they demand soil that drains quickly and allows for excellent aeration. Standard potting soil often retains too much moisture, creating a dense, waterlogged environment that can suffocate the roots and lead to disease. Furthermore, citrus trees are heavy feeders that prefer slightly acidic conditions. Crafting your own mix ensures you can provide this specific pH range and incorporate the slow-release nutrients they need to produce lush foliage and abundant fruit.
Step-by-Step Guide: How to Make Potting Soil for Citrus Trees
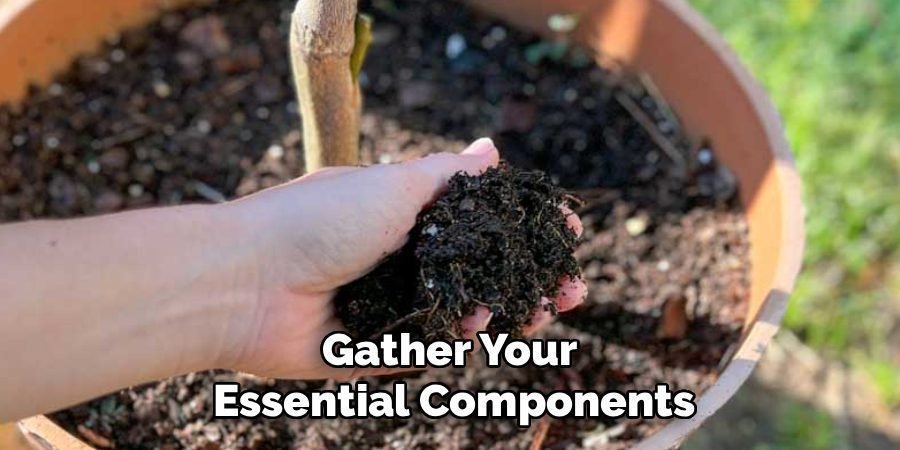
Step 1: Gather Your Core Ingredients
Before you start mixing, gather your essential components. You will need one part sphagnum peat moss or coco coir, one part perlite or pumice, and one part compost or well-rotted manure. Peat moss and coco coir provide a stable, moisture-retentive base while maintaining an acidic pH. Perlite or pumice are crucial for creating air pockets and ensuring rapid drainage, preventing water from stagnating around the roots. Finally, compost or manure introduces vital organic matter and a slow-release source of nutrients to feed your tree over time.
Step 2: Prepare Your Mixing Area
Select a large, clean space to combine your ingredients. A wheelbarrow, a large plastic tub, or a tarp spread on the ground will work perfectly. This prevents mess and makes it easier to blend the components thoroughly. Before you begin, put on a pair of gardening gloves and a dust mask. Some ingredients, particularly peat moss and perlite, can create fine dust that is best not to inhale. Having your space and safety gear ready will make the entire process smoother and more enjoyable from start to finish.
Step 3: Combine the Peat Moss and Perlite
Start by adding one part sphagnum peat moss (or coco coir) and one part perlite (or pumice) to your mixing container. Peat moss is often compressed and dry, so it’s helpful to moisten it slightly with a spray bottle before mixing. This reduces dust and helps it blend more evenly with the other ingredients. Use a garden trowel or your hands to toss these two components together until the white specks of perlite are distributed uniformly throughout the brown peat moss, creating a light and fluffy base.
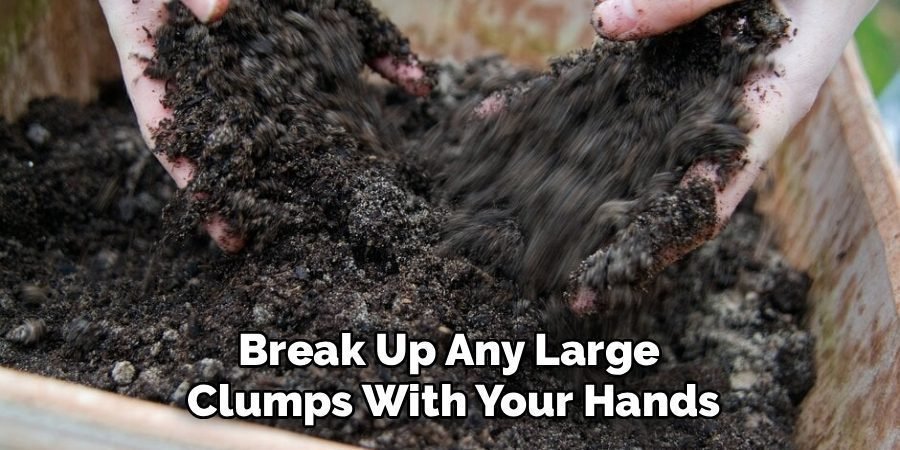
Step 4: Incorporate the Compost
Now it’s time to add your final primary ingredient: one part compost or well-aged manure. A high-quality compost enriches the soil with beneficial microbes and a broad spectrum of micronutrients that are essential for healthy citrus growth. Spread the compost over the top of your peat moss and perlite mixture. Break up any large clumps with your hands or a trowel to ensure it can be blended evenly. This organic matter is key to creating a fertile environment that will sustain your tree between feedings.
Step 5: Mix All Ingredients Thoroughly
With all three core components in your container, it is time to mix everything together completely. This is the most important part of how to make potting soil for citrus trees, as an uneven mix can create pockets of poor drainage or nutrient deficiencies. Use a spade or your hands to turn the mixture over repeatedly, scooping from the bottom and bringing it to the top. Continue until the blend has a uniform color and texture, with no visible clumps of any single ingredient remaining.
Step 6: Add Sand for Extra Drainage
For citrus varieties that are especially sensitive to wet feet, such as lemons and limes, adding a small amount of coarse sand can further improve drainage. Use horticultural or builder’s sand, not fine play sand, as its larger particles create more space for water to flow through. Add about half a part of sand to your mix—for every two gallons of soil, add about one quart of sand. Integrate it thoroughly to ensure it is evenly distributed, enhancing the soil’s aeration and preventing compaction over time.
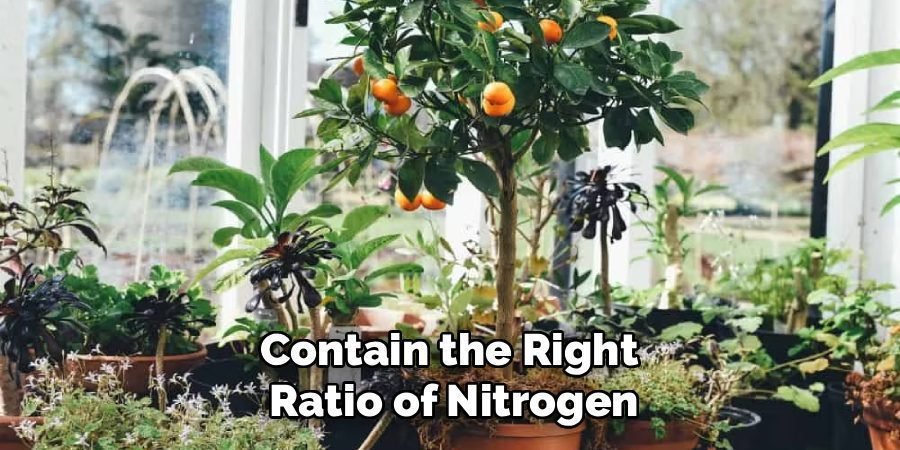
Step 7: Introduce Slow-Release Fertilizer
To give your citrus tree a strong start, incorporate a balanced, slow-release citrus fertilizer into your soil mix. Look for a formula specifically designed for citrus or acid-loving plants, which will contain the right ratio of nitrogen, phosphorus, and potassium, as well as essential micronutrients like iron, zinc, and manganese. Follow the application rate on the fertilizer package, sprinkling it evenly over your soil mixture and blending it in one last time. This provides a steady food source for the first few months.
Step 8: Test and Adjust the pH Level
Citrus trees thrive in soil with a pH between 6.0 and 7.0. You can test your freshly made soil with a simple home garden pH test kit. If your mix is too alkaline (above 7.0), you can lower the pH by adding a small amount of elemental sulfur or using an acidifying fertilizer. If it is too acidic (below 6.0), a sprinkle of garden lime can raise it. Making this final adjustment ensures that your tree can absorb nutrients efficiently, which is a critical step in mastering how to make potting soil for citrus trees.
Maintain Proper Moisture Levels
Once your potting soil is ready and adjusted for pH, it’s essential to maintain proper moisture levels to support your citrus tree’s growth. Citrus trees thrive in well-draining soil that retains enough moisture without becoming waterlogged. To achieve this, water your tree thoroughly, allowing excess water to drain out of the pot, and then wait until the top inch of the soil feels dry before watering again. Overwatering can lead to root rot, while underwatering can hinder nutrient uptake, so finding the right balance is key. Consistent care and attention to these moisture levels will ensure a healthy and productive citrus tree.
Frequently Asked Questions (FAQ)
Can I Use Garden Soil Instead of Making a Special Mix?
It is not recommended to use soil directly from your garden for potted citrus trees. Garden soil is heavy, compacts easily in containers, and drains poorly. This can lead to waterlogged roots and fatal root rot. Furthermore, it may contain weed seeds, pests, or pathogens that can harm your tree. A custom potting mix is designed to be lightweight and provide the excellent drainage and aeration that container-grown citrus trees need to stay healthy and productive.
How Often Should I Repot My Citrus Tree With Fresh Soil?
You should plan to repot your citrus tree every two to three years, or whenever it becomes root-bound. When you repot, it is a great opportunity to refresh the soil. Over time, the organic matter in the potting mix breaks down, reducing aeration and nutrient availability. Replacing the old, depleted soil with a fresh batch of your homemade mix will rejuvenate your tree, providing it with a loose, well-draining medium and a new supply of essential nutrients to support its continued growth.
Is Coco Coir a Good Substitute for Peat Moss?
Yes, coco coir is an excellent and sustainable alternative to sphagnum peat moss. It offers similar benefits, such as good water retention and a slightly acidic pH, but it re-wets more easily than dry peat moss. Coco coir is a renewable byproduct of the coconut industry, making it an environmentally friendly choice. It also has a neutral pH, so you might need to add an acidifier like elemental sulfur if your other ingredients, like compost, are alkaline.
What Are the Signs of Poor Soil Drainage in a Citrus Tree?
The most common sign of poor drainage is yellowing leaves (chlorosis), especially if the veins remain green while the rest of the leaf turns yellow. Other symptoms include leaf drop, wilting even when the soil is wet, and stunted growth. If you suspect poor drainage, check the roots. Healthy roots are firm and white or light tan, while roots suffering from rot will be brown, mushy, and may have a foul odor. If you see these signs, it’s time to repot with a better-draining soil mix.
Can I Add Worm Castings to My Citrus Soil Mix?
Absolutely. Worm castings are a fantastic amendment for any potting soil, including a citrus mix. They are rich in nutrients and beneficial microorganisms that improve soil structure and health. You can add worm castings as part of the compost component of your recipe or in addition to it. They provide a gentle, slow-release source of nutrients that will not burn the tree’s roots and help enhance the overall fertility and vitality of your custom potting soil.
Conclusion
Creating your own potting soil is a simple yet powerful step toward growing a healthy and productive citrus tree. By combining the right ingredients—peat moss for structure, perlite for drainage, and compost for nutrition—you can craft a medium perfectly tailored to your tree’s needs. This DIY approach not only saves you money but also gives you confidence that your tree has the best possible foundation for success. Now that you know how to make potting soil for citrus trees, you are well on your way to enjoying the sweet rewards of homegrown fruit.
About Ravuk Barg
B.Sc. Horticulture Science | Certified Master Gardener
Ravuk Barg has spent more than a decade with his hands in the soil and his head full of questions about why some gardens thrive while others struggle. What started as a single raised bed of tomatoes and basil in a modest backyard has grown into a deep, working knowledge of everything from seed germination and soil amendment to companion planting and seasonal pruning.
Over the years, Ravuk has gardened through drought summers, waterlogged springs, and pest invasions that would make most gardeners hang up their trowels for good. Those hard seasons, he’ll tell you, taught him more than any perfect growing year ever could. He writes from that earned experience—covering vegetable growing, ornamental planting, houseplant care, composting, and garden design with equal confidence and curiosity.
Philosophy & Approach
Ravuk’s approach to gardening is rooted in practicality. He favors organic methods not out of dogma, but because they work long-term—resulting in healthier soil, fewer inputs, and stronger plants. He has a particular fondness for heirloom vegetable varieties (the kind with proper flavor), unruly cottage-style flower beds, and the stubborn houseplants that everyone else gave up on.
The Mission: Give readers the honest, experience-backed advice that helps them actually succeed in their gardens—not just the ideal version, but the real one; weeds, failures, and all.
Education & Credentials
-
B.Sc. in Horticulture Science
-
Greenfield Agricultural University
-
Focus: Plant Physiology, Soil Ecology, and Sustainable Crop Production
-
-
Master Gardener Certification
-
Cooperative Extension Service
-
Focus: 200+ hours of hands-on practical training and community garden work
-
Continuing Education
-
Organic Pest Management
-
Native Plant Landscaping
-
Sustainable Crop Production