

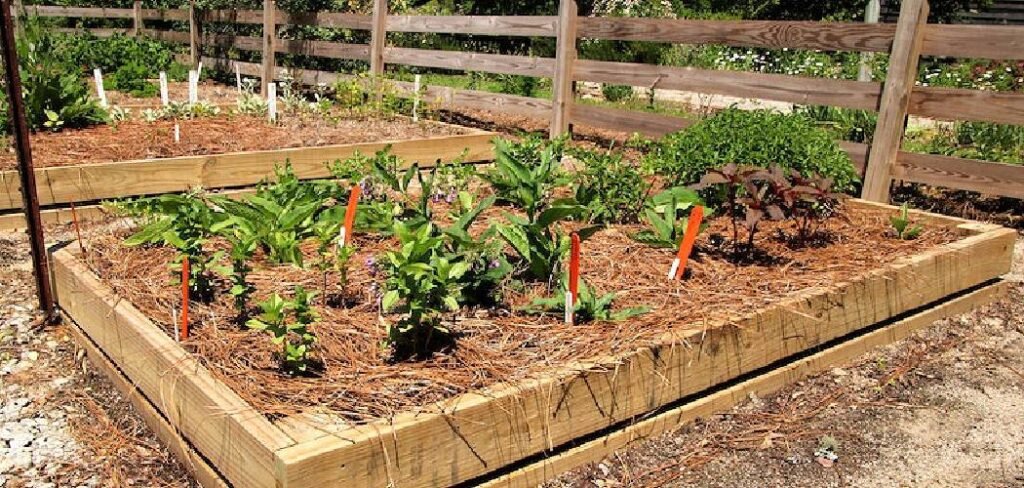
Growing fresh herbs at home has never been easier. Learning how to make a herb garden box opens doors to year-round culinary adventures while connecting you with nature.
But here’s where things get interesting. The secret to thriving herbs isn’t just good soil—it’s what feeds that soil. Vermicomposting transforms your kitchen scraps into black gold through the power of earthworms. These incredible creatures break down organic waste faster than traditional composting methods, creating nutrient-rich castings that herbs absolutely love.
Red wiggler worms work tirelessly, consuming vegetable peels, coffee grounds, and fruit scraps. They digest this organic matter and produce worm castings—nature’s perfect fertilizer. This process happens quickly, often within weeks rather than months.
Your herb garden box becomes a complete ecosystem when you combine fresh herbs with vermicomposting. The worms create the perfect growing medium while your kitchen waste disappears into valuable plant food. This sustainable approach reduces household waste while boosting your herb production dramatically.
8 Step-by-Step Guide on How to Make a Herb Garden Box
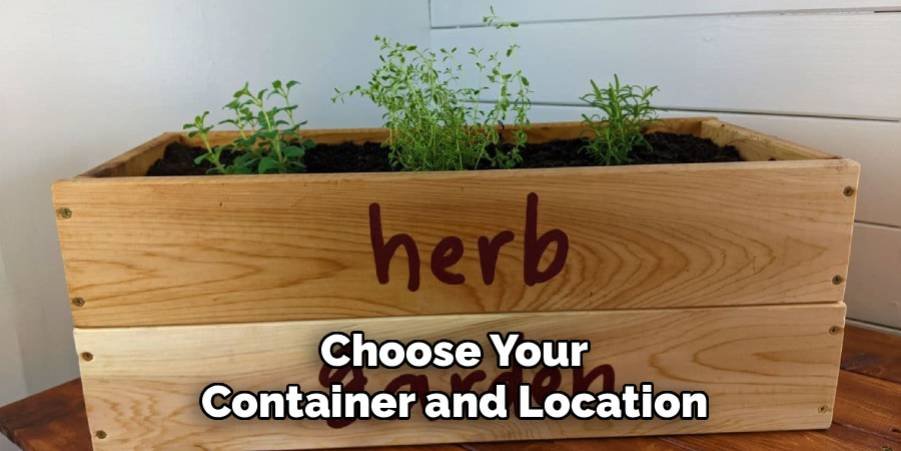
Step 1: Choose Your Container and Location
Select a sturdy wooden box or build one from untreated cedar planks measuring 24 by 36 inches. The depth should reach at least 12 inches to accommodate both herb roots and your future worm bin section. Cedar naturally resists rot and insects, making it perfect for outdoor use. Position your container where it receives 6-8 hours of morning sunlight but enjoys afternoon shade. This prevents herbs from bolting in extreme heat while keeping worms comfortable in their designated area. Avoid spots with strong winds or areas that flood during heavy rains. The location should also provide easy access for daily maintenance and harvesting. Consider proximity to your kitchen for convenient herb gathering and kitchen scrap disposal.
Step 2: Install Proper Drainage
Drill drainage holes every 6 inches across the bottom of your herb box. Each hole should measure half an inch in diameter to prevent waterlogging while keeping soil intact. Layer the bottom with 2 inches of coarse gravel or broken pottery shards. This drainage layer prevents roots from sitting in standing water, which causes root rot in most herbs. Cover the gravel with landscape fabric to separate it from the soil above. Good drainage becomes even more critical when incorporating vermicomposting, as worms need moisture without being waterlogged. The fabric allows water to flow freely while preventing soil from mixing with the drainage material. This foundation ensures both herbs and worms thrive in their shared environment.
Step 3: Prepare the Growing Medium
Create the perfect herb-growing blend using equal parts quality potting soil, compost, and perlite. This mixture provides excellent drainage while retaining enough moisture for herb roots. Mix in a handful of worm castings if available—these add slow-release nutrients that herbs crave. The perlite keeps soil loose and aerated, preventing compaction over time. Avoid garden soil, which often contains diseases and pests that can harm container plants. Fill your box leaving 2 inches of space at the top for mulching and watering. The loose, well-draining medium encourages strong root development while creating spaces where beneficial microorganisms can flourish. This same environment supports red wiggler worms when you establish your vermicomposting system later.
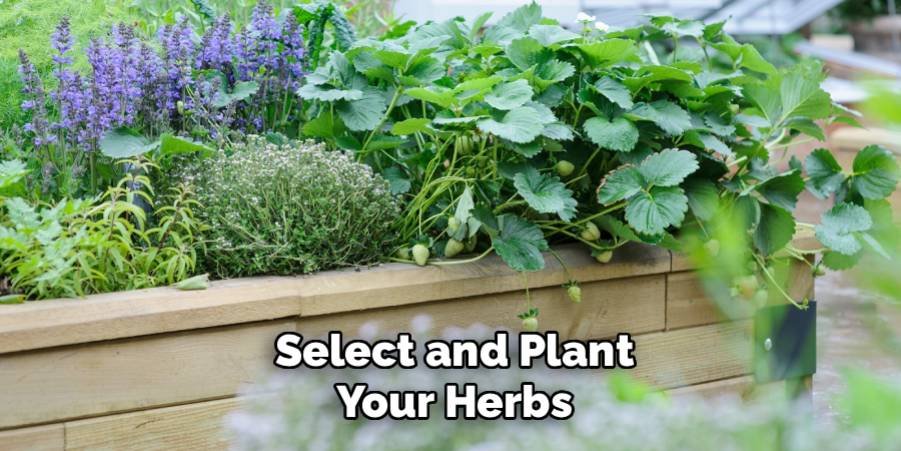
Step 4: Select and Plant Your Herbs
Choose herbs that complement each other in growth habits and care requirements. Mediterranean herbs like rosemary, thyme, and oregano prefer drier conditions, while basil, parsley, and chives enjoy more consistent moisture. Plant taller herbs like rosemary toward the back, medium-height herbs like basil in the middle, and trailing herbs like thyme along the edges. Space plants according to their mature size, typically 6-12 inches apart depending on the variety. Gently tease roots apart if they’re pot-bound before planting. Water thoroughly after planting, ensuring the entire root zone receives moisture. The diverse herb selection provides varying textures and growth patterns that create an attractive, productive garden while generating different types of organic waste for your future worm composting system.
Step 5: Establish Your Worm Composting Area
Dedicate one corner of your herb box to vermicomposting by installing a separate small container or creating a divided section. Use a plastic storage container with holes drilled in the sides for airflow, nestled into your herb box soil. This worm bin should measure about 12 by 8 inches and 6 inches deep. Fill it with damp newspaper strips, creating a cozy bedding for red wiggler worms. The bedding should feel like a wrung-out sponge—moist but not dripping.
This integrated approach allows worm castings to slowly leach into the surrounding herb soil as you water. The proximity means your kitchen scraps transform into plant food just inches from your herbs. This setup creates a closed-loop system where organic waste becomes nutrition for your growing herbs.
Step 6: Add Red Wiggler Worms
Purchase 500-1000 red wiggler worms from a reputable supplier or local fishing store. These specific worms excel at composting organic matter and thrive in contained environments unlike earthworms found in gardens. Gently place them on top of the damp bedding in your worm bin section. They’ll burrow down naturally, avoiding light and establishing their new home. Red wigglers reproduce quickly under proper conditions, so your population will grow over time.
These amazing creatures can consume half their body weight in organic matter daily, transforming kitchen scraps into nutrient-rich castings. Start with fewer worms initially to avoid overwhelming their new environment. They’ll multiply as food sources increase and conditions stabilize. The worms work continuously, breaking down organic waste even while you sleep, creating a constant supply of natural fertilizer for your herbs.
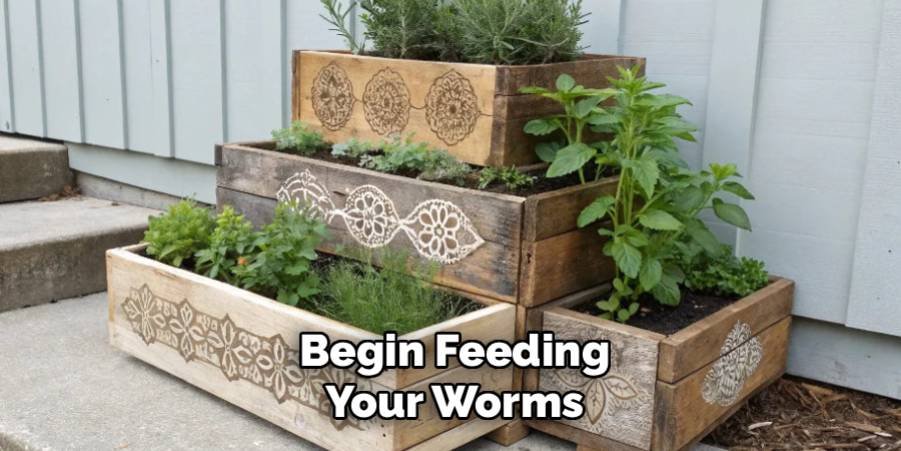
Step 7: Begin Feeding Your Worms
Start adding kitchen scraps gradually, beginning with small amounts every few days. Ideal worm food includes vegetable peels, fruit scraps (except citrus), coffee grounds, tea bags, and crushed eggshells. Chop larger pieces into smaller bits to speed decomposition and make eating easier for your worms. Bury food scraps under the bedding to prevent odors and discourage flies. Avoid meat, dairy, oils, and citrus, which can create unpleasant conditions and attract pests.
The worms will consume the organic matter and produce dark, crumbly castings that smell earthy and rich. These castings contain more nutrients than regular compost and release them slowly as plants need them. As your worm population grows, you can increase feeding frequency and quantity, creating more natural fertilizer for your expanding herb garden.
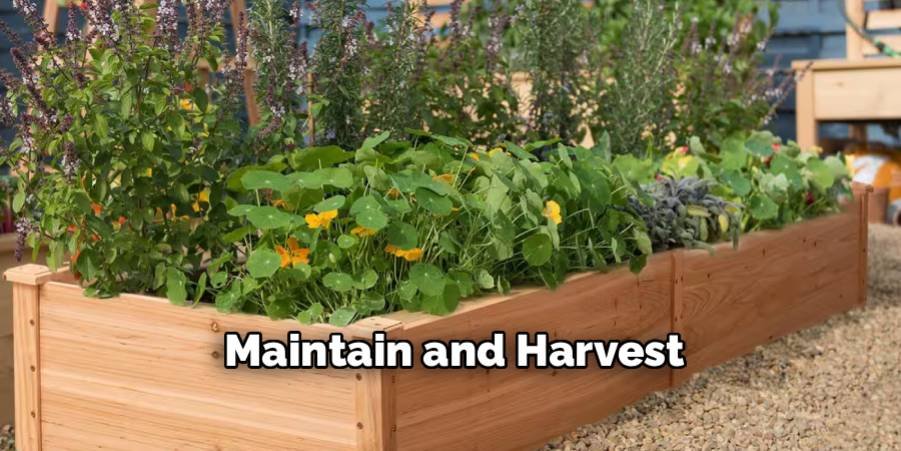
Step 8: Maintain and Harvest
Water your herb garden box regularly, keeping soil consistently moist but not soggy. The worms need moisture to survive while herbs require consistent hydration for optimal growth. Check the worm bin weekly, adding bedding if levels drop and adjusting moisture as needed. Harvest herbs frequently by pinching stems just above leaf pairs, encouraging bushier growth and continuous production.
Every 2-3 months, harvest finished worm castings from the bottom of your worm bin. Mix these castings directly into the herb soil or use them as a top dressing around plants. The ongoing cycle of composting kitchen scraps and feeding plants creates a sustainable gardening system that produces both food waste reduction and increased herb yields. Your integrated system becomes more productive over time as worm populations stabilize and herb plants mature.
FAQ
What’s the best size for a herb garden box?
A 24 by 36-inch box with 12-inch depth provides ample space for multiple herb varieties while accommodating a small worm composting section. This size allows proper root development and easy maintenance access.
How many worms do I need to start composting?
Begin with 500-1000 red wiggler worms for a small herb garden setup. They reproduce quickly under proper conditions, doubling their population every 2-3 months with adequate food and care.
Can I use regular earthworms instead of red wigglers?
Red wiggler worms work best for composting because they thrive in contained environments and consume organic matter more efficiently than garden earthworms, which prefer to burrow deep into natural soil.
What kitchen scraps should I avoid feeding worms?
Never feed worms meat, dairy products, oils, citrus fruits, or processed foods. These items create acidic conditions, attract pests, and can harm your worm population or create unpleasant odors.
How often should I harvest worm castings?
Harvest finished worm castings every 2-3 months by gently sifting through the bottom of your worm bin. The dark, crumbly material can be mixed directly into herb soil or used as fertilizer.
Conclusion
Learning how to make a herb garden box with integrated vermicomposting creates a rewarding, sustainable gardening experience that benefits both your kitchen and the environment. This system transforms daily kitchen waste into premium plant nutrition while providing fresh herbs year-round.
The combination of herbs and worms creates a natural cycle where organic waste becomes plant food, which supports herb growth, which generates trimmings for composting. Your red wiggler worms work continuously, converting scraps into black gold that keeps herbs healthy and productive.
Starting this integrated system requires minimal investment but delivers ongoing rewards. Fresh herbs enhance every meal while reducing grocery expenses. Meanwhile, your kitchen waste disappears into valuable worm castings instead of filling landfills.
The maintenance routine becomes second nature quickly. Daily herb harvesting and weekly worm feeding create pleasant garden moments that connect you with natural growing cycles. As your system matures, both herb yields and worm populations increase, amplifying the benefits.
Your garden and worms will thank you for creating this sustainable ecosystem. The satisfaction of growing food while managing waste responsibly makes every harvest extra rewarding.
About Ravuk Barg
B.Sc. Horticulture Science | Certified Master Gardener
Ravuk Barg has spent more than a decade with his hands in the soil and his head full of questions about why some gardens thrive while others struggle. What started as a single raised bed of tomatoes and basil in a modest backyard has grown into a deep, working knowledge of everything from seed germination and soil amendment to companion planting and seasonal pruning.
Over the years, Ravuk has gardened through drought summers, waterlogged springs, and pest invasions that would make most gardeners hang up their trowels for good. Those hard seasons, he’ll tell you, taught him more than any perfect growing year ever could. He writes from that earned experience—covering vegetable growing, ornamental planting, houseplant care, composting, and garden design with equal confidence and curiosity.
Philosophy & Approach
Ravuk’s approach to gardening is rooted in practicality. He favors organic methods not out of dogma, but because they work long-term—resulting in healthier soil, fewer inputs, and stronger plants. He has a particular fondness for heirloom vegetable varieties (the kind with proper flavor), unruly cottage-style flower beds, and the stubborn houseplants that everyone else gave up on.
The Mission: Give readers the honest, experience-backed advice that helps them actually succeed in their gardens—not just the ideal version, but the real one; weeds, failures, and all.
Education & Credentials
-
B.Sc. in Horticulture Science
-
Greenfield Agricultural University
-
Focus: Plant Physiology, Soil Ecology, and Sustainable Crop Production
-
-
Master Gardener Certification
-
Cooperative Extension Service
-
Focus: 200+ hours of hands-on practical training and community garden work
-
Continuing Education
-
Organic Pest Management
-
Native Plant Landscaping
-
Sustainable Crop Production