

As the leaves change color and a chill fills the air, it’s time for homeowners to start their winter preparations. While you might be focused on raking leaves and sealing drafty windows, there’s one crucial task that’s often overlooked: winterizing your irrigation system. A sudden cold snap can wreak havoc on your sprinkler pipes, leading to expensive repairs come springtime. Understanding how to keep lawn sprinkler system from freezing is a vital skill for any homeowner with an automated irrigation setup.
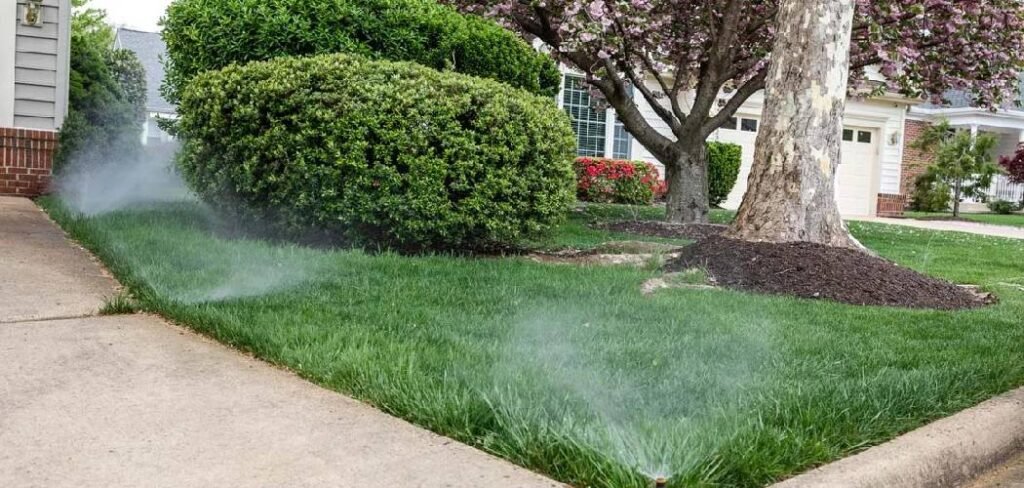
This process, often called a “blowout,” protects your investment and ensures your system is ready to go when the growing season returns. This guide will walk you through everything you need to know, step by step, to safeguard your system from the damaging effects of ice.
Why Winterizing Your Sprinkler System is Essential
Protecting your sprinkler system from freezing temperatures isn’t just a suggestion; it’s a necessity for maintaining the health and longevity of your irrigation setup. When water freezes, it expands by about 9% with immense force. If water is left in your sprinkler lines, valves, or heads, this expansion can easily crack pipes, damage seals, and destroy expensive components.
The resulting leaks can cause significant water waste and lead to costly repairs that could have been avoided. Beyond the financial impact, a damaged system in the spring means delays in getting your lawn the water it needs to thrive. Taking the time to properly winterize your system before the first hard freeze is a small investment that pays huge dividends in peace of mind and long-term savings.
8 Step-by-Step Guide on How to Keep Lawn Sprinkler System From Freezing
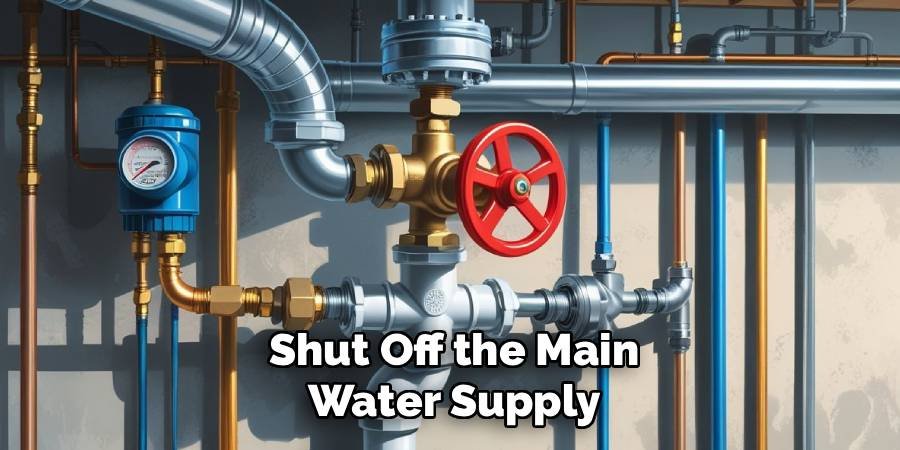
Step 1: Shut Off the Main Water Supply
The first and most critical step is to locate and close the main water shut-off valve for your irrigation system. This valve is typically found in your basement, crawl space, or an underground valve box near your water meter. It’s essential to turn this valve completely off to prevent any new water from entering the sprinkler lines during the blowout process. Once the valve is closed, you have successfully isolated the system from its water source, preparing it for drainage. Failing to do this step correctly can result in water continuing to flow, making the winterization process ineffective and potentially damaging your system.
Step 2: Insulate the Main Shut-Off Valve
After you have shut off the water, you need to protect the main valve itself from the cold. The above-ground pipes connected to this valve, including the backflow preventer, are highly susceptible to freezing. Wrap these exposed components with foam insulation tape or self-sticking foam insulation tubes. This simple layer of protection acts as a barrier against the freezing air, preventing any residual water trapped within the valve or nearby pipes from expanding and causing cracks. This step is especially important for any piping that is located above ground and exposed to the harsh winter elements.
Step 3: Drain the System’s Backflow Preventer
Your backflow preventer is a crucial device that stops contaminated water from your sprinkler system from siphoning back into your home’s clean water supply. It is also one of the most expensive components to replace. To drain it, open its test cocks or petcocks using a flathead screwdriver. You will likely see some water drain out. Leave these cocks open at a 45-degree angle. This allows any remaining moisture to evaporate and ensures that if any water does get in, it has a place to expand without cracking the device’s brass body.
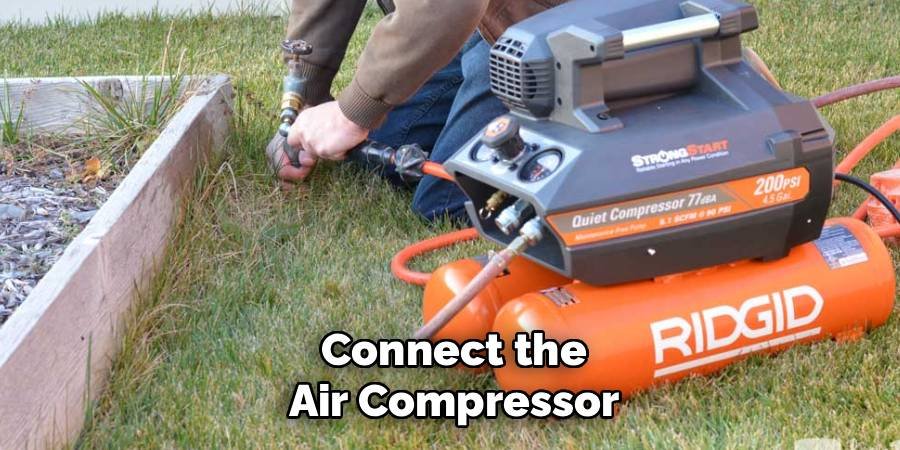
Step 4: Connect the Air Compressor
Now it’s time to prepare for the blowout. You will need an air compressor with a cubic feet per minute (CFM) rating of at least 80-100 for most residential systems. Connect the compressor’s hose to the blowout port, which is usually a quick-connect fitting located after the backflow preventer. If your system doesn’t have a dedicated port, you may need to purchase an adapter that screws into a hose bib or a sprinkler head fitting. Ensure the connection is secure to prevent air leaks, which would reduce the pressure and effectiveness of the blowout.
Step 5: Activate One Sprinkler Zone
Before you turn on the air compressor, you need to manage the flow of air. Go to your sprinkler system’s controller or timer. Manually activate the first watering zone in your system. It is critical to only open one zone at a time. Trying to blow out the entire system at once will not generate enough pressure to clear the water effectively and could put excessive stress on your pipes and fittings. Choose the zone that is highest in elevation or furthest from the compressor to start, as this is often the most difficult to clear.
Step 6: Begin the Blowout Process
With a single zone activated, you can now start forcing air through the lines. Set your air compressor’s regulator to a low pressure—never exceed 80 PSI for rigid PVC pipes or 50 PSI for flexible polyethylene pipes. High pressure can burst fittings or damage sprinkler heads. Slowly open the valve on the compressor to allow air to flow into the sprinkler system. You will hear air moving through the pipes, and shortly after, the sprinkler heads in the active zone will pop up and begin to spray a mix of water and mist.
Step 7: How to Keep Lawn Sprinkler System From Freezing by Clearing Each Zone
Continue running the air compressor until the sprinkler heads in the active zone are only emitting a fine mist or dry air. This typically takes a few minutes per zone. Once the first zone is clear, turn it off at the controller and immediately activate the next zone. Repeat the blowout process for each zone in your system, one by one. Do not let the compressor run for too long on a dry zone, as the friction from high-velocity air can build up heat and potentially melt plastic components within the system.
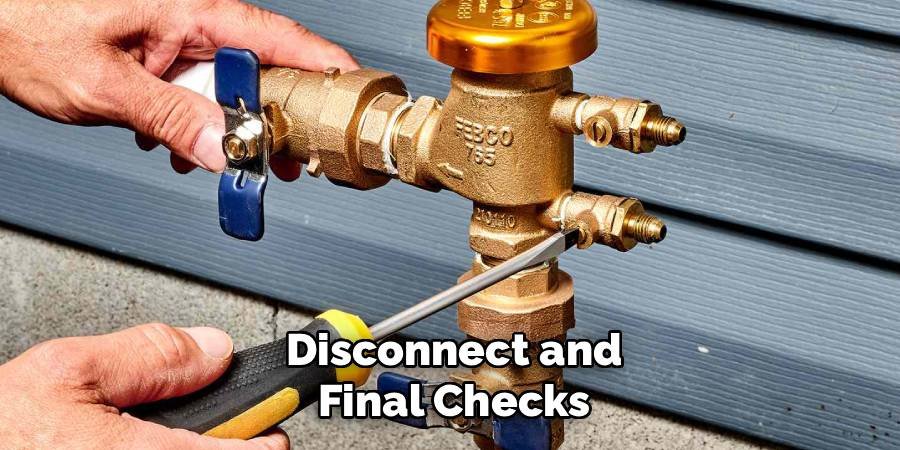
Step 8: Disconnect and Final Checks
After you have cycled through every zone and they are all blowing dry air, the main part of the job is complete. Turn off and disconnect the air compressor from the system. It’s a good practice to run through the zones one more time manually at the controller, just to release any residual air pressure that might be trapped. Finally, return the controller to the “Off” or “Rain” mode for the winter. This prevents the timer from attempting to run a watering cycle while the water is shut off.
Frequently Asked Questions
What Happens if You Don’t Winterize a Sprinkler System?
If you fail to winterize your sprinkler system, any water left in the pipes, valves, or sprinkler heads can freeze. As water freezes, it expands, which can cause pipes to crack, fittings to burst, and sprinkler heads to break. This damage often goes unnoticed until spring, when you turn the system back on, leading to major leaks, water waste, and expensive repairs.
Can I Winterize My Sprinkler System Without an Air Compressor?
While using an air compressor is the most effective method, some systems may have manual or automatic drain valves. Manual drain systems require you to open valves at the lowest points of your system to let water drain out via gravity. Automatic systems have valves that open on their own when pressure drops. However, these methods may not remove all the water, leaving your system at risk in a hard freeze. A blowout is the only guaranteed method.
How Much Does It Cost to Have a Sprinkler System Winterized?
The cost for professional winterization services can vary based on your location and the size of your sprinkler system. Generally, you can expect to pay anywhere from $75 to $200 for a standard residential system. While there is a cost involved, it is significantly less than the potential repair costs for a freeze-damaged system, which can run into hundreds or even thousands of dollars.

When Is the Best Time to Winterize My Sprinklers?
The ideal time to winterize your sprinkler system is before the first hard freeze in your area. A hard freeze is when temperatures drop to 28°F (-2°C) or lower for several hours. It’s best to be proactive and not wait until a freeze is in the forecast. For most regions in the northern U.S., this means completing the blowout sometime in October or early November.
Do I Need to Do Anything With the Sprinkler Heads Themselves?
After blowing out the lines, the sprinkler heads themselves are generally safe. The blowout process forces any water out of the head’s internal mechanism. However, it’s a good idea to walk your property and ensure all the heads have fully retracted into the ground. A head that is stuck in the ‘up’ position is more vulnerable to damage from lawnmowers, foot traffic, or snowplows during the winter months.
Conclusion
Winterizing your irrigation system is a preventative measure that every homeowner should undertake before the cold weather sets in. By following these steps—shutting off the water, insulating pipes, and performing a thorough blowout—you protect your investment from the destructive power of freezing water. The process might seem intimidating at first, but with the right tools and a careful approach, it’s a completely manageable DIY project. Mastering how to keep lawn sprinkler system from freezing not only saves you from costly springtime repairs but also gives you the confidence that your lawn will be ready for a healthy, green start as soon as the weather warms.
About Ravuk Barg
B.Sc. Horticulture Science | Certified Master Gardener
Ravuk Barg has spent more than a decade with his hands in the soil and his head full of questions about why some gardens thrive while others struggle. What started as a single raised bed of tomatoes and basil in a modest backyard has grown into a deep, working knowledge of everything from seed germination and soil amendment to companion planting and seasonal pruning.
Over the years, Ravuk has gardened through drought summers, waterlogged springs, and pest invasions that would make most gardeners hang up their trowels for good. Those hard seasons, he’ll tell you, taught him more than any perfect growing year ever could. He writes from that earned experience—covering vegetable growing, ornamental planting, houseplant care, composting, and garden design with equal confidence and curiosity.
Philosophy & Approach
Ravuk’s approach to gardening is rooted in practicality. He favors organic methods not out of dogma, but because they work long-term—resulting in healthier soil, fewer inputs, and stronger plants. He has a particular fondness for heirloom vegetable varieties (the kind with proper flavor), unruly cottage-style flower beds, and the stubborn houseplants that everyone else gave up on.
The Mission: Give readers the honest, experience-backed advice that helps them actually succeed in their gardens—not just the ideal version, but the real one; weeds, failures, and all.
Education & Credentials
-
B.Sc. in Horticulture Science
-
Greenfield Agricultural University
-
Focus: Plant Physiology, Soil Ecology, and Sustainable Crop Production
-
-
Master Gardener Certification
-
Cooperative Extension Service
-
Focus: 200+ hours of hands-on practical training and community garden work
-
Continuing Education
-
Organic Pest Management
-
Native Plant Landscaping
-
Sustainable Crop Production