

There are few things more frustrating for a gardener or landscaper than a shovel caked with mud. Every scoop becomes heavier, the work gets harder, and cleaning up afterwards feels like a chore in itself. Whether you’re dealing with heavy clay, wet soil, or sticky muck, a dirty shovel blade slows you down and drains your energy.
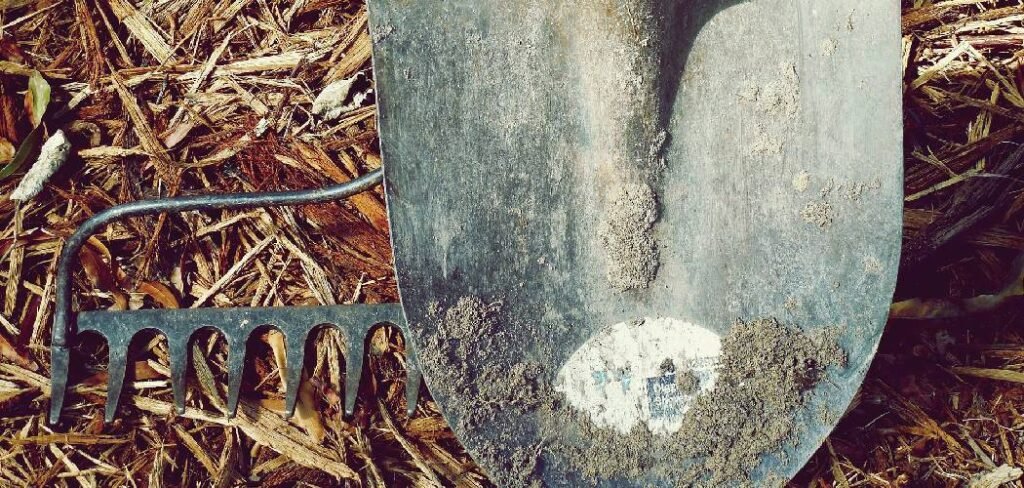
Learning a few simple tricks on how to keep dirt from sticking to shovel can transform your digging experience. This guide will walk you through easy, effective methods to maintain a clean blade, making your work in the garden more efficient and enjoyable.
Why a Clean Shovel Matters
A shovel that sheds dirt easily is more than just a convenience; it’s a fundamental part of working smarter, not harder. When soil, especially clay or wet earth, clings to the blade, it adds significant weight to each lift. This extra effort compounds over time, leading to faster fatigue and potential strain on your back and shoulders. A clean shovel also penetrates the ground with less resistance, allowing for smoother, more precise digging.
This is crucial when you’re working around delicate plant roots or creating clean edges for a new garden bed. Furthermore, a well-maintained tool lasts longer. Caked-on dirt can trap moisture, promoting rust and corrosion that weaken the metal over time. By keeping your shovel clean, you protect your investment, ensure your safety, and make your gardening tasks far more pleasant.
7 Step-by-Step Guide on How to Keep Dirt From Sticking to Shovel
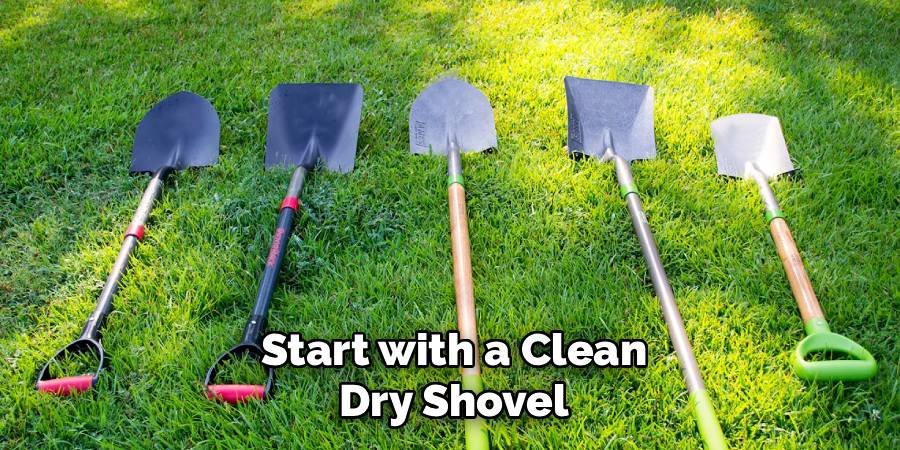
Step 1: Start with a Clean, Dry Shovel
Before you even think about heading out to the garden, your first step is to ensure your shovel is completely clean and dry. Any lingering dirt or moisture from a previous job will act like a magnet for fresh soil, creating a sticky base that is difficult to remove. Use a stiff-bristled brush or a putty knife to scrape off any old, dried-on mud. For stubborn patches, a wire brush can be effective. Once all the debris is gone, wipe the entire metal surface with a dry rag to remove any remaining moisture, which can lead to rust.
Step 2: Apply a Light Coat of Oil
One of the most effective and time-tested methods for preventing soil adhesion is to apply a light coating of oil to the shovel blade. You can use various types of oil, including horticultural oil, linseed oil, or even a multi-purpose lubricant from a spray can. Pour a small amount of oil onto a clean rag and wipe a thin, even layer across both sides of the blade. This creates a slick, hydrophobic barrier that helps wet soil and sticky clay slide right off instead of clinging. This simple pre-treatment makes digging significantly easier and cleanup almost effortless.
Step 3: Use Wax for a Durable Coating
For a longer-lasting solution, consider using wax. A block of paraffin wax or an old candle can work wonders. Simply rub the wax generously all over the clean, dry surface of the shovel blade, making sure to cover it completely. The goal is to create a slick, protective layer. Alternatively, you can use a carnauba-based automotive paste wax. Apply the paste wax with a cloth, let it haze over for a few minutes, and then buff it to a smooth finish. This durable coating is excellent for repelling moisture and preventing sticky soils from gaining a foothold on the metal.
Step 4: Consider a Non-Stick Cooking Spray
In a pinch, a common household item can come to your rescue: non-stick cooking spray. This is a quick and easy solution if you don’t have other oils or waxes on hand. Before you start digging, give both sides of the shovel blade a thorough coating with the spray. Just like it prevents food from sticking to a pan, the spray creates a slippery surface that discourages dirt and mud from adhering to the metal. While it may not be as long-lasting as oil or wax and might require reapplication during a long day of work, it is a fantastic temporary fix.
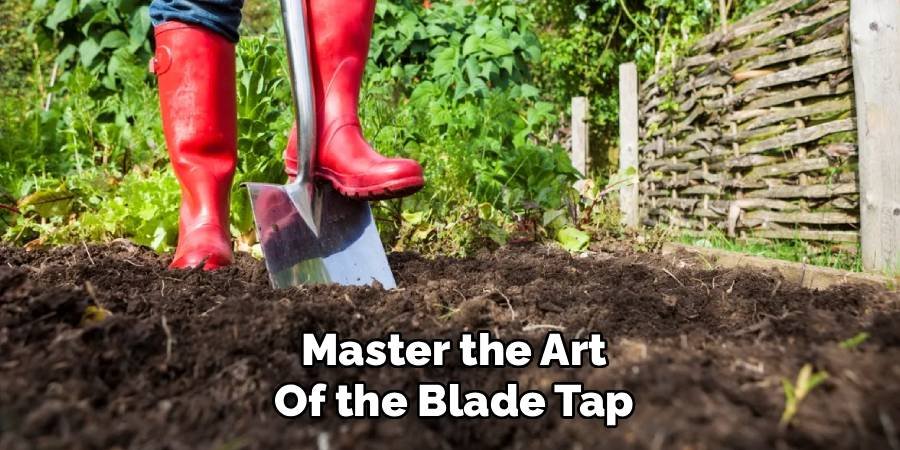
Step 5: Master the Art of the Blade Tap
A simple technique can make a huge difference while you work. After each scoop of particularly sticky soil, give the back of the shovel blade a sharp tap with the handle of another tool, like a hammer, or knock it against a sturdy wooden post. This quick vibration is often enough to dislodge the clinging clump of dirt before it has a chance to compact and build up. Incorporating this habit into your digging rhythm is a proactive way to keep the blade relatively clean as you go, reducing the need for more intensive cleaning later.
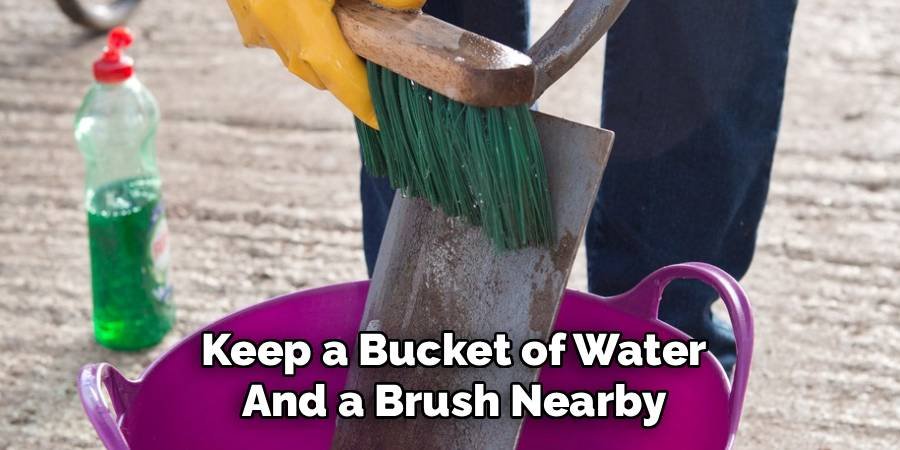
Step 6: Keep a Bucket of Water and a Brush Nearby
For big projects involving very wet or clay-heavy soil, having a cleaning station on hand is a great strategy. Keep a five-gallon bucket of water and a stiff-bristled brush near your work area. Periodically, you can give the shovel a quick dip and scrub to remove any buildup. This prevents the dirt from accumulating to the point where it becomes heavy and unwieldy. While this method introduces moisture, a quick wipe with a rag after scrubbing will prepare it for a reapplication of oil or wax if needed, keeping you working efficiently.
Step 7: How to Keep Dirt From Sticking to Your Shovel with a Blade Scraper
For the toughest jobs, a dedicated blade scraper can be your best friend. This simple tool, often just a piece of wood or a flat-edged metal bar, can be used to quickly scrape off mud as it accumulates. Instead of stopping your work to use a brush or reapply a coating, you can swiftly clean the blade with a few quick passes. This method is particularly useful when working in consistently sticky conditions where buildup is inevitable. Keeping a scraper tucked into your belt or garden cart makes it easy to maintain a clean shovel throughout the day.
Maintenance
Proper maintenance of your tools ensures longevity and optimal performance. After finishing your work, take a few minutes to rinse off any remaining dirt or debris from your shovel using water. Dry the blade thoroughly to prevent rust from forming, and if desired, apply a light coat of oil to the metal surface for added protection. Regularly inspect the handle for any signs of damage or cracking, and consider sanding and refinishing wooden handles to keep them smooth and splinter-free. By dedicating some time to upkeep, you can extend the life of your tools and make your tasks more efficient.
Common Mistakes to Avoid
When working with tools like shovels in muddy conditions, there are a few common mistakes that can make your tasks more difficult. One frequent error is neglecting to clean your tools thoroughly after use. Dried mud can harden and become more challenging to remove, which may reduce the efficiency of the blade over time.
Another mistake is using the wrong type of shovel for the job. For example, flat-edged shovels are better suited for scraping surfaces, while pointed ones are ideal for digging. Additionally, failing to protect the metal parts of the shovel with a light coat of oil can lead to rust, reducing the lifespan of the tool. By avoiding these mistakes, you can maintain your tools properly and make your work both easier and more efficient.
Frequently Asked Questions (FAQ)
What Is the Best Type of Oil to Use on a Shovel?
The best oil is often one you already have. General-purpose lubricating oils, mineral oil, or linseed oil work very well. For a garden-safe option, consider horticultural oil. The key is to apply a thin, even coat that creates a slick surface. Avoid using vegetable oils from your kitchen, as they can become rancid over time and attract pests.
Does the Type of Shovel Make a Difference?
Yes, the material and finish of a shovel can impact how easily dirt sticks to it.
- Stainless steel shovels are less porous than regular carbon steel, making them naturally slicker and more resistant to rust.
- Shovels with a powder-coated or painted finish also provide a smoother surface that helps repel dirt, at least until the coating wears off.
- A polished, well-maintained blade of any material will always perform better than one that is rusty or pitted.
How Often Should I Reapply Oil or Wax?
This depends on the conditions and the duration of your work. For a light-duty gardening session, one application of oil or wax at the beginning should suffice. If you are doing heavy digging in wet clay for several hours, you may need to reapply your chosen coating every hour or so to maintain its effectiveness. Pay attention to your shovel; when you notice dirt starting to stick again, it’s time for a touch-up.
Can I Use Silicone Spray on My Shovel?
Absolutely. Silicone spray is an excellent choice for preventing dirt from sticking. It creates a very slick, waterproof barrier that is highly effective at repelling mud and clay. Like other spray-on options, it’s easy to apply and works instantly. Just be sure to apply it in a well-ventilated area and wipe off any excess to prevent it from getting on the shovel handle where it could make your grip slippery.
What’s the Best Way to Clean and Store My Shovel After Use?
Proper cleaning and storage are vital for tool longevity. After each use, scrape off all mud and debris. Wash the blade with water and a stiff brush, then dry it completely with a rag to prevent rust. Once dry, apply a very thin coat of oil to the metal parts. Store the shovel in a dry place, preferably hanging up so the blade is not sitting on a damp floor.
Conclusion
A shovel that stubbornly holds onto dirt is a common annoyance that can turn a pleasant day of gardening into a strenuous task. Fortunately, the solution is simple and requires just a little bit of preparation. By starting with a clean tool, applying a protective coating of oil or wax, and using smart techniques while you dig, you can greatly reduce soil buildup. These small habits not only make your work easier and more efficient but also help preserve the life of your tools. Now that you know how to keep dirt from sticking to shovel, you can approach your next digging project with confidence and enjoy a more productive time in your garden.
About Ravuk Barg
B.Sc. Horticulture Science | Certified Master Gardener
Ravuk Barg has spent more than a decade with his hands in the soil and his head full of questions about why some gardens thrive while others struggle. What started as a single raised bed of tomatoes and basil in a modest backyard has grown into a deep, working knowledge of everything from seed germination and soil amendment to companion planting and seasonal pruning.
Over the years, Ravuk has gardened through drought summers, waterlogged springs, and pest invasions that would make most gardeners hang up their trowels for good. Those hard seasons, he’ll tell you, taught him more than any perfect growing year ever could. He writes from that earned experience—covering vegetable growing, ornamental planting, houseplant care, composting, and garden design with equal confidence and curiosity.
Philosophy & Approach
Ravuk’s approach to gardening is rooted in practicality. He favors organic methods not out of dogma, but because they work long-term—resulting in healthier soil, fewer inputs, and stronger plants. He has a particular fondness for heirloom vegetable varieties (the kind with proper flavor), unruly cottage-style flower beds, and the stubborn houseplants that everyone else gave up on.
The Mission: Give readers the honest, experience-backed advice that helps them actually succeed in their gardens—not just the ideal version, but the real one; weeds, failures, and all.
Education & Credentials
-
B.Sc. in Horticulture Science
-
Greenfield Agricultural University
-
Focus: Plant Physiology, Soil Ecology, and Sustainable Crop Production
-
-
Master Gardener Certification
-
Cooperative Extension Service
-
Focus: 200+ hours of hands-on practical training and community garden work
-
Continuing Education
-
Organic Pest Management
-
Native Plant Landscaping
-
Sustainable Crop Production