

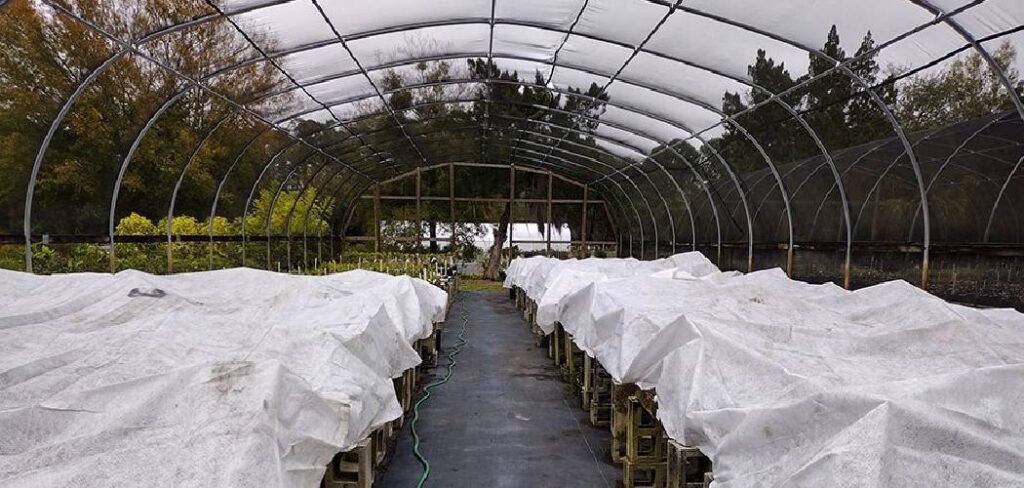
Protecting your garden from the harsh sun is essential for helping your plants thrive, especially during peak summer months. Intense sunlight and heat can cause stress, wilting, and even scorching, which can ruin a season’s hard work. A shade cloth offers a simple yet highly effective solution. It filters sunlight, lowers temperatures, and creates a more favorable microclimate for your vegetables, flowers, and delicate seedlings.
This guide will walk you through the entire process, showing you exactly how to install shade cloth for garden success. By following these straightforward steps, you can provide your plants with the perfect amount of light and protection, ensuring a healthier and more productive garden.
Why Protect Your Garden from Excessive Sun?
A garden is a delicate ecosystem, and balance is key. While sunlight is vital for photosynthesis, too much of a good thing can be detrimental. Intense, direct sun exposure raises soil and air temperatures, causing moisture to evaporate quickly and putting plants under significant heat stress. This can lead to scorched leaves, stunted growth, and reduced fruit or flower production. Certain plants, like lettuce, spinach, and many herbs, are particularly sensitive and will “bolt” (flower prematurely) in excessive heat, turning them bitter and inedible. By installing a shade structure, you shield your plants from the harshest rays, conserve water, and extend your growing season.
9 Step-by-Step Guide: How to Install Shade Cloth for Garden Protection
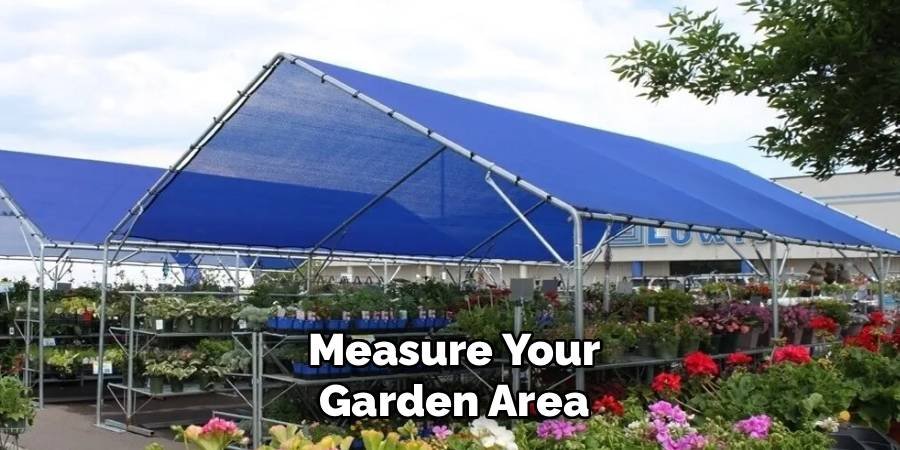
Step 1: Measure Your Garden Area
Before purchasing any materials, the first crucial step is to determine the size of the area you need to cover. Use a measuring tape to get the precise length and width of your garden bed or the specific zone you want to protect. It’s a good practice to add at least one extra foot to each dimension. This additional material provides ample coverage and gives you some flexibility during installation, ensuring the edges of your garden are fully protected from angled sun rays. Accurately measuring the space helps you buy the right amount of shade cloth and avoid waste or the need for a last-minute trip to the store.
Step 2: Choose the Right Shade Cloth Density
Shade cloths are not all the same; they come in various densities, which indicate the percentage of sunlight they block. This density is a critical factor in your garden’s success. For most vegetable gardens, a cloth with a 30% to 50% density is ideal, as it provides sufficient protection without blocking too much light needed for photosynthesis. Delicate plants like orchids or ferns may require a higher density of 70% or more. Consider the specific needs of your plants and your region’s climate. A lower density is suitable for sun-loving plants that just need a little relief, while higher densities are for shade-loving plants or extremely hot climates.
Step 3: Gather Your Tools and Materials
With your measurements and density choice finalized, it’s time to gather everything you need for the installation. Your primary materials will be the shade cloth itself and a support structure. For the structure, you can use wooden posts, metal stakes (like rebar or T-posts), or even PVC pipes for a more flexible frame. You will also need fasteners to attach the cloth to the frame. Grommet clips, zip ties, or specialized shade cloth clips work well. Essential tools include a hammer or mallet for driving posts, a drill if using screws, a utility knife or sharp scissors for trimming the cloth, and a stepladder for taller structures.
Step 4: Construct Your Support Frame
The support frame is the backbone of your shade system. The design can be as simple or complex as you wish. A common method is to drive posts firmly into the ground at each corner of the garden area you plan to cover. For larger spaces, add posts every 8-10 feet for extra stability. Ensure the posts are tall enough to allow for airflow and to give you room to work underneath. A height of 6-8 feet is generally sufficient. If using PVC, you can create a hoop house structure by bending the pipes over the garden bed and securing them to a base frame.
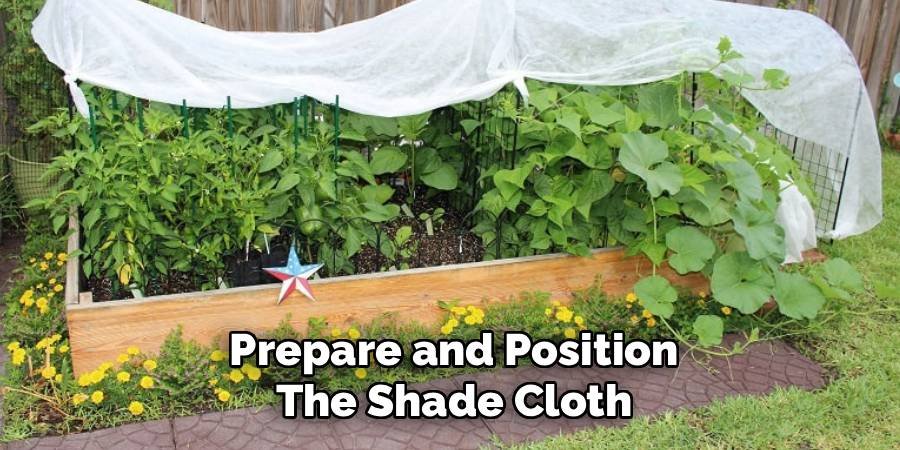
Step 5: Prepare and Position the Shade Cloth
Once your frame is securely in place, unroll the shade cloth and lay it out on a clean, flat surface like a lawn or driveway. This allows you to inspect it for any defects and get it oriented correctly before lifting it onto the frame. If you need to cut the cloth to a specific size, now is the time to do so. Use a sharp utility knife for a clean cut. With the help of another person, carefully lift the cloth and drape it over your support structure. Take your time to position it evenly, ensuring you have enough overhang on all sides as planned in your measurements.
Step 6: Secure One Side of the Shade Cloth First
To prevent the cloth from shifting while you work, start by securing one of the longer sides completely. Begin at one corner and work your way across. Use your chosen fasteners—grommet clips, zip ties, or screws with washers—to attach the fabric to the support frame. Place fasteners every 18-24 inches to ensure a firm hold and to distribute tension evenly. Pulling the cloth taut as you go will prevent sagging later on. Securing one full side first creates an anchor point, making it much easier to manage the rest of the installation process without the wind interfering.
Step 7: How to Install Shade Cloth for Garden by Stretching and Securing the Opposite Side
With one side firmly anchored, move to the opposite side of the frame. This is where you will create the necessary tension for a professional-looking and effective shade cover. Pull the cloth taut across the structure, smoothing out any wrinkles or slack as you go. It should be tight enough to not sag but not so tight that it puts excessive strain on the fabric or the fasteners. Begin securing this second side, again starting at a corner and working your way across. Maintain consistent tension throughout to avoid creating low spots where water or debris could collect.
Step 8: Fasten the Remaining Sides
Now that the two long sides are secure and the cloth is taut, you can finish the job by fastening the remaining two shorter sides. Work on one side at a time, continuing to use fasteners every 18-24 inches. Pay close attention to the corners, ensuring they are pulled snugly and secured well, as this is where the most strain occurs. As you attach the final sides, double-check that the cloth remains evenly tensioned across the entire structure. A properly tensioned shade cloth will last longer, resist wind better, and provide more consistent shade for the plants below.

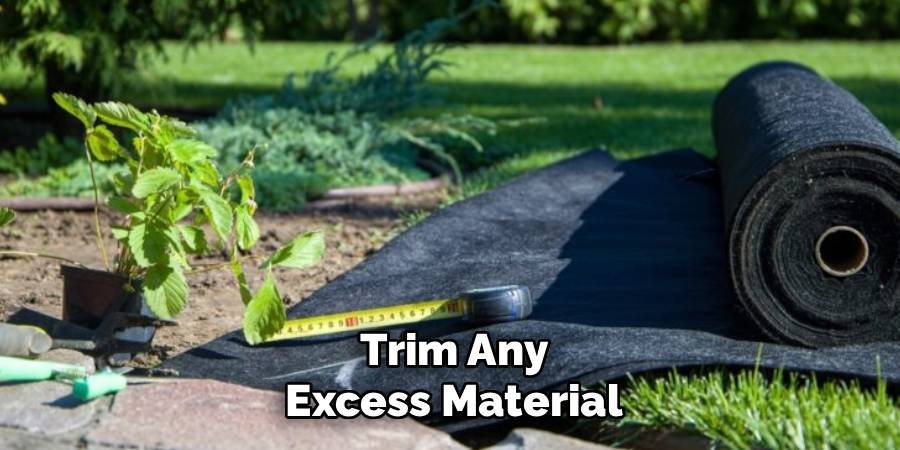
Step 9: Trim Any Excess Material
After all four sides are securely fastened to the frame, you may have some excess shade cloth hanging over the edges. For a clean and tidy appearance, use a sharp utility knife or heavy-duty scissors to carefully trim this extra material. Be cautious not to cut too close to the fasteners or the edge of your frame. Leaving a small overhang of an inch or two is perfectly fine. Trimming the excess not only looks better but also helps prevent the edges from fraying or getting caught by the wind, which could damage your installation over time.
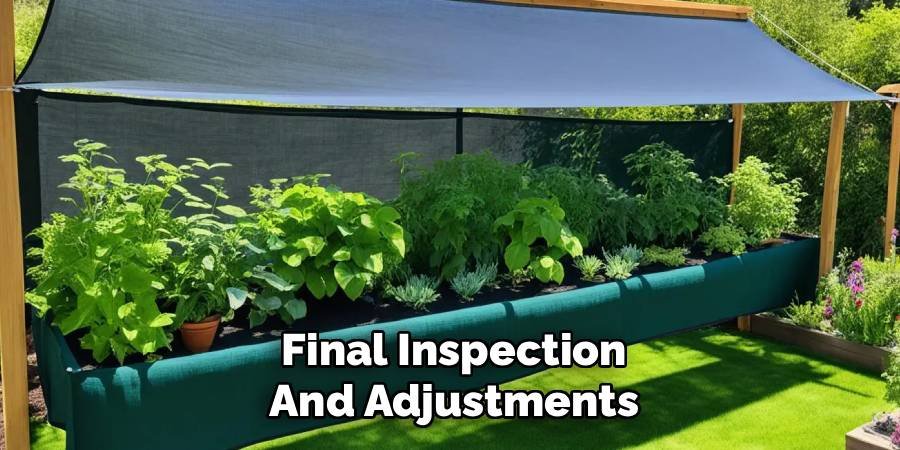
Final Inspection and Adjustments
The final step is to conduct a thorough inspection of your newly installed shade cloth. Walk around and under the structure, checking for any loose spots, sagging areas, or insecure fasteners. Gently pull on the cloth in various places to test the tension. If you find any issues, make the necessary adjustments now. This might involve tightening a zip tie, adding an extra clip, or re-tensioning a section of the cloth. A final check ensures your structure is sound, secure, and ready to protect your garden from the sun for seasons to come.
Frequently Asked Questions
What Color Shade Cloth Is Best for a Vegetable Garden?
The color of your shade cloth can influence plant growth. Black and green shade cloths are the most common and are excellent all-purpose choices. They absorb a broad spectrum of light and are effective at reducing heat. However, some gardeners prefer white shade cloth because it reflects heat while still diffusing light, which can keep the area underneath slightly cooler. For most vegetable gardens, a black or dark green cloth with 30-50% density will provide the ideal balance of light filtering and temperature reduction for healthy plant development.
Can I Lay Shade Cloth Directly on My Plants?
It is generally not recommended to lay shade cloth directly on top of your plants. Direct contact can restrict airflow, which may increase the risk of fungal diseases due to trapped humidity. It can also physically damage delicate stems and leaves, especially in windy conditions. A support structure that elevates the cloth a few feet above the plants is the best approach. This creates a pocket of cooler air, promotes healthy circulation, and allows you to access your plants for watering and harvesting without disturbing the cover.
How Long Does Shade Cloth Last?
The lifespan of shade cloth depends on its quality, the material it’s made from (typically high-density polyethylene), and your climate. A high-quality, UV-stabilized shade cloth can last anywhere from 5 to 10 years or even longer. To maximize its lifespan, take it down and store it properly during the off-season or in months when it is not needed. Storing it in a dry place away from direct sunlight and pests will prevent premature degradation and ensure it is ready for use year after year.
Should I Remove Shade Cloth on Cloudy Days?
Whether you should remove the shade cloth on cloudy days depends on your goals. If your primary concern is heat reduction, leaving it in place even on overcast days can still be beneficial, as it helps moderate the temperature. However, if light levels are a concern for sun-loving plants like tomatoes or peppers, you might consider a retractable or easily removable system. For most gardeners, leaving the shade cloth installed for the entire hot season is the most practical approach and will not harm the plants.
How Do I Water My Garden with Shade Cloth Installed?
Watering a garden under shade cloth is straightforward. Because the cloth is porous, you can water directly through it with a sprinkler or a gentle spray from a hose nozzle. The water will pass through to the plants below. Alternatively, many gardeners prefer to use soaker hoses or a drip irrigation system placed at the base of the plants. This method is highly efficient as it delivers water directly to the root zone, minimizing evaporation and conserving water—a benefit that is enhanced by the shade cloth above.
Conclusion
Installing a shade cloth is a game-changer for any gardener facing intense sun and heat. It is a practical and affordable way to protect your plants, conserve water, and boost your garden’s overall health and productivity. By following the steps outlined in this guide, from measuring your space to making final adjustments, you are now equipped with the knowledge of how to install shade cloth for garden success. Don’t let the summer sun dictate the fate of your plants. Take control, create a more resilient garden, and enjoy the rewards of a bountiful harvest.
About Ravuk Barg
B.Sc. Horticulture Science | Certified Master Gardener
Ravuk Barg has spent more than a decade with his hands in the soil and his head full of questions about why some gardens thrive while others struggle. What started as a single raised bed of tomatoes and basil in a modest backyard has grown into a deep, working knowledge of everything from seed germination and soil amendment to companion planting and seasonal pruning.
Over the years, Ravuk has gardened through drought summers, waterlogged springs, and pest invasions that would make most gardeners hang up their trowels for good. Those hard seasons, he’ll tell you, taught him more than any perfect growing year ever could. He writes from that earned experience—covering vegetable growing, ornamental planting, houseplant care, composting, and garden design with equal confidence and curiosity.
Philosophy & Approach
Ravuk’s approach to gardening is rooted in practicality. He favors organic methods not out of dogma, but because they work long-term—resulting in healthier soil, fewer inputs, and stronger plants. He has a particular fondness for heirloom vegetable varieties (the kind with proper flavor), unruly cottage-style flower beds, and the stubborn houseplants that everyone else gave up on.
The Mission: Give readers the honest, experience-backed advice that helps them actually succeed in their gardens—not just the ideal version, but the real one; weeds, failures, and all.
Education & Credentials
-
B.Sc. in Horticulture Science
-
Greenfield Agricultural University
-
Focus: Plant Physiology, Soil Ecology, and Sustainable Crop Production
-
-
Master Gardener Certification
-
Cooperative Extension Service
-
Focus: 200+ hours of hands-on practical training and community garden work
-
Continuing Education
-
Organic Pest Management
-
Native Plant Landscaping
-
Sustainable Crop Production