

A healthy, vibrant lawn is every homeowner’s dream, but hidden beneath the surface, white grubs might be quietly destroying your grass from the roots up. Learning how to identify grubs in lawn areas early can save you from costly lawn renovation and months of frustration watching brown patches spread across your yard.
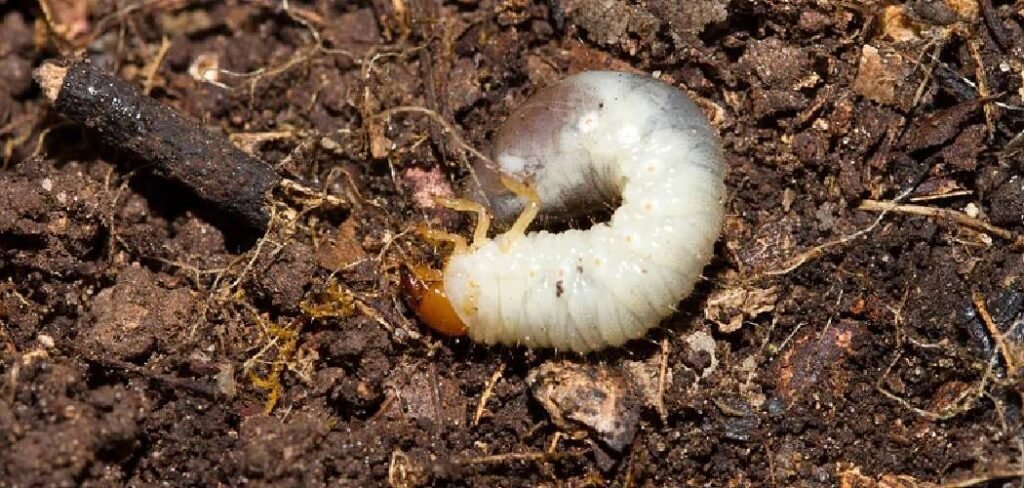
Grubs are the larval stage of various beetles, including Japanese beetles, chafer beetles, and May beetles. These C-shaped, cream-colored pests feed on grass roots during their development phase, which can last from several months to over a year depending on the species.
The damage from grub infestations often goes unnoticed until it becomes severe. By then, large sections of your lawn may have already died, and the grubs themselves might have matured into adult beetles. Early identification allows for timely treatment and prevents extensive lawn damage that could take seasons to repair.
Why You Need to Identify Grubs Early
Grub identification isn’t just about maintaining curb appeal—it’s about protecting your lawn investment and preventing ecosystem disruption in your yard. Adult female beetles lay eggs in your soil during summer months. These eggs hatch into grubs that immediately begin feeding on organic matter and grass roots. A single grub doesn’t cause noticeable damage, but infestations often involve dozens or hundreds of grubs per square foot.
Early detection means you can treat the problem before grubs reach their most destructive feeding phase. Young grubs are also more susceptible to treatment options, making early identification both cost-effective and environmentally responsible.
10 Step-by-Step Guide: How to Identify Grubs in Lawn
Step 1: Look for Irregular Brown Patches
The first visible sign of grub damage appears as irregular brown or yellow patches scattered throughout your lawn. Unlike drought stress or disease, these patches don’t follow watering patterns or appear in predictable shapes.
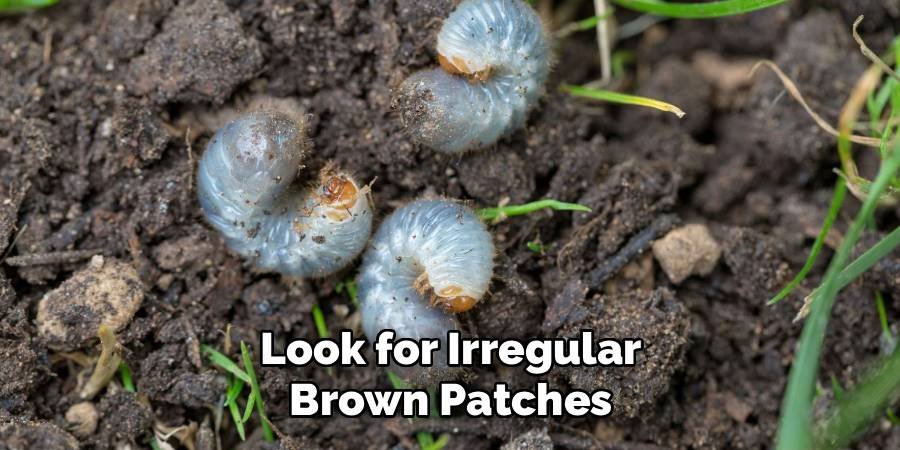
Grub damage typically starts small and expands outward as the larvae move through the soil. The affected grass initially appears stressed or discolored before dying completely. Pay special attention to sunny areas of your lawn, as adult beetles prefer to lay eggs in warm, well-lit soil.
Step 2: Check for Spongy or Loose Turf
Walk across suspected areas and feel for sections where the ground feels unusually soft or spongy underfoot. Healthy grass roots anchor firmly in soil, but grub-damaged turf often feels unstable or bouncy.
Test suspicious areas by pressing down with your foot. If the ground gives way more than usual or feels like you’re walking on a thick carpet rather than solid earth, grubs may have severed enough roots to compromise the turf’s structural integrity.
Step 3: Perform the Tug Test
Grab a handful of grass in affected areas and pull gently upward. Healthy grass should resist pulling and require significant force to remove. Grub-damaged grass often lifts away easily, sometimes in entire sections, because the root system has been compromised.
When grass pulls up effortlessly, examine the roots closely. Healthy grass roots appear white or cream-colored and feel firm. Grub-damaged roots look brown, mushy, or may be completely absent where the larvae have eaten them away.
Step 4: Dig and Inspect the Soil
Using a spade or shovel, cut a square section of turf about 12 inches wide and 3 inches deep in the suspected area. Carefully lift this section and examine both the soil and the underside of the grass.
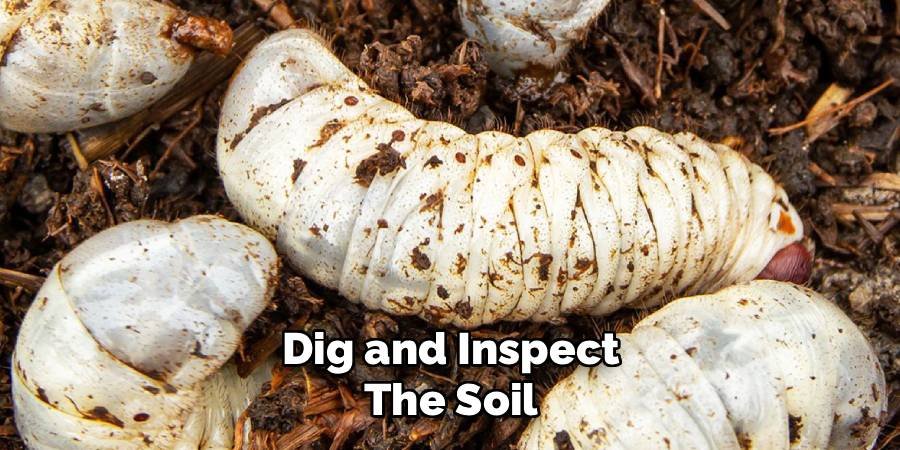
Look for white, C-shaped larvae in the soil. Grubs typically measure between half an inch to over an inch long, depending on their species and maturity. They have cream-colored bodies with brown heads and six distinct legs near the head region.
Step 5: Count the Grub Population
Count the number of grubs you find in your 12-inch square sample. This count helps determine the severity of your infestation and whether treatment is necessary.
Finding two to five grubs per square foot indicates a minor infestation that may not require immediate treatment. However, discovering ten or more grubs per square foot suggests a serious problem requiring prompt intervention to prevent widespread lawn damage.
Step 6: Identify Grub Species
Different grub species cause varying levels of damage and respond to different treatment approaches. Japanese beetle grubs have a distinctive raster pattern (anal opening) that appears as a V-shape when viewed under magnification.
Chafer beetle grubs tend to be larger and have parallel lines of bristles near their anal opening. May beetle grubs are often the largest and have a more pronounced curve to their bodies. Proper species identification helps determine the most effective treatment timing and methods.
Step 7: Check for Secondary Damage
Look for additional signs that indicate grub presence, such as increased animal activity in your lawn. Raccoons, skunks, and birds often dig holes in grub-infested areas while searching for these protein-rich larvae.
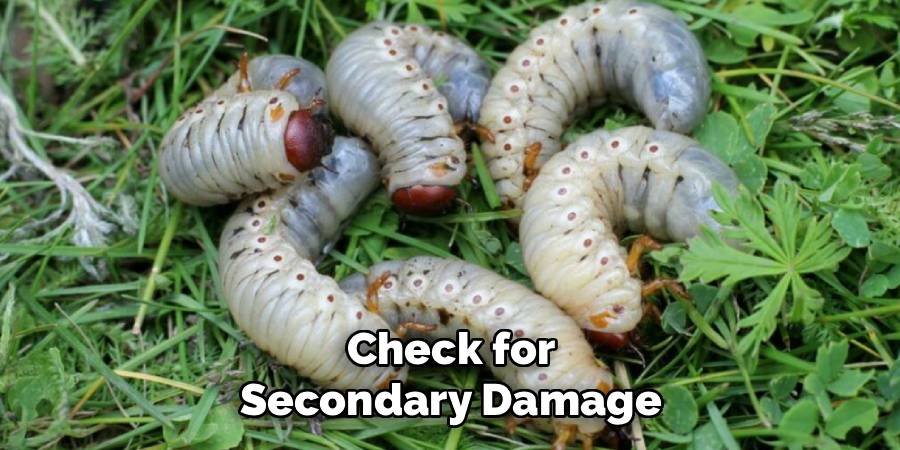
Examine your lawn for small holes, torn turf, or areas where animals have been digging. While this damage is unsightly, it actually confirms grub presence and helps pinpoint the most heavily infested areas of your lawn.
Step 8: Monitor Beetle Activity
During late spring and summer months, watch for increased beetle activity around your property. Adult beetles flying around your yard, porch lights, or gathering on plants indicate they may be laying eggs in your lawn.
Japanese beetles are particularly obvious, appearing as metallic green beetles with copper-colored backs. They often cluster on roses, fruit trees, and other plants during daylight hours. High adult beetle populations typically correlate with future grub problems.
Step 9: Assess Timing and Life Cycle
Understanding grub life cycles helps predict when identification efforts will be most successful. Most grubs are closest to the surface and easiest to find during late summer and early fall when they’re actively feeding.
During winter months, grubs move deeper into soil and become dormant, making identification more difficult. Spring brings grubs back toward the surface, but they’re often larger and have already caused significant root damage by this time.
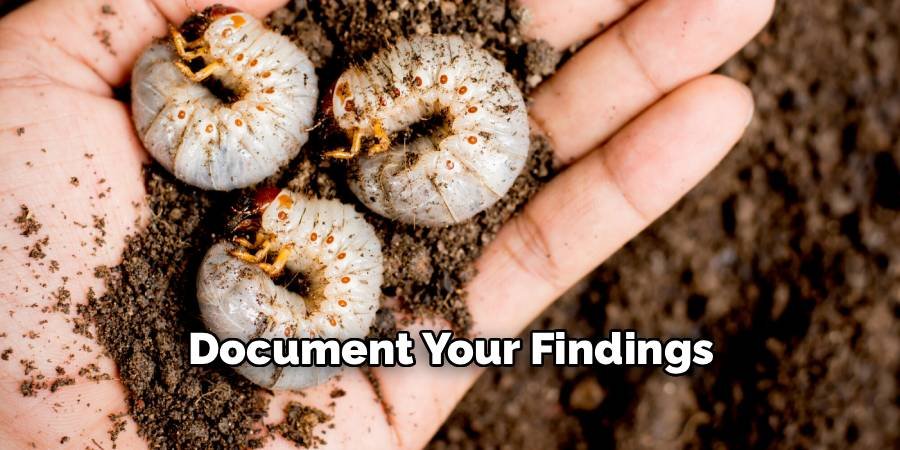
Step 10: Document Your Findings
Record your findings with photos and notes about grub locations, population counts, and damage severity. This documentation helps track infestation patterns year over year and provides valuable information for treatment planning.
Keep records of weather conditions, soil moisture, and other environmental factors that might influence grub populations. This information becomes invaluable for predicting and preventing future infestations.
Maintaining Your Vigilance
Regular lawn inspection should become part of your routine maintenance schedule. Walk your property weekly during growing season, paying special attention to areas that showed previous grub activity. Early morning inspections often reveal the most information, as overnight moisture brings grubs closer to the surface. Look for new brown patches, increased animal activity, or changes in turf density that might indicate developing grub problems.
If you notice any of these signs, take immediate action to assess the extent of the infestation. You can do this by pulling back small sections of the turf in suspicious areas to check for the presence of grubs beneath the soil. Typically, finding more than five to ten grubs per square foot indicates a significant problem that requires treatment. Quick intervention can prevent further damage and help maintain the health and appearance of your lawn.
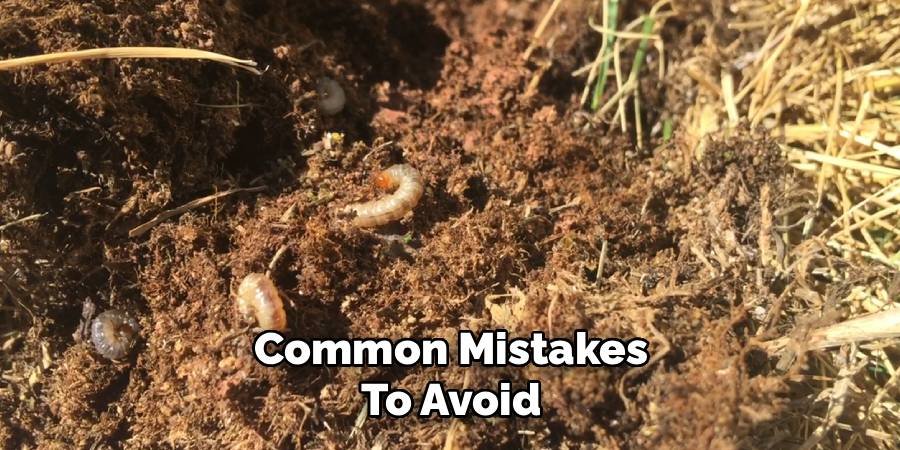
Common Mistakes to Avoid
Many homeowners mistake grub damage for drought stress, disease, or fertilizer burn. These conditions create different damage patterns and require different treatments, so accurate diagnosis is crucial. Avoid treating suspected grub areas without confirming their presence through soil inspection. Unnecessary pesticide applications harm beneficial soil organisms and waste money while failing to address the actual problem affecting your lawn.
To confirm the presence of grubs, carefully inspect your lawn by peeling back a section of turf in the affected area. Look for white, C-shaped larvae just beneath the soil surface. Finding more than 5-10 grubs per square foot typically indicates an infestation severe enough to warrant treatment. Keep in mind that timing is critical for effective grub control, as treatments are most successful when grubs are small and actively feeding near the surface. Always follow label instructions on any products used, and consider environmentally friendly options whenever possible to protect both your lawn and the ecosystem.
FAQ Frequently Asked Questions
How Deep in Soil Do Grubs Typically Live?
Grubs usually stay within the top 3-4 inches of soil where grass roots are most abundant. During winter, they may burrow deeper to avoid freezing temperatures.
What Time of Year Are Grubs Most Active?
Grubs are most active and easiest to find during late summer through early fall when they’re feeding heavily before winter dormancy period.
Can Grubs Kill Entire Sections of Lawn?
Yes, heavy grub infestations can completely destroy large lawn areas by severing all grass roots, leaving only dead turf that peels away easily.
Do Grubs Affect All Grass Types Equally?
Grubs generally prefer fine-textured grasses like Kentucky bluegrass and perennial ryegrass over coarser varieties like tall fescue or zoysia grass.
How Quickly Do Grubs Cause Visible Damage?
Depending on population density, visible grub damage typically appears 2-4 weeks after larvae begin serious root feeding in late summer or early fall.
Conclusion
Learning how to identify grubs in lawn areas empowers you to protect your landscape investment through early detection and timely intervention. By following these systematic identification steps, you can catch grub infestations before they cause extensive damage requiring complete lawn renovation.
Remember that successful grub identification requires patience and regular monitoring throughout the growing season. The signs may be subtle at first, but consistent observation helps you recognize problems while treatment options remain most effective.
Don’t let these hidden destroyers undermine months of lawn care effort. Armed with proper identification knowledge, you can maintain the healthy, vibrant lawn that enhances your property value and provides enjoyment for years to come. Your grass roots—and your wallet—will thank you for taking proactive steps to identify and address grub problems early.
About Ravuk Barg
B.Sc. Horticulture Science | Certified Master Gardener
Ravuk Barg has spent more than a decade with his hands in the soil and his head full of questions about why some gardens thrive while others struggle. What started as a single raised bed of tomatoes and basil in a modest backyard has grown into a deep, working knowledge of everything from seed germination and soil amendment to companion planting and seasonal pruning.
Over the years, Ravuk has gardened through drought summers, waterlogged springs, and pest invasions that would make most gardeners hang up their trowels for good. Those hard seasons, he’ll tell you, taught him more than any perfect growing year ever could. He writes from that earned experience—covering vegetable growing, ornamental planting, houseplant care, composting, and garden design with equal confidence and curiosity.
Philosophy & Approach
Ravuk’s approach to gardening is rooted in practicality. He favors organic methods not out of dogma, but because they work long-term—resulting in healthier soil, fewer inputs, and stronger plants. He has a particular fondness for heirloom vegetable varieties (the kind with proper flavor), unruly cottage-style flower beds, and the stubborn houseplants that everyone else gave up on.
The Mission: Give readers the honest, experience-backed advice that helps them actually succeed in their gardens—not just the ideal version, but the real one; weeds, failures, and all.
Education & Credentials
-
B.Sc. in Horticulture Science
-
Greenfield Agricultural University
-
Focus: Plant Physiology, Soil Ecology, and Sustainable Crop Production
-
-
Master Gardener Certification
-
Cooperative Extension Service
-
Focus: 200+ hours of hands-on practical training and community garden work
-
Continuing Education
-
Organic Pest Management
-
Native Plant Landscaping
-
Sustainable Crop Production