

Have you ever looked at your yard during a dry spell and seen a web of large, deep cracks spreading across the ground? This is a common sight for anyone with clay soil. While it might look alarming, these fissures are a natural result of clay’s unique properties—it swells when wet and shrinks dramatically when it dries.
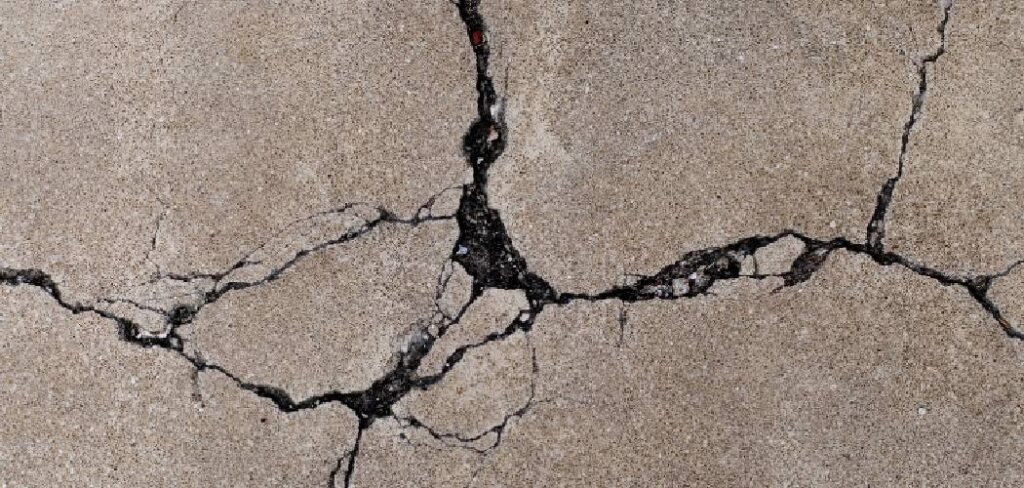
These cracks can damage plant roots, create tripping hazards, and make your garden look neglected. Fortunately, you don’t have to live with a fractured landscape. Learning how to fix large cracks in clay soil is straightforward and will significantly improve your soil’s health and appearance for years to come.
Why Fixing Cracked Clay Soil is Important
Cracked soil is more than just a cosmetic issue. Those deep fissures can cause serious problems for your garden and lawn. When the ground splits open, it exposes the sensitive root systems of your plants to hot, dry air, causing stress and stunting their growth. Water, instead of soaking in evenly, can run down these cracks, bypassing the root zone where it’s needed most. This leads to inefficient watering and can even cause erosion deep within the soil profile. Furthermore, these crevices can become homes for pests and make it difficult to mow or walk across your property safely. Addressing these cracks helps create a healthier, more resilient, and stable environment for your plants to thrive.
8 Step-by-Step Guide on How to Fix Large Cracks in Clay Soil
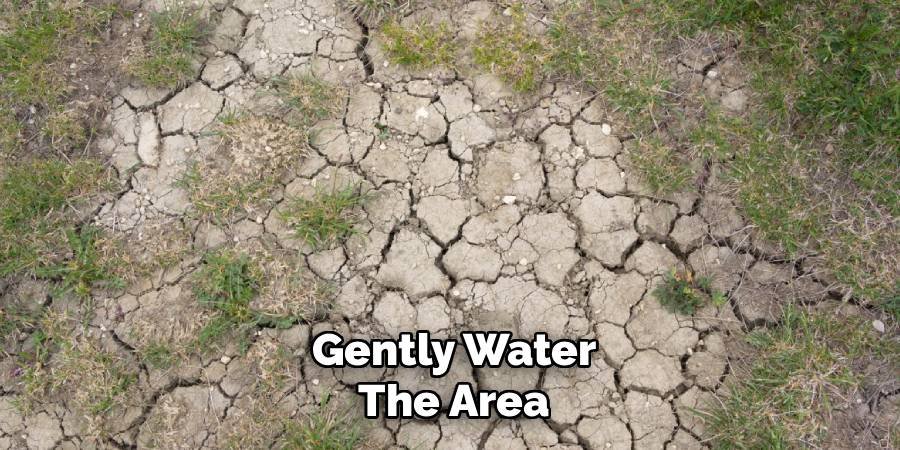
Step 1: Gently Water the Area
Before you can work with hardened, cracked clay, you need to rehydrate it. Apply water slowly and gently over the affected area. Using a soaker hose or a sprinkler on a low setting is ideal, as a strong blast of water will simply run off the surface. The goal is to allow the moisture to penetrate deep into the soil, causing the clay to swell and the cracks to begin closing on their own. This process might take several hours, so be patient and avoid creating a muddy swamp.
Step 2: Fill the Cracks with Compost
Once the soil is slightly damp and workable, it’s time to fill the visible cracks. Use a high-quality, finished compost for this step. Shovel the compost directly into the fissures, using a trowel or the back of a rake to push it down as far as possible. This does more than just fill the void; it introduces rich organic matter directly into the dense clay subsoil. This material will improve drainage, aeration, and nutrient content right where it’s needed most, encouraging root growth and soil life.
Step 3: Add Gypsum to Improve Soil Structure
Gypsum, or calcium sulfate, is a valuable soil amendment for dense clay. It works by causing the tiny clay particles to clump together, a process called flocculation. This creates larger soil aggregates, improving both drainage and aeration. After filling the cracks, spread a layer of gypsum over the entire area according to the package directions. It’s a slow-acting amendment, but it provides long-term benefits for breaking up compacted clay and making the soil easier for plant roots to penetrate.
Step 4: Layer More Organic Matter on Top
Now, you’ll want to add another layer of organic material over the entire surface, not just the cracks. Apply a one- to two-inch layer of compost, well-rotted manure, or leaf mold across the entire garden bed or lawn area. This top dressing will continue to feed the soil and its microorganisms as it breaks down. It also acts as a protective blanket, helping to insulate the soil from extreme temperature changes and reduce moisture evaporation, which is a key cause of cracking.
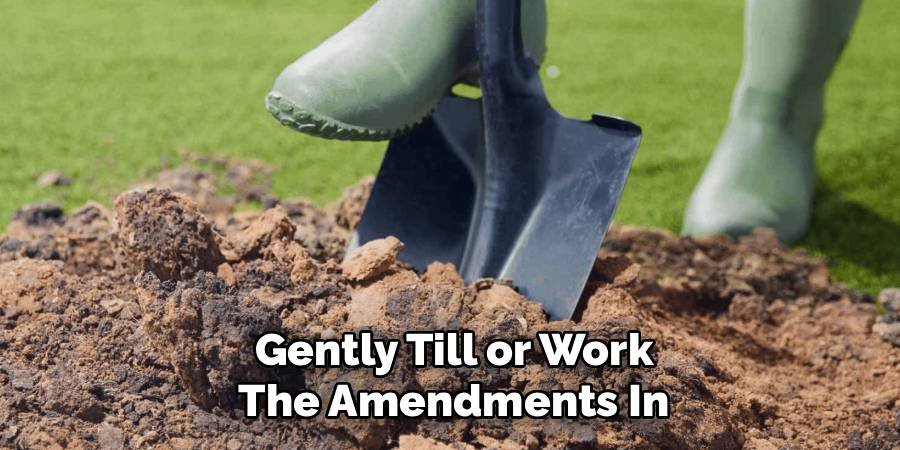
Step 5: Gently Till or Work the Amendments In
For this step in how to fix large cracks in clay soil, your goal is to mix the newly added amendments into the top few inches of the native soil. Use a garden fork or a tiller on a shallow setting to gently combine the compost, gypsum, and top layer of organic matter with the existing clay. Avoid over-tilling, as that can destroy the soil structure you are trying to build. This process ensures the amendments are well-integrated, creating a more uniform and hospitable environment for plant roots.
Step 6: Apply a Thick Layer of Mulch
Mulching is one of the most effective ways to prevent soil from drying out and cracking again. After you have worked in the amendments, apply a two- to three-inch layer of organic mulch, such as wood chips, straw, or shredded leaves. This layer will conserve soil moisture, regulate soil temperature, suppress weeds, and slowly break down to add even more organic matter over time. A good mulch blanket is your best defense against the return of large cracks in your clay soil.
Step 7: Plant a Cover Crop
If you are repairing a garden bed at the end of the growing season, consider planting a cover crop. Plants like clover, vetch, or winter rye have deep root systems that help break up compacted clay naturally.
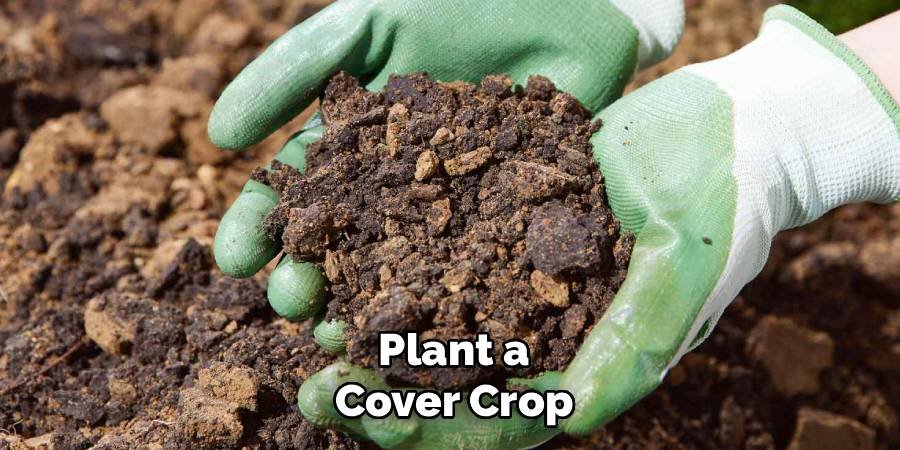
They also add nitrogen and organic matter to the soil when they are tilled in the following spring. Cover crops protect the soil surface from erosion and compaction during the winter months, ensuring your hard work pays off with beautifully structured soil ready for planting.
Step 8: Adjust Your Watering Habits
Consistent moisture is crucial for preventing clay soil from cracking. Instead of infrequent, heavy soakings, switch to a routine of deep, thorough watering that allows moisture to penetrate evenly. Let the soil dry slightly between waterings to encourage deep root growth, but don’t let it get bone-dry. Using a soaker hose or drip irrigation system is highly efficient, as it delivers water directly to the root zone with minimal evaporation, keeping the clay consistently hydrated. This is a vital part of the long-term solution.
Frequently Asked Questions (FAQ)
What Is the Best Material to Fill Large Cracks in Soil?
The best material is rich organic matter. Finished compost is the top choice because it not only fills the void but also introduces beneficial microbes and nutrients. You can also use:
- Well-rotted manure
- Leaf mold
- A mixture of sand and compost
Avoid filling cracks with sand alone, as this can create a concrete-like substance when mixed with clay. The goal is to improve the soil’s structure and water-holding capacity, which organic materials do best.
Can I Just Fill the Cracks with Topsoil?
While you can fill the cracks with topsoil as a temporary fix, it’s not the most effective long-term solution. Topsoil will fill the gap, but it doesn’t provide the same structural benefits as compost or other organic matter. Clay soil needs amendments that improve aeration and drainage. Compost actively encourages the clay particles to bind together in healthier ways, whereas topsoil can eventually become compacted just like the surrounding clay, leading to the same problem in the future.
How Often Should I Add Amendments to Clay Soil?
For best results, you should amend your clay soil annually. A yearly top dressing of one to two inches of compost or other organic matter will continuously improve the soil’s health. This regular addition feeds the soil biome, enhances water retention, and builds a rich, loamy top layer over time. In the first few years of treating severely compacted clay, you might choose to amend in both the spring and fall to accelerate the improvement process.
Will These Cracks Damage My Home’s Foundation?
While small garden cracks are unlikely to pose a threat, large, deep cracks near your home’s foundation can be a concern. The dramatic shrinking and swelling of expansive clay soil can put pressure on foundations, potentially leading to structural issues over time. If you see significant cracking within a few feet of your foundation, it is wise to focus on improving the soil and drainage in that area. Ensuring consistent moisture levels around your foundation can help minimize soil movement and protect your home.
Why Does My Lawn Have Cracks but My Neighbor’s Doesn’t?
This difference is almost always due to soil composition and care practices. Your yard likely has a higher concentration of clay than your neighbor’s. Additionally, your maintenance routine could be a factor. Things like infrequent watering, soil compaction from foot traffic, and a lack of organic matter can all contribute to cracking. Your neighbor may have a different soil type, or they may be unknowingly preventing cracks by watering more consistently or having a lawn with a deep, healthy root system.
Conclusion
Seeing your yard split open with large fissures can be disheartening, but it’s a solvable problem. By understanding that clay soil needs consistent moisture and a healthy dose of organic matter, you can begin to heal your landscape. Following the steps of watering slowly, filling cracks with compost, and amending the soil with materials like gypsum and mulch will transform your compacted ground into a thriving garden bed. This process is not a one-time fix but a long-term strategy for soil improvement. With a little effort each year, you’ll know exactly how to fix large cracks in clay soil and prevent them from ever coming back.
About Ravuk Barg
B.Sc. Horticulture Science | Certified Master Gardener
Ravuk Barg has spent more than a decade with his hands in the soil and his head full of questions about why some gardens thrive while others struggle. What started as a single raised bed of tomatoes and basil in a modest backyard has grown into a deep, working knowledge of everything from seed germination and soil amendment to companion planting and seasonal pruning.
Over the years, Ravuk has gardened through drought summers, waterlogged springs, and pest invasions that would make most gardeners hang up their trowels for good. Those hard seasons, he’ll tell you, taught him more than any perfect growing year ever could. He writes from that earned experience—covering vegetable growing, ornamental planting, houseplant care, composting, and garden design with equal confidence and curiosity.
Philosophy & Approach
Ravuk’s approach to gardening is rooted in practicality. He favors organic methods not out of dogma, but because they work long-term—resulting in healthier soil, fewer inputs, and stronger plants. He has a particular fondness for heirloom vegetable varieties (the kind with proper flavor), unruly cottage-style flower beds, and the stubborn houseplants that everyone else gave up on.
The Mission: Give readers the honest, experience-backed advice that helps them actually succeed in their gardens—not just the ideal version, but the real one; weeds, failures, and all.
Education & Credentials
-
B.Sc. in Horticulture Science
-
Greenfield Agricultural University
-
Focus: Plant Physiology, Soil Ecology, and Sustainable Crop Production
-
-
Master Gardener Certification
-
Cooperative Extension Service
-
Focus: 200+ hours of hands-on practical training and community garden work
-
Continuing Education
-
Organic Pest Management
-
Native Plant Landscaping
-
Sustainable Crop Production