

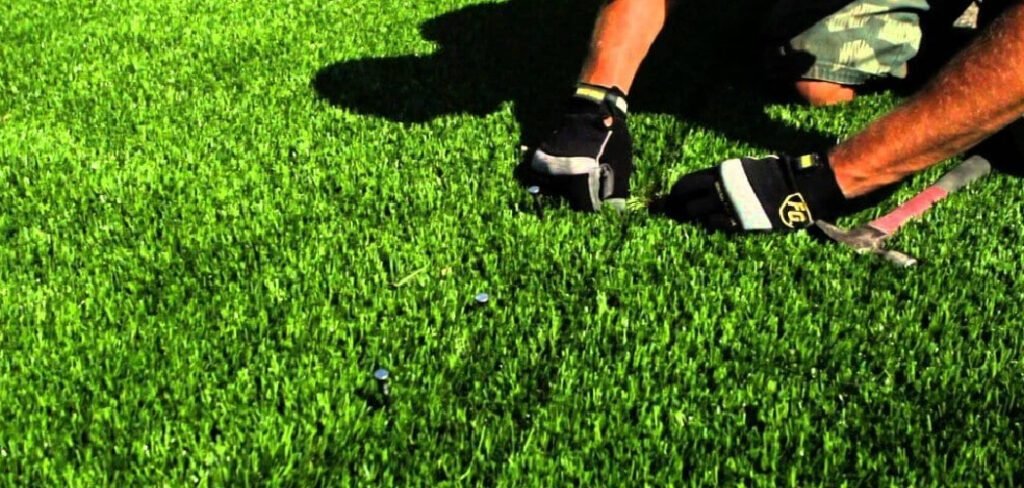
A lush, green lawn is a source of pride for any homeowner, but what happens when you discover patches of matted, flattened grass? It can be a discouraging sight, whether it’s from a parked car, a heavy garden pot, or even just heavy foot traffic. The good news is that reviving your turf is often a simple and straightforward process. This guide will walk you through the essential steps on how to fix flattened grass, helping you restore your lawn’s beautiful, upright appearance. With a little effort and the right techniques, you can bring those tired blades back to life and get your yard looking its best again.
Why Your Grass Gets Flattened
Grass blades can become matted down for a variety of reasons. One of the most common culprits is sustained pressure from heavy objects. This could be anything from a child’s inflatable pool left out all summer to a vehicle parked on the lawn for a few days. Even consistent foot traffic along the same path can compact the soil and press the grass down. Another factor is moisture. Heavy rain or overwatering can saturate the soil, making the grass blades heavy and causing them to lie flat.
In winter, a thick blanket of snow, especially wet, heavy snow, can also mat down the grass for months, a condition often called “snow mold” if fungus develops. Understanding the cause is the first step toward effective recovery.
8 Step Methods Guide on How to Fix Flattened Grass
Step 1: Clear the Affected Area
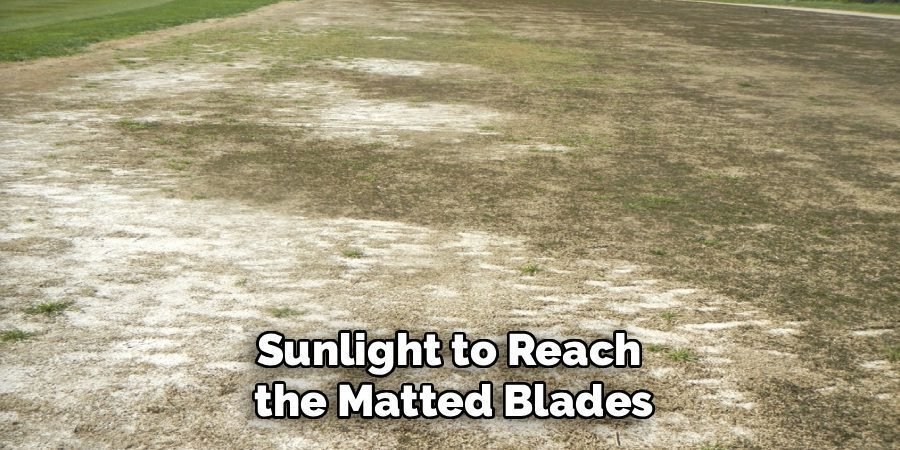
Before you can begin reviving your lawn, you must first remove any objects or debris from the flattened patch. This includes moving garden furniture, toys, planters, or any other items that have been sitting on the grass. After removing the larger objects, take a moment to clear away smaller debris like fallen leaves, twigs, or excess grass clippings. This step ensures you have a clean slate to work with and allows air and sunlight to reach the matted blades, which is crucial for their recovery.
Step 2: Gently Rake the Grass
Once the area is clear, use a flexible leaf rake or a garden rake to gently lift the matted grass blades. The key here is to be gentle. Your goal is to fluff the grass, not to pull it out by the roots. Work the rake in multiple directions, lightly teasing the blades upward. This action not only helps the grass stand upright but also improves air circulation around the base of the plants. For smaller, more delicate patches, you can even use your hands to manually lift and separate the blades.
Step 3: Assess the Soil Compaction
After raking, check the soil underneath the flattened grass. Compacted soil is a major barrier to a healthy lawn because it restricts the flow of air, water, and nutrients to the roots. To test for compaction, try pushing a screwdriver or a small garden trowel into the ground. If you meet a lot of resistance, the soil is likely compacted. Healthy, well-aerated soil should be relatively easy to penetrate. Addressing soil compaction is a critical part of ensuring the grass can recover and thrive long-term.
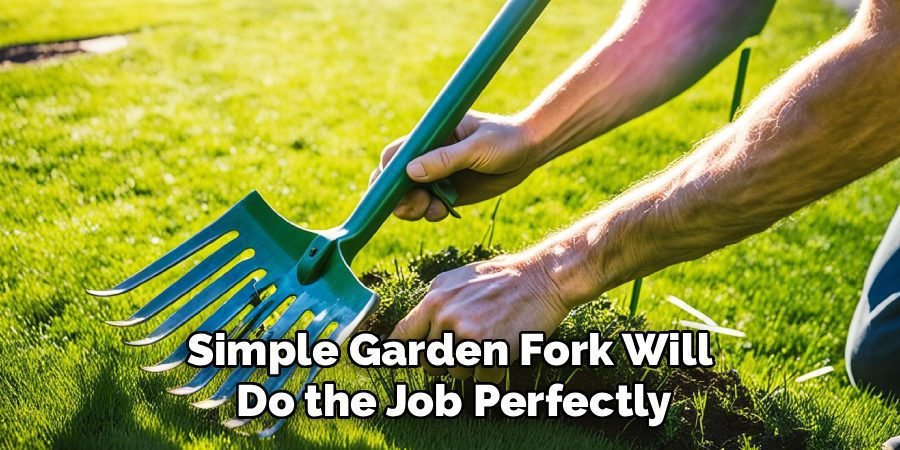
Step 4: Aerate the Compacted Soil
If you determined the soil is compacted, the next step is to aerate it. Aeration involves creating small holes in the soil to alleviate compaction. For small areas, a simple garden fork will do the job perfectly. Just press the tines into the ground a few inches deep and gently rock it back and forth. For larger areas, you might consider using manual spike aerators or even renting a core aerator machine. This process allows oxygen, water, and essential nutrients to penetrate deeper into the root zone, promoting stronger growth.
Step 5: Water the Area Lightly
After raking and aerating, give the affected patch a light watering. Avoid soaking the area, as overwatering can cause the grass blades to become heavy and lie down again. A gentle misting from a hose sprayer is ideal. The water will help hydrate the grass blades, making them more resilient and encouraging them to stand upright. It also helps settle the soil around the roots after aeration. Water in the morning if possible, allowing the grass to dry throughout the day, which helps prevent fungal diseases.
Step 6: Apply a Light Fertilizer
To give your recovering grass a boost, consider applying a light dose of a balanced lawn fertilizer. A nitrogen-rich formula is particularly effective for promoting leafy, green growth. Be careful not to over-fertilize, as this can burn the grass and do more harm than good. Follow the application instructions on the product label carefully, ensuring you only use the recommended amount for the size of your patch. This extra nutrition will provide the energy your lawn needs to repair itself and grow strong.
Step 7: How to Fix Flattened Grass by Overseeding (If Necessary)
In some cases, the grass may be too damaged or may have died off completely, leaving bare spots. If the grass doesn’t show signs of recovery after a week or two, you may need to overseed the patch. Choose a grass seed that matches your existing lawn type. Loosen the top inch of soil with a rake, spread the seed evenly according to the package directions, and gently rake it into the soil. This will introduce new growth and help fill in any sparse areas for a uniform look.

Step 8: Protect the Area from Traffic
Finally, one of the most important steps is to protect the recovering area. Keep foot traffic, pets, and heavy objects off the patch until the grass has fully bounced back. You can use garden stakes and string or small decorative fences to temporarily block off the section. This gives the grass blades the undisturbed time they need to strengthen and re-establish their upright position. Patience is key; it may take a few weeks for the lawn to look completely normal again.
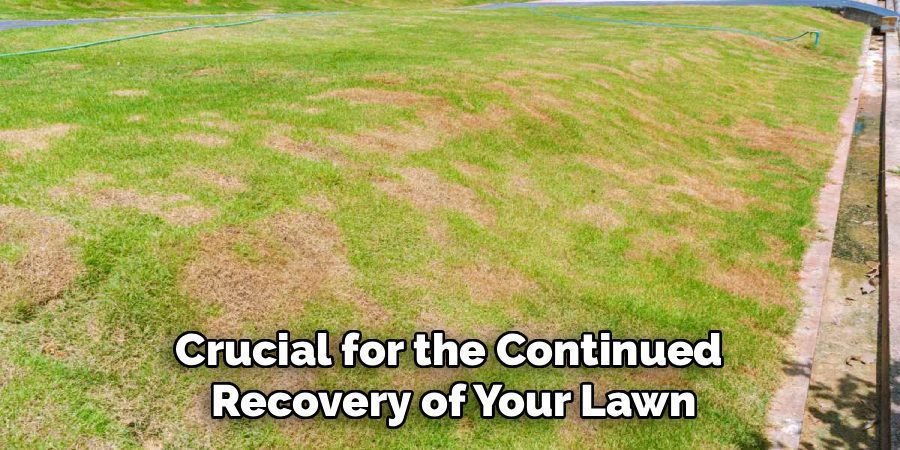
Water and Monitor Regularly
Proper watering and monitoring are crucial for the continued recovery of your lawn. Ensure the area receives consistent moisture, but avoid overwatering, as this can lead to waterlogging and hinder grass growth. Check the soil regularly to ensure it’s damp but not saturated. Additionally, keep an eye out for any signs of disease, pests, or weeds that may interfere with the recovery process. Address any issues promptly to ensure the grass grows back healthy and strong. Regular care ensures long-term success for your lawn restoration efforts.
Frequently Asked Questions (FAQ)
How Long Does It Take for Flattened Grass to Recover?
The recovery time for flattened grass depends on several factors, including the health of the grass, the severity of the compaction, and the time of year. For minor cases where the grass was only flattened for a short period, you might see improvement in just a few days after raking and watering. However, if the soil was severely compacted or the grass was damaged, it could take two to four weeks for a full recovery, especially if you had to aerate and overseed the area.
Can Grass Die from Being Flattened?
Yes, grass can die if it remains flattened for an extended period. When grass is matted down, it’s deprived of sunlight and air circulation, which are essential for photosynthesis and respiration. This can weaken the plant and make it susceptible to fungal diseases like snow mold. If a heavy object is left on the lawn for weeks or months, the grass beneath it will likely die off, leaving a bare patch that will need to be reseeded.
What Is the Best Tool to Fix Flattened Grass?
For most situations, a flexible leaf rake is the best tool for the job. Its tines are gentle enough to lift the matted grass without tearing it out from the roots. If you’re dealing with compacted soil, a garden fork or a manual spike aerator will be necessary to loosen the ground. For very small, delicate patches, simply using your fingers to fluff the grass can be the most effective and least damaging method.
Does Cutting Flattened Grass Help It Recover?
You should wait to mow the area until the grass has started to recover and stand upright again. Mowing flattened grass can be ineffective, as the mower blades may pass right over the matted blades without cutting them. It can also cause further stress to the already weakened turf. Once the grass has perked up, resume your normal mowing schedule, but make sure your mower blade is sharp to ensure a clean cut that promotes healthy growth.
How Can I Prevent My Grass from Getting Flattened in the Future?
Prevention is always better than cure. To avoid flattened grass, try to redirect foot traffic by creating dedicated pathways with stones or mulch. Avoid parking vehicles or placing heavy objects like pools or furniture on the lawn for long periods. If you must place something on the grass, move it every couple of days to give the turf a chance to breathe and recover. Regular lawn maintenance, including aeration and proper watering, will also build a more resilient turf.
Conclusion
Reviving a patch of matted grass is a manageable task that can make a big difference in the overall look of your lawn. By following these steps—clearing the area, gently raking the blades, aerating compacted soil, and providing proper care—you can effectively nurse your turf back to health. Remember that patience is an important part of the process, as it takes time for the grass to regain its strength and stand tall again. Now that you know how to fix flattened grass, you have the skills to tackle this common lawn problem and maintain a beautiful, resilient yard.
About Ravuk Barg
B.Sc. Horticulture Science | Certified Master Gardener
Ravuk Barg has spent more than a decade with his hands in the soil and his head full of questions about why some gardens thrive while others struggle. What started as a single raised bed of tomatoes and basil in a modest backyard has grown into a deep, working knowledge of everything from seed germination and soil amendment to companion planting and seasonal pruning.
Over the years, Ravuk has gardened through drought summers, waterlogged springs, and pest invasions that would make most gardeners hang up their trowels for good. Those hard seasons, he’ll tell you, taught him more than any perfect growing year ever could. He writes from that earned experience—covering vegetable growing, ornamental planting, houseplant care, composting, and garden design with equal confidence and curiosity.
Philosophy & Approach
Ravuk’s approach to gardening is rooted in practicality. He favors organic methods not out of dogma, but because they work long-term—resulting in healthier soil, fewer inputs, and stronger plants. He has a particular fondness for heirloom vegetable varieties (the kind with proper flavor), unruly cottage-style flower beds, and the stubborn houseplants that everyone else gave up on.
The Mission: Give readers the honest, experience-backed advice that helps them actually succeed in their gardens—not just the ideal version, but the real one; weeds, failures, and all.
Education & Credentials
-
B.Sc. in Horticulture Science
-
Greenfield Agricultural University
-
Focus: Plant Physiology, Soil Ecology, and Sustainable Crop Production
-
-
Master Gardener Certification
-
Cooperative Extension Service
-
Focus: 200+ hours of hands-on practical training and community garden work
-
Continuing Education
-
Organic Pest Management
-
Native Plant Landscaping
-
Sustainable Crop Production