

Are you looking for a natural way to make your gardenias bloom beautifully? Learning how to fertilize gardenias with coffee grounds can be the perfect solution for your garden. Coffee grounds are not just kitchen waste – they can become a powerful organic fertilizer that helps your gardenias grow strong and healthy.
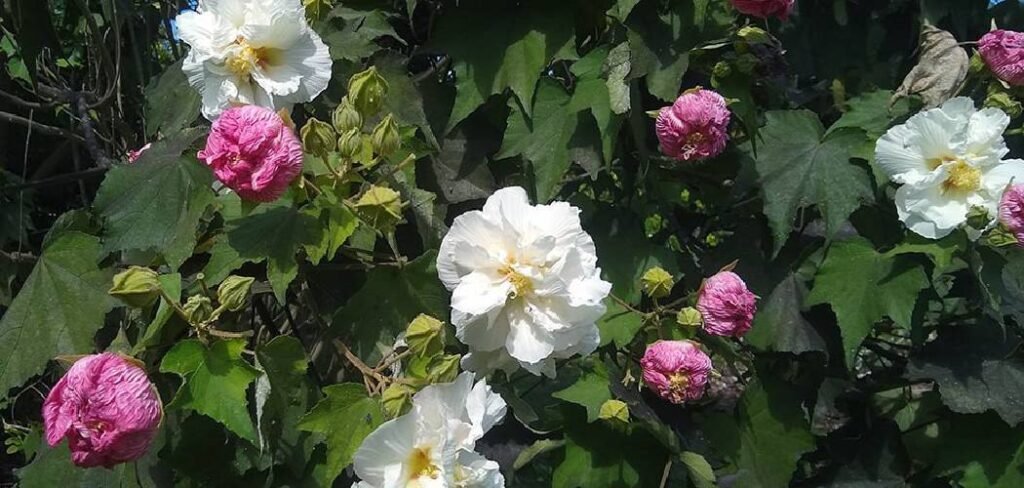
Gardenias are beautiful flowering plants that require special care to grow. These elegant white flowers prefer acidic soil, and coffee grounds can help create the perfect growing environment. Many gardeners have discovered that using coffee grounds as fertilizer is both environmentally friendly and effective.
Why Coffee Grounds Work Well for Gardenias
Coffee grounds contain important nutrients that gardenias need. They contain nitrogen, which helps plants grow green leaves. They also contain small amounts of phosphorus and potassium. Most importantly, coffee grounds are acidic, and gardenias prefer acidic soil. When you use coffee grounds to fertilize gardenias, you are giving your plants a slow-release fertilizer. This means that the nutrients are released slowly over time, feeding your plants week after week. This is much better than chemical fertilizers, which can burn your plants if you use too much.
10 Step-by-Step Guide on How to Fertilize Gardenias with Coffee Grounds
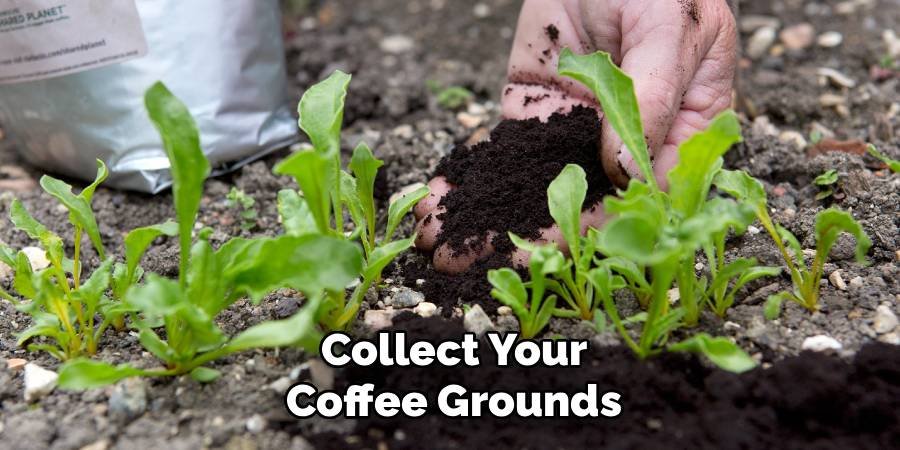
Step 1: Collect Your Coffee Grounds
Start by saving the coffee grounds you use to make your daily coffee. You can collect the grounds from a drip coffee maker, French press, or espresso machine. Make sure the grounds are completely cool before collecting them. Store them in a container until you have enough for your garden.
Step 2: Let Coffee Grounds Dry Out
Fresh coffee grounds can grow mold if left wet for too long. Spread your collected grounds out on a newspaper or tray and let them dry in the sun for a day or two. Dry grounds are easier to work with and won’t attract insects to your garden.
Step 3: Test Your Soil pH Level
Before you start using coffee grounds, check to see if your soil needs to be more acidic. Gardenias grow best when the soil pH is between 5.0 and 6.0. You can buy a simple pH test kit from any garden store. If your soil is already too acidic, you may need to use less coffee grounds.
Step 4: Mix Coffee Grounds with Compost
Don’t just use coffee grounds as fertilizer. Mix them with compost, leaf mold, or other organic matter. Use one part coffee grounds to three parts compost. This mixture will provide your gardenia with a balanced diet of nutrients and improve soil structure.
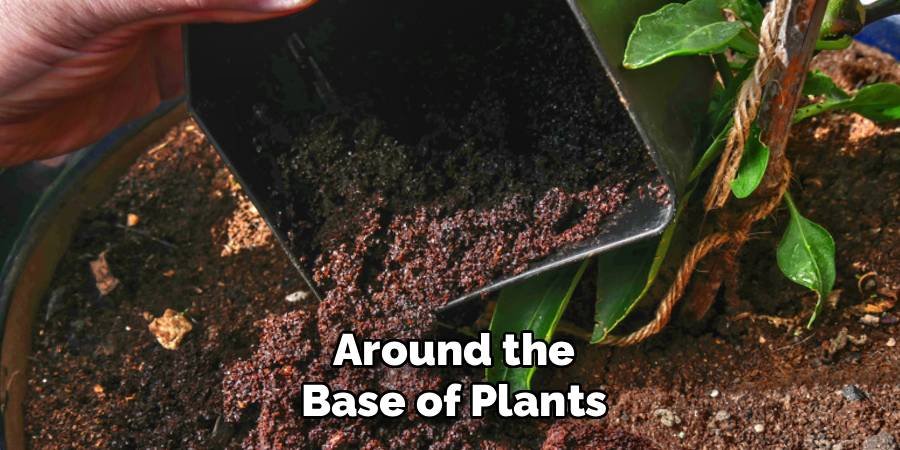
Step 5: Apply Around the Base of Plants
Sprinkle the coffee grounds mixture around the base of your gardenia plant. Keep the mixture about 2-3 inches away from the main stem to avoid problems. Create a circle of fertilizer that will go down to the ends of the branches. This is called a drip line.
Step 6: Work Into the Top Soil
Using a small garden fork or your hands, gently pour the coffee ground mixture into the top 2-3 inches of soil. Don’t dig too deep because gardenia roots are shallow and you don’t want to damage them. Just mix it lightly into the surface of the soil.
Step 7: Water the Area Well
After applying coffee grounds fertilizer, water the soil thoroughly. This will help the nutrients penetrate the soil where the roots can use them. Water slowly and deeply so that the water is absorbed into the soil instead of running off.
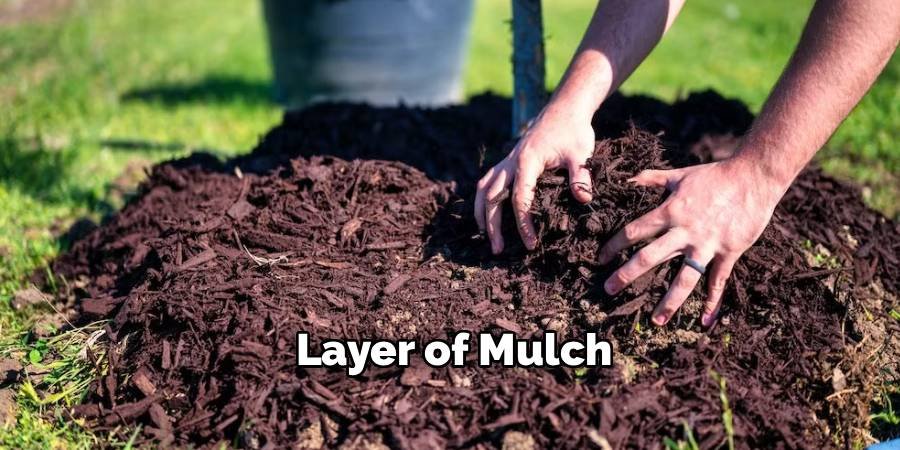
Step 8: Add a Layer of Mulch
Apply a thin layer of mulch over the area where you applied the fertilizer. This can be bark chips, leaves, or straw. Mulch helps retain moisture in the soil and prevents weed growth. It also makes your garden look nice and tidy.
Step 9: Monitor Plant Response
Keep an eye on your gardenia plants over the next few weeks to see how they respond to the coffee grounds fertilizer. Watch for new green growth and check to see if the leaves are turning greener. Healthy gardenia plants should start to show improvement within 2-4 weeks.
Step 10: Repeat Every 6-8 Weeks
Plan to fertilize your gardenia plants with coffee grounds every 6-8 weeks during the growing season. This is usually from spring to early fall. Do not fertilize during the winter when the plants are dormant. Keep track of when to fertilize so you don’t over-fertilize.
Benefits of Using Coffee Grounds for Gardenia Care
There are many benefits to using coffee grounds to fertilize gardenia plants. First, it is completely natural and organic. You are recycling waste that would otherwise be thrown in the trash. This is great for the environment and saves you money on expensive fertilizers.
Coffee grounds improve soil structure by adding organic matter. This helps the soil retain water better and provides good drainage. Gardenia plants need soil that drains well but does not dry out completely.
The slow-release nature of coffee grounds fertilizer means you won’t accidentally burn your plants. Using too much chemical fertilizer can damage the roots, but coffee grounds release nutrients slowly and safely.
Common Mistakes to Avoid
Many people make the mistake of using coffee grounds when first learning to fertilize gardenias. The biggest mistake is to use too much at once. It is never a good idea to overdo it with fertilizer. Use coffee grounds sparingly and always mix them with other organic matter.
Another common mistake is to use fresh, wet coffee grounds. Always let them dry first. Wet grounds can become slimy and attract slugs to your garden or cause fungal problems.
Do not place coffee grounds directly in front of the trunk of your plant. This can cause rotting problems and attract pests. Always leave some space between the fertilizer and the main trunk of your plant.
Additional Tips for Healthy Gardenias
In addition to learning how to fertilize gardenias with coffee grounds, there are other things you can do to keep your plants healthy. Make sure they get the right amount of water. Gardenias prefer soil that is moist but not soggy.
Plant your gardenias in a spot that gets morning sun but afternoon shade. Too much sun can stress the plants and cause the leaves to turn yellow.
Watch out for common pests like scale insects and whiteflies. Healthy, well-fertilized plants are better able to fight off pest problems.
Frequently Asked Questions (FAQs)
Q: How often should I fertilize gardenias with coffee grounds?
Answer: Fertilize your gardenia plants with coffee grounds every 6-8 weeks during the growing season (spring to early fall). Do not fertilize in the winter when the plants are dormant.
Q: Can I use coffee grounds from any type of coffee?
A: Yes, you can use any type of coffee grounds – regular, decaf, espresso, or flavored coffee. Make sure the grounds are completely cool and dry before using.
Q: Will coffee grounds make my soil too acidic?
Answer: Coffee grounds are mildly acidic, which gardenias love. However, if you use too much or your soil is already too acidic, it can be a problem. Check your soil pH regularly and adjust accordingly.
Q: Do I need to compost coffee grounds before using them?
Answer: You can use coffee grounds fresh (after drying), but it is better to mix them with compost first. This creates a more balanced fertilizer and prevents potential problems.
Q: What if I don’t drink coffee at home?
Answer: You can ask local coffee shops if they save used grounds for gardeners. Many coffee shops are happy to donate their used grounds as it helps them with waste disposal.
Conclusion
Learning how to fertilize gardenias with coffee grounds is a simple and effective way to keep your plants healthy and blooming. This natural fertilizer method helps create the acidic soil conditions that gardenias prefer and provides the nutrients they need to grow. By following the 10-step process outlined in this guide, you can successfully use coffee grounds to fertilize your gardenia plants and enjoy beautiful, fragrant blooms.
Always remember to dry your coffee grounds first, mix them with compost, and apply them regularly but not too much. Keep an eye on your plants for signs of improvement and adjust your fertilizer schedule as needed. With patience and consistency, your gardenia plants will reward you with stunning white flowers and glossy green leaves.
Using coffee grounds as fertilizer is a great way to recycle kitchen waste and reduce your environmental impact. This organic gardening method is safe for your family, pets, and the environment, while also being much less expensive than commercial fertilizers. Start your collection coffee grounds today and give your gardenias the natural nutrition they need to thrive in your garden.
About Ravuk Barg
B.Sc. Horticulture Science | Certified Master Gardener
Ravuk Barg has spent more than a decade with his hands in the soil and his head full of questions about why some gardens thrive while others struggle. What started as a single raised bed of tomatoes and basil in a modest backyard has grown into a deep, working knowledge of everything from seed germination and soil amendment to companion planting and seasonal pruning.
Over the years, Ravuk has gardened through drought summers, waterlogged springs, and pest invasions that would make most gardeners hang up their trowels for good. Those hard seasons, he’ll tell you, taught him more than any perfect growing year ever could. He writes from that earned experience—covering vegetable growing, ornamental planting, houseplant care, composting, and garden design with equal confidence and curiosity.
Philosophy & Approach
Ravuk’s approach to gardening is rooted in practicality. He favors organic methods not out of dogma, but because they work long-term—resulting in healthier soil, fewer inputs, and stronger plants. He has a particular fondness for heirloom vegetable varieties (the kind with proper flavor), unruly cottage-style flower beds, and the stubborn houseplants that everyone else gave up on.
The Mission: Give readers the honest, experience-backed advice that helps them actually succeed in their gardens—not just the ideal version, but the real one; weeds, failures, and all.
Education & Credentials
-
B.Sc. in Horticulture Science
-
Greenfield Agricultural University
-
Focus: Plant Physiology, Soil Ecology, and Sustainable Crop Production
-
-
Master Gardener Certification
-
Cooperative Extension Service
-
Focus: 200+ hours of hands-on practical training and community garden work
-
Continuing Education
-
Organic Pest Management
-
Native Plant Landscaping
-
Sustainable Crop Production