

Raising chickens in your backyard is a rewarding experience that provides fresh eggs and a connection to your food source. But with chickens comes chicken manure, a resource that many gardeners overlook. Instead of treating it as waste, you can transform it into a powerful soil amendment for your garden. This guide will walk you through the process of how to compost chicken waste, turning a potential problem into a valuable asset.
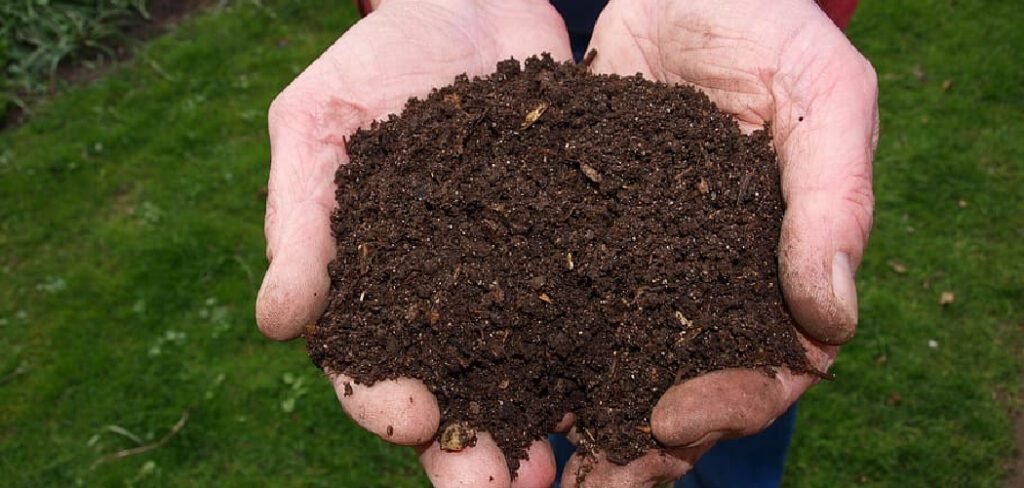
We will cover everything from setting up your compost pile to knowing when your “black gold” is ready to use. This process is simple, effective, and a cornerstone of creating a sustainable, closed-loop system in your own backyard.
Why Composting Chicken Waste is Beneficial
For home gardeners, composting chicken manure is a game-changer. Fresh chicken manure is extremely high in nitrogen, so much so that it can “burn” or kill your plants if applied directly to the garden. The composting process balances this nitrogen with carbon-rich materials, neutralizing the risk and creating a perfectly balanced fertilizer. This finished compost, often called “black gold,” is teeming with beneficial microbes that improve soil structure, increase water retention, and enhance nutrient availability. By composting, you’re not just disposing of waste; you’re creating a superior, all-natural fertilizer for free, reducing your reliance on chemical alternatives and enriching your garden soil for healthier, more productive plants.
7 Step-by-Step Guide on How to Compost Chicken Waste
Step 1: Choose a Suitable Location for Your Compost Pile
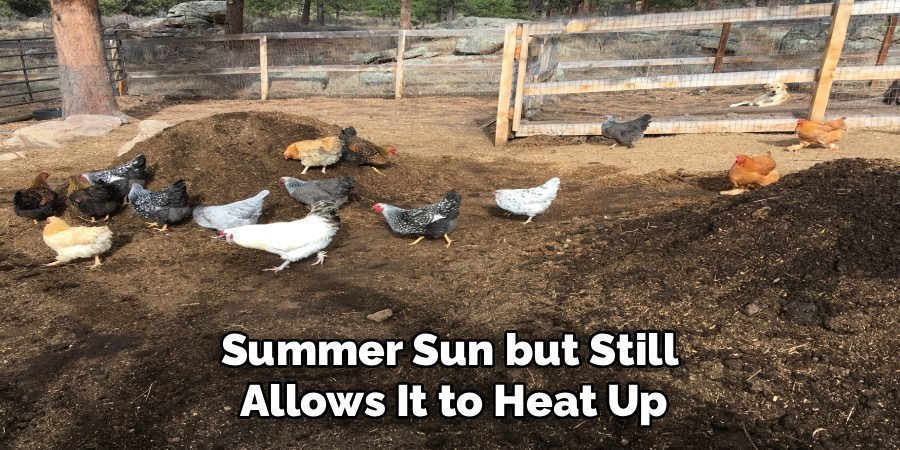
The first step is to select the right spot for your compost pile or bin. Your compost setup should be in a location that is convenient but not too close to your house. A partially shaded area is ideal, as it prevents the pile from drying out too quickly in the summer sun but still allows it to heat up. Ensure the location has good drainage to prevent the bottom of the pile from becoming a soggy, anaerobic mess. Also, consider your neighbors and place the pile where it won’t be an eyesore or a nuisance. Having easy access with a wheelbarrow will make transporting materials much easier.
Step 2: Gather Your Carbon-Rich “Brown” Materials
Balancing your compost pile is crucial, and the key is having a good supply of carbon-rich materials, often called “browns.” These materials offset the high nitrogen content of the chicken manure. Excellent brown materials include dried leaves, straw, sawdust, wood chips, shredded cardboard, and newspaper. It’s a great idea to stockpile these materials so you always have them on hand when you clean out your chicken coop. Aim for a large pile, as you will need roughly two to three times more brown material by volume than the “green” material from your coop.
Step 3: Collect Nitrogen-Rich “Green” Materials from the Coop
Your “green” material is the nitrogen-rich component of your compost, which consists of the chicken manure and used bedding. When you clean out your coop, you’ll be collecting both. Bedding materials like pine shavings or straw will already have absorbed urine and manure, making them a perfect addition to the pile. This mixture is considered a compost “activator” because its high nitrogen content is what fuels the microorganisms that heat up the pile and break everything down. Gather these materials in a wheelbarrow or bucket for easy transport to your compost area.
Step 4: Layer the Materials in Your Compost Pile
Now it’s time to build your pile. Start with a thick layer of bulky brown materials at the bottom, about 6-8 inches deep. This helps with aeration and drainage. Next, add a thinner layer of your green material—the chicken manure and bedding—about 3-4 inches deep. Lightly moisten this layer with a hose, aiming for the consistency of a damp sponge, not soaking wet. Repeat this layering process—browns, then greens, then water—until you have a pile that is at least 3 feet by 3 feet by 3 feet. This size is essential for generating enough heat to kill pathogens.
Step 5: How to Compost Chicken Waste by Managing Moisture
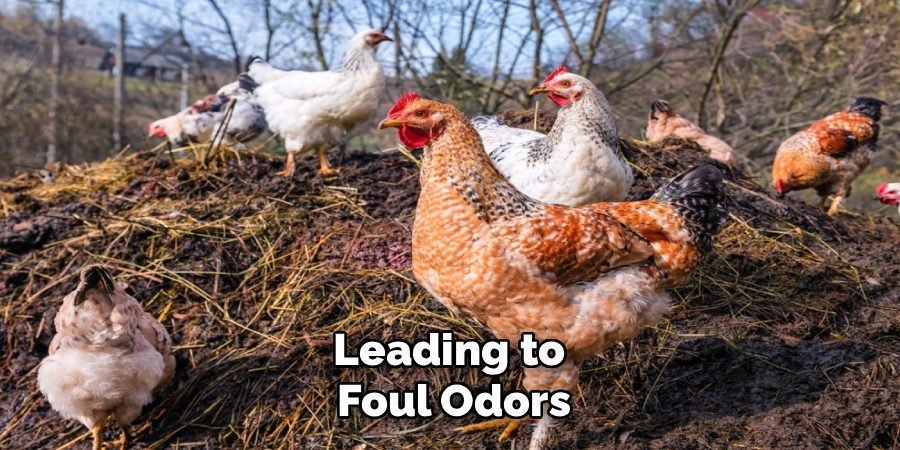
Proper moisture levels are critical for effective composting. Your pile should feel like a wrung-out sponge. If it’s too dry, the decomposition process will slow down or stop completely. If it’s too wet, the pile can become dense and anaerobic, leading to foul odors. Check the moisture level weekly by grabbing a handful of compost and squeezing it. If only a drop or two of water comes out, it’s perfect. If no water comes out, you need to add more water. If a stream of water comes out, you need to add more dry, brown materials to absorb the excess.
Step 6: Aerate the Pile by Turning It Regularly
Aeration provides the oxygen that beneficial aerobic bacteria need to thrive and decompose the materials efficiently. Without enough oxygen, the pile will turn anaerobic and start to smell bad. You should turn your compost pile every one to two weeks using a pitchfork or compost aerator. This process involves moving the material from the outside of the pile to the center and vice versa. Turning the pile also helps to mix the ingredients, distribute moisture, and regulate the temperature, ensuring all parts of the pile break down evenly.
Step 7: Monitor the Compost Temperature
A hot compost pile is a healthy compost pile. The ideal temperature for composting is between 130°F and 160°F. This heat is generated by the metabolic activity of microorganisms as they break down the organic matter. This temperature range is hot enough to kill weed seeds, pathogens, and fly larvae that may be present in the chicken manure. You can monitor the temperature with a long-stemmed compost thermometer. The pile will heat up a few days after being built or turned and will then cool down. Turning the pile will help it heat back up again.
Know When Your Compost is Ready to Use
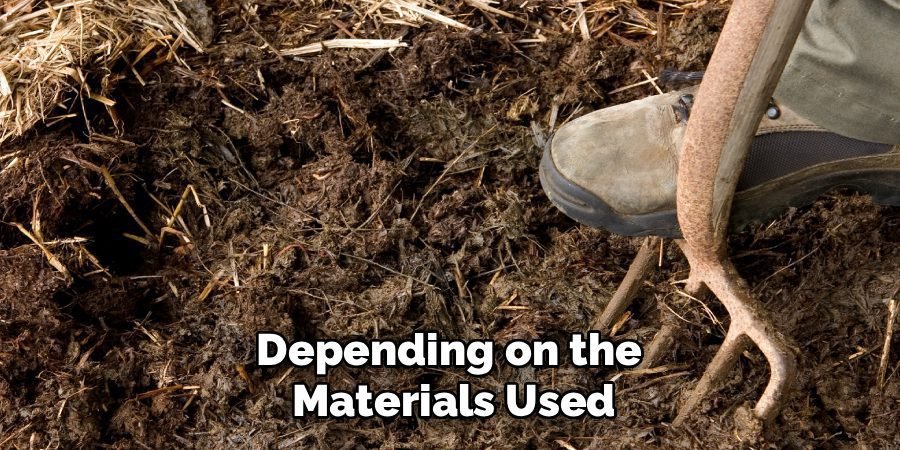
Your compost is finished when it is dark, crumbly, and has a rich, earthy smell. You should no longer be able to identify the original materials you added. The process can take anywhere from two months to a year, depending on the materials used, the size of the pile, and how often you turn it. Once the pile no longer heats up after turning and has cooled to ambient temperature, the composting process is complete. You can then sift the compost to remove any large, unfinished pieces before adding it to your garden beds.
Frequently Asked Questions (FAQ)
Can I Put Kitchen Scraps in My Chicken Manure Compost?
Yes, you can absolutely add kitchen scraps to your compost pile. Vegetable and fruit peels, coffee grounds, and eggshells are excellent nitrogen-rich “green” materials that will complement the chicken manure. However, you should avoid adding meat, dairy, oily foods, or bones, as these can attract pests and create foul odors. Adding a variety of materials makes for a more nutrient-rich finished compost.
How Long Does It Take to Compost Chicken Manure?
The time it takes for chicken manure compost to be ready depends on your method. A “hot” pile that is actively managed—kept moist and turned regularly—can be ready in as little as two to three months. A “cold” or passive pile that is left largely untended may take six months to a year to fully decompose. The key factors are the carbon-to-nitrogen ratio, moisture level, aeration, and the size of the pile.
Is Composted Chicken Manure Safe for Vegetable Gardens?
Yes, properly composted chicken manure is completely safe and highly beneficial for vegetable gardens. The composting process, especially the high temperatures reached in a hot pile, effectively kills harmful pathogens like E. coli and Salmonella that can be present in raw manure. Once fully broken down, it becomes a stable, nutrient-rich amendment that won’t burn your plants and will help them thrive.
What if My Compost Pile Starts to Smell Bad?
A foul odor, especially one that smells like ammonia or rotten eggs, is a sign that your compost pile is anaerobic, meaning it lacks oxygen. This is usually caused by too much nitrogen-rich material (greens) or excessive moisture. To fix this, turn the pile thoroughly to introduce oxygen and add a generous amount of dry, carbon-rich materials like dried leaves, straw, or shredded cardboard to absorb moisture and balance the carbon-to-nitrogen ratio.
Do I Need a Compost Bin or Can I Use an Open Pile?
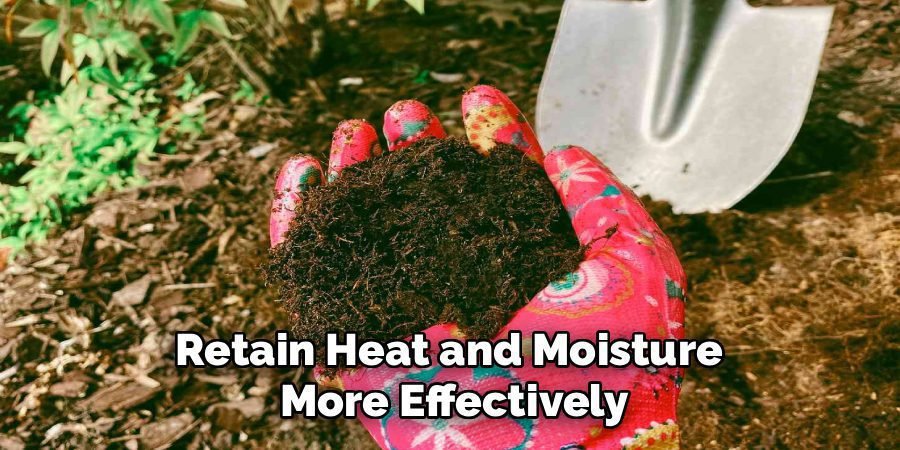
You do not need a bin to compost; an open pile works just as well. Bins can help keep the materials tidy, retain heat and moisture more effectively, and may deter some pests. However, a simple pile is perfectly functional, especially if you have ample space. The most important factor for success is maintaining a pile that is at least 3x3x3 feet to ensure it can generate and hold enough heat for proper decomposition.
Conclusion
Composting is an invaluable skill for any gardener, and learning how to compost chicken waste is a powerful way to create a sustainable cycle in your own backyard. By following these steps—gathering your materials, building your pile correctly, and managing moisture and aeration—you can transform coop clean-out day into an opportunity to create nutrient-dense “black gold” for your garden. This process not only eliminates waste but also enriches your soil, leading to healthier plants and a more abundant harvest. Embrace this simple practice and watch your garden flourish.

About Ravuk Barg
B.Sc. Horticulture Science | Certified Master Gardener
Ravuk Barg has spent more than a decade with his hands in the soil and his head full of questions about why some gardens thrive while others struggle. What started as a single raised bed of tomatoes and basil in a modest backyard has grown into a deep, working knowledge of everything from seed germination and soil amendment to companion planting and seasonal pruning.
Over the years, Ravuk has gardened through drought summers, waterlogged springs, and pest invasions that would make most gardeners hang up their trowels for good. Those hard seasons, he’ll tell you, taught him more than any perfect growing year ever could. He writes from that earned experience—covering vegetable growing, ornamental planting, houseplant care, composting, and garden design with equal confidence and curiosity.
Philosophy & Approach
Ravuk’s approach to gardening is rooted in practicality. He favors organic methods not out of dogma, but because they work long-term—resulting in healthier soil, fewer inputs, and stronger plants. He has a particular fondness for heirloom vegetable varieties (the kind with proper flavor), unruly cottage-style flower beds, and the stubborn houseplants that everyone else gave up on.
The Mission: Give readers the honest, experience-backed advice that helps them actually succeed in their gardens—not just the ideal version, but the real one; weeds, failures, and all.
Education & Credentials
-
B.Sc. in Horticulture Science
-
Greenfield Agricultural University
-
Focus: Plant Physiology, Soil Ecology, and Sustainable Crop Production
-
-
Master Gardener Certification
-
Cooperative Extension Service
-
Focus: 200+ hours of hands-on practical training and community garden work
-
Continuing Education
-
Organic Pest Management
-
Native Plant Landscaping
-
Sustainable Crop Production