

Heavy clay soil can feel like a gardener’s worst enemy. It’s dense, drains poorly, and can bake solid in the summer sun, making it difficult for plant roots to thrive. Many gardeners immediately think of back-breaking labor with a rototiller to solve the problem. But what if there was a better, more natural way? This guide will show you exactly how to break up clay soil without tilling, using methods that improve soil structure, boost fertility, and build a healthier garden ecosystem from the ground up. This no-dig approach saves your back and works with nature to create the light, loamy soil your plants will love.

Why Avoid Tilling Clay Soil?
Tilling might seem like a quick fix for compacted clay, but it often does more harm than good. When you till, you destroy the delicate soil structure that organisms like earthworms and beneficial microbes have built. Tilling pulverizes soil aggregates, which can lead to even worse compaction once the soil settles and dries. It also brings dormant weed seeds to the surface, creating more work for you later. By choosing no-till methods, you are working to build a resilient, living soil web. This approach promotes better water absorption, reduces erosion, and creates a sustainable, low-maintenance garden foundation for years to come.
8 Step Methods Guide on How to Break Up Clay Soil Without Tilling
This no-dig method focuses on adding organic matter from the top down, letting nature do the heavy lifting for you. It’s a process of patience and layering that yields incredible results.
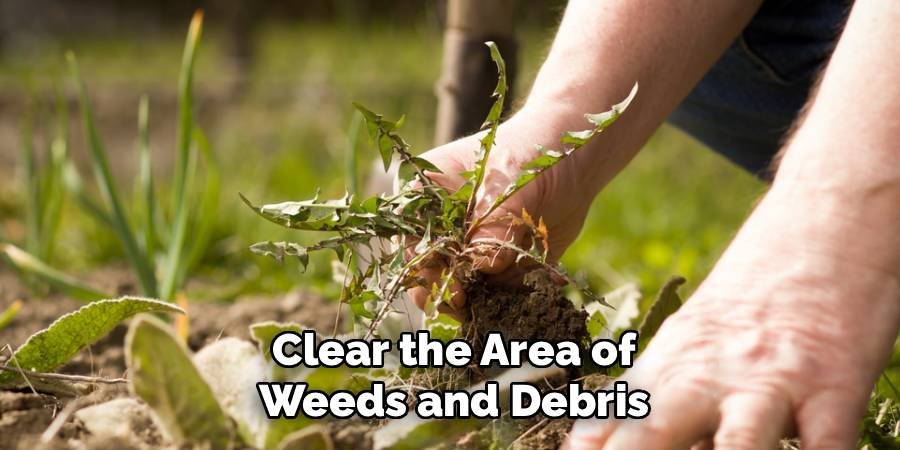
Step 1: Clear the Area of Weeds and Debris
Before you can begin amending your soil, you must prepare the garden bed. Start by removing any existing weeds, large rocks, or other debris from the surface. For stubborn perennial weeds, you may need to dig them out by hand, ensuring you get the entire root system. If the area is covered in grass, you can use a sod cutter or simply smother it in the next step. A clean surface ensures that the organic materials you add will be in direct contact with the soil, encouraging decomposition and preventing unwanted plants from competing with your future garden.
Step 2: Aerate the Soil with a Broadfork
While we are avoiding tilling, some initial aeration can kickstart the process, especially in severely compacted clay. A broadfork is the perfect tool for this job. Unlike a tiller, which pulverizes the soil, a broadfork gently creates deep channels for air and water without inverting the soil layers. Simply press the tines of the broadfork into the ground with your body weight, then rock it back and forth to loosen the subsoil. Work your way backward across the entire bed. This single act creates pathways for roots and soil organisms to penetrate deeper into the clay.
Step 3: Layer Cardboard or Newspaper
This step, known as sheet mulching, is essential for smothering weeds and grass while adding a valuable carbon source. Lay down a layer of plain brown cardboard or several sheets of newspaper directly on top of the cleared and aerated soil. Be sure to overlap the edges by several inches to prevent any sunlight from getting through, which will stop weeds from growing. This layer will slowly break down over several months, attracting earthworms that will begin tunneling through the clay, improving its structure and fertility as they work.

Step 4: Add a Thick Layer of Compost
Compost is the single most important amendment for improving clay soil. It adds vital nutrients, improves soil structure, and introduces a diverse population of beneficial microorganisms. After laying down your cardboard, apply a generous layer of finished compost, at least 4 to 6 inches deep, across the entire surface of the bed. This rich organic material will provide food for soil life and act as a planting medium. As the compost and cardboard decompose, they will mix with the underlying clay, gradually transforming it into a more friable, loamy texture.
Step 5: Incorporate Other Organic Amendments
To further enhance your soil, you can mix other organic materials into your compost layer. Good options for breaking up heavy clay include coarse sand (not fine sand, which can make compaction worse), leaf mold, aged wood chips, and well-rotted manure. These materials improve drainage and aeration while adding different nutrients and textures. Spread a 1- to 2-inch layer of these amendments on top of the compost and gently rake them in. This diverse mix of organic matter is key to creating a complex and healthy soil ecosystem that effectively breaks down clay.
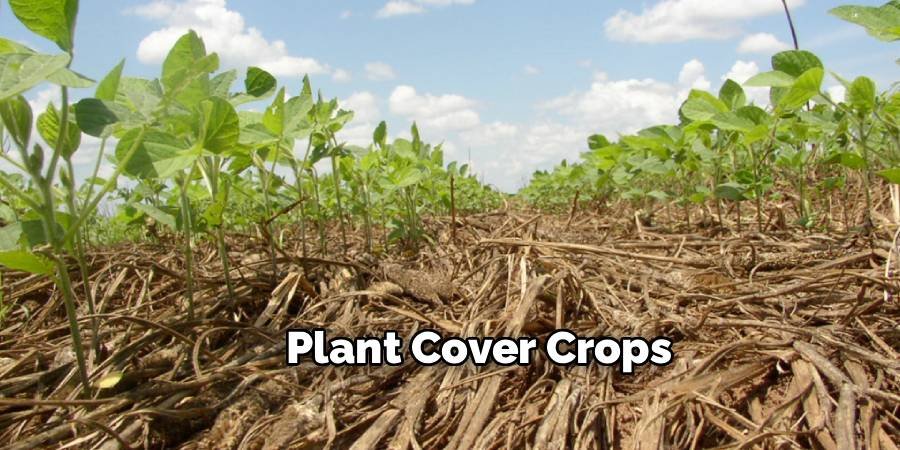
Step 6: Plant Cover Crops
Cover crops, also known as “green manure,” are a fantastic tool for how to break up clay soil without tilling. These are plants grown specifically to improve the soil. Choose cover crops with deep taproots, such as daikon radishes, alfalfa, or clover. These roots will drive down into the heavy clay, creating channels and breaking up compaction naturally. When the cover crop is finished, you can simply cut it down and leave the foliage on the surface to act as a mulch. The roots will decompose in place, leaving behind organic matter and pathways for air and water.
Step 7: Apply a Final Layer of Mulch
Mulch is the protective blanket for your new garden bed. After adding your compost and amendments, apply a final 2- to 4-inch layer of mulch on top. Excellent mulch options include straw, shredded leaves, wood chips, or grass clippings. This top layer serves multiple purposes: it suppresses weeds, retains moisture, regulates soil temperature, and slowly breaks down to continuously feed the soil. As the mulch decomposes, it will continue the process of building rich, healthy topsoil, further improving the clay beneath without any tilling required.
Step 8: Let Nature Take Its Course
The final step is the easiest: be patient. This no-dig method relies on natural decomposition and the activity of soil organisms. It can take several months to a full season for the layers to break down and significantly improve the underlying clay. You can start this process in the fall to have a bed ready for spring planting. Over time, continue to top-dress the bed with compost and mulch each year. This will maintain the soil’s health and structure, ensuring your garden remains productive and easy to manage for years to come.
Frequently Asked Questions
What Is the Fastest Way to Improve Clay Soil Without Tilling?
The fastest no-till method is sheet mulching, also called lasagna gardening. By layering cardboard, a thick layer of compost (4-6 inches), and other organic matter like leaf mold, you can create an instantly plantable bed on top of the clay. While the clay underneath will take months to improve, your plants can thrive in the rich compost layer immediately. Aerating with a broadfork beforehand will also speed up the process.
Can I Just Add Sand to Clay Soil?
Adding only sand to clay soil is a common mistake that can make the problem worse. Mixing fine sand with heavy clay can create a concrete-like substance. If you do add sand, it must be coarse horticultural sand, and it must be mixed with a large volume of compost. The rule of thumb is at least 50% compost to ensure you are improving structure, not just changing the particle composition.
What Are the Best Plants for Unamended Clay Soil?
Some plants are naturally adapted to thrive in heavy clay. If you need to plant before your soil is fully amended, choose hardy species that can handle these conditions. Good options include:

- Perennials: Black-Eyed Susan, Coneflower, Daylilies, and Hostas.
- Shrubs: Forsythia, Viburnum, and Dogwood.
- These plants have strong root systems that can help break up the soil over time.
How Often Should I Add Compost to My Clay Soil?
For a no-till garden, you should plan on top-dressing your beds with 1 to 2 inches of fresh compost at least once a year, either in the spring or fall. Heavy-feeding plants may benefit from an additional side-dressing of compost mid-season. This regular application continuously feeds the soil food web, maintains soil structure, and replenishes nutrients that plants have used, ensuring your garden remains fertile and healthy.
Is It Better to Build Raised Beds on Top of Clay Soil?
Building raised beds is another excellent no-till solution for clay soil. You can place the frame directly on top of the clay (after laying down cardboard to suppress weeds) and fill it with a high-quality soil mix. This gives your plants immediate access to ideal growing conditions. Over time, the organic matter in the raised bed will slowly work to improve the native clay soil underneath it, especially if the bed has an open bottom.
Conclusion
Transforming dense clay into a fertile garden bed does not require a rototiller or endless digging. By embracing a no-dig philosophy, you can create a thriving, low-maintenance garden that gets better every year. The key is to consistently add organic matter through compost, mulch, and cover crops, allowing nature’s workforce of worms and microbes to do the hard work for you. Now that you know how to break up clay soil without tilling, you can start building a healthier foundation for your garden today. Your back—and your plants—will thank you for it.
About Ravuk Barg
B.Sc. Horticulture Science | Certified Master Gardener
Ravuk Barg has spent more than a decade with his hands in the soil and his head full of questions about why some gardens thrive while others struggle. What started as a single raised bed of tomatoes and basil in a modest backyard has grown into a deep, working knowledge of everything from seed germination and soil amendment to companion planting and seasonal pruning.
Over the years, Ravuk has gardened through drought summers, waterlogged springs, and pest invasions that would make most gardeners hang up their trowels for good. Those hard seasons, he’ll tell you, taught him more than any perfect growing year ever could. He writes from that earned experience—covering vegetable growing, ornamental planting, houseplant care, composting, and garden design with equal confidence and curiosity.
Philosophy & Approach
Ravuk’s approach to gardening is rooted in practicality. He favors organic methods not out of dogma, but because they work long-term—resulting in healthier soil, fewer inputs, and stronger plants. He has a particular fondness for heirloom vegetable varieties (the kind with proper flavor), unruly cottage-style flower beds, and the stubborn houseplants that everyone else gave up on.
The Mission: Give readers the honest, experience-backed advice that helps them actually succeed in their gardens—not just the ideal version, but the real one; weeds, failures, and all.
Education & Credentials
-
B.Sc. in Horticulture Science
-
Greenfield Agricultural University
-
Focus: Plant Physiology, Soil Ecology, and Sustainable Crop Production
-
-
Master Gardener Certification
-
Cooperative Extension Service
-
Focus: 200+ hours of hands-on practical training and community garden work
-
Continuing Education
-
Organic Pest Management
-
Native Plant Landscaping
-
Sustainable Crop Production