

Growing healthy plants starts with clean soil. Many gardeners don’t know that regular potting soil can have bad germs, bugs, and diseases. These harmful things can hurt your plants and make them sick. The good news is that you can clean your potting soil easily using hydrogen peroxide. This simple method helps kill dangerous germs while keeping the good parts of the soil safe.
How to sterilize potting soil with hydrogen peroxide, you create a perfect home for your plants to grow strong and healthy. This process is safe, cheap, and works really well. Many expert gardeners use this method to protect their plants from soil-based problems.
Why You Need to Sterilize Potting Soil
Potting soil can carry many hidden dangers that hurt your plants. Even expensive soil from the store might have problems. Here are the main reasons why soil sterilization is important:
Disease Prevention: Bad germs in soil cause root rot, fungus, and other plant diseases. These germs can kill your plants quickly. Clean soil stops these problems before they start.
Pest Control: Tiny bugs and their eggs live in untreated soil. These pests eat plant roots and spread diseases. When you sterilize soil, you kill these harmful insects.
Weed Seeds: Regular soil often contains weed seeds that grow faster than your plants. These weeds steal water and food from your plants. Clean soil means no surprise weeds.
Chemical Safety: Some soils have harmful chemicals or fertilizers that can burn plant roots. The sterilization process helps remove these dangerous substances.
Better Plant Growth: Clean soil helps plants grow stronger roots and healthier leaves. Your plants will be more resistant to diseases and grow faster.
What Makes Hydrogen Peroxide Perfect for Soil Sterilization
Hydrogen peroxide is an amazing tool for cleaning potting soil. This clear liquid is safe for plants when used correctly. Here’s why it works so well:
Natural Cleaning Power: Hydrogen peroxide breaks down into water and oxygen. This process kills harmful germs without leaving dangerous chemicals in your soil.
Safe for Plants: Unlike harsh chemicals, hydrogen peroxide won’t hurt your plants when you use the right amount. It actually helps plant roots get more oxygen.
Easy to Find: You can buy hydrogen peroxide at any drug store or grocery store. It’s cheap and works just as well as expensive soil treatments.
Fast Acting: This method works quickly to kill germs and pests. You don’t have to wait days or weeks to use your treated soil.
Multiple Benefits: Besides killing germs, hydrogen peroxide adds oxygen to soil. This extra oxygen helps plant roots grow stronger and healthier.
8 Steps How to Sterilize Potting Soil with Hydrogen Peroxide
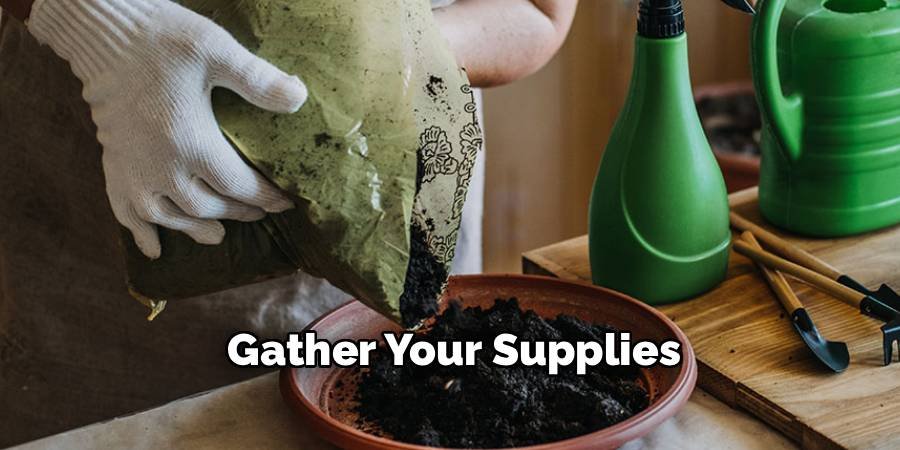
Step 1: Gather Your Supplies
Before you begin the soil disinfection process, gather all the supplies you need. Having everything ready will make the job easier and safer. You will need 3% hydrogen peroxide from the store. Do not use the stronger versions as they can harm your plants. Get a large mixing bowl or container that can hold all of your soil. You will also need a spray bottle to mix evenly, rubber gloves to protect your hands, and a measuring cup for the right amount. Make sure you have enough space to work. Choose a place outside or near an open window with good airflow. This helps the hydrogen peroxide work better and keeps you safe.
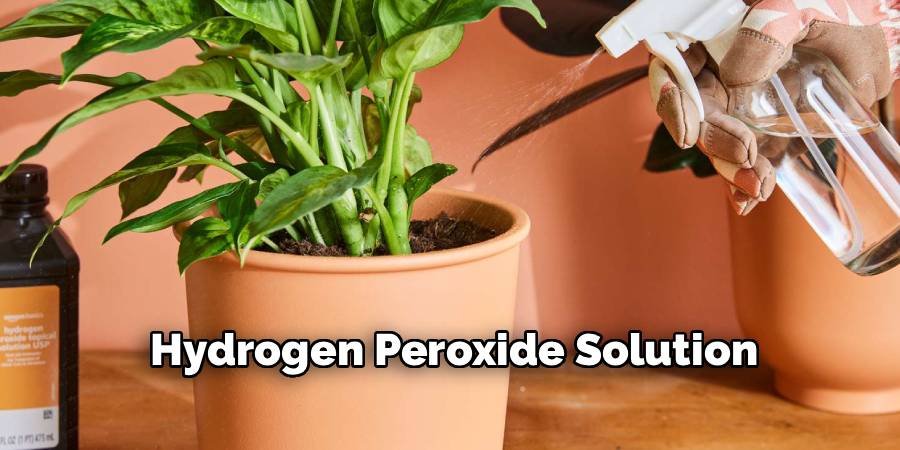
Step 2: Prepare the Hydrogen Peroxide Solution
Making the right mixture is very important for safe soil sterilization. Too much hydrogen peroxide can hurt your plants, while too little won’t kill the germs. Mix one part 3% hydrogen peroxide with three parts water in your spray bottle. For example, if you use 1 cup of hydrogen peroxide, add 3 cups of water. Shake the bottle gently to mix everything together. This mixture is strong enough to kill harmful germs but safe for your plants. Test the solution on a small amount of soil first to make sure it works well.
Step 3: Prepare Your Potting Soil
Put your potting soil in a large, clean container. Break up any big clumps with your hands or a small tool. This helps the hydrogen peroxide solution reach all parts of the soil. Remove any large pieces like sticks, stones, or dead leaves. These things can hide germs and make the cleaning process less effective. Smooth, even soil works best for sterilization. If your soil is very dry, add a little water to make it slightly damp. Damp soil absorbs the hydrogen peroxide solution better than completely dry soil.
Step 4: Apply the Hydrogen Peroxide Solution
Spray the hydrogen peroxide solution evenly over your soil. Start with a light coating and add more as needed. The soil should be moist but not soaking wet. Use your hands to mix the soil while wearing gloves. Make sure every part of the soil touches the solution. Pay special attention to the bottom and corners of your container where germs might hide. You’ll notice the soil might bubble or foam slightly. This is normal and shows that the hydrogen peroxide is working to kill germs and add oxygen to the soil.
Step 5: Mix Thoroughly and Let It Sit
Mix the treated soil carefully for about 5 minutes. This ensures that every piece of soil gets cleaned properly. Use a clean tool or your gloved hands to stir everything together. After mixing, let the soil sit for 30 minutes to 1 hour. This waiting time allows the hydrogen peroxide to kill all the harmful germs, bugs, and diseases in the soil. Cover the container with a clean cloth to keep dust and dirt out while the soil is being treated. Don’t use plastic covers as they can trap moisture and cause problems.
Step 6: Check for Complete Treatment
After waiting, check your soil to make sure the treatment worked well. The soil should smell clean and fresh, not sour or moldy. Good treated soil has a light, airy texture. Look for signs that the hydrogen peroxide did its job. The soil might look slightly lighter in color and feel less dense than before. Any bad smells should be gone completely. If you still see mold or smell bad odors, repeat the treatment process. Some very dirty soil needs two treatments to become completely clean and safe for plants.
Step 7: Rinse and Drain Excess Liquid
Gently rinse the treated soil with clean water to remove any leftover hydrogen peroxide. Use a fine mesh strainer or cloth to keep the soil from washing away. Don’t use too much water for rinsing. Just enough to wash away the excess solution. Too much water can make the soil muddy and hard for plants to grow in. Let the soil drain for about 15-20 minutes. The soil should be damp but not dripping wet when you finish this step.

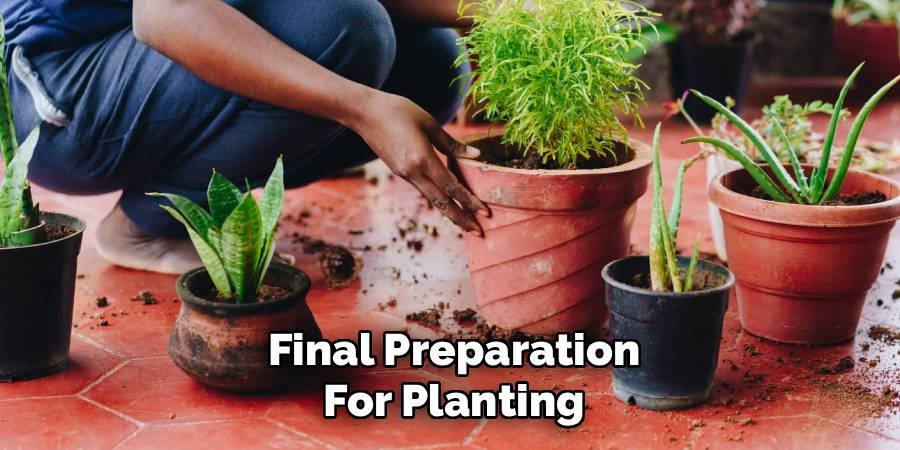
Step 8: Final Preparation for Planting
Spread the sterilized soil on a clean surface to air dry for 2-3 hours. The soil should be moist but not soggy when you use it for planting. Test the soil by squeezing a handful. It should hold together slightly but crumble easily. This texture is perfect for plant roots to grow and spread. Your sterilized potting soil is now ready for planting! Store any extra soil in a clean, covered container to keep it fresh and germ-free.
Benefits of Using This Method
Sterilizing potting soil with hydrogen peroxide gives you many advantages over other cleaning methods. This natural process is safer than using harsh chemicals that can hurt plants or people.
Cost-Effective Solution: This method costs much less than buying pre-sterilized soil or expensive chemical treatments. One bottle of hydrogen peroxide can clean many containers of soil.
Environmentally Safe: Unlike chemical pesticides, hydrogen peroxide breaks down into harmless water and oxygen. This means it won’t hurt the environment or contaminate groundwater.
Improved Plant Health: Clean soil helps plants develop stronger root systems and resist diseases better. Your plants will grow faster and produce more flowers or fruits.
Long-Lasting Protection: Properly sterilized soil stays clean for months when stored correctly. This gives your plants ongoing protection from soil-based problems.
Common Mistakes to Avoid
Many people make some common mistakes that reduce the effectiveness of soil disinfection. The most common mistake is using the wrong concentration of hydrogen peroxide. Always use 3% hydrogen peroxide, not the stronger version.
Don’t skip the waiting period after applying the solution. Hydrogen peroxide needs time to kill all the harmful germs in the soil. Avoid over-wetting the soil. Too much liquid can wash away important nutrients and make the soil too heavy for plant roots. Do not reuse treated soil without first cleaning it. It can re-contaminate your clean soil with the same germs you just killed.
Frequently Asked Questions (FAQs)
Q1: Why use hydrogen peroxide to sterilize potting soil?
Hydrogen peroxide kills harmful bacteria, fungi, and pests in soil while breaking down into harmless water and oxygen, making it a safe, eco-friendly choice.
Q2: What concentration of hydrogen peroxide should I use?
A 3% hydrogen peroxide solution (the common household strength) is ideal for soil sterilization. Higher concentrations should be diluted to avoid harming plant roots.
Q3: How do I mix it for soil sterilization?
Combine 1 part 3% hydrogen peroxide with 4 parts water. Stir well before applying to ensure even distribution.
Q4: How do I apply it to the soil?
Pour the diluted solution evenly over the soil until it’s moist but not waterlogged. Let the soil sit for 24 hours before planting to allow oxygen release.
Q5: Can I use it on soil with plants already in it?
Yes, in diluted form. Use a weaker mix (about 1 tablespoon 3% hydrogen peroxide per cup of water) to avoid root damage while killing surface pathogens.
Conclusion
Learning how to sterilize potting soil with hydrogen peroxide is one of the most valuable skills every gardener should master. This simple, safe, and effective method protects your plants from countless soil-borne diseases, harmful pests, and competing weeds that can destroy months of hard work. By following the 8 easy steps outlined in this guide, you create the perfect foundation for healthy plant growth while avoiding the expense of pre-treated commercial soils.
The process takes less than two hours of actual work time and costs only a few dollars in materials. Yet the benefits last for months, giving your plants the clean, oxygen-rich environment they need to develop strong root systems and resist diseases naturally. Whether you’re growing vegetables, flowers, or houseplants, sterilized soil significantly improves your chances of gardening success.
Remember that consistency is key to getting the best results. Always use the correct 3% hydrogen peroxide concentration, follow proper safety procedures, and give the treatment enough time to work effectively. With practice, soil sterilization becomes a quick and routine part of your gardening activities, ensuring that every plant you grow has the healthiest possible start in life.
About Ravuk Barg
B.Sc. Horticulture Science | Certified Master Gardener
Ravuk Barg has spent more than a decade with his hands in the soil and his head full of questions about why some gardens thrive while others struggle. What started as a single raised bed of tomatoes and basil in a modest backyard has grown into a deep, working knowledge of everything from seed germination and soil amendment to companion planting and seasonal pruning.
Over the years, Ravuk has gardened through drought summers, waterlogged springs, and pest invasions that would make most gardeners hang up their trowels for good. Those hard seasons, he’ll tell you, taught him more than any perfect growing year ever could. He writes from that earned experience—covering vegetable growing, ornamental planting, houseplant care, composting, and garden design with equal confidence and curiosity.
Philosophy & Approach
Ravuk’s approach to gardening is rooted in practicality. He favors organic methods not out of dogma, but because they work long-term—resulting in healthier soil, fewer inputs, and stronger plants. He has a particular fondness for heirloom vegetable varieties (the kind with proper flavor), unruly cottage-style flower beds, and the stubborn houseplants that everyone else gave up on.
The Mission: Give readers the honest, experience-backed advice that helps them actually succeed in their gardens—not just the ideal version, but the real one; weeds, failures, and all.
Education & Credentials
-
B.Sc. in Horticulture Science
-
Greenfield Agricultural University
-
Focus: Plant Physiology, Soil Ecology, and Sustainable Crop Production
-
-
Master Gardener Certification
-
Cooperative Extension Service
-
Focus: 200+ hours of hands-on practical training and community garden work
-
Continuing Education
-
Organic Pest Management
-
Native Plant Landscaping
-
Sustainable Crop Production