

Watering your lawn with a hose might seem simple, but there’s actually a right way and a wrong way to do it. Many homeowners make mistakes that waste water, harm their grass, or create uneven growth patterns. Learning how to water lawn with hose properly can save you money on water bills while creating the beautiful green yard you want.

Using a hose to water your lawn gives you complete control over where and how much water your grass gets. Unlike sprinkler systems where everything is watered the same way, hand watering allows you to pay extra attention to dry areas and avoid overwatering healthy areas. This targeted approach produces better results and uses water more efficiently.
This complete guide will teach you how to water your lawn with a hose using 8 proven step-by-step instructions. You’ll learn the best time to water, the right technique for even coverage, and how to recognize when your grass has had enough water. Whether you have a small yard or a large lawn, these methods will help you achieve professional-looking results.
Benefits of Watering Lawn with a Hose
There are many advantages to watering your lawn by hand over an automatic sprinkler system. The biggest advantage is the precise control over where and how much water to water. You can target dry areas that need extra water and avoid areas that have adequate moisture. Pipe irrigation is less expensive than installing a sprinkler system. The cost of installing a good quality pipe and sprinkler attachment is less than $100, while installing underground sprinklers can cost thousands of dollars. For smaller lawns or budget-conscious homeowners, pipe irrigation provides excellent results at a fraction of the cost.
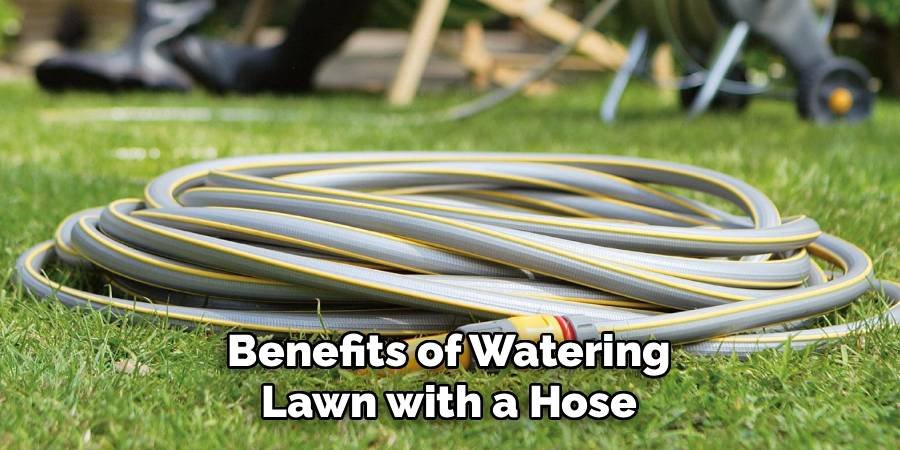
You can also inspect your lawn closely while watering. This hands-on approach helps you spot insect problems, disease, or bare spots that need attention. Identifying lawn problems quickly can save you time and money by solving them before they become problems. With watering, it is possible to create a flexible schedule based on weather and seasonal needs. You can water more frequently on hot days and reduce watering during cooler times. This adaptive ability helps maintain optimal soil moisture throughout the growing season.
Essential Equipment for Hose Watering
A high-quality garden hose is the foundation of effective lawn watering. Choose a hose that is at least 5/8 inch in diameter for good water flow. Rubber hose lasts longer than vinyl hose but is more expensive initially. Consider the length of the hose carefully – too short a hose limits your reach, while too long a hose reduces water pressure. Sprinkler attachments turn your hose into an efficient watering tool. Oscillating sprinklers cover rectangular areas evenly and work well for most lawn sizes. Rotating sprinklers create a circular pattern and provide a gentle, soaking water application. Impact sprinklers cover large areas but can create too much force for fine grass.
A spray nozzle with multiple settings gives you versatility for different watering jobs. Use the gentle shower setting for newly seeded areas and the powerful stream for established grass. The adjustable nozzle allows you to switch between wide coverage and targeted spot watering as needed. Consider investing in a hose reel or storage system to protect your equipment. Proper storage prevents kinking, cracking, and UV damage that shorten the life of the hose. Wheeled hose reels make it much easier to move long hoses around your yard.
8 Step Guidelines How to Water Lawn with Hose
Step 1: Check Soil Moisture Before Watering
Always test soil moisture before turning on the hose. Stick a screwdriver or soil probe 6 inches into the soil in several places in your lawn. If it goes in easily and comes out with moist soil, your lawn probably doesn’t need water yet. The footprint test also helps determine the need for watering. Walk over your grass and look for your footprints. If the grass grows back quickly, the soil moisture is adequate. Visible footprints indicate dry soil that needs watering.
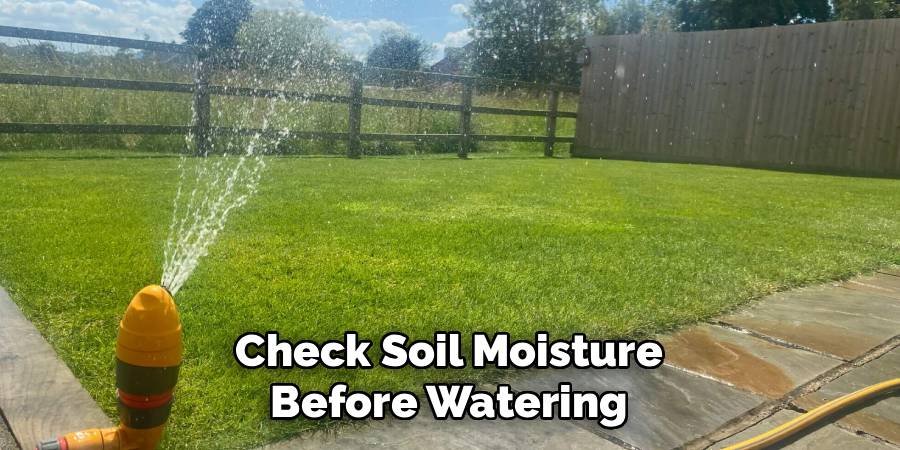
Test different areas of your lawn separately because moisture levels vary in your yard. Areas under trees, on slopes, or in full sun dry out faster than shaded or flat areas. South-facing slopes generally need more water than north-facing areas. The best time to test soil moisture is midday because it gives you the most accurate reading. Soil temperatures and moisture levels are most stable in the morning, before the sun and wind affect surface conditions.
Step 2: Choose the Right Time to Water
The ideal time to water your lawn is between 6 and 10 a.m. with a hose. Cool temperatures and calm winds reduce water loss through evaporation. The grass dries out throughout the day before nightfall, which prevents disease problems.
Avoid watering during the hottest part of the day, usually between 10 a.m. and 4 p.m. The high temperatures cause most of your water to evaporate before it reaches the lawn. Strong afternoon winds can also blow water away from the target area. If morning watering is not possible, watering between 4 p.m. and 6 p.m. is acceptable. However, avoid watering too late in the day because overnight wet grass encourages fungal diseases. The grass should have at least 2-3 hours to dry before dark. Never water during windy times, regardless of the time of day. Wind blows water away from your lawn and creates an uneven coating. Check the weather forecast and choose calm days for the best results.
Step 3: Set Up Your Equipment Properly
Connect your pipe securely to your water source and check all connections for leaks. Leaky connections waste water and reduce pressure in your sprinkler attachment. Replace worn washers or gaskets to ensure a tight seal. Choose the appropriate sprinkler attachment for your lawn area. Oscillating sprinklers work best for rectangular or square lawn sections. Rotating sprinklers are ideal for circular areas or corners. Impact sprinklers cover the largest areas but can be too powerful for fine grass types.
Place your sprinkler on level ground for even water distribution. Sloped or uneven surfaces can cause sprinklers to tip and create irregular watering patterns. Use a small board or leveling block under the sprinkler base if necessary. Test your sprinkler pattern before starting a full watering session. Run water for a few minutes to see the coverage area and adjust the position as needed. Mark the edges of the spray pattern with flags or stakes so you can remember the exact location.

Step 4: Create Systematic Watering Patterns
Divide your lawn into sections and water each section regularly. This well-organized method ensures complete coverage and prevents overlaps that waste water. Start with areas that dry out quickly, such as south-facing slopes or areas near sidewalks. Move your sprinklers in a grid pattern across each section of lawn. Overlap the spray patterns by about 50% to ensure even coverage without gaps. Track the areas you water by placing temporary markers or following a consistent direction.
Water each location for 15-20 minutes before moving on to the next. This period of time allows the water to soak into the soil rather than run off the surface. Shorter watering times may not provide enough moisture for the lawn. Pay special attention to edges and borders where automatic sprinklers often miss. Use a spray nozzle to hand-water along sidewalks, driveways, and flower bed edges. These transition zones often require additional watering because they dry out quickly.
Step 5: Monitor Water Application Depth
Place several shallow containers, such as tuna cans or rain gauges, in your watering area to measure water application. This will help you determine how long to water each area to achieve the correct moisture depth. Most lawns need about 1 inch of water per week from all sources, including rainfall. If the container collects 1/4 inch of water in 15 minutes, you will need to water each area for an hour per week to meet this requirement.
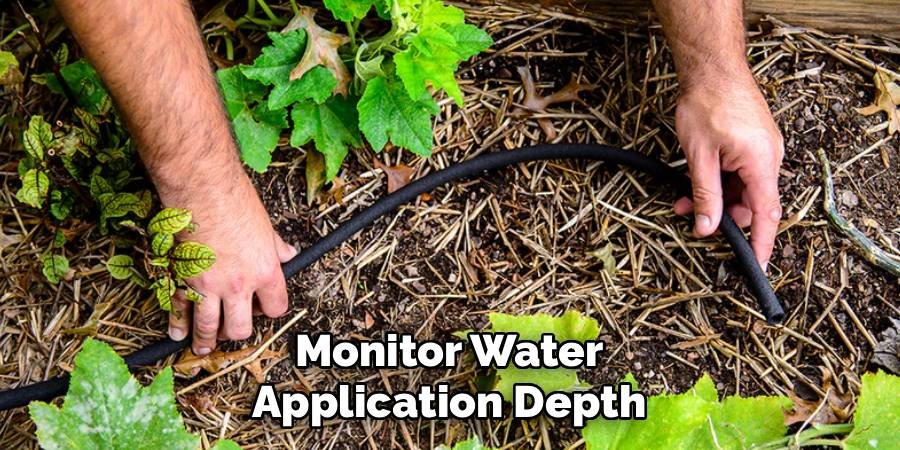
Test the soil moisture at different depths when watering. Water should penetrate 6-8 inches deep for established grass. Use a soil probe or long screwdriver to test the moisture depth in different areas of your lawn. Adjust watering times based on your soil type and grass species. Sandy soils require shorter, more frequent waterings. Clay soils require longer watering periods and more time between sessions to prevent waterlogging.
Step 6: Adjust for Different Lawn Areas
Different parts of your lawn have different water needs. Sunny areas dry out faster than shaded areas. Watering is slower on slopes and requires less application. Low-lying areas can pool and require less irrigation.
Water the foothills in short bursts, taking breaks between applications. Water for 5-10 minutes, then move on to another area. This technique helps the water soak in without running down the slope. Reduce watering times for shaded areas under trees or next to buildings. These areas typically require 25-50% less water than sunny areas. Overwatering shaded grass can lead to disease problems and poor root development. Pay extra attention to high-traffic areas that are compacted by foot pressure. Compacted soil does not absorb water easily and may need to be aerated before watering can be effective. Consider aerating these areas annually to improve water infiltration.
Common Watering Mistakes to Avoid
Many homeowners water too often using shallow water. This results in weak, shallow root systems that cannot survive drought conditions. Instead, water deeply but less frequently to encourage strong root growth. Avoid watering during the heat of the day when evaporation rates are highest. This wastes water and can stress the grass due to rapid temperature changes. For best results, make it a habit to water in the early morning.
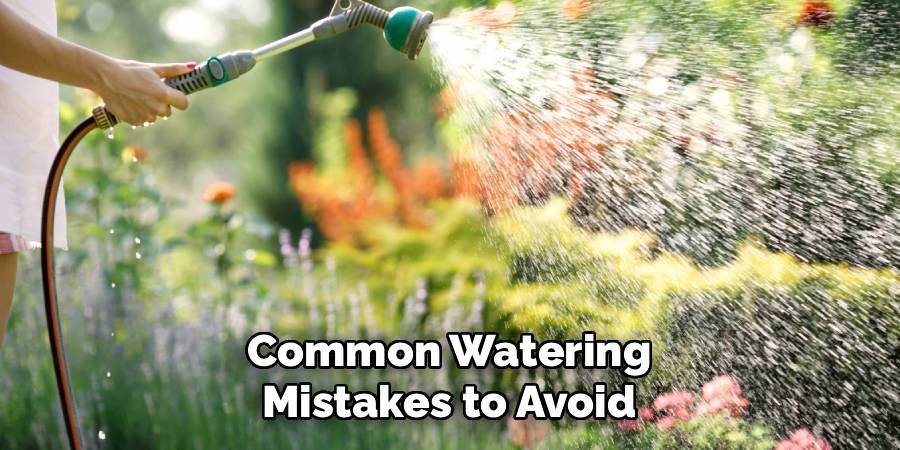
Don’t ignore your lawn’s natural drainage patterns. Water tends to run downhill and pool in low-lying areas. Adjust your watering strategy to account for these patterns rather than applying water evenly to all areas. Resist the urge to water on a strict schedule, regardless of the weather. Supplemental watering during rainy periods reduces or eliminates the need for watering. Conversely, hot, windy weather may require additional watering outside of your normal schedule.
Conclusion
Learning how to water lawn with hose creates beautiful, healthy grass while conserving water and saving money. The 8-step guidelines in this article provide a systematic approach that ensures even coverage and the right moisture depth throughout your yard. Success comes from understanding the specific needs of your lawn and adjusting techniques to suit the type of grass, soil conditions, and weather patterns.
Remember that consistency and proper timing are more important than expensive equipment. A basic hose and sprinkler attachment, when used properly, can produce professional results. Monitor your lawn’s response to watering and adjust your technique as needed throughout the growing season. With practice, hose watering becomes an effective and enjoyable way to maintain your lawn. Hand-watering allows you to stay connected to the health of your yard and achieve the green results you desire.
About Ravuk Barg
B.Sc. Horticulture Science | Certified Master Gardener
Ravuk Barg has spent more than a decade with his hands in the soil and his head full of questions about why some gardens thrive while others struggle. What started as a single raised bed of tomatoes and basil in a modest backyard has grown into a deep, working knowledge of everything from seed germination and soil amendment to companion planting and seasonal pruning.
Over the years, Ravuk has gardened through drought summers, waterlogged springs, and pest invasions that would make most gardeners hang up their trowels for good. Those hard seasons, he’ll tell you, taught him more than any perfect growing year ever could. He writes from that earned experience—covering vegetable growing, ornamental planting, houseplant care, composting, and garden design with equal confidence and curiosity.
Philosophy & Approach
Ravuk’s approach to gardening is rooted in practicality. He favors organic methods not out of dogma, but because they work long-term—resulting in healthier soil, fewer inputs, and stronger plants. He has a particular fondness for heirloom vegetable varieties (the kind with proper flavor), unruly cottage-style flower beds, and the stubborn houseplants that everyone else gave up on.
The Mission: Give readers the honest, experience-backed advice that helps them actually succeed in their gardens—not just the ideal version, but the real one; weeds, failures, and all.
Education & Credentials
-
B.Sc. in Horticulture Science
-
Greenfield Agricultural University
-
Focus: Plant Physiology, Soil Ecology, and Sustainable Crop Production
-
-
Master Gardener Certification
-
Cooperative Extension Service
-
Focus: 200+ hours of hands-on practical training and community garden work
-
Continuing Education
-
Organic Pest Management
-
Native Plant Landscaping
-
Sustainable Crop Production