

Are you tired of mowing your lawn every week? Do you want a yard that supports birds, bees, and butterflies? Transforming your lawn with native plants is the perfect solution. Native plants are flowers, grasses, and shrubs that grow naturally in your area. They require less water, don’t require fertilizer, and provide homes for local wildlife. Many homeowners are making this switch because native plants save time and money. They also help the environment by cleaning the air and water. When you replace grass with native plants, you are creating a natural habitat that supports your local ecosystem.
This guide will show you exactly how to Convert Lawn to Native Plants. You’ll learn 9 effective methods that work for any yard size or budget. Whether you want to replace your entire lawn or just a small section, these tips will help you succeed.
Why Convert Your Lawn to Native Plants?
Regular grass lawns require a lot of effort and resources. You need to water them frequently, fertilize them, and mow them weekly during the growing season. Native plants are different. Once they are established, they take care of themselves.
Native plants have deep roots that prevent soil erosion. They naturally filter rainwater, which helps prevent flooding. These plants attract beneficial insects like bees and butterflies that help other plants grow. Birds also love native plants because they provide food and nesting materials. Using native plants also saves on your water bill. Native plants use 50% less water than traditional grass lawns. You also won’t need expensive fertilizers or pesticides. This makes native plant gardens much cheaper to maintain over time.
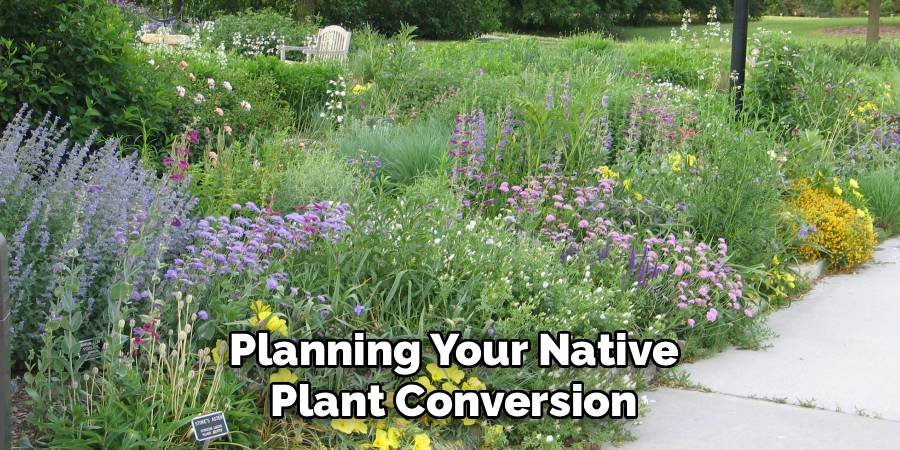
Planning Your Native Plant Conversion
Before you start mowing, make a plan. Take a walk around your yard and note which areas get full sun, partial sun, or mostly shade. Different native plants need different amounts of sunlight to grow well. Research which plants are native to your specific area. Contact your local extension office or go online to local plant societies.
They can tell you which plants grow best in your area’s climate and soil type. Decide whether you want to transform your entire lawn or start with a small area. Many people start with their front yard or a section near their house. Starting small allows you to learn and make mistakes without stressing yourself out. Draw a simple map of your yard. Identify sunny and shady areas, slopes, and areas that get wet after rain. This information will help you choose the right plants for each location.
8 Effective Methods on How to Convert Lawn to Native Plants
Method 1: Sheet Mulching (Lasagna Method)
Sheet mulching is one of the easiest ways to kill grass without digging. This method layers organic matter over your existing lawn to naturally suppress the grass. Start by mowing your grass as short as possible. Then lay down cardboard or newspaper over the entire area. Make sure the pieces overlap by at least 6 inches so that grass can’t grow through the gaps. Remove any tape or staples from the cardboard before using it.
Next, add 4-6 inches of organic mulch on top of the cardboard. Use wood chips, shredded leaves, or compost. The cardboard blocks sunlight from reaching the grass, which kills it over a few months. The grass and cardboard break down into rich soil that feeds your new plants. This method takes 6-12 months to completely kill the grass. You can plant directly through the cardboard by cutting holes for each plant. The slower process means less work for you and healthier soil for your native plants.
Method 2: Gradual Replacement
If you’re not ready to remove all of your grass at once, gradual replacement works perfectly. This method allows you to transform small sections of your lawn over several growing seasons. Choose a spot in your yard to start. Popular choices include under trees, along fences, or near your house. Remove the grass from this area using any method you prefer.
Plant native plants in the cleared area. As these plants grow and spread, they will naturally take over more space. Each year, you can remove more grass and add more native plants. This method costs less upfront because you’re buying fewer plants each year. It’s less cumbersome because you’re not changing your entire yard at once. You can learn what works best for your specific situation before expanding.
Method 3: Solarization
Sunlight kills grass naturally without chemicals. This method works best during the hot, sunny summer months. Cut your grass very short and water the area thoroughly. Cover the entire area with a sheet of clear plastic. Use rocks or bricks to hold the edges of the plastic firmly to the ground.
The plastic traps absorb heat from the sun, which creates a high enough temperature to kill grass and weed seeds. Leave the plastic in place for 6-8 weeks during the hottest part of the summer. The grass underneath will turn brown and die. After removing the plastic, you will have dead grass that can be easily removed. The soil underneath will be ready for planting native species. This method works well for medium-sized areas but may not be practical for very large lawns.
Method 4: Hand Digging
Hand digging gives you the most control over the process but requires the most physical effort. This method works best in small areas or to preserve certain plants. Use a sharp spade to cut the grass roots. Dig up some of the clay and shake off the excess soil. You can fertilize the grass or use it to repair any gaps where you are laying the lawn.
Loosen the remaining soil with a garden fork or tiller. Remove any grass roots you find as they can regrow into new grass plants. Add fertilizer to improve the soil before planting. This method allows you to plant native species as soon as you remove the grass. This is perfect for small flower beds or areas around trees and shrubs.
Method 5: Smothering with Tarps
Using a tarp to suppress weeds is similar to sheet mulching, but faster. Black tarps heat up in the sun and block all light from reaching the grass below. Cover your grass with heavy black plastic or a tarp. Secure the edges with rocks, bricks, or landscape staples. Make sure no light can reach the grass anywhere below the covering.
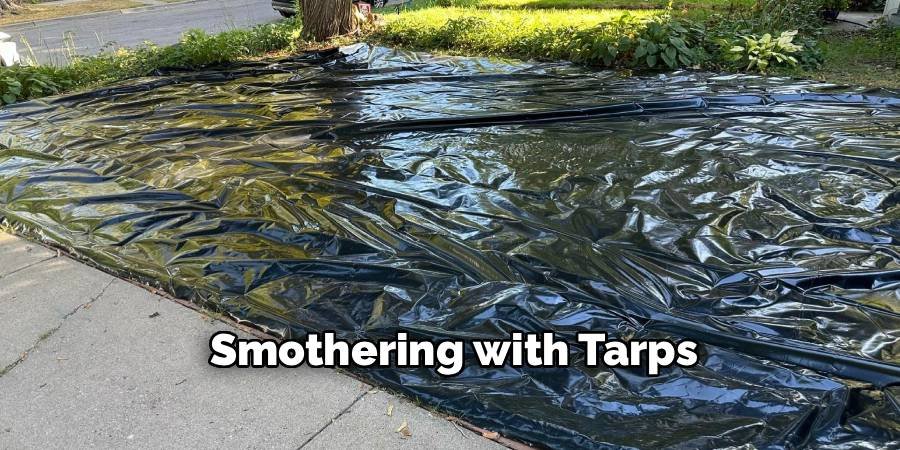
Leave the tarps in place for 3-4 months during the growing season. The combination of heat and darkness will completely kill the grass. This method works faster than cardboard but does not add organic matter to your soil. After removing the tarps, remove dead grass and add fertilizer before planting. This method is reusable because you can move the tarps to other areas of your yard.
Method 6: Selective Herbicide Application
If you must use herbicides, choose a product that won’t harm your future native plants. Glyphosate-based herbicides kill grass completely and break down in the soil within a few weeks. Apply the herbicide on a calm, sunny day when there is no chance of rain for at least 24 hours. Follow all label directions carefully and wear protective clothing. Keep children and pets away from the treated area until the herbicide has completely dried.
Wait 2-3 weeks for the grass to die back completely and remove it. The dead grass will be easier to remove or mix into the soil. Test your soil pH after using herbicides, as some products can change the acidity level. Only use this method if other options haven’t worked for your situation. Many gardeners prefer the natural method because it is safer for wildlife and water sources.
Method 7: Tilling and Cultivation
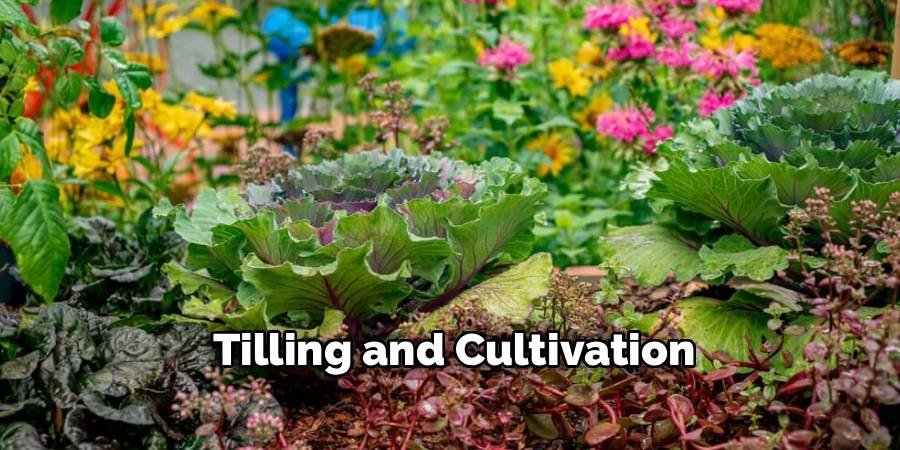
Tilling breaks down the grass roots and allows them to decompose naturally. Rent a rototiller or hire someone to till your lawn. Till in an area where the soil is slightly moist but not muddy. Wet soil compacts when tilled, which can cause problems for plant roots later. Dry soil creates a cloud of dust and does not break down properly.
Make several passes with the tiller to completely remove the grass roots. Remove any large pieces of root you see as they can regrow. Add compost or other organic matter during the final tilling. Let the soil settle for 2-3 weeks before planting. This gives the grass roots time to decompose and the soil time to stabilize. Water lightly if the weather is very dry during this waiting period.
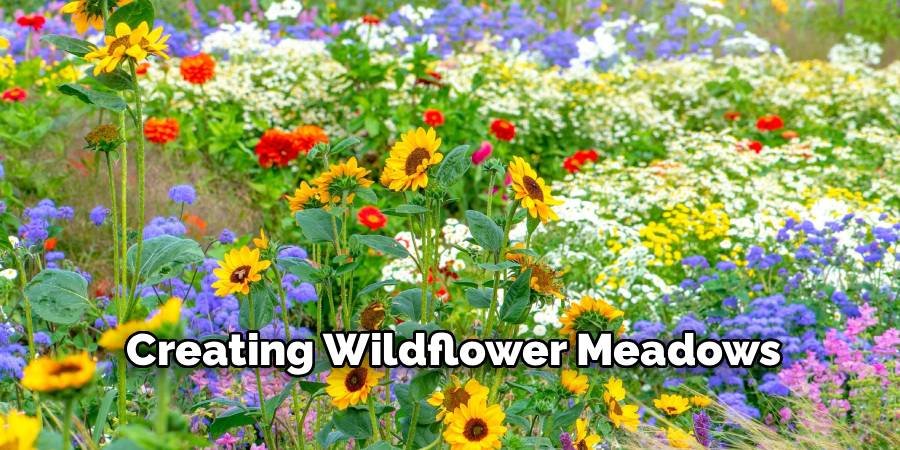
Method 8: Creating Wildflower Meadows
Converting a lawn into a wildflower meadow creates a habitat for many animals, but requires minimal maintenance. This method works especially well for large, open areas.
Choose native wildflower seeds that are suitable for your climate and soil conditions. Many seed companies sell regional wildflower mixes designed for specific areas of the country. Prepare the soil by removing the grass using any of the methods described above. Wildflowers grow best in soil that is not too rich, so don’t add a lot of fertilizer or compost.
Sow the seeds according to package directions in late fall or early spring. Rake lightly to cover the seeds with a thin layer of soil. Water lightly if rainfall is limited for the first few weeks after planting. A wildflower meadow will look messy the first year but will become beautiful as the plants mature. Mow the lawn once a year in late fall after the seeds have fallen to maintain the meadow long-term.
Choosing the Right Native Plants
Selecting native plants is crucial to success. Start by identifying your hardiness zone and researching plants that grow naturally in your area. Contact your local botanical garden, local plant society, or extension office for plant recommendations. Consider their mature size when selecting plants. Some native grasses and wildflowers spread quickly and can crowd out smaller trees. Plan your layout so that larger trees don’t shade smaller trees as they grow.
Think about flowering time when selecting flowering plants. Choose plants that bloom at different times throughout the growing season. This provides continuous color and a food source for pollinators from spring to fall. Include a variety of plants in your design. Mix grasses, wildflowers, shrubs, and small trees to create a diverse habitat. Different animals use different types of plants for food and shelter throughout the year.
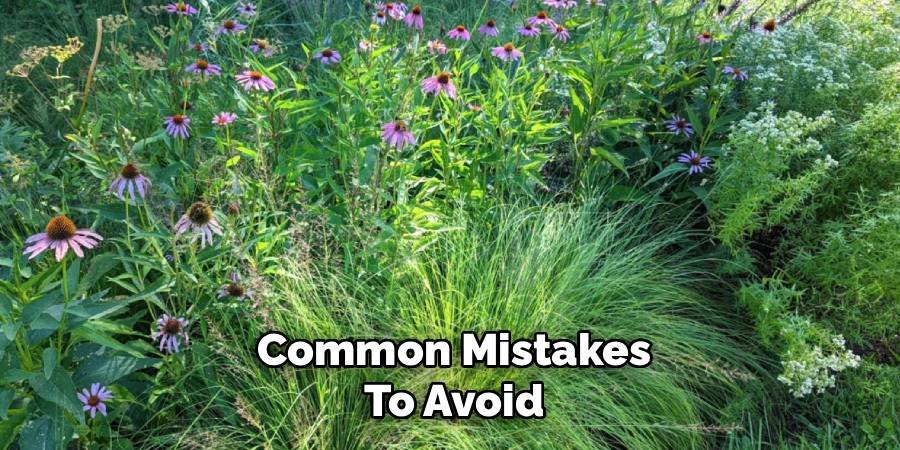
Common Mistakes to Avoid
Don’t plant non-native species labeled as “adapted” or “naturalized.” These plants may grow well but don’t provide the same benefits as true native plants. Stick to plants that were native to your area before European settlement. If you’re new to gardening, avoid removing all of your grass at once. Start with a small area and build your knowledge and confidence over time. Large projects can become overwhelming and expensive if problems arise. Don’t expect immediate results.
Native plant gardens may look sparse the first year but fill in nicely over time. Many native plants spend their first year developing root systems rather than growing above ground. Resist the urge to water and fertilize as you would traditional garden plants. Overwatering and overfertilizing can kill native plants that are adapted to natural rainfall and soil conditions.
Frequently Asked Questions (FAQs)
How long does it take to convert lawn to native plants?
The time it will take depends on the method you choose and the size of your land. Sheet mulching takes 6-12 months to completely kill grass. Solar systems work in 6-8 weeks in hot weather. Hand-digging allows you to plant immediately but requires more physical effort up front.
Will native plants attract unwanted insects or animals?
Native plants are not pests, but rather attract beneficial insects like bees and butterflies. The insects they attract are a food source for birds and other wildlife. You may see more wildlife in your yard, but these animals help maintain the natural balance and are usually welcome neighbors.
How much does it cost to convert lawn to native plants?
Costs vary widely depending on the size of your yard and the method you choose. Seed for a wildflower meadow costs $50-200 per acre. Native plants cost $5-25 each. Professional installation costs $3-10 per square foot. DIY projects using seeds or small plants are much more affordable.
Do native plants require less maintenance than grass lawns?
Yes, established native plants require much less maintenance than traditional lawns. You won’t need to mow, fertilize, or water them regularly. However, new native plant gardens will require weeding and watering for the first year or two after the plants start growing.
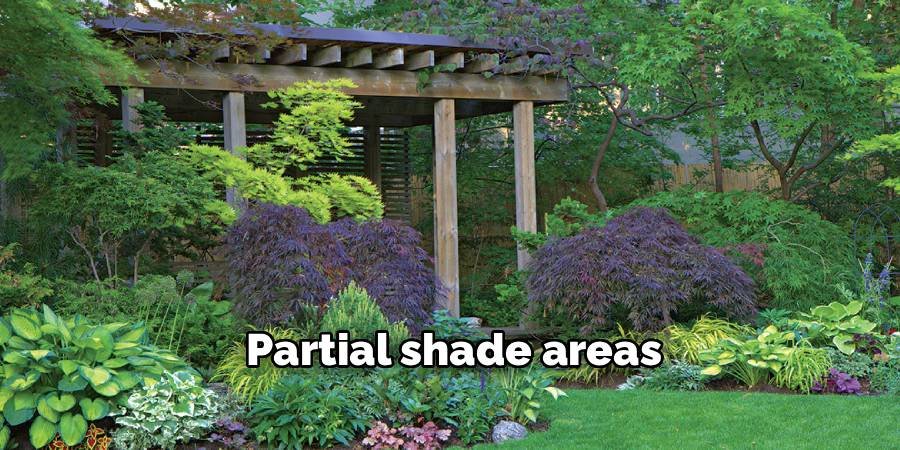
Can I plant native plants in partial shade areas?
Many native plants grow well in partial shade environments. Forest wildflowers, ferns, and understory shrubs are adapted to growing under the canopy of trees. For best results in partial shade areas, research native plants specific to your area’s shaded forest environment.
Conclusion
Converting your lawn to native plants creates a beautiful, low-maintenance landscape that is beneficial to both you and the environment. The 9 methods outlined in this guide offer options for every budget, time frame, and skill level. Whether you choose to gradually replace or completely remove your lawn, the key is to select true native plants and take proper care of them during installation.
Keep in mind that native plant gardens look different from traditional landscaping, but they offer tremendous value in terms of wildlife, water conservation, and maintenance. Start small with one area of your yard and expand your native plant garden over time as you gain experience and confidence. Converting from a grass lawn to a native plant habitat takes patience, but the results are worth the effort. You’ll enjoy watching butterflies, birds, and other wildlife explore your new garden, and you’ll save time and money on yard maintenance. Your native plant garden will become more beautiful and self-sufficient every year.
About Ravuk Barg
B.Sc. Horticulture Science | Certified Master Gardener
Ravuk Barg has spent more than a decade with his hands in the soil and his head full of questions about why some gardens thrive while others struggle. What started as a single raised bed of tomatoes and basil in a modest backyard has grown into a deep, working knowledge of everything from seed germination and soil amendment to companion planting and seasonal pruning.
Over the years, Ravuk has gardened through drought summers, waterlogged springs, and pest invasions that would make most gardeners hang up their trowels for good. Those hard seasons, he’ll tell you, taught him more than any perfect growing year ever could. He writes from that earned experience—covering vegetable growing, ornamental planting, houseplant care, composting, and garden design with equal confidence and curiosity.
Philosophy & Approach
Ravuk’s approach to gardening is rooted in practicality. He favors organic methods not out of dogma, but because they work long-term—resulting in healthier soil, fewer inputs, and stronger plants. He has a particular fondness for heirloom vegetable varieties (the kind with proper flavor), unruly cottage-style flower beds, and the stubborn houseplants that everyone else gave up on.
The Mission: Give readers the honest, experience-backed advice that helps them actually succeed in their gardens—not just the ideal version, but the real one; weeds, failures, and all.
Education & Credentials
-
B.Sc. in Horticulture Science
-
Greenfield Agricultural University
-
Focus: Plant Physiology, Soil Ecology, and Sustainable Crop Production
-
-
Master Gardener Certification
-
Cooperative Extension Service
-
Focus: 200+ hours of hands-on practical training and community garden work
-
Continuing Education
-
Organic Pest Management
-
Native Plant Landscaping
-
Sustainable Crop Production