

Learn how to shred cardboard for composting with our easy 8-step guide. Turn waste cardboard into valuable compost material for your garden using simple tools and techniques.
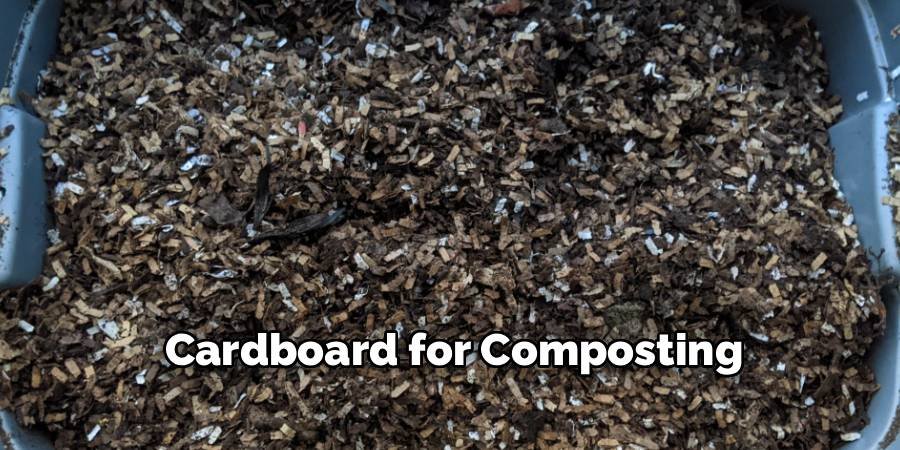
Cardboard composting is one of the best ways to recycle waste and create fertile soil for your garden. When you learn how to shred cardboard to make compost, you’ll be helping the environment, and your plants will grow better. Cardboard breaks down slowly in the compost pile, so shredding it speeds up the process. Many people throw away cardboard boxes every day. Instead of throwing them in the trash, you can turn them into brown material for your compost bin. Shredded cardboard adds carbon to your compost mix and helps create the perfect balance with green materials like food scraps and grass clippings.
Why Shred Cardboard for Composting?
Cardboard composting offers many benefits for gardeners and the environment. It takes months or even years for a whole piece of cardboard to completely break down. When you break cardboard into smaller pieces, it decomposes much faster and mixes better with other compost materials.
Shredded cardboard acts as the brown material in your compost pile. The brown material is rich in carbon and helps balance the nitrogen from the green material. This balance is very important for creating good compost that doesn’t smell bad or attract pests.
The process of shredding the cardboard also creates air pockets in your compost pile. These air spaces help good bacteria grow and break down all the materials faster. Without enough air, your compost pile can start to smell bad and won’t function properly.
What Type of Cardboard Can You Compost?
Not all cardboard is good for composting. Plain brown cardboard boxes work best for compost bins. These include shipping boxes, cereal boxes, and egg cartons. This type of cardboard breaks down easily and won’t harm your plants.
Avoid using cardboard with a lot of tape, staples, or plastic coating. Wax-coated cardboard from frozen food boxes shouldn’t go in your compost. Also, don’t use cardboard with bright colors or shiny surfaces, as they may contain chemicals.
Corrugated cardboard is great for composting because it has air pockets inside. These pockets help the cardboard break down quickly and add structure to your compost pile. Remove all tape, labels, and staples before tearing up the cardboard.
Tools Needed for Cardboard Shredding
You don’t need expensive tools to learn how to shred cardboard for composting. For most cardboard shredding projects, basic household items work well. Choose your tools based on how much cardboard you want to shred and how small the pieces are.
A box cutter or sharp knife works well for cutting cardboard into strips. Scissors can handle thinner cardboard pieces. For larger quantities, a paper shredder designed for cardboard saves time and effort.
Some people use a lawn mower to shred cardboard. This method works if you have a lot of cardboard and want very small pieces. Simply spread the cardboard out on your lawn and run the mower over it a few times.
8 Step-by-Step Guide on How to Shred Cardboard for Composting
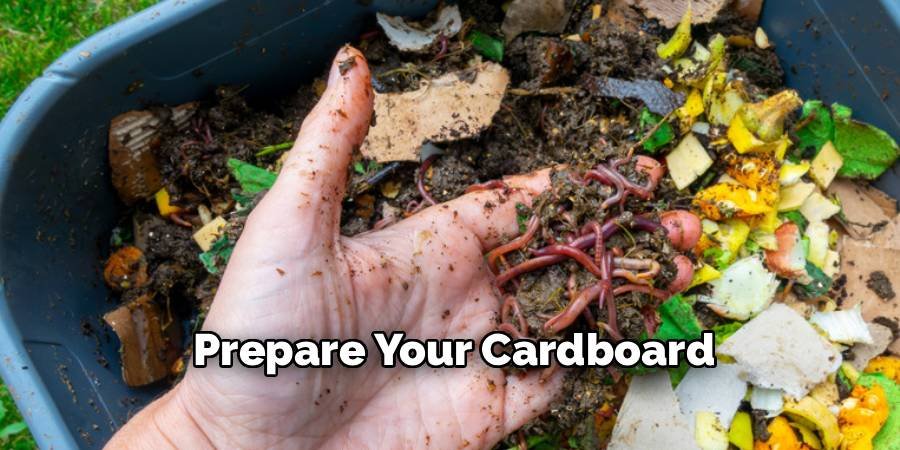
Step 1: Prepare Your Cardboard
Start by gathering clean, dry cardboard pieces. Remove all tape, staples, labels, and plastic parts. These materials do not break down in compost and can harm your plants. Cut away any waxy or shiny parts.
Flatten all the boxes and sort them by thickness. Thin cardboard, like cereal boxes, is easier to tear than thicker shipping boxes. Work in a clean, dry area where you have room to spread out your cardboard pieces. Check each piece for missing tape or staples. Even small pieces of tape can cause problems in your finished compost. Take your time doing this step because it makes the rest of the process much easier.
Step 2: Cut Cardboard into Strips
Using a sharp knife or box cutter, cut the cardboard into strips about 2 inches wide. This size is easy to handle and can be torn well with most tools. Always cut away from your body and use a cutting mat to protect your work surface.
For corrugated cardboard, cut across the corrugated lines if possible. This makes it easier to tear the cardboard into smaller pieces later. Keep your cuts straight and even for best results.
Work slowly and safely. Rushing can cause injuries to sharp tools. Take breaks if your hands get tired while cutting. It’s better to take your time than to make a mistake or get hurt.
Step 3: Tear Strips into Smaller Pieces
After cutting, tear the strips into pieces about 1-2 inches long. This size breaks down quickly in the compost pile and mixes well with other materials. Tearing is faster than cutting and creates rough edges that decompose better.
The rough edges from tearing give bacteria more surface area to work with. This means your cardboard will break down faster than smooth-cut pieces. Don’t worry about making the perfect shape – irregular pieces work just fine.
If the cardboard is too thick to tear easily, use scissors to cut it into smaller pieces. The goal is to make the pieces small enough to mix well into your compost but large enough to add structure and air space.
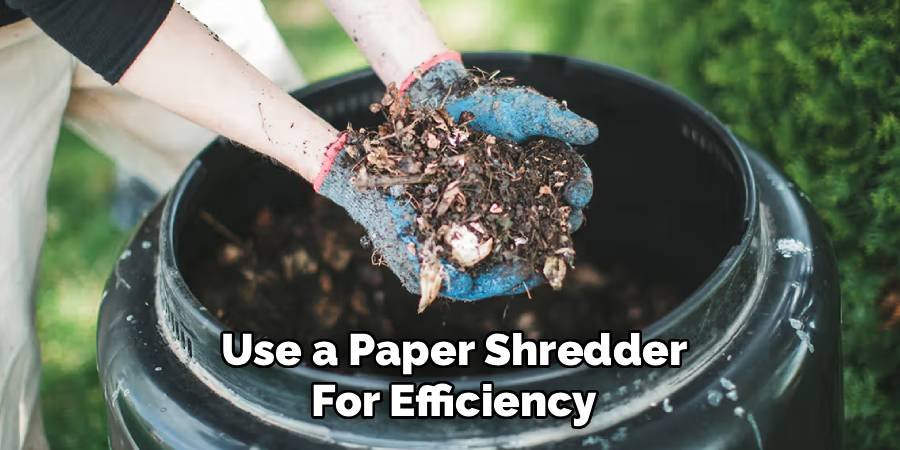
Step 4: Use a Paper Shredder for Efficiency
A cross-cut paper shredder works great for thin cardboard pieces. Feed small pieces into the shredder slowly to avoid jams. This method produces perfectly sized pieces for composting and saves a lot of time.
Not all shredders can handle cardboard, so check your manual first. Start with thin pieces to see if your shredder can handle the material. If it jams frequently, revert to the manual shredding method. Clean your shredder regularly when processing cardboard. Cardboard dust can build up and cause problems. Empty the collection bin frequently to keep the shredder working properly.
Step 5: Try the Lawn Mower Method
For larger amounts of cardboard, spread the flat pieces out on your lawn and run a mulching mower over them. This creates smaller pieces very quickly. Make sure the cardboard is completely dry before using this method.
Use a mower with a bag attachment to easily collect the shredded pieces. Run the cardboard over the mower several times until you have the pieces you want. This method works best with thin cardboard materials.
Be careful not to get cardboard pieces stuck in your mower. Remove any large pieces that don’t shred properly. Check your mower blades after using this method to make sure they are still sharp.
Step 6: Create the Right Size Pieces
Try to put cardboard pieces that are 1-3 inches in size. Pieces of this size will decompose in 3-6 months if mixed properly in the compost. Smaller pieces break down faster but can clump together and block air flow.
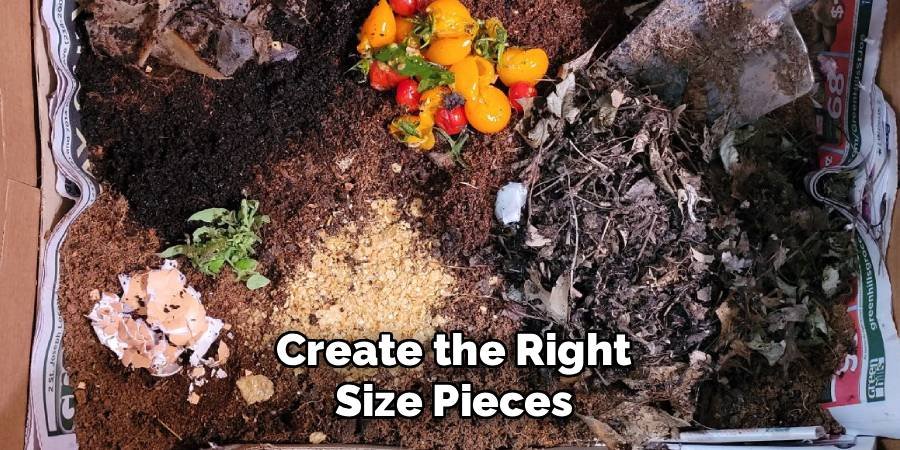
Larger pieces take longer to decompose but add better structure to your compost pile. For best results, mix different sizes together. This gives you faster decomposition and better air circulation.
Test a small batch in your compost before shredding a large amount. See how quickly your pieces break down and adjust your shredding method if necessary. Every compost pile is different.
Step 7: Remove Any Remaining Contaminants
Check your shredded cardboard pieces again for tape, staples, or other materials that shouldn’t be in the compost. Even small pieces can cause problems later. Use a magnet to find any metal staples you missed.
Choose any pieces that are plastic-coated or brightly colored. These materials cannot be used to make organic fertilizer. It’s better to throw away a few pieces than to contaminate your entire compost pile.
Check for pieces that seem too big or too small. Large pieces can be torn into smaller pieces, and very small pieces may need to be mixed in with larger pieces to prevent matting in the compost.
Step 8: Store or Add to Compost Immediately
If you are not adding the cardboard to your compost right away, store the shredded cardboard in a dry place. Wet cardboard can grow mold or attract insects. Use a plastic bin or bag to keep the cardboard dry and clean.
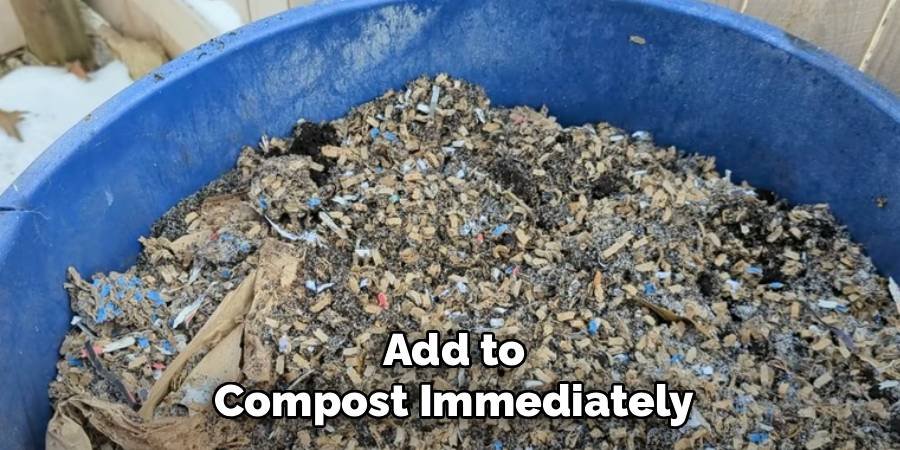
When adding to your compost, mix the cardboard pieces with green materials such as food scraps or grass clippings. Use about 3 parts brown material (cardboard) to 1 part green material for the best balance.
Gradually add the shredded cardboard to your compost pile. Don’t just dump it in one place because it can create an air-tight layer. Spread it out evenly and mix it in with the other materials as you add it.
Tips for Successful Cardboard Composting
Keep your cardboard pieces moist but not wet. Dry cardboard takes forever to break down, but excess water creates a smelly, slimy environment. Watch the moisture level of the wrung-out sponge.
Turn your compost pile regularly to mix the cardboard with the other materials. This helps everything break down evenly and prevents the cardboard from forming a thick layer that blocks air flow.
Monitor the temperature of your compost pile. Good compost warms up as the materials break down. If your pile is cold, you may need to add more green materials or turn it more frequently.
Be patient when composting cardboard. Even shredded cardboard takes months to completely decompose. Don’t expect it to disappear like food scraps or leaves.
Common Mistakes to Avoid
Don’t add too much cardboard at once. Too much can drown your compost pile and slow down the decomposition process. For best results, add cardboard gradually over time.
Avoid using cardboard that has been treated with chemicals or has a lot of ink. Pizza boxes are often too greasy to compost. For best results, use plain, clean cardboard.
Be sure to remove all tape and staples. These materials do not compost and can damage equipment or plants when used in finished compost. Take the extra time to clean your cardboard properly.
Never add wet or moldy cardboard to your compost. This can introduce harmful bacteria or fungi that can damage your compost pile. Use only clean, dry pieces of cardboard.
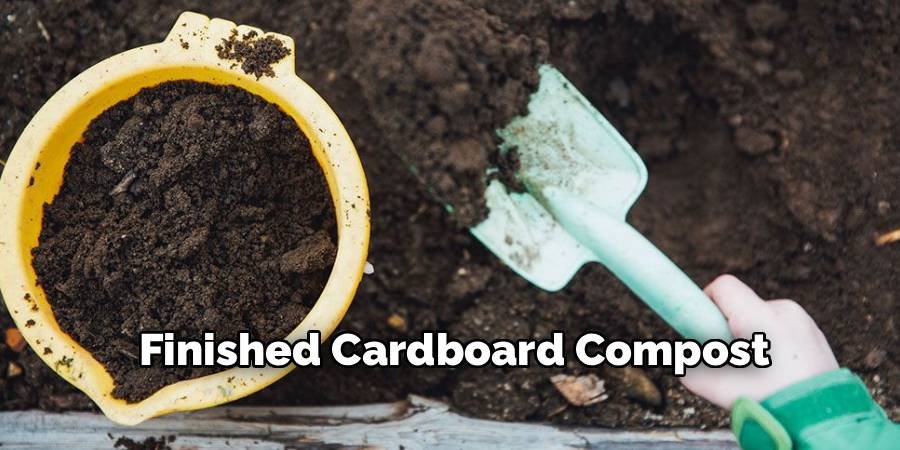
Using Your Finished Cardboard Compost
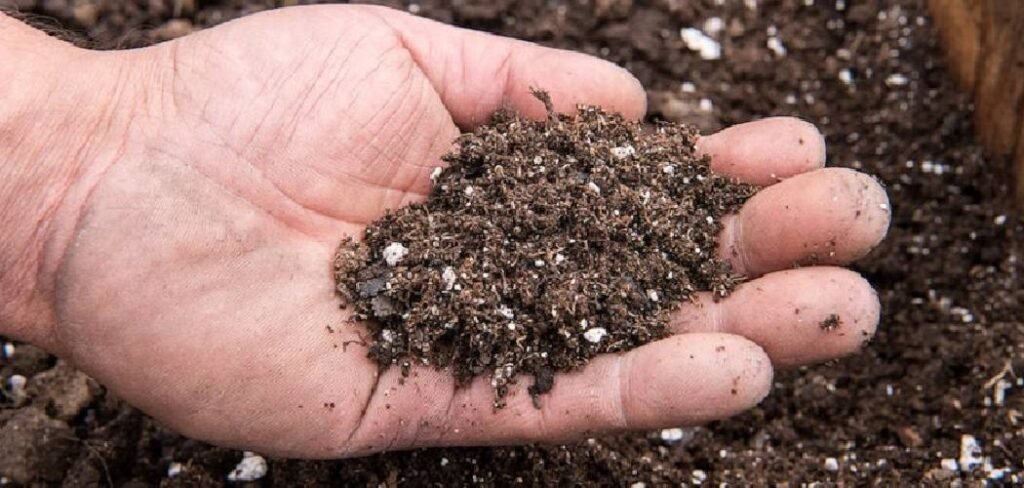
When your cardboard is fully decomposed, it becomes a rich, dark fertilizer that is perfect for the garden. This finished fertilizer improves soil structure, retains moisture, and provides nutrients for plants. Use cardboard fertilizer as mulch around trees and shrubs. It helps retain soil moisture and prevents weed growth. The fertilizer will continue to break down and feed your plants over time.
Mix the finished fertilizer into the garden soil before planting. This improves drainage in clay soil and helps retain more water and nutrients in sandy soil. Your plants will grow stronger and healthier. Check your fertilizer before using it to remove any cardboard pieces that have not yet fully decomposed. Return these pieces to your active compost pile to finish breaking down.
Environmental Benefits of Cardboard Composting
Learning to shred cardboard to make compost helps reduce landfill waste. Cardboard makes up a large portion of household waste, and composting it keeps this material out of the trash. Making cardboard compost reduces the need for chemical fertilizers in your garden. The finished compost provides natural nutrients that plants can slowly use over time. This is good for the plants and the environment.
Making your own compost from cardboard saves you the cost of buying soil amendments. You turn waste materials into valuable garden resources. This makes gardening more affordable and sustainable. Making cardboard compost also reduces methane emissions from landfills. When organic materials like cardboard break down in a landfill without oxygen, they produce methane gas. Composting prevents the formation of this greenhouse gas.
FAQs
Q: How long does shredded cardboard take to compost?
Answer: It usually takes 3-6 months for shredded cardboard to completely decompose in an active compost pile. The exact time depends on the size of the pieces, the moisture level, and how often you turn the compost.
Q: Can I put colored cardboard in my compost?
Answer: Plain colored cardboard with simple printing is generally safe for composting. Avoid cardboard with bright colors, glossy surfaces, or heavy ink coatings as these may contain harmful chemicals.
Q: What’s the best size for shredded cardboard pieces?
Answer: Pieces between 1-3 inches work best for composting. This size breaks down in a reasonable amount of time while also providing structure and air space to your compost pile.
Q: Do I need special tools to shred cardboard for composting?
Answer: No, you can use common household items like scissors, box cutters, or even tear the cardboard by hand. If you have a lot of cardboard, a paper shredder and lawn mower can speed up the process.
Q: Can wet cardboard be composted?
Answer: Slightly damp cardboard is fine for composting, but avoid soaking wet or moldy cardboard. Wet cardboard can create slimy conditions in your compost pile and slow down decomposition.
Conclusion
Learning how to shred cardboard for composting is a simple way to reduce waste and create valuable soil for your garden. By following these 8 easy steps, you can turn cardboard waste into a rich fertilizer that helps plants grow better. The process requires basic equipment and takes a little time, but the benefits last for months.
Shredded cardboard provides essential carbon for a healthy compost pile and creates a composting atmosphere that aids decomposition. When mixed properly with green materials, cardboard breaks down into dark, nutrient-rich soil amendments. This natural process helps the environment by reducing landfill waste and greenhouse gas emissions.
Start small with your cardboard composting project and learn what works best for your situation. With practice, you will be able to develop efficient methods for preparing and using cardboard in your compost system. Your garden will benefit from this sustainable practice for years to come.
About Ravuk Barg
B.Sc. Horticulture Science | Certified Master Gardener
Ravuk Barg has spent more than a decade with his hands in the soil and his head full of questions about why some gardens thrive while others struggle. What started as a single raised bed of tomatoes and basil in a modest backyard has grown into a deep, working knowledge of everything from seed germination and soil amendment to companion planting and seasonal pruning.
Over the years, Ravuk has gardened through drought summers, waterlogged springs, and pest invasions that would make most gardeners hang up their trowels for good. Those hard seasons, he’ll tell you, taught him more than any perfect growing year ever could. He writes from that earned experience—covering vegetable growing, ornamental planting, houseplant care, composting, and garden design with equal confidence and curiosity.
Philosophy & Approach
Ravuk’s approach to gardening is rooted in practicality. He favors organic methods not out of dogma, but because they work long-term—resulting in healthier soil, fewer inputs, and stronger plants. He has a particular fondness for heirloom vegetable varieties (the kind with proper flavor), unruly cottage-style flower beds, and the stubborn houseplants that everyone else gave up on.
The Mission: Give readers the honest, experience-backed advice that helps them actually succeed in their gardens—not just the ideal version, but the real one; weeds, failures, and all.
Education & Credentials
-
B.Sc. in Horticulture Science
-
Greenfield Agricultural University
-
Focus: Plant Physiology, Soil Ecology, and Sustainable Crop Production
-
-
Master Gardener Certification
-
Cooperative Extension Service
-
Focus: 200+ hours of hands-on practical training and community garden work
-
Continuing Education
-
Organic Pest Management
-
Native Plant Landscaping
-
Sustainable Crop Production