

Keeping your newly planted or young trees healthy and thriving can feel like a big responsibility. Proper hydration is the most critical factor in their early development, but traditional watering methods can be inefficient and time-consuming. This is where tree watering bags come in as a game-changer for gardeners. These simple, effective tools provide a slow, deep-soaking irrigation that encourages strong root growth. If you’re wondering how to use tree watering bags to give your trees the best start, you’ve come to the right place.
This guide will walk you through everything you need to know, from selecting the right bag to setting it up for optimal results, ensuring your trees get the consistent moisture they need to flourish.
Why Proper Watering is Crucial for Tree Health
Before we dive into the specifics of watering bags, it’s important to understand why this method is so beneficial. A tree’s ability to establish a deep and robust root system depends entirely on consistent access to water, especially during its first few years after planting. Surface watering with a hose or sprinkler often leads to shallow root growth and significant water loss through evaporation and runoff. In contrast, deep watering encourages roots to grow downward in search of moisture, anchoring the tree more securely and making it more resilient to drought and stress.
Tree watering bags are designed specifically for this purpose, delivering water directly to the root zone over several hours, mimicking a slow, natural rain and eliminating waste.
7 Step Methods Guide on How to Use Tree Watering Bags
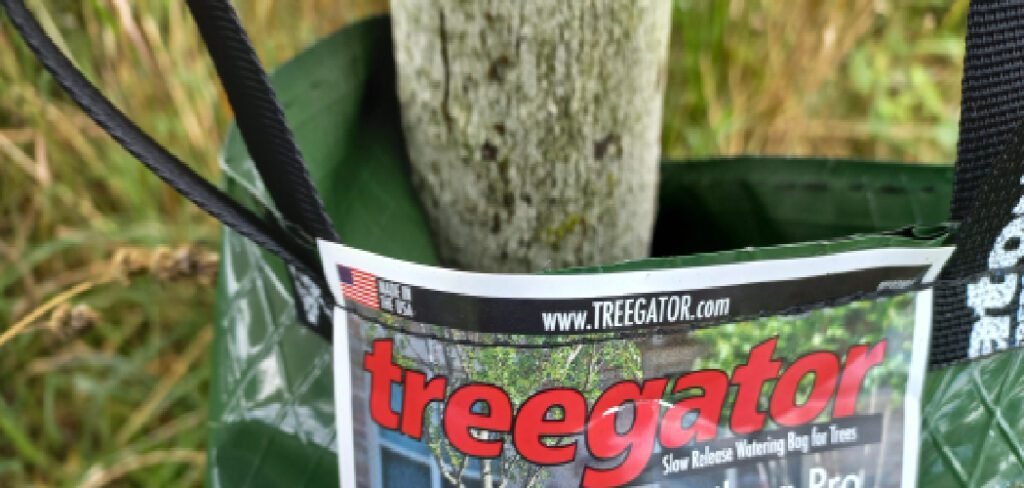
Step 1: Choose the Right Tree Watering Bag
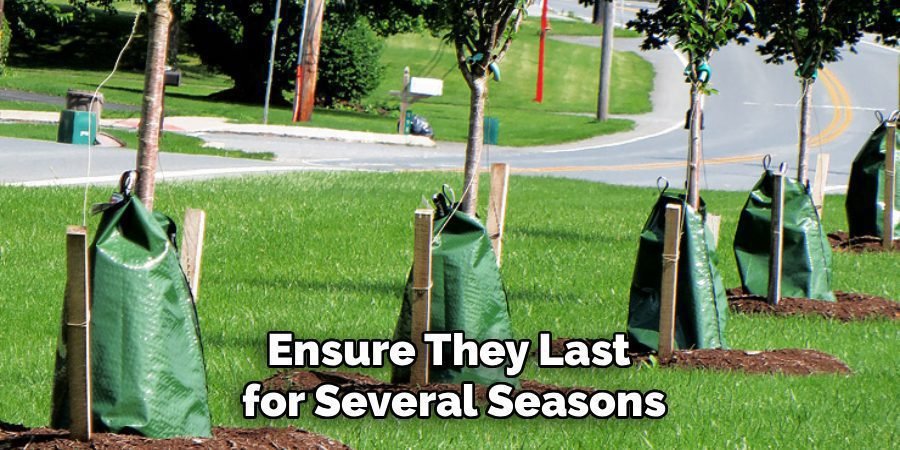
First, select a watering bag that suits your tree’s size. Most standard bags are designed for saplings and young trees with trunks up to four inches in diameter. For larger trees, you may need to purchase two bags and zip them together to fit around the trunk comfortably. Look for bags made from durable, UV-resistant material, as this will prevent them from degrading in the sun and ensure they last for several seasons. The capacity of the bag, typically ranging from 15 to 20 gallons, will determine how long it takes to empty and how frequently you will need to refill it.
Step 2: Prepare the Area Around the Tree
Before placing the bag, prepare the ground at the base of your tree. Clear away any mulch, leaves, weeds, or rocks from the area immediately surrounding the trunk. You want the bag to sit on a flat, level surface to ensure it remains stable and distributes water evenly. Piling mulch against the trunk can trap excess moisture and lead to rot, so it’s a good practice to keep a small, clear ring around the base of the tree anyway. This simple preparation step helps the bag function correctly and prevents any potential damage to the tree’s bark.
Step 3: Wrap the Bag Around the Tree Trunk
With the area cleared, you can now position the bag. Unzip the bag completely and wrap it around the tree trunk, with the zippers on the uphill side if the tree is on a slope. This placement helps ensure even water distribution as gravity pulls the water downward. The bag should fit snugly but not too tightly around the trunk. A proper fit prevents the bag from shifting while allowing enough room for the trunk to grow. It should rest flat on the ground, forming a donut shape around the base of the tree.
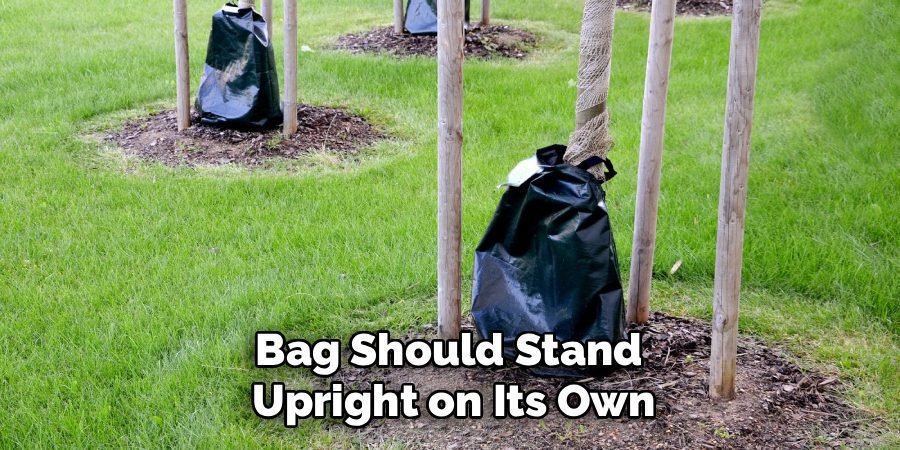
Step 4: Zip Up the Bag Securely
Carefully zip the two sides of the bag together. Start from the bottom and pull the zipper upward slowly and steadily. Make sure the zipper tracks are aligned to avoid snags or damage. Most bags have a sturdy zipper designed for outdoor use, but forcing it can cause it to break. Once zipped, the bag should stand upright on its own, encircling the trunk. For larger trees requiring two bags, you will zip one bag to the other, creating a larger circle that can accommodate the wider trunk diameter. Double-check that the connection is secure.
Step 5: Locate and Open the Fill Flap
Next, find the fill opening on the top of the bag. This is usually a small, capped flap located near the zipper. Lift the cap to expose the opening where you will insert the hose. Some bags may have a label or an arrow pointing to the fill port. Before adding water, ensure the bag is positioned correctly and sitting flat on the ground. This is your last chance to make any adjustments before the weight of the water makes it difficult to move. A properly seated bag will deliver water directly to the root ball where it’s needed most.
Step 6: How to Use Tree Watering Bags for Filling
Insert your garden hose into the fill opening. Turn the water on at a low to medium pressure to avoid splashing and allow the bag to fill gradually. As the bag fills, it will expand and become more stable. Fill the bag until it is about one-quarter full, then gently lift up on the two black straps at the top to expand the bottom and ensure it settles correctly. Continue filling until the bag is full but not overstuffed, as this could put stress on the seams. A full 15- or 20-gallon bag will provide a slow-release watering for the next 5 to 9 hours.
Step 7: Monitor the Drip Rate
Once filled, the bag will begin to release water immediately through small drip holes at the bottom. The magic of this system is its slow-release mechanism. The water will seep out over several hours, providing a deep, thorough soaking that encourages strong root development. Check on the bag after an hour to confirm it is dripping properly and not leaking from the seams. A properly functioning bag should empty completely within 5 to 9 hours. This slow, steady application is far more effective than a quick dousing with a hose, which often results in runoff.
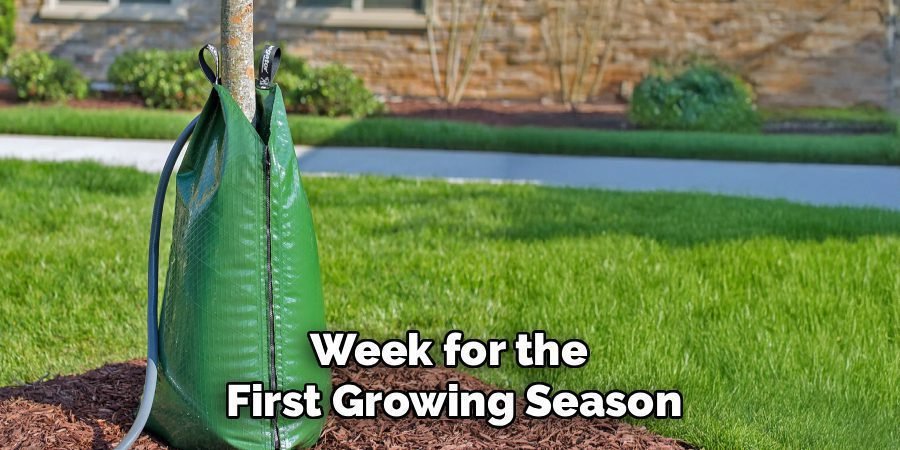
Refill the Bag as Needed
The frequency of refilling depends on your climate, soil type, and the tree’s specific needs. For newly planted trees, a good rule of thumb is to use the watering bag once or twice a week for the first growing season. In very hot or dry weather, you may need to increase the frequency. Always check the soil moisture a few inches below the surface before refilling. If the soil is still damp, you can wait another day or two. Consistent monitoring will help you establish a watering schedule that keeps your tree perfectly hydrated without overwatering.
Frequently Asked Questions (FAQ)
How Often Should You Use a Tree Watering Bag?
For newly planted trees, it is generally recommended to fill the bag once or twice per week during the first growing season. However, this can vary based on rainfall, temperature, and soil conditions. In extreme heat or drought, you may need to fill it more often. Always check the soil moisture about 4-6 inches deep before refilling. If it feels dry to the touch, it’s time to water again. For established trees, you may only need to use the bag during prolonged dry spells.
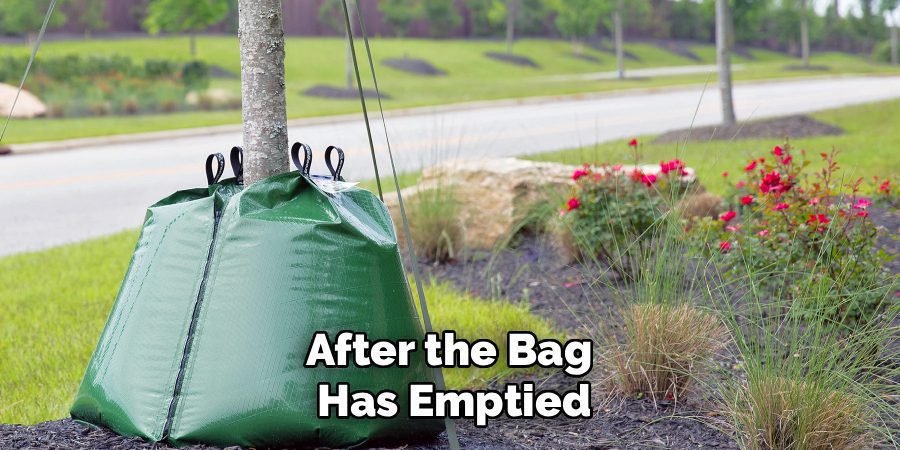
Can You Leave Tree Watering Bags on All the Time?
It is best not to leave a tree watering bag wrapped around the trunk continuously. After the bag has emptied, remove it to allow the bark to dry and breathe. Leaving it on permanently can trap moisture against the trunk, creating a damp environment that invites pests, fungi, and diseases like bark rot. A good practice is to remove the bag for a few days between waterings. During the dormant winter months, you should empty, clean, and store the bag indoors.
Do Tree Watering Bags Attract Mosquitoes?
Because tree watering bags are designed to empty completely within 5 to 9 hours, they do not hold standing water long enough for mosquitoes to complete their life cycle. Mosquito larvae require at least 48 to 72 hours in stagnant water to develop. Since the bag drains relatively quickly, it poses a very low risk for mosquito breeding. To be extra safe, simply ensure the bag is fully drained after each use and stored properly when not in use for extended periods.
Can You Put Fertilizer in a Tree Watering Bag?
It is not recommended to add liquid fertilizer to a tree watering bag. The concentrated fertilizer can damage the bag’s material and potentially harm the tree’s sensitive surface roots and bark by delivering too much at once. Fertilizers are best applied to the soil around the tree’s dripline, away from the trunk, where they can be absorbed more evenly by the root system. Stick to using only water in your bag to ensure both the bag and the tree remain in good condition.
How Long Do Tree Watering Bags Last?
The lifespan of a tree watering bag depends on its quality and how it is maintained. A high-quality bag made from durable, UV-stabilized polyethylene can last for three to five seasons or even longer with proper care. To extend its life, avoid dragging it on rough surfaces, store it clean and dry during the winter, and ensure it is not overfilled. Cheaper, lower-quality bags may only last a single season before they start to degrade from sun exposure and regular use.
Conclusion
Mastering how to use tree watering bags is one of the simplest and most effective steps you can take to ensure the long-term health and vitality of your young trees. By delivering water slowly and directly to the roots, these tools eliminate guesswork, conserve water, and promote the deep root systems that are essential for a tree’s stability and resilience. By following the steps outlined in this guide—from choosing the right bag to establishing a consistent refilling schedule—you can provide your trees with the ideal conditions for robust growth. Investing in this simple technique will pay dividends for years to come in the form of strong, beautiful trees.
About Ravuk Barg
B.Sc. Horticulture Science | Certified Master Gardener
Ravuk Barg has spent more than a decade with his hands in the soil and his head full of questions about why some gardens thrive while others struggle. What started as a single raised bed of tomatoes and basil in a modest backyard has grown into a deep, working knowledge of everything from seed germination and soil amendment to companion planting and seasonal pruning.
Over the years, Ravuk has gardened through drought summers, waterlogged springs, and pest invasions that would make most gardeners hang up their trowels for good. Those hard seasons, he’ll tell you, taught him more than any perfect growing year ever could. He writes from that earned experience—covering vegetable growing, ornamental planting, houseplant care, composting, and garden design with equal confidence and curiosity.
Philosophy & Approach
Ravuk’s approach to gardening is rooted in practicality. He favors organic methods not out of dogma, but because they work long-term—resulting in healthier soil, fewer inputs, and stronger plants. He has a particular fondness for heirloom vegetable varieties (the kind with proper flavor), unruly cottage-style flower beds, and the stubborn houseplants that everyone else gave up on.
The Mission: Give readers the honest, experience-backed advice that helps them actually succeed in their gardens—not just the ideal version, but the real one; weeds, failures, and all.
Education & Credentials
-
B.Sc. in Horticulture Science
-
Greenfield Agricultural University
-
Focus: Plant Physiology, Soil Ecology, and Sustainable Crop Production
-
-
Master Gardener Certification
-
Cooperative Extension Service
-
Focus: 200+ hours of hands-on practical training and community garden work
-
Continuing Education
-
Organic Pest Management
-
Native Plant Landscaping
-
Sustainable Crop Production