

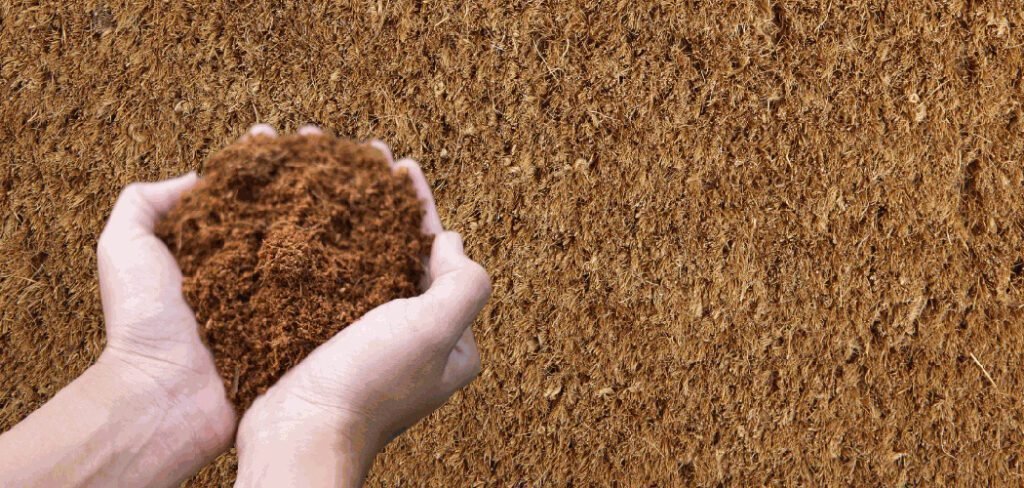
Coco coir is a fantastic, sustainable growing medium for all sorts of plants, from houseplant seedlings to vegetable gardens. It’s known for its excellent water retention and aeration properties. However, straight out of the package, coco coir is not sterile. It can sometimes contain naturally occurring pathogens or weed seeds that could harm your delicate plants. Learning how to sterilize coco coir is a simple but crucial step to ensure your plants get the healthiest start possible.
This process eliminates any unwanted guests, giving you a clean, safe foundation for your gardening projects and promoting vigorous growth from day one.
Why Sterilizing Coco Coir is Important
Taking the time to sterilize your coco coir is one of the best insurance policies for your garden. This simple process offers significant benefits that lead to healthier, more robust plants. The primary reason for sterilization is to eliminate potential contaminants. Coco coir, being a natural product, can harbor fungal spores, bacteria, and other pathogens that could cause diseases like damping-off, which is fatal to young seedlings.
Sterilization also eradicates any lingering weed seeds that may have found their way into the coir during processing and shipping. By starting with a clean slate, you ensure that your plants aren’t competing for water, nutrients, and light with unwanted intruders. Furthermore, a sterile medium prevents the spread of soil-borne pests. This step provides a controlled, safe environment, allowing your seeds or young plants to establish strong root systems without facing immediate threats, ultimately leading to greater success in your gardening endeavors.
8 Step Methods Guide on How to Sterilize Coco Coir
Step 1: Gather Your Materials
Before you begin, gather everything you need to make the process smooth and efficient. You will need a compressed coco coir brick or loose coir, a large container or bucket for rehydration, and boiling water. You’ll also want a large, oven-safe baking pan or tray and aluminum foil. A large spoon or trowel for mixing will be helpful. Finally, make sure you have access to an oven and a clean, flat surface to work on. Having all your supplies ready ensures you can move from one step to the next without interruption, making the process much easier.
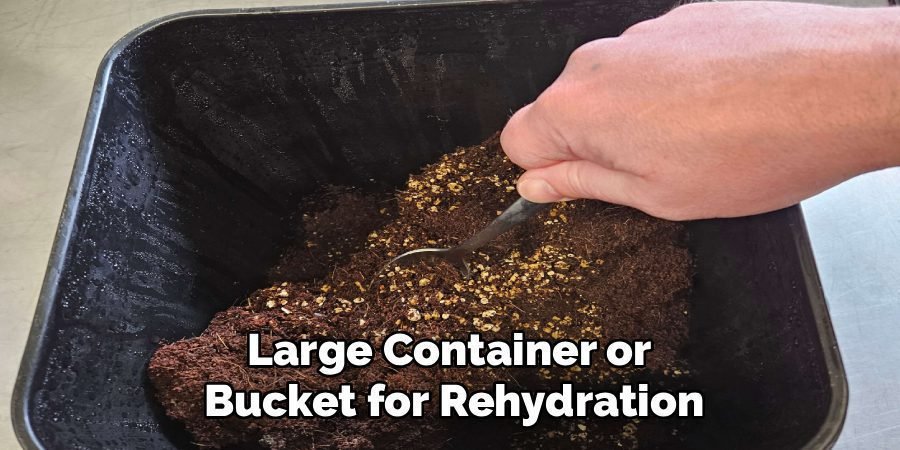
Step 2: Rehydrate the Coco Coir
If you are starting with a compressed coco coir brick, your first task is to rehydrate it. Place the brick in your large bucket or container. Slowly pour warm or hot water over the brick. You will be amazed as it begins to expand, often increasing to five to seven times its original volume. Use your spoon or trowel to break apart the coir as it absorbs the water. Continue adding water and mixing until the coir is uniformly moist and fluffy, with a consistency similar to rich, dark soil. Make sure there are no dry clumps left.
Step 3: Squeeze Out Excess Water
Once the coco coir is fully hydrated, it will likely be holding too much water. You want it to be damp, not soaking wet. A good rule of thumb is to grab a handful and squeeze it firmly. Only a few drops of water should come out. If a stream of water runs out, it’s too wet. Work in batches, squeezing out the excess moisture until the entire volume of coir has the ideal dampness. This step is important because overly saturated coir can create an anaerobic environment in the oven, which is less effective for sterilization.
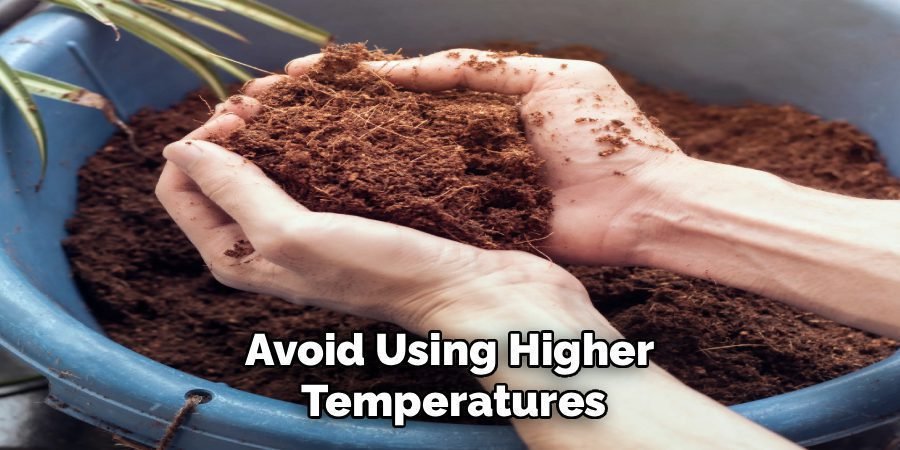
Step 4: Preheat Your Oven
Now it’s time to prepare for the heat treatment. Preheat your oven to a temperature between 180°F and 200°F (82°C to 93°C). This temperature range is hot enough to kill most harmful pathogens, fungal spores, and weed seeds without causing the coco coir to burn or release unpleasant odors. Avoid using higher temperatures, as this can degrade the beneficial lignins in the coir, affecting its structure and water-holding capacity. Let the oven preheat completely before you place the coir inside to ensure even and effective sterilization.
Step 5: Prepare the Baking Pan
Spread the damp, rehydrated coco coir evenly across your large baking pan or tray. Aim for a layer that is no more than four inches deep. A thinner layer allows for more consistent heat penetration, ensuring that every part of the coir reaches the target temperature. If you have a large amount of coir, it is better to process it in multiple batches rather than trying to sterilize a very deep layer at once. Using a clean pan prevents introducing new contaminants before the sterilization process even begins.
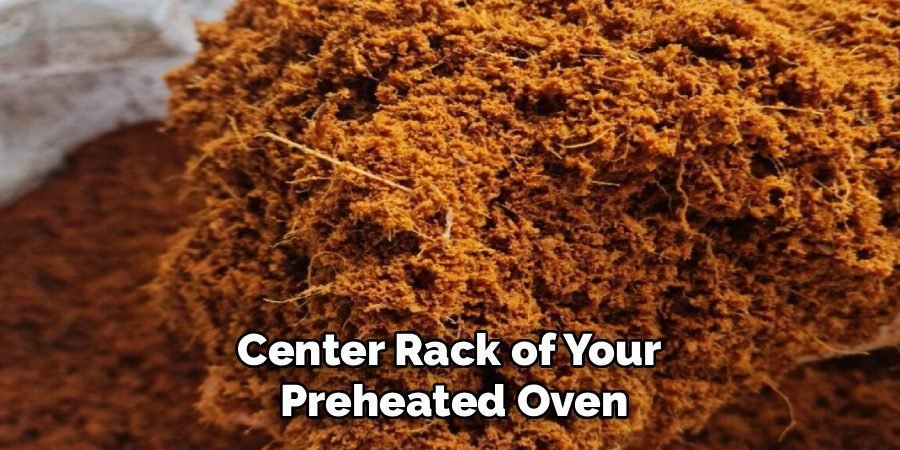
Step 6: How to Sterilize Coco Coir in the Oven
Cover the baking pan tightly with aluminum foil. This traps steam, which aids in the sterilization process and prevents the top layer of coir from drying out too quickly. Place the covered pan in the center rack of your preheated oven. Let it bake for at least 30 minutes. For larger or deeper batches, you may want to extend the baking time to 45-60 minutes to ensure the core temperature reaches the necessary level for sterilization. This oven method is one of the most reliable ways to achieve a truly sterile growing medium.
Step 7: Cool the Coco Coir Completely
After the baking time is complete, carefully remove the hot pan from the oven using oven mitts. Place it on a heat-resistant surface and leave the aluminum foil cover in place. It is crucial to let the coco coir cool down completely to room temperature before you handle it or use it for planting. This cooling process can take several hours, so be patient. Removing the foil too early could introduce airborne contaminants to the sterile medium, undoing all your hard work. Keeping it covered ensures it remains sterile as it cools.
Step 8: Store or Use Your Sterile Coco Coir
Once the coco coir is completely cool, it is ready for use. You can immediately fill your seed trays, pots, or containers and start planting. The sterile, fluffy medium provides the perfect environment for germination and root development. If you have sterilized more coir than you need right away, you can store it for future use. Place the sterile coir in a clean, airtight container, a sealable bag, or a new plastic tote. Proper storage will keep it sterile and ready for your next gardening project.
Frequently Asked Questions (FAQ)
Can I Sterilize Coco Coir in the Microwave?
Yes, you can sterilize coco coir in the microwave. Place a manageable amount of damp coir in a microwave-safe container or bag, ensuring it is not sealed tightly to allow steam to escape. Heat it on high for about two minutes per half-gallon of coir, or until you see steam rising. Be very careful when removing it, as the coir and steam will be extremely hot. Let it cool completely before using. This method is fast and effective for smaller batches of growing medium.
Is It Necessary to Sterilize Coco Coir for All Plants?
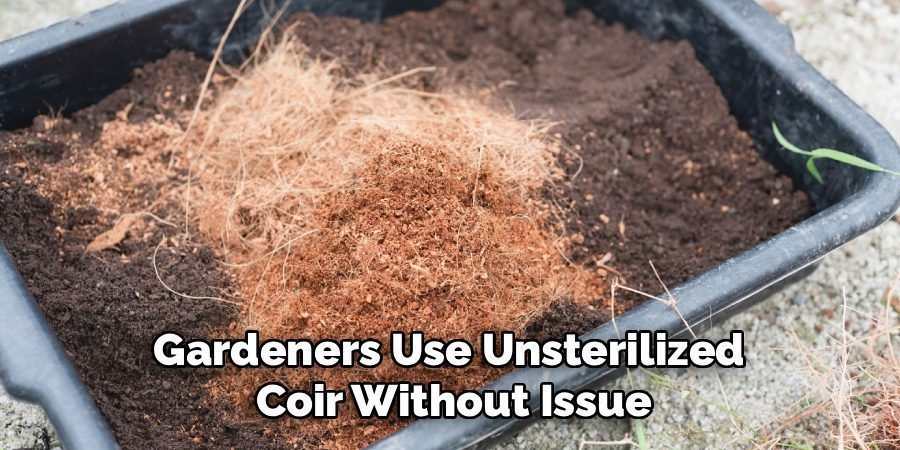
While not strictly necessary for all plants, it is highly recommended, especially for starting seeds or propagating cuttings. Seedlings are very vulnerable to damping-off disease, which is caused by common soil fungi. Sterilizing eliminates this threat. For mature, established plants, the risk is lower, and some gardeners use unsterilized coir without issue. However, to give your plants the best possible start and avoid potential problems, sterilization is a wise and simple precaution that significantly increases your chances of success.
What Happens If I Overheat the Coco Coir?
Overheating coco coir by using temperatures above 200°F (93°C) can be detrimental. High heat can cause the coir to break down, destroying its beneficial physical properties, such as its ability to hold water and air. It can also release organic compounds that may be harmful to young plants. You might also notice a burnt smell. Sticking to the recommended temperature range ensures that you kill the pathogens without damaging the integrity of the growing medium itself, keeping it effective for your plants.
Can I Reuse Sterilized Coco Coir?
You can reuse coco coir, but you should always sterilize it again before the next use. Old coir will contain roots from the previous plant and may have been colonized by new pathogens from the environment over time. To reuse it, first shake out old roots and debris, then rinse it thoroughly to wash away any accumulated salts from fertilizers. After rinsing and squeezing out excess water, simply repeat the sterilization process described above. This ensures the medium is clean and safe for your new plants.
Does Sterilizing Coco Coir Kill Beneficial Microbes?
Yes, the sterilization process is non-selective and will kill both harmful pathogens and any beneficial microbes that may be present. Coco coir in its raw state has very few beneficial microbes to begin with, so the loss is minimal. After sterilizing and potting your plants, you can reintroduce beneficial microbes if you wish. This can be done by adding a high-quality compost, worm castings, or a commercial microbial inoculant to your planting mix to foster a healthy and vibrant root zone.
Conclusion
Creating a healthy foundation for your plants is one of the most impactful things a gardener can do. As we’ve covered, the process is straightforward and requires only basic kitchen equipment. By rehydrating, heating, and cooling your coco coir, you eliminate harmful pathogens, weed seeds, and pests that could jeopardize your seedlings. This gives your plants an undisputed advantage, allowing them to grow strong and healthy from the very beginning. Now that you know how to sterilize coco coir, you can confidently add this simple but powerful technique to your gardening routine and watch your plants thrive.
About Ravuk Barg
B.Sc. Horticulture Science | Certified Master Gardener
Ravuk Barg has spent more than a decade with his hands in the soil and his head full of questions about why some gardens thrive while others struggle. What started as a single raised bed of tomatoes and basil in a modest backyard has grown into a deep, working knowledge of everything from seed germination and soil amendment to companion planting and seasonal pruning.
Over the years, Ravuk has gardened through drought summers, waterlogged springs, and pest invasions that would make most gardeners hang up their trowels for good. Those hard seasons, he’ll tell you, taught him more than any perfect growing year ever could. He writes from that earned experience—covering vegetable growing, ornamental planting, houseplant care, composting, and garden design with equal confidence and curiosity.
Philosophy & Approach
Ravuk’s approach to gardening is rooted in practicality. He favors organic methods not out of dogma, but because they work long-term—resulting in healthier soil, fewer inputs, and stronger plants. He has a particular fondness for heirloom vegetable varieties (the kind with proper flavor), unruly cottage-style flower beds, and the stubborn houseplants that everyone else gave up on.
The Mission: Give readers the honest, experience-backed advice that helps them actually succeed in their gardens—not just the ideal version, but the real one; weeds, failures, and all.
Education & Credentials
-
B.Sc. in Horticulture Science
-
Greenfield Agricultural University
-
Focus: Plant Physiology, Soil Ecology, and Sustainable Crop Production
-
-
Master Gardener Certification
-
Cooperative Extension Service
-
Focus: 200+ hours of hands-on practical training and community garden work
-
Continuing Education
-
Organic Pest Management
-
Native Plant Landscaping
-
Sustainable Crop Production