

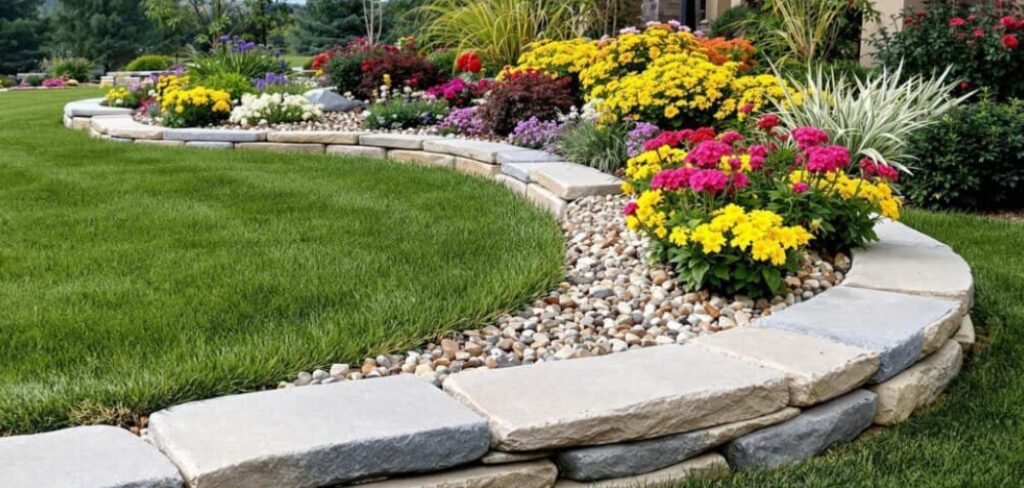
Sloped yards present a unique landscaping challenge, but they also offer a fantastic opportunity to create a stunning, multi-tiered garden. A stone flower bed can transform an incline from a difficult-to-mow area into a beautiful focal point. This project not only adds curb appeal and value to your home but also helps with soil erosion and water management. If you’ve been wondering how to build a stone flower bed on a slope, you’ve come to the right place.
This guide will walk you through the entire process, providing clear, beginner-friendly steps to help you achieve a professional-looking result. With the right materials and a solid plan, you can build a durable and attractive feature that will last for years.
Why a Stone Flower Bed on a Slope is a Smart Choice
Building on a slope might seem daunting, but it’s one of the most effective ways to manage a challenging landscape. A terraced stone bed breaks the incline into manageable, level sections, which dramatically reduces soil erosion caused by water runoff. This structure allows water to soak into the soil, nourishing your plants instead of washing away valuable topsoil. Aesthetically, it creates visual interest and depth, turning a plain hill into a dynamic, multi-level display of flowers and foliage. Furthermore, stone is a durable, low-maintenance material that provides a timeless look, blending naturally with the outdoor environment.
9 Step-by-Step Guide on How to Build a Stone Flower Bed on a Slope
Step 1: Design and Mark Your Layout
Before you lift a single stone, visualize your flower bed. Decide on its shape, size, and number of tiers. Use a garden hose or landscape marking paint to outline the bed’s perimeter directly on the slope. This visual guide is crucial for ensuring the final shape meets your expectations. Consider how the bed will look from different viewpoints, like your deck or windows, and adjust the design until you are completely satisfied with its placement and flow.

Once the layout is marked, begin removing any existing grass or weeds within the outlined area. Use a spade or a sod cutter to clear the space, ensuring the ground is free from vegetation that could interfere with the flower bed. After clearing, level the base of the slope as much as possible to create a stable foundation for your tiers. This step is essential for preventing erosion and ensuring that your flower bed retains its structure over time. Taking the time to properly prepare the area will make the installation process smoother and more effective.
Step 2: Clear and Excavate the Area
Once your design is marked, it’s time to prepare the ground. Remove all grass, weeds, and large rocks from within the outlined area. A flat-edged spade is perfect for slicing away the sod. For the first tier, you’ll need to dig a trench for the base course of stones. This trench should be about 4-6 inches deep and wide enough to accommodate your chosen stones, creating a level foundation which is essential for stability.
Compact the bottom of the trench using a hand tamper or plate compactor to create a sturdy base. Once compacted, add a layer of gravel about 2-3 inches thick to assist with drainage and further stabilize the foundation. Use a level to ensure the gravel is evenly distributed and adjust as necessary. This step lays the groundwork for a stable and long-lasting structure, so take the time to ensure everything is even and secure before proceeding to the next phase.
Step 3: Create a Level Foundation
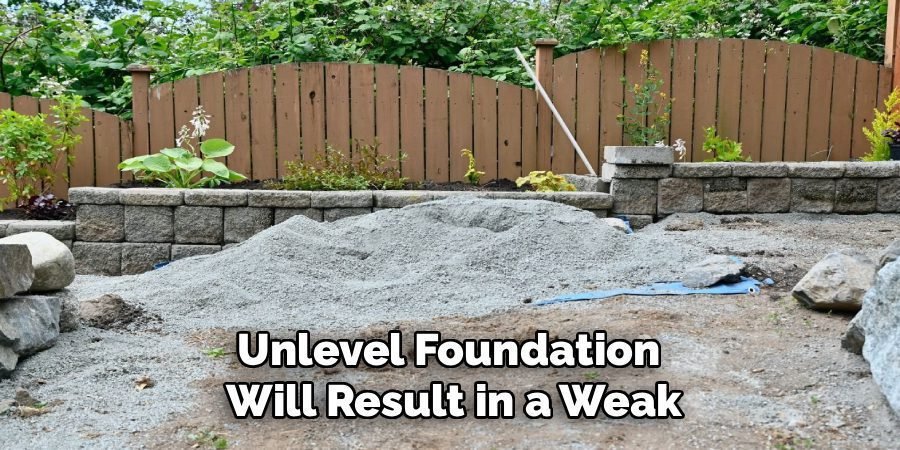
A level base is the most critical part of building a durable wall. After digging the trench, add a 2-3 inch layer of paver base or crushed gravel. Use a hand tamper to compact this material firmly until it’s solid and level. Check for levelness both front-to-back and side-to-side with a carpenter’s level. An unlevel foundation will result in a weak, unstable wall, so take your time to get this step absolutely right.
Step 4: Lay the First Course of Stones
Place your largest, flattest stones in the trench to form the first course. This foundational layer sets the stage for the entire wall. Wiggle each stone into the gravel base to ensure it is secure and doesn’t rock. As you lay them side-by-side, make sure they fit snugly together. Use your level frequently to confirm that this first course is perfectly horizontal. A solid, level beginning prevents problems as you build higher.
After completing the first course, begin stacking subsequent layers of stones. Carefully choose stones that interlock well with those below to add stability. Stagger the joints between stones in each row to create a stronger structure, much like laying bricks. Gaps should be kept to a minimum, and smaller stones or wedges can be used to fill any uneven spaces. Continuously check that the wall remains level and leans slightly inward towards the slope for added durability. Patience and precision during this process are key to building a sturdy and visually appealing wall.
Step 5: Backfill and Add Drainage
With the first course in place, it’s time to backfill. Shovel soil or gravel into the space directly behind the stones. This backfill provides support and prevents the wall from bowing under the pressure of the earth behind it. If your area experiences heavy rain, consider laying a perforated drain pipe behind the wall, surrounded by gravel. This will channel excess water away safely, protecting your wall and plant roots from waterlogging and pressure.
Step 6: How to Build the Subsequent Courses
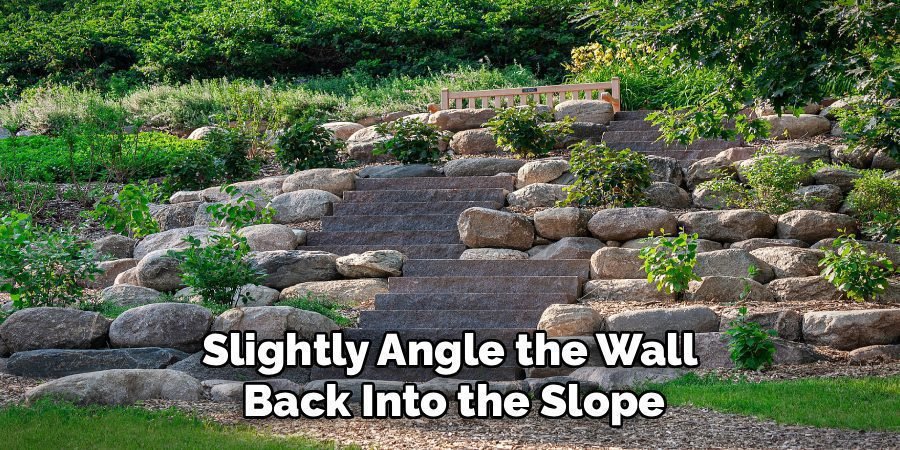
Begin stacking the next layers of stones. Stagger the joints between stones from one course to the next, similar to a brick pattern. This technique adds significant strength and stability to the wall. For added security, you can use a landscape block adhesive between each course. As you build, slightly angle the wall back into the slope—this is called “battering”—to better resist the pressure of the soil behind it.
Step 7: Build Additional Tiers if Desired
If your design includes multiple terraces, now is the time to build them. Repeat the process of excavating a trench, creating a level base, and laying the courses for each new tier. Position each subsequent tier further back into the slope. This terraced design creates a series of level planting areas, making your slope more functional and visually appealing. Ensure each tier’s wall is as sturdy and level as the first.
Step 8: Cap the Wall and Add Topsoil
Finish your wall with a final course of capstones. These should be wide, flat stones that create a polished, uniform top edge. Secure them with landscape adhesive for maximum stability. Once the walls are complete, you can fill each tier of the flower bed with a high-quality garden soil or topsoil mixed with compost. This nutrient-rich base will give your plants the best possible start in their new home.
Water the soil thoroughly before planting to ensure it settles properly and eliminates any air pockets. When selecting plants for your flower bed, consider a mix of colors, heights, and blooming seasons to create visual interest throughout the year. Arrange taller plants toward the back or center of each tier, with smaller, spreading varieties near the edges. This layered approach will maximize the aesthetic appeal of your garden and ensure each plant receives adequate sunlight.
Step 9: Choose and Plant Your Flowers
The final step is the most rewarding: planting. Select plants that are well-suited for your climate and the amount of sunlight the area receives. Consider using a mix of perennials and annuals for continuous color. Taller plants can go in the back, while cascading or trailing plants look beautiful spilling over the stone edges. Water your new plants thoroughly and add a layer of mulch to retain moisture and suppress weeds.
Common Mistakes to Avoid
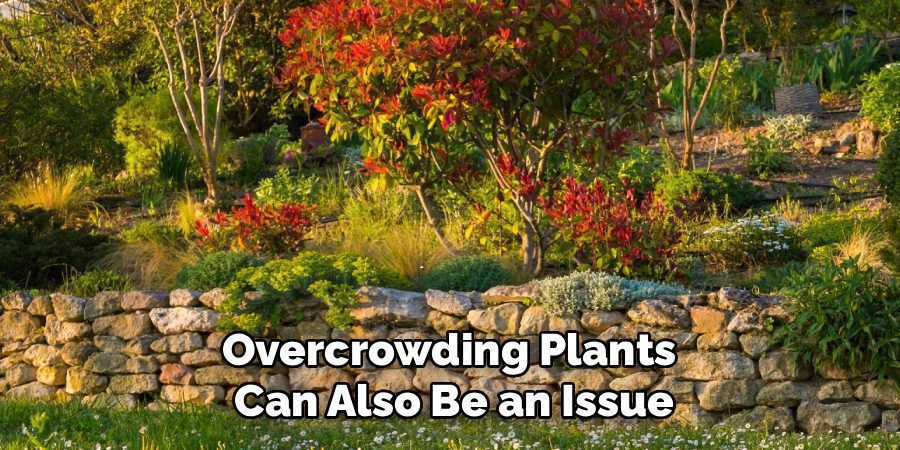
When creating a garden bed with stone edging, there are a few common pitfalls to steer clear of. One mistake is not properly leveling the ground before laying the stones, which can result in an uneven and unstable edging. Another frequent error is failing to account for drainage, leading to water pooling around the plants and causing root rot. Overcrowding plants can also be an issue, as it restricts growth and reduces air circulation.
Lastly, neglecting regular maintenance, such as weeding and adjusting stones that may shift over time, can impact the overall appearance and longevity of your garden bed. By avoiding these mistakes, you can ensure your garden bed remains beautiful and functional for years to come.
Frequently Asked Questions (FAQ)
What Are the Best Stones for a Retaining Wall?
The best stones are heavy, flat, and somewhat uniform in shape. Fieldstone, limestone, and granite are popular choices for their durability and natural appearance. For a more uniform look, manufactured retaining wall blocks are a great option as they are designed to interlock. Your choice depends on your budget, desired aesthetic, and the height of the wall. Heavier stones provide better stability, which is crucial for a wall built on an incline.
Do I Need a Permit to Build a Retaining Wall?
Whether you need a permit often depends on the wall’s height. Many municipalities require a permit for retaining walls over three or four feet tall. It is always best to check with your local building department or homeowners’ association before starting your project. They can provide specific guidelines and ensure your project complies with all local codes and safety regulations, saving you potential headaches later.
How Do I Ensure Proper Drainage for the Flower Bed?
Proper drainage is key to preventing water pressure from damaging your wall. Start by laying a gravel base in your foundation trench. For taller walls or areas with poor drainage, install a perforated drain pipe behind the first course, surrounded by more gravel. This pipe should have a slight downward slope to direct water away. Backfilling behind the wall with gravel rather than just soil also improves drainage significantly.

How Tall Can I Build a Stone Flower Bed on a Slope?
For a DIY project without professional engineering, it’s safest to keep your retaining walls under four feet in height. Taller walls must withstand immense soil pressure and require more complex engineering, deeper foundations, and potential reinforcement. If your slope requires walls taller than four feet, it is highly recommended that you consult a professional landscape contractor or structural engineer to ensure a safe and durable design.
What Kind of Plants Work Best in a Terraced Garden?
Choose plants based on your climate and the sun exposure of the slope. Drought-tolerant plants like sedum, lavender, and ornamental grasses are excellent choices as sloped beds can dry out quickly. Trailing plants such as creeping phlox or alyssum look beautiful spilling over the stone walls. Mixing in perennials for year-round structure and annuals for seasonal color will create a dynamic and interesting garden display.
Conclusion
Building a stone flower bed on a sloped yard is a rewarding project that combines practicality with beauty. By following these steps, you can create a stable, long-lasting structure that prevents erosion, improves drainage, and adds immense character to your landscape. The key is to take your time with the foundation and ensure each course is level and secure. Now that you have a clear roadmap on how to build a stone flower bed on a slope, you can confidently transform that challenging incline into a stunning garden feature you’ll be proud of for years to come.
About Ravuk Barg
B.Sc. Horticulture Science | Certified Master Gardener
Ravuk Barg has spent more than a decade with his hands in the soil and his head full of questions about why some gardens thrive while others struggle. What started as a single raised bed of tomatoes and basil in a modest backyard has grown into a deep, working knowledge of everything from seed germination and soil amendment to companion planting and seasonal pruning.
Over the years, Ravuk has gardened through drought summers, waterlogged springs, and pest invasions that would make most gardeners hang up their trowels for good. Those hard seasons, he’ll tell you, taught him more than any perfect growing year ever could. He writes from that earned experience—covering vegetable growing, ornamental planting, houseplant care, composting, and garden design with equal confidence and curiosity.
Philosophy & Approach
Ravuk’s approach to gardening is rooted in practicality. He favors organic methods not out of dogma, but because they work long-term—resulting in healthier soil, fewer inputs, and stronger plants. He has a particular fondness for heirloom vegetable varieties (the kind with proper flavor), unruly cottage-style flower beds, and the stubborn houseplants that everyone else gave up on.
The Mission: Give readers the honest, experience-backed advice that helps them actually succeed in their gardens—not just the ideal version, but the real one; weeds, failures, and all.
Education & Credentials
-
B.Sc. in Horticulture Science
-
Greenfield Agricultural University
-
Focus: Plant Physiology, Soil Ecology, and Sustainable Crop Production
-
-
Master Gardener Certification
-
Cooperative Extension Service
-
Focus: 200+ hours of hands-on practical training and community garden work
-
Continuing Education
-
Organic Pest Management
-
Native Plant Landscaping
-
Sustainable Crop Production