

How to keep soil warm in your garden. Learn how to keep soil warm in winter during the cold months using practical methods, materials, and tips.
There are some challenges associated with winter in the garden, the most important of which is how to keep the soil warm. Plants have difficulty growing in frozen soil, which is a challenge for many gardeners. Learning how to keep the soil warm in winter is key to ensuring a thriving, healthy garden and protecting plant roots from damaging cold temperatures.

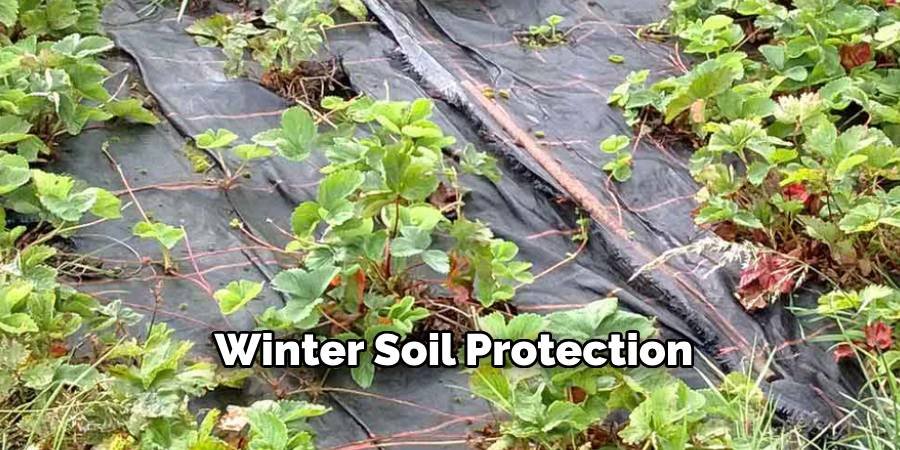
Cold soil can damage plant roots, kill beneficial microorganisms, and prevent plants from taking up nutrients. When soil freezes, it becomes hard and dense, which prevents water and air from reaching plant roots. So learning the basics of winter soil protection is essential to enjoying your garden to the fullest.
Understanding Soil Temperature in Winter
The soil temperature drops significantly in the winter. Depending on your location and the cold, the soil can freeze several inches deep. This freezing is harmful to plants and can kill many plants that are not cold-hardy.
Warm soil is essential for plant growth. The soil gets so cold that the plant roots can’t function properly. And they’re unable to absorb water and nutrients from the soil. This makes the plants weak and sick. And some plants, if the soil is frozen for a long time, can even die.
Different plants need different types of soil temperatures to grow. Some plants are more able to tolerate cold soil than others. Once you understand what your plants need, you can choose the right strategy for warming the soil in the winter.
5 Step-by-Step Methods on How to Keep Soil Warm in Winter
Step 1: Use Mulch for Soil Insulation
One surefire way to keep the soil warm in the winter is to mulch. You should pile organic mulch around your plants before the first frost of the season.
Good mulching materials include old leaves, straw, wood chips, and even grass clippings. It acts as a structure for these materials – forming a protective barrier to trap heat beneath the soil. For best results, your mulch should be about 3 to 4 inches deep.
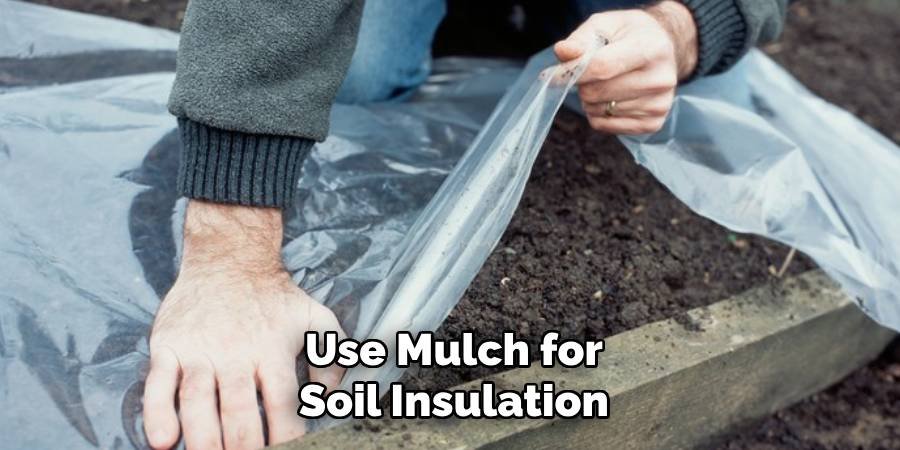
Mulch evenly around the base of each plant, leaving some space near the trunk to prevent rotting. This is a great way to mulch around flower beds, vegetable gardens, and around trees or shrubs.
Step 2: Install Cold Frames and Row Covers
Cold frames are the primary structures that provide shelter for plants and keep the soil warm naturally. They use the sun’s energy to heat the soil below, protecting the plants from cold winds and frost. You can make a cold frame out of old windows or clear plastic sheeting. Hang it over garden beds or individual crops. The clear top allows sunlight to enter to keep the plants warm, but it also acts as a barrier, trapping the heat inside. Row covers can also be very effective. These are lightweight fabric covers that you can drape directly over the plants. They allow light and water to enter and keep the soil warmer than bare soil.
Step 3: Create Windbreaks for Soil Protection
The soil will lose its heat quickly during the winter months. Creating windbreaks will protect your garden from cold winds and will also do a great job of maintaining a consistent soil temperature. Temporary windbreaks – such as burlap screens, plastic sheeting, or even old sheets tied to ropes – can be used. Place these barriers on the side from which you usually get cold winds. Permanent windbreaks take the form of evergreen trees or shrubs, fences, or privacy screens. I have used these solutions for years, and they provide long-term protection for the soil.
Step 4: Use Heating Cables and Soil Warming Mats
Heating cables and soil warming mats are options worth considering for small garden plots or greenhouses. These types of electric units provide more or less even heat to the soil.
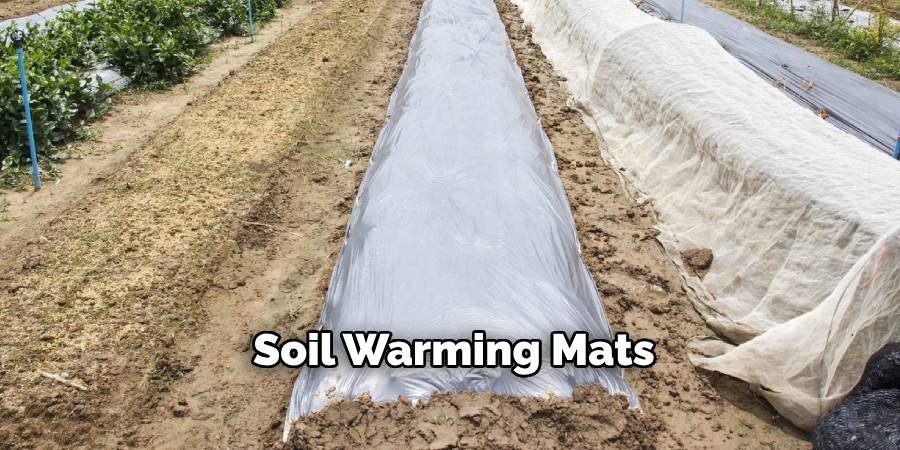
Embed the heating cables 2 or 3 inches below the soil surface. Mulch or row covers can help retain warm temperatures. Soil warming mats are placed on the surface of the soil or bench and are effective for seedling propagation and protecting small plants.
Use electric heaters outdoors only if they are designed for that purpose, and always read the instructions for safe use. Just make sure you get models made for outdoor use and that they have weather-resistant connectors.
Step 5: Apply Compost and Organic Matter
Adding compost and organic matter to the soil helps retain heat better. Decaying material naturally generates its own heat as it breaks down organic matter. In late fall, add compost to your garden soil before frost. It helps build soil structure, adds nutrients, and keeps it warmer. Fresh manure can also provide heat as it decomposes, but use it with caution around plants. Fifth: Old compost is generally safe and often just as effective at warming the soil.
Natural Methods for Soil Warming
Solar Energy Techniques
Warming the Soil Naturally with Solar Energy Using solar energy to warm the soil is natural, without electricity. Black-colored products will absorb more of the sun’s heat and will be able to warm the soil faster. Lay down black plastic sheets or dark-colored mulch where you want to warm the soil. Remove the plastic on warm days, so the soil can breathe, and replace it after cold nights. Black-colored pots filled with water can also absorb heat, which is gradually replaced as it is released at night. Place these pots around plants that need extra heat.
Greenhouse and Tunnel Effects
Small greenhouses above garden beds trap warm air and help the soil warm naturally. Clear plastic tunnels or glass cloches, or even large, clean storage containers, will do.
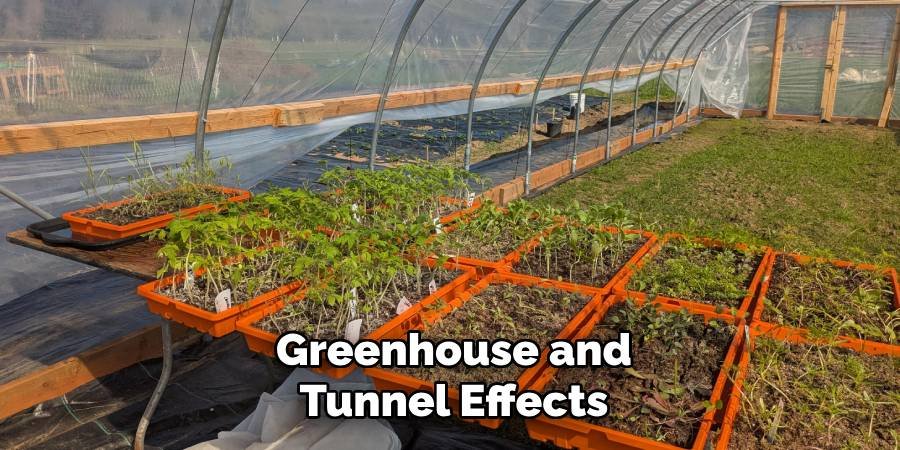
These structures allow sunlight in but block warm air from escaping. Placing them over the soil and plants creates a warm environment.
Be sure to provide ventilation to prevent overheating in hot weather. Open or remove the lid when temperatures are higher than your plants can tolerate.
Choosing the Right Materials
Mulch Options for Winter Soil Protection
Some mulching materials work well in some situations, but not others. Organic mulches like straw, leaves, and wood chips decompose relatively slowly, providing long-term protection.
Vegetable straw is great because it’s easy to clean up in the spring. Around trees and shrubs, shredded leaves work great. Wood chips will last longer, but they decompose more slowly.
Don’t use mulch that is attractive to insects or harbors viruses and diseases. Fresh mulching materials can become thin and damage plants, so apply carefully.
Fabric and Cover Materials
Different types of frost-resistant fabrics are available in different weights and thicknesses. Thicker materials can insulate well, but can block more light from reaching the plants. Light-weight row covers are suitable for most garden plants; they allow plenty of light through. Medium-weight covers offer more protection, but may require a support frame to ensure the covers do not touch the plants. Clear plastic can heat the soil well, but the heat can be too much in sunlight. Use it with caution and open the case if necessary.
Timing and Seasonal Considerations
When to Start Winter Soil Protection
Start soil conditioning before the first hard frost. This is usually in late fall, but it can vary depending on where you are. If nighttime temperatures consistently drop below 40°F (4°C), monitor the weather forecast and start protecting your plants. This gives you some time to set up your protection before the cold snap hits. Some techniques, like mulching, are most effective if done over a period of weeks. Others, like row covers, can be quickly removed when cold temperatures threaten.
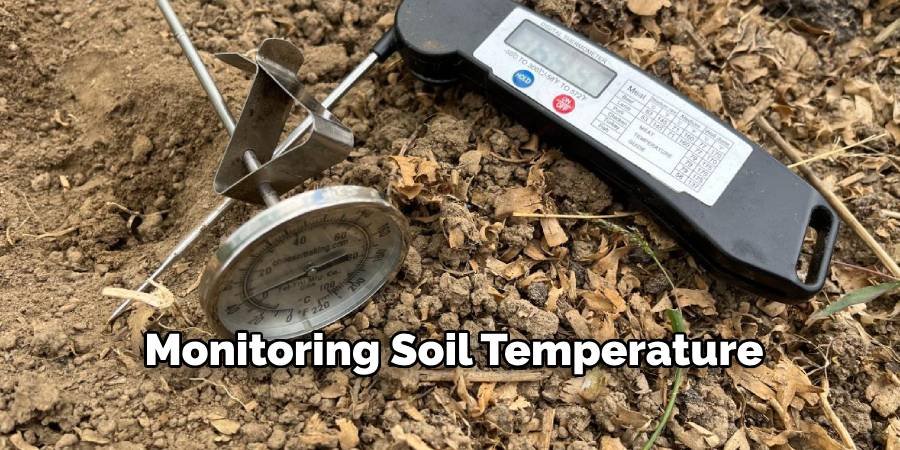
Monitoring Soil Temperature
Check the soil temperature periodically throughout the winter with a soil thermometer. This will tell you when your protection methods are working and when you may need to increase them. Check the soil temperature at different depths to understand how much the cold is affecting your garden. The soil at the surface warms and cools faster than the ground level. Record your soil temperature and weather. This type of information will help you get better at protecting your hives for the winter each year.
Common Mistakes to Avoid
Many gardeners make the mistake of mulching in the winter. Applying mulch too early prevents the soil from absorbing heat as winter approaches. Applying too much mulch can create hiding places for insects and can cause root rot if it stays too wet, trapping excess moisture. Apply it at a rate that is appropriate for your climate and plants. Otherwise, if you forget to remove it on a hot day, the mulch can overheat the plants and soil. Always pay attention to the weather and adjust your mulch based on conditions. Another common mistake is not preparing early. Start winterizing before the onset of freezing cold, not after the snow has already affected your garden.
Frequently Asked Questions (FAQ)
Q1: Best mulch for warmer soil in winter?
Answer: Straw, shredded leaves, and wood chips are all good options. 3-4 inches thick works best as insulation. Straw is good for vegetable gardens, and wood chips last longer around trees and shrubs.
Q2: How far below does soil freeze in the winter?
Answer: The depth of frozen ground depends on the climate, but it is usually between 6 inches and a few feet. About a foot to a foot and a half is the depth to which most temperate regions freeze during the winter in a “normal” year.
Q3: Can I use plastic to heat the ground in winter?
Answer: Clear or black plastic can heat the soil well. Black plastic heats up more and clear plastic creates a greenhouse effect. Remove the plastic on hot days, otherwise the temperature inside will be too high.
Q4: When is the time to begin covering the soil?
Answer: Start protecting the soil for winter, before the first hard freeze. Start when nighttime temperatures drop below 40°F (4°C) so your plants’ protection systems are activated.
Q5: Heating cables for warming garden soil – effective or not?
A: Heat cables are a way to evenly apply soil warmth to small areas. Plant 2-3 inches deep and mulch on top. They are best used in greenhouses, cold frames, and narrow planting beds.
Conclusion
Knowing how to keep soil warm in winter is crucial to a successful garden in cold climates. It’s possible to provide moderate winter protection for your plants, maintain soil health, and use methods like mulching, row covers, windbreaks, and heating systems. The trick is to start early, choose the right materials for your situation, and monitor conditions.
For most gardens, natural methods, including solar heat and organic matter, work well, and electric heating gadgets allow for precise temperature control in special cases. But remember that every plant is different, and tailor your treatment to what you’re growing. With a little forethought and a few simple tricks, you can keep your soil warm and your garden thriving even during the coldest months of winter.
About Ravuk Barg
B.Sc. Horticulture Science | Certified Master Gardener
Ravuk Barg has spent more than a decade with his hands in the soil and his head full of questions about why some gardens thrive while others struggle. What started as a single raised bed of tomatoes and basil in a modest backyard has grown into a deep, working knowledge of everything from seed germination and soil amendment to companion planting and seasonal pruning.
Over the years, Ravuk has gardened through drought summers, waterlogged springs, and pest invasions that would make most gardeners hang up their trowels for good. Those hard seasons, he’ll tell you, taught him more than any perfect growing year ever could. He writes from that earned experience—covering vegetable growing, ornamental planting, houseplant care, composting, and garden design with equal confidence and curiosity.
Philosophy & Approach
Ravuk’s approach to gardening is rooted in practicality. He favors organic methods not out of dogma, but because they work long-term—resulting in healthier soil, fewer inputs, and stronger plants. He has a particular fondness for heirloom vegetable varieties (the kind with proper flavor), unruly cottage-style flower beds, and the stubborn houseplants that everyone else gave up on.
The Mission: Give readers the honest, experience-backed advice that helps them actually succeed in their gardens—not just the ideal version, but the real one; weeds, failures, and all.
Education & Credentials
-
B.Sc. in Horticulture Science
-
Greenfield Agricultural University
-
Focus: Plant Physiology, Soil Ecology, and Sustainable Crop Production
-
-
Master Gardener Certification
-
Cooperative Extension Service
-
Focus: 200+ hours of hands-on practical training and community garden work
-
Continuing Education
-
Organic Pest Management
-
Native Plant Landscaping
-
Sustainable Crop Production